Azure is a growing collection of integrated cloud services which is used to build, deploy and manage applications through the global network of datacentres. With Azure, you can build and deploy across the globe using the tools, applications and frameworks of your choice.
There are 40 Azure regions which is currently more than any other Cloud provider. Its really fast, secure, compatible, configurable, manageable.
There are numerous Azure’s feature which we can talk about for days, but I am just going to show – How to create an Azure VM or/and Image through Powershell which can be plugged into any CI tool (I have used Jenkins for the same).
You may ask the question, when there is a wonderful GUI available within Azure Dashboard to provision a VM, what is the need to create it through Powershell ?
Well, It totally depends on the requirements – I had one where I need to provision VMs through CI tool so that my user had to use only one Interface which is “Jenkins” for whole CI-CD stuff which starts from creating VM.
Hence I have used Powershell and used that script in my Jenkins job to provision the VM within minutes.
So, here we start with our next article on “How to create an Azure VM and/or Azure Image through Powershell and Jenkins”
Lets start creating VM Image first which will be used to create VMs.
Before starting Image creation, let me explain what actually this Image means and how it is beneficially used :
Azure Images are used to provide a new virtual machine with an operating system. It would be replica of existing VM with exactly the same OS, Memory, Data, Applications, Tools already loaded. An image might also have one or more data disks.
It is useful when you want to create same machine to avoid the saying “It just work on my machine” which is really useful in today’s leading world. You can create multiple VMs sequentially or parallel based on your requirements with just one image, such as Dev Environment, Test Environment, Stage Environment, QA Environment and so on….
So the first step to create an image through Powershell is “Adding your azure account in the Powershell”
To do that – Type “Add-AzureRmAccount” in the Powershell console
It will prompt you to Login with your Azure account.
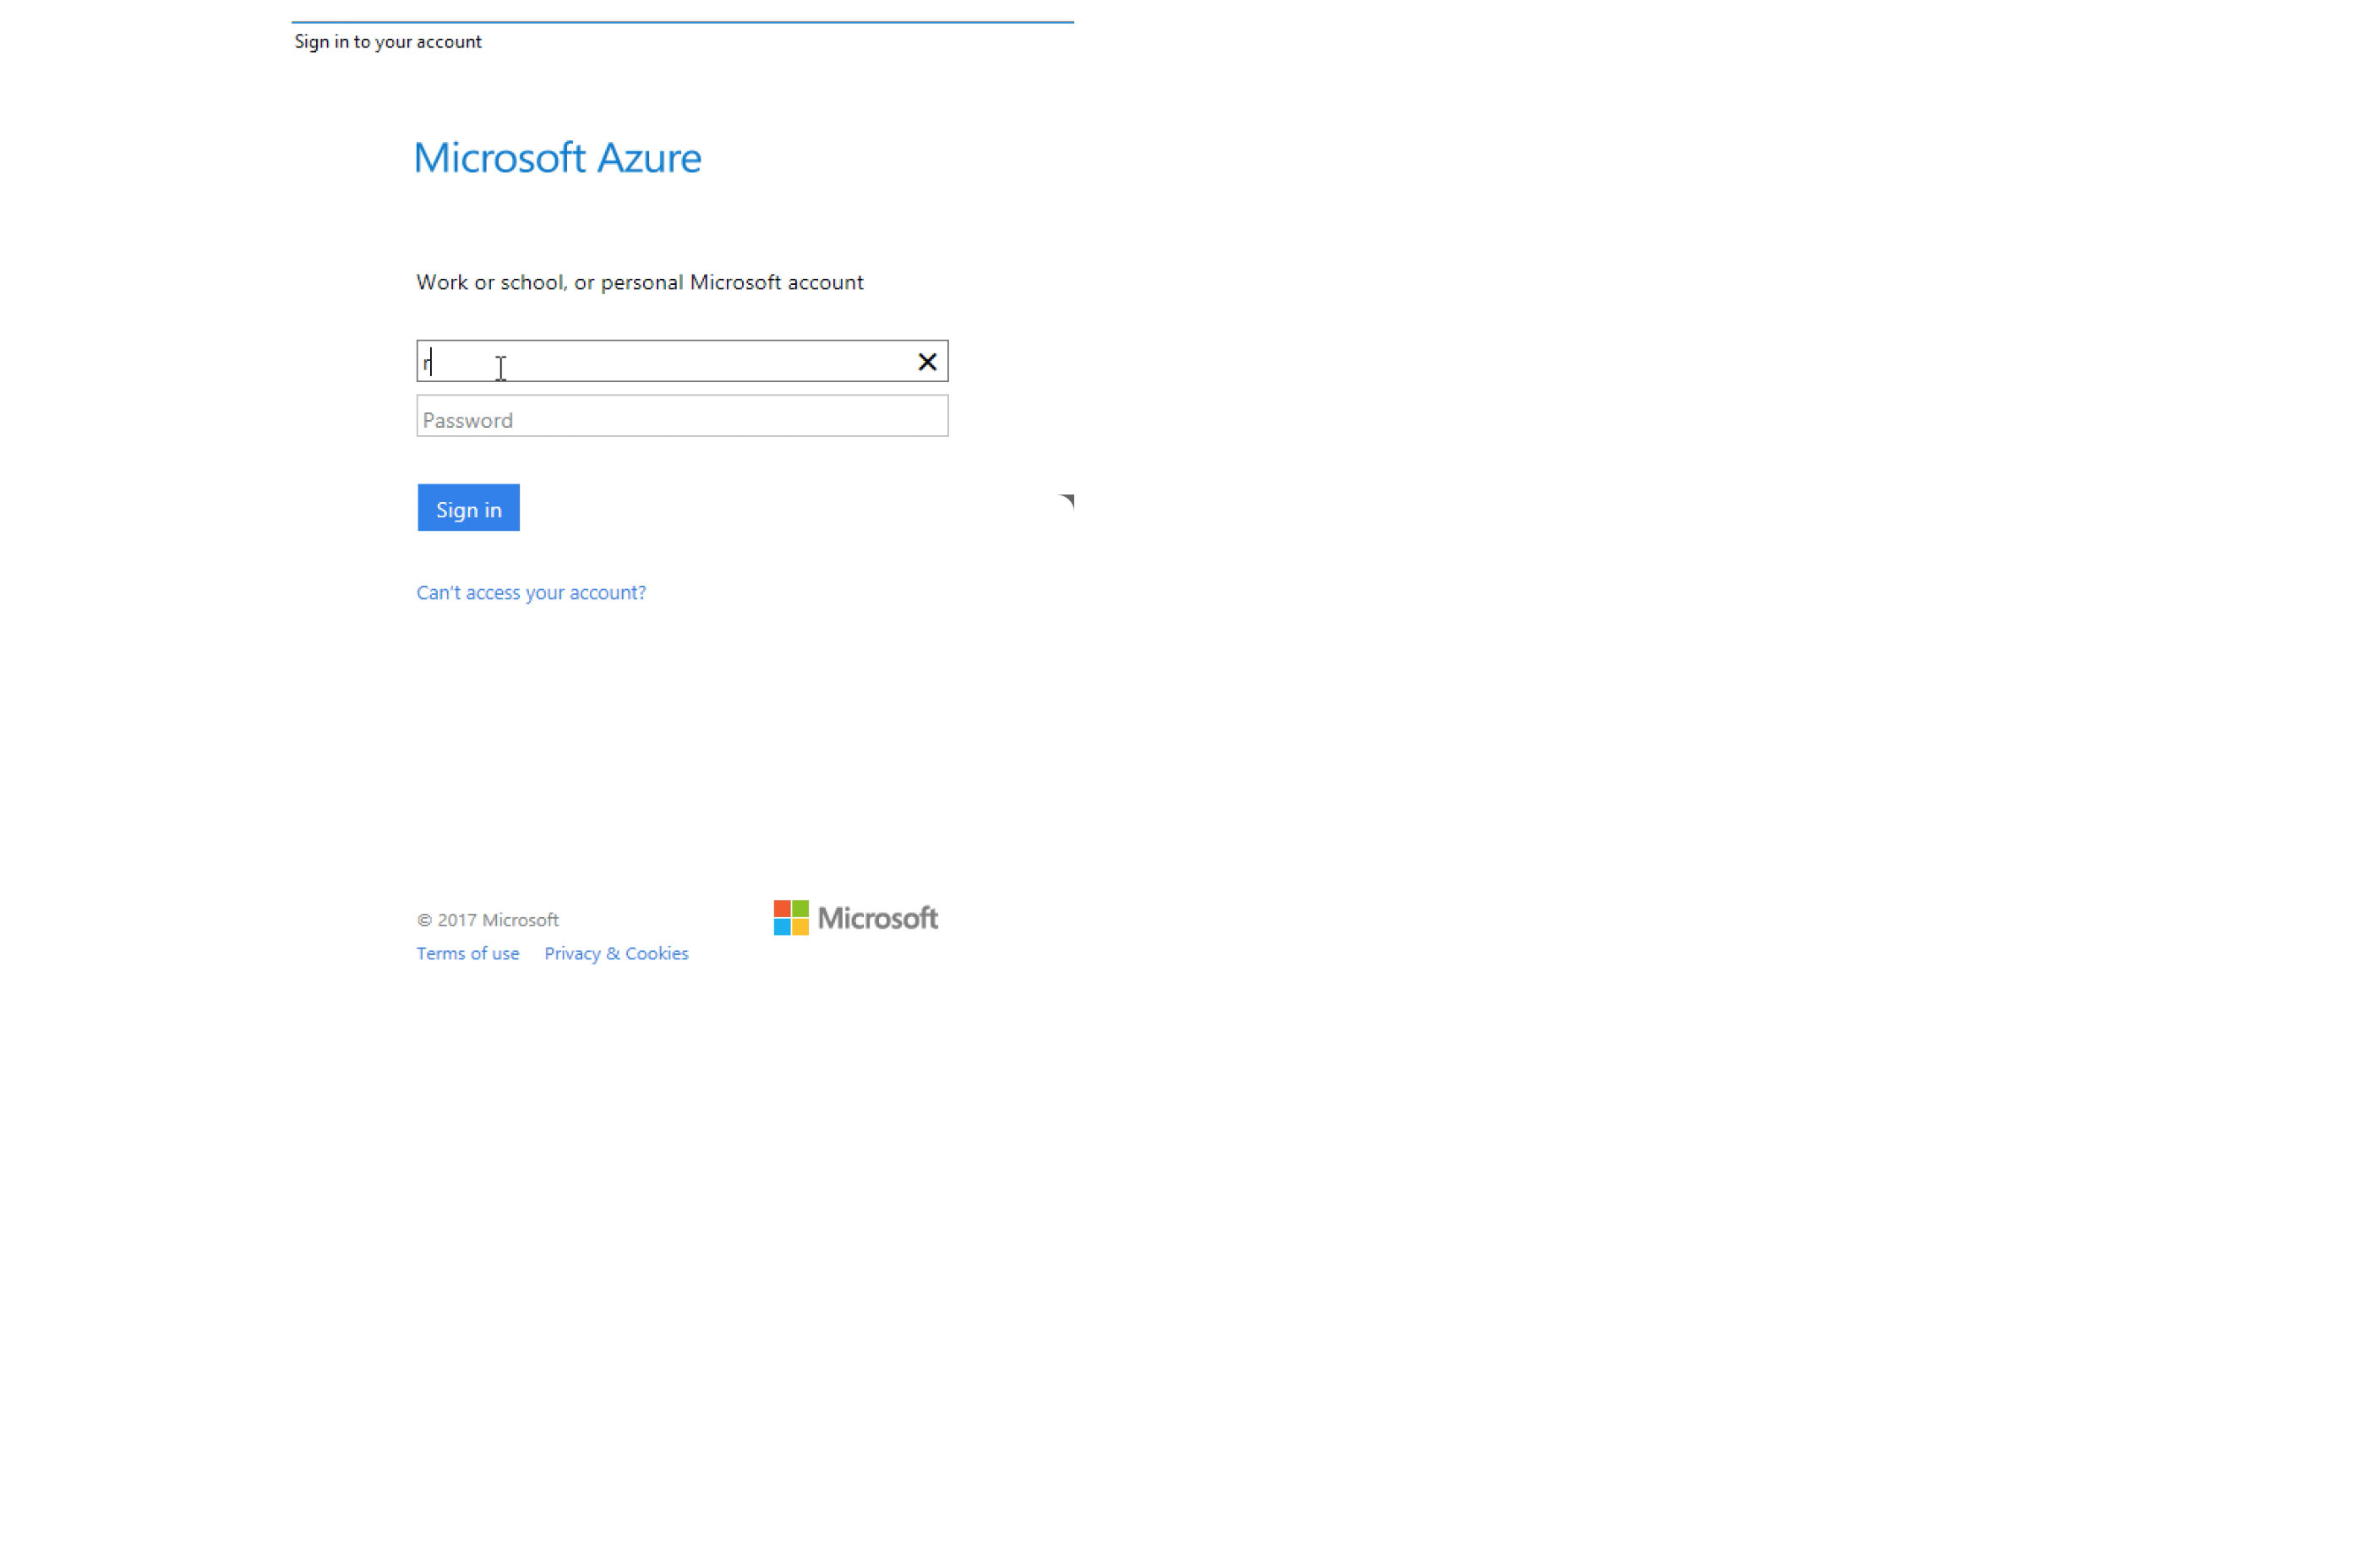 Once done then type “Login-AzureRmAccount” and go through with same procedure as it will ask you to login again
If something is wrong Or Not working for you – You can try with another approach with saving the Azure profile in json format and pass it with “Select-AzureRmAccount” (I have used this option only) which will make your task very easy.
Now you are all set for Azure Image Creation.
You can copy-paste and save the below script in your Powershell script – but please do not run now.
# Creation of Azure Windows Image - An one time activity
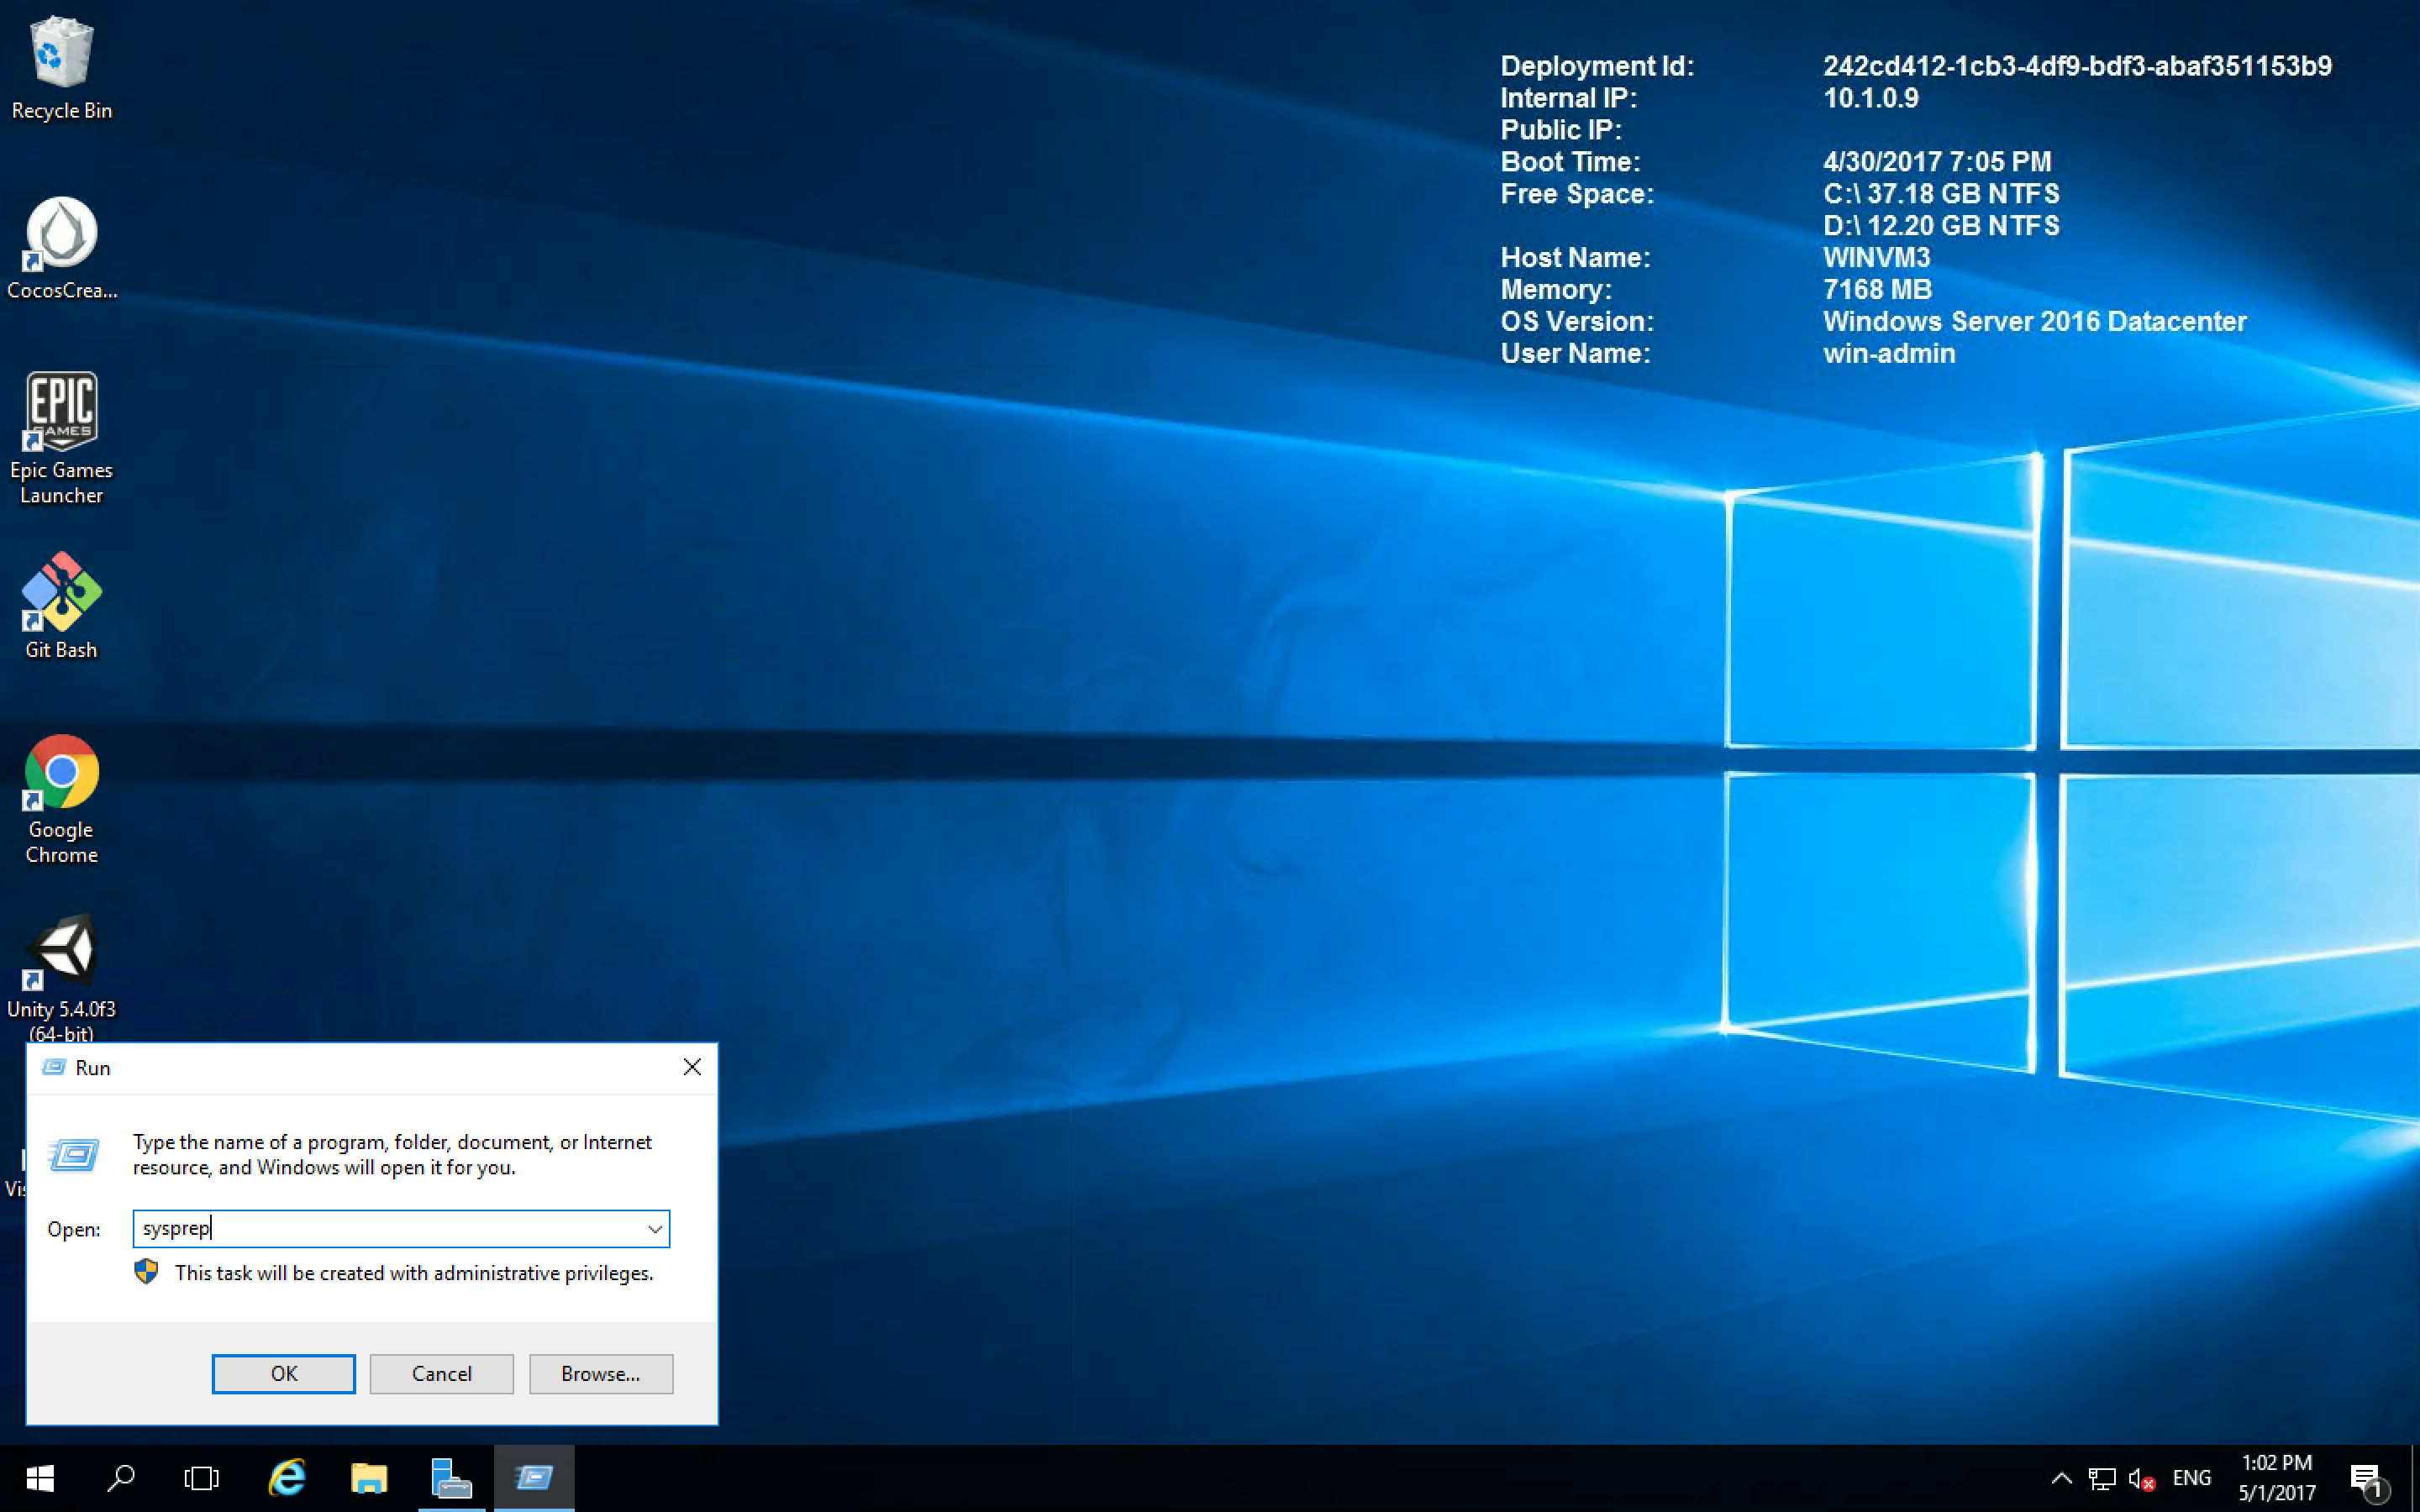
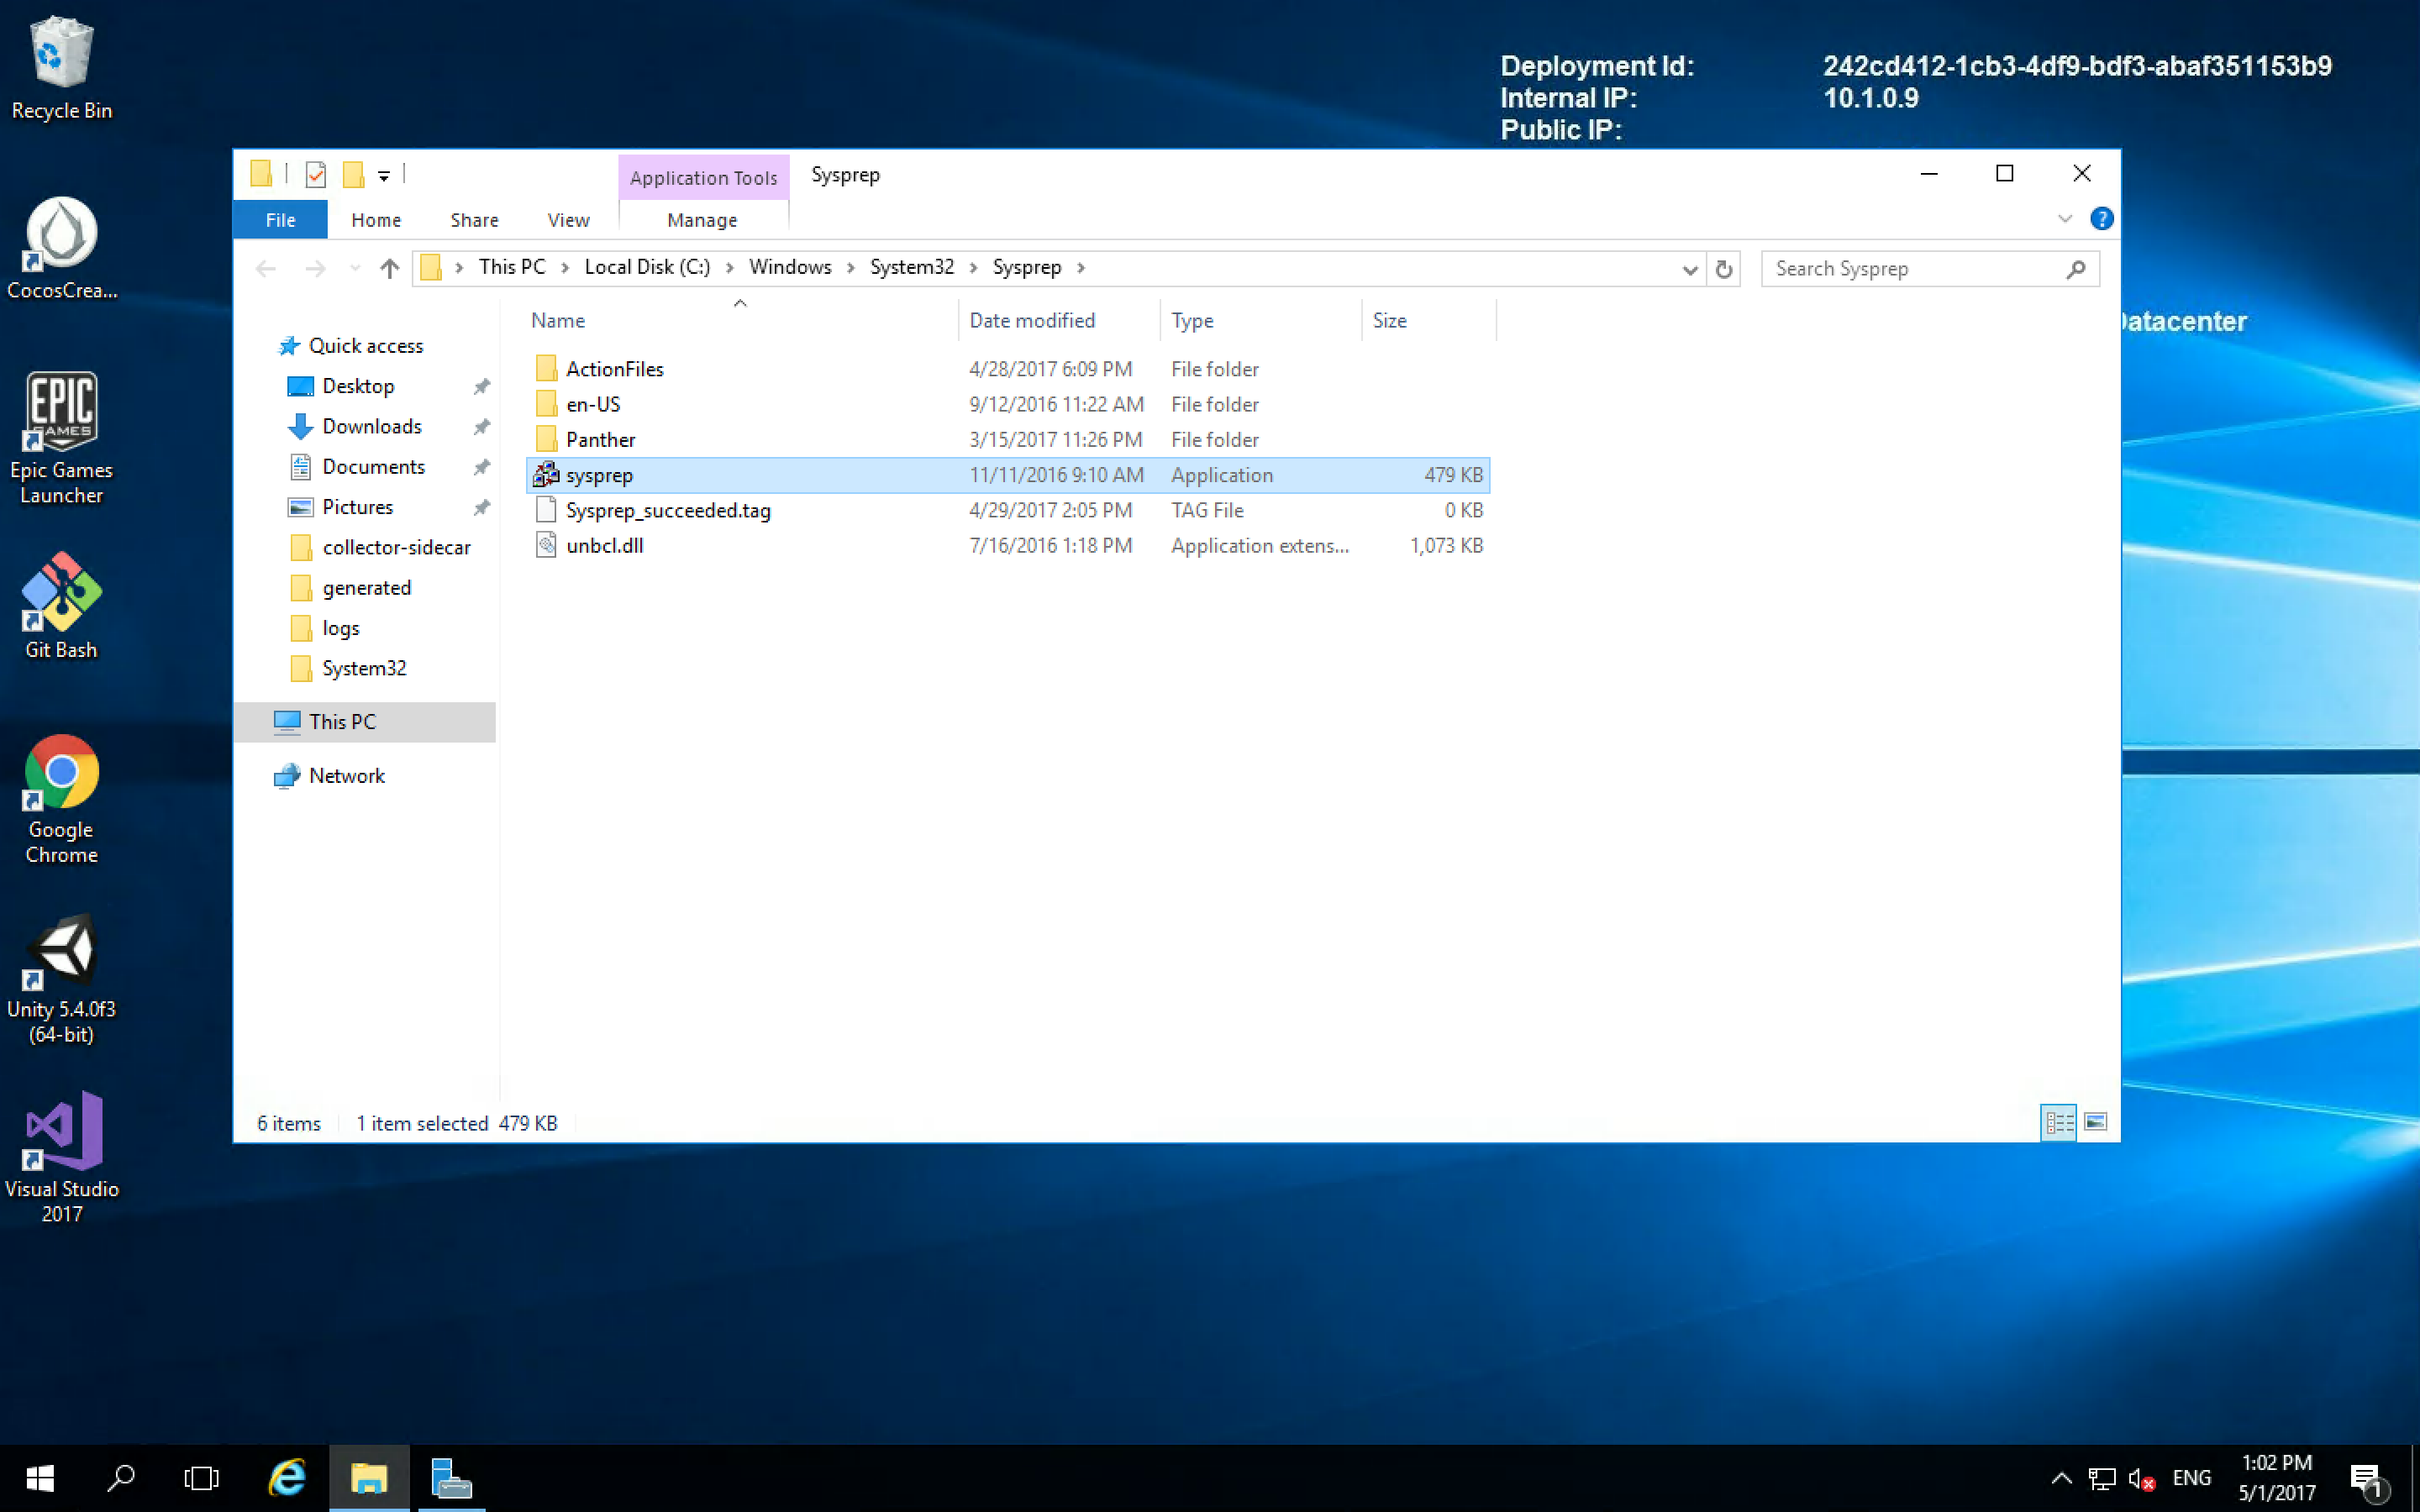
# Before running this script, first go to Source system whose image needs to be created and run “sysprep” and click on Generalize and then click Shutdown - Once the VM is stopped trigger this powershell script.
# Ideally you should delete the Source VM as it will create issues and you can create same VM multiple times


Select-AzureRmProfile -Path “C:\Users\tools-admin\Desktop\azure.json”

Get-AzureSubscription

Stop-AzureRmVM -ResourceGroupName win-vm-resource-gp -Name winvm3 -Force

Set-AzureRmVm -ResourceGroupName win-vm-resource-gp -Name winvm3  -Generalized -verbose

$vm = Get-AzureRmVM -ResourceGroupName win-vm-resource-gp -Name winvm3  -Status

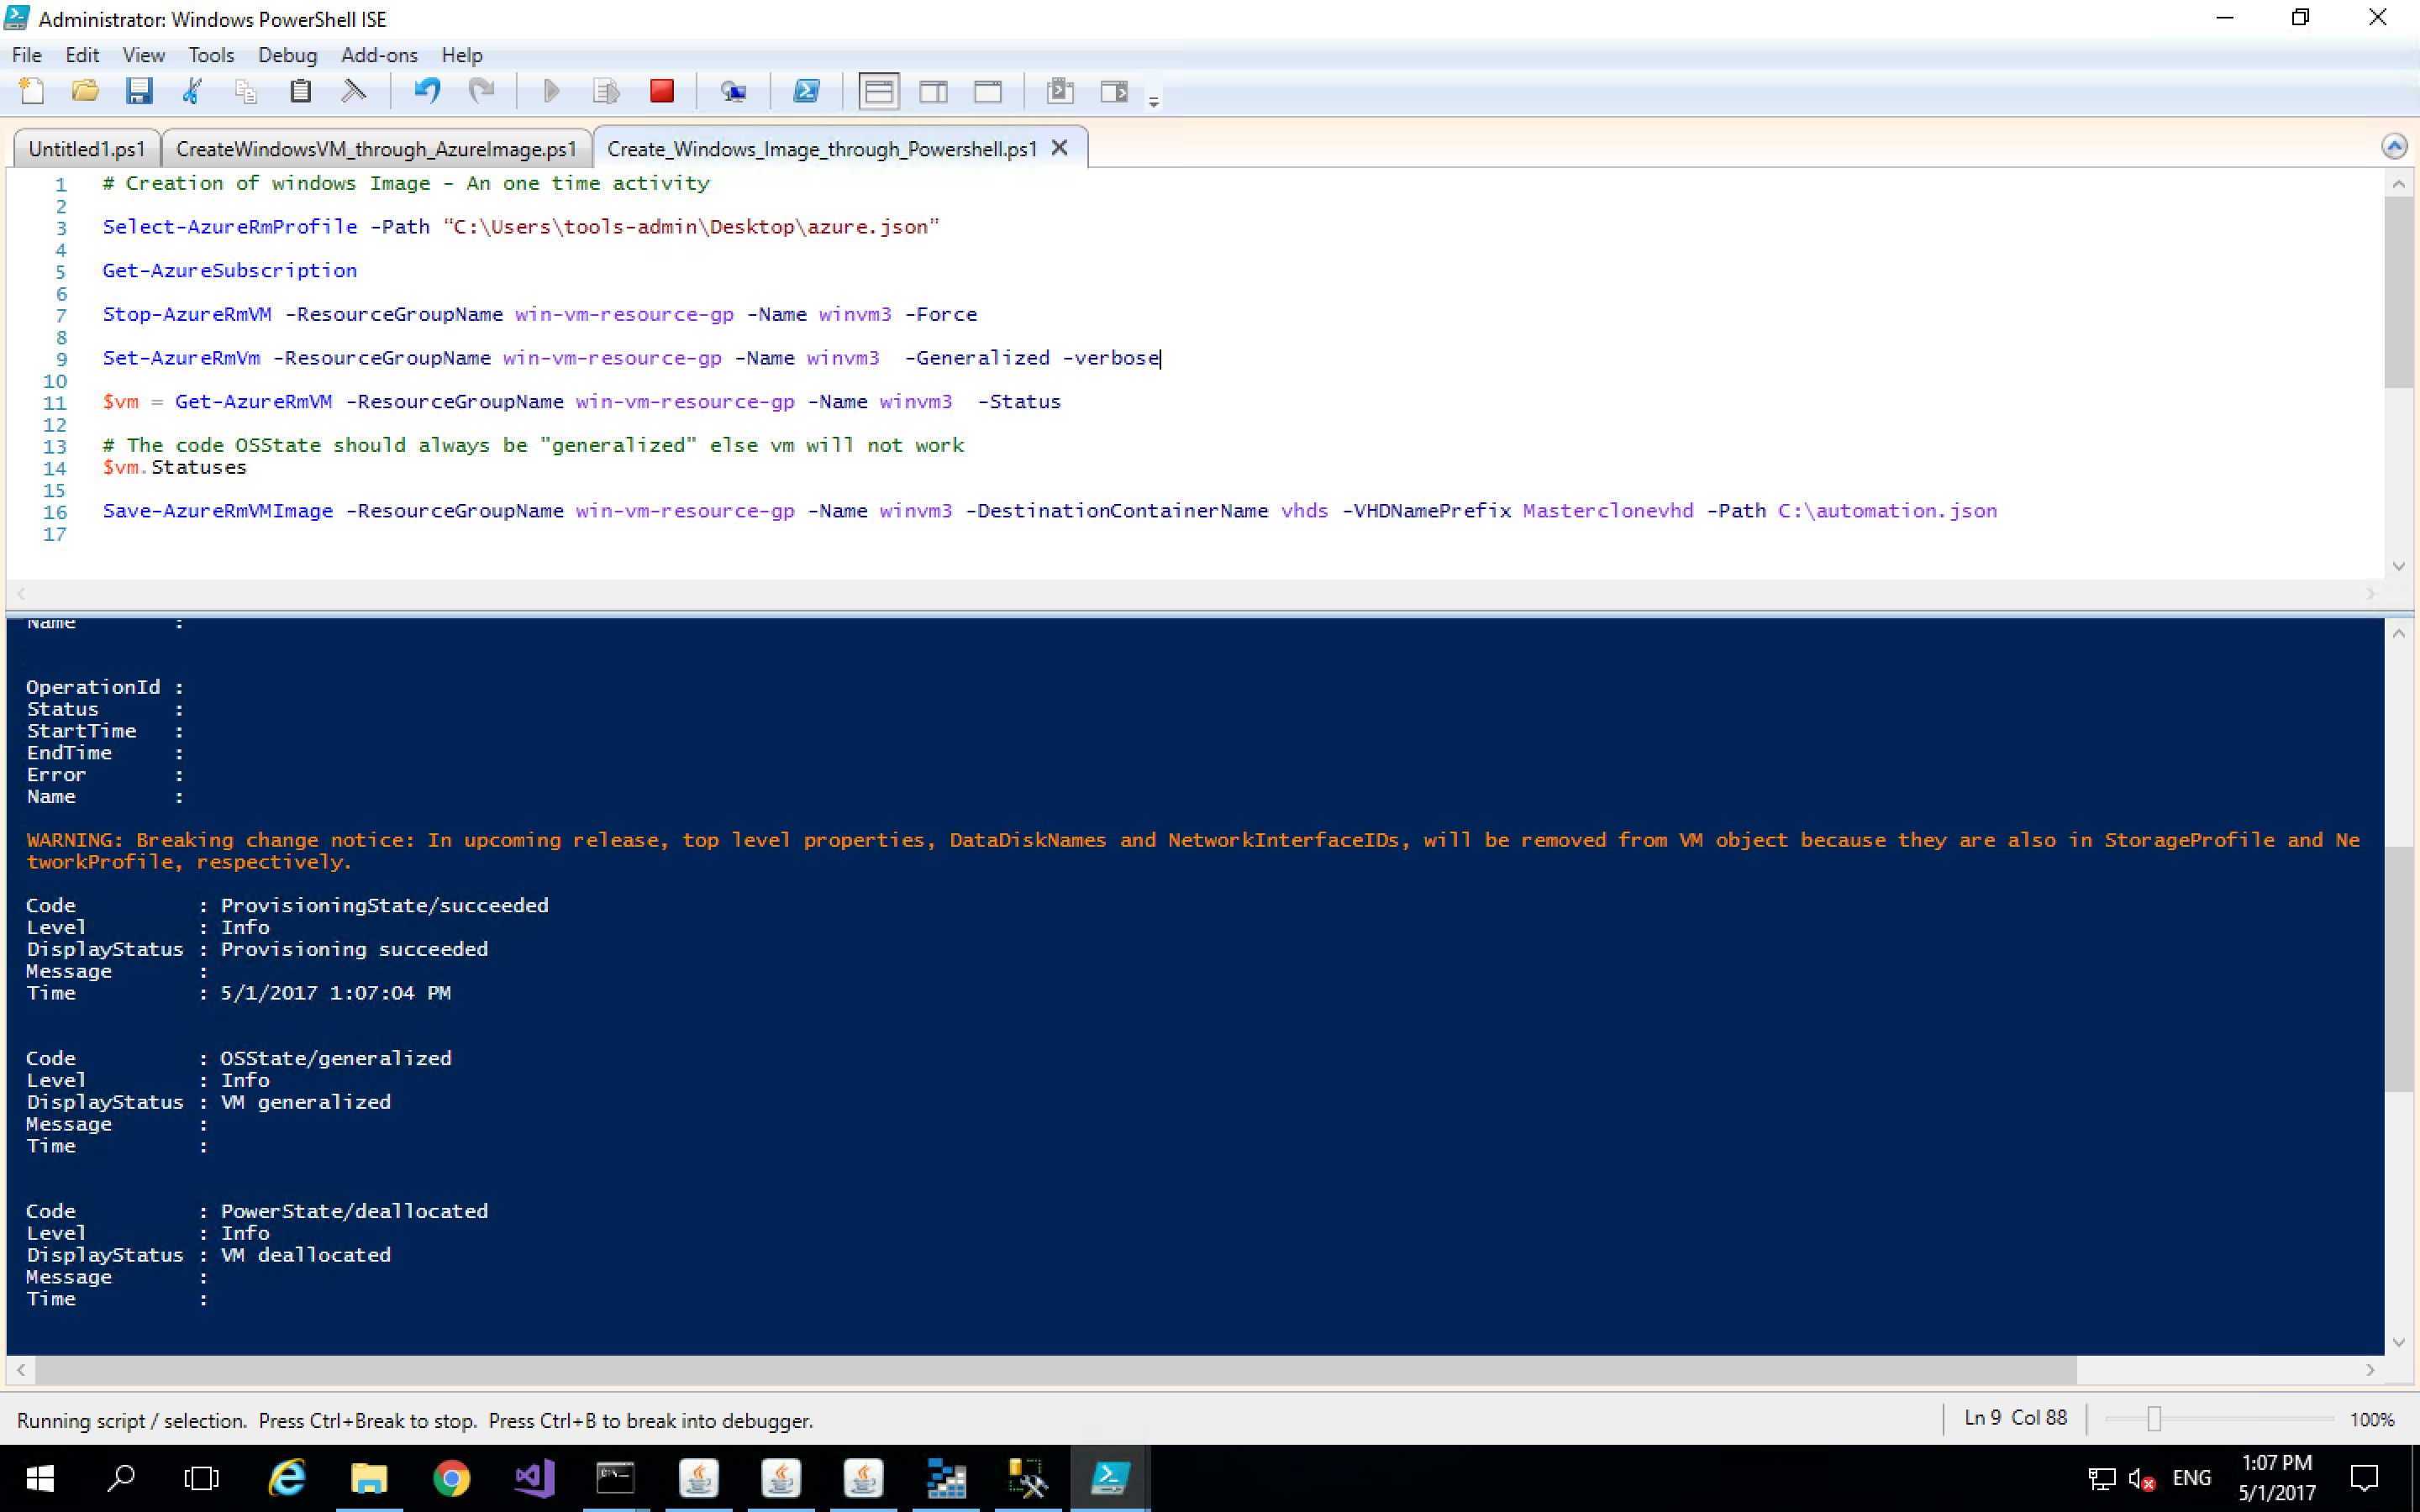
# The code OSState should always be "generalized" else vm will not work
$vm.Statuses

Save-AzureRmVMImage -ResourceGroupName win-vm-resource-gp -Name winvm3 -DestinationContainerName vhds -VHDNamePrefix Masterclonevhd -Path C:\automation.json
Please follow the below screenshots which will show how to proceed with stopping the Source VM
Login to the Source VM and then Go to run and type “sysprep”
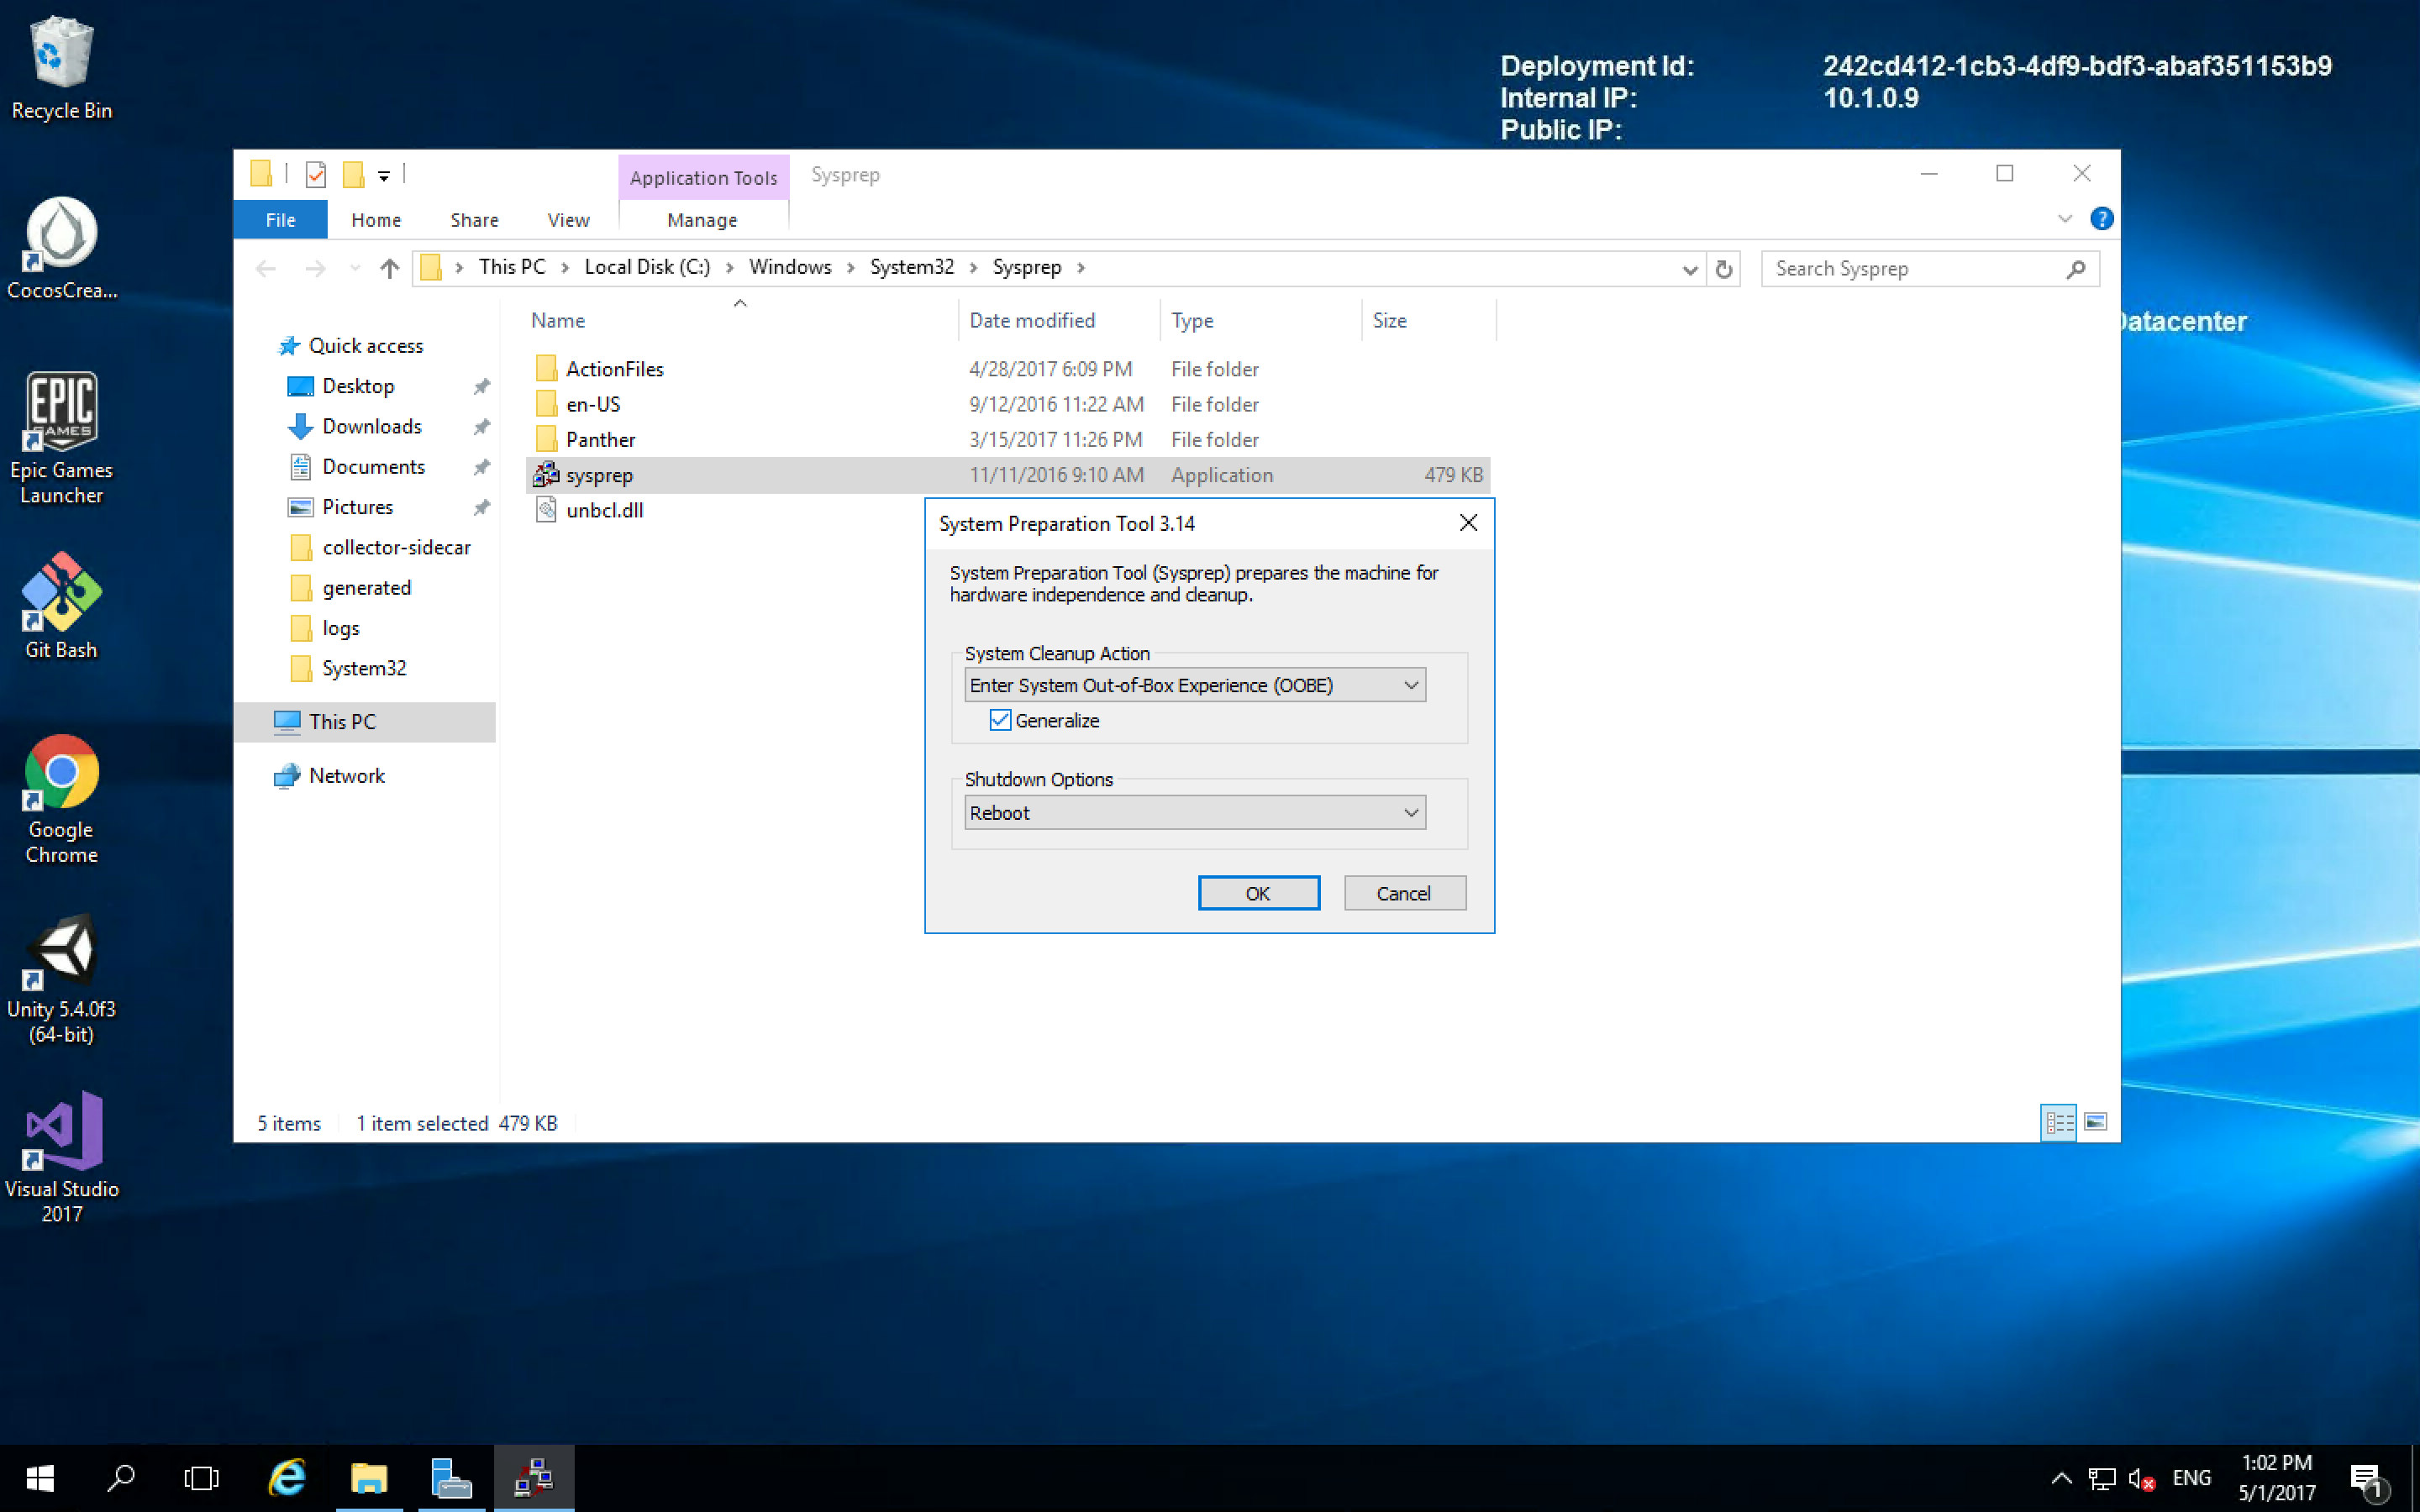
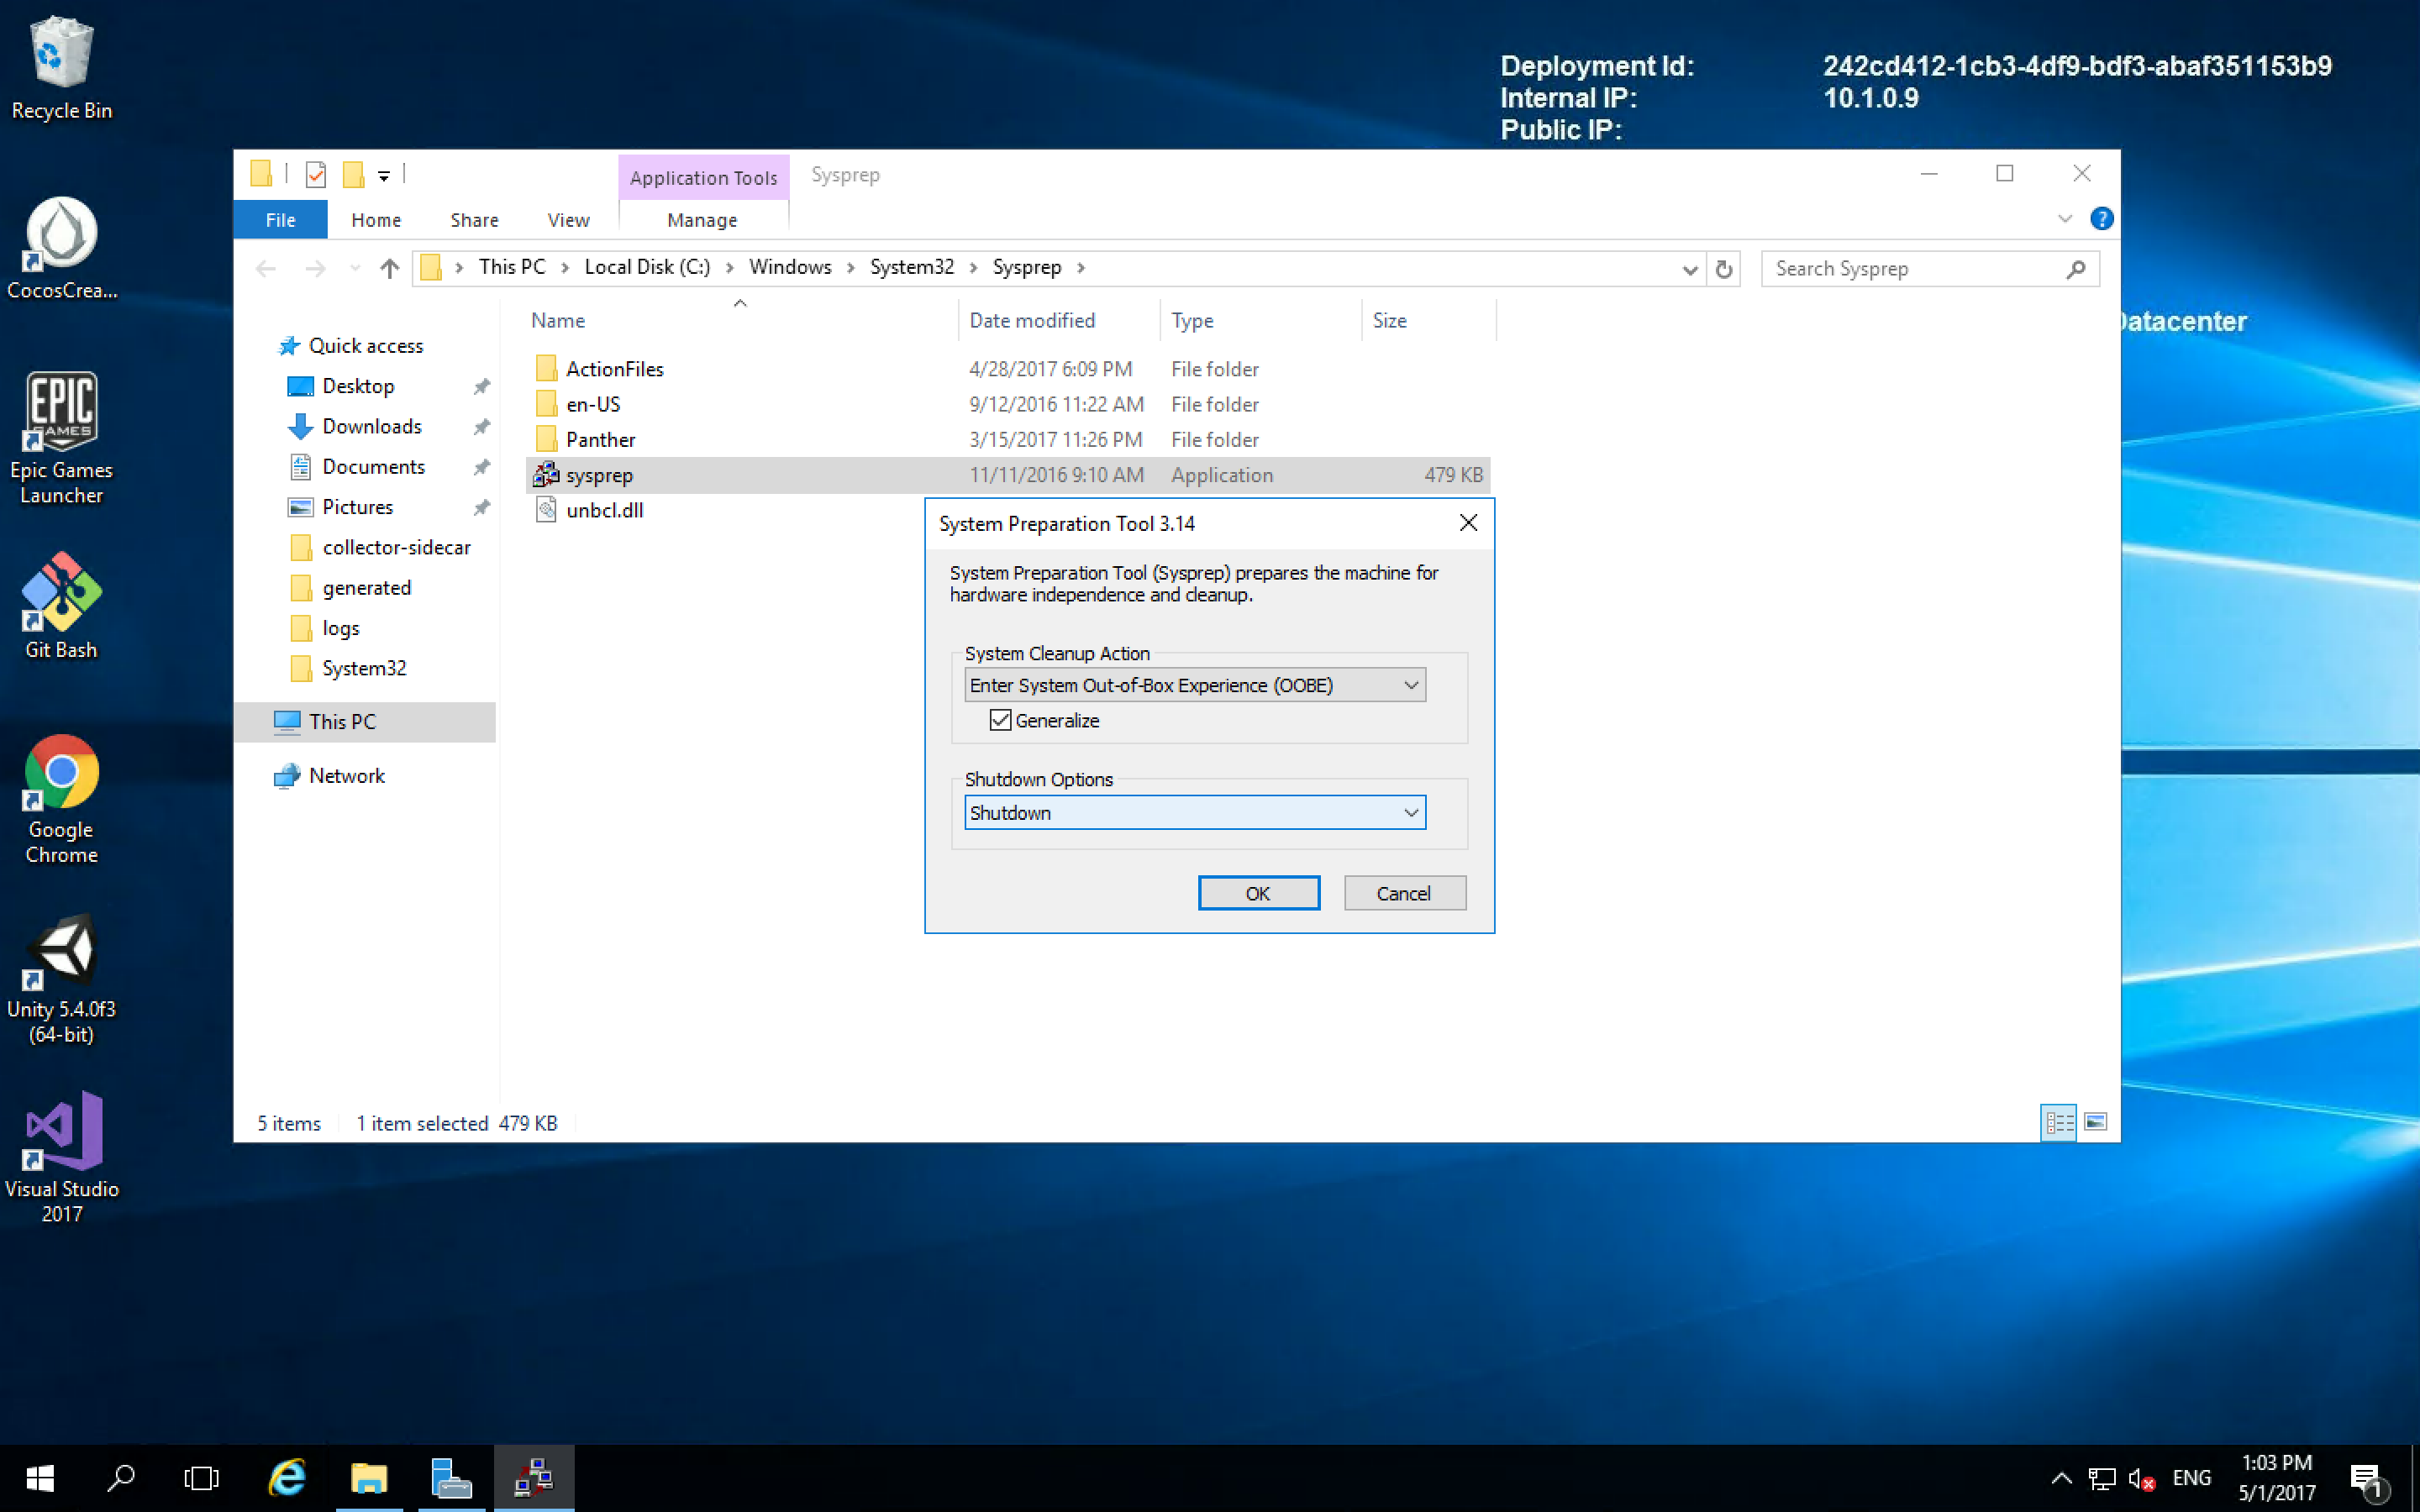
We can also verify the same in Azure Dashboard
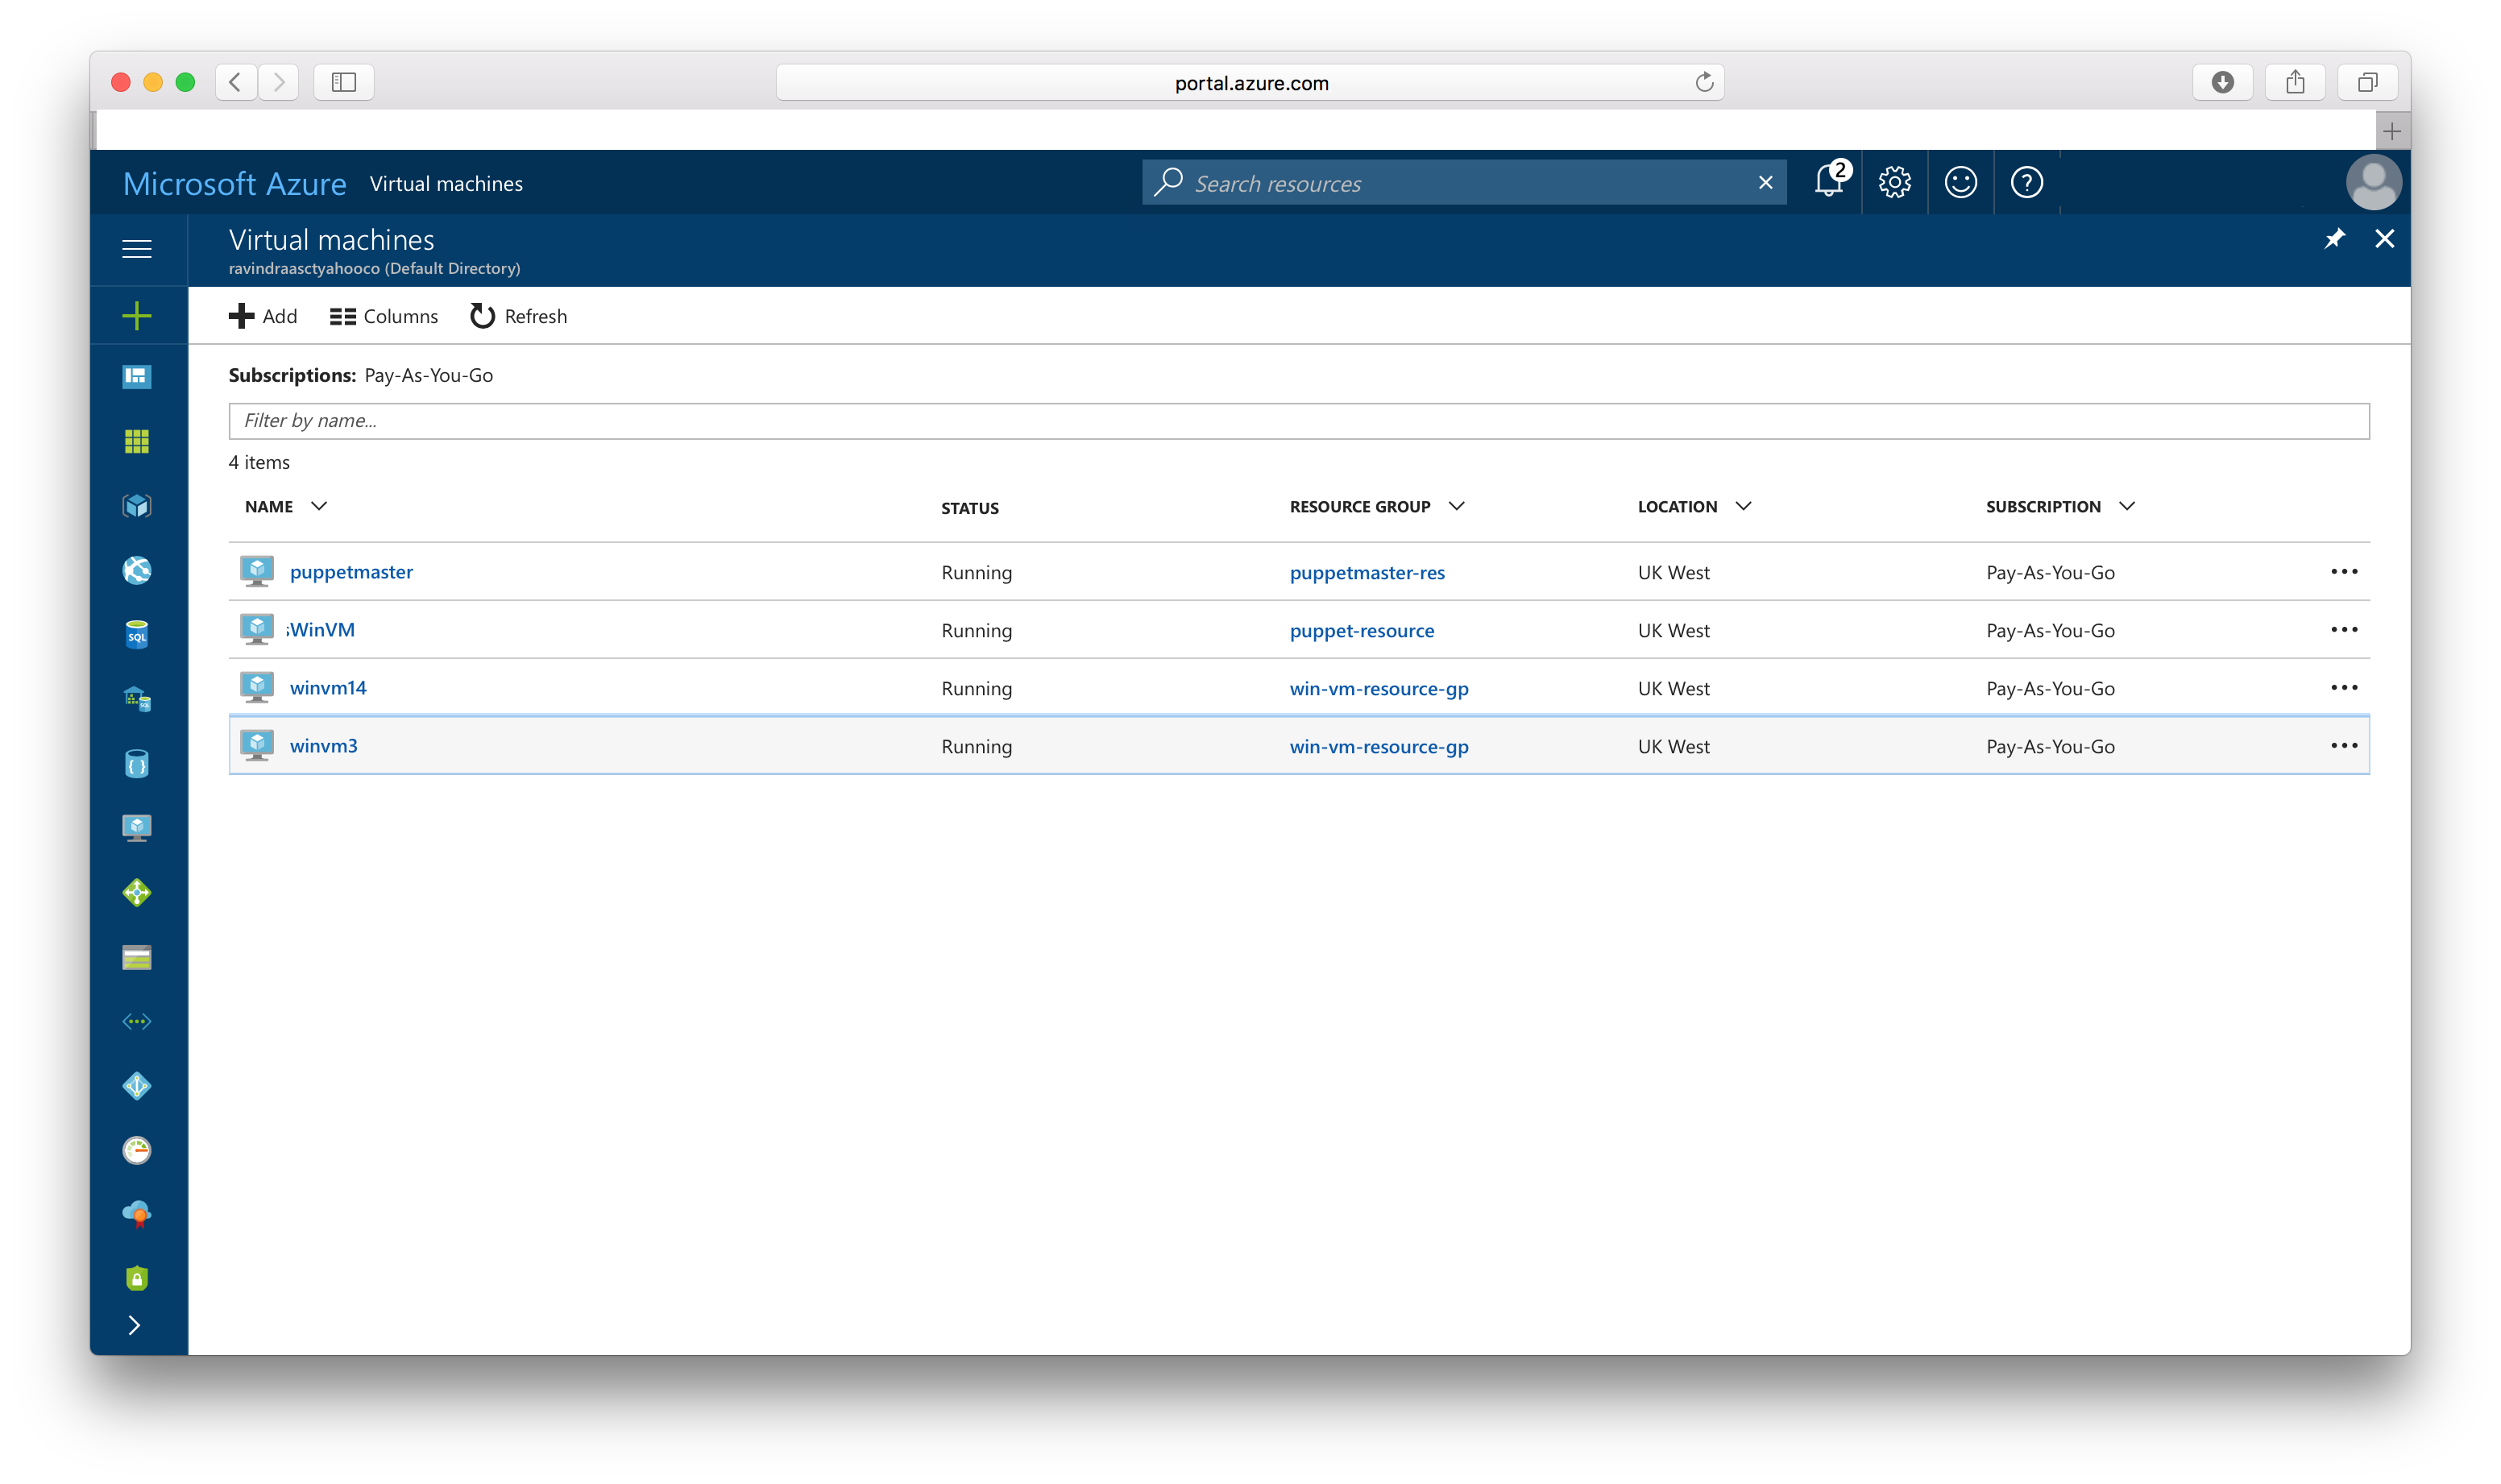
The VM which is running is now stopping…
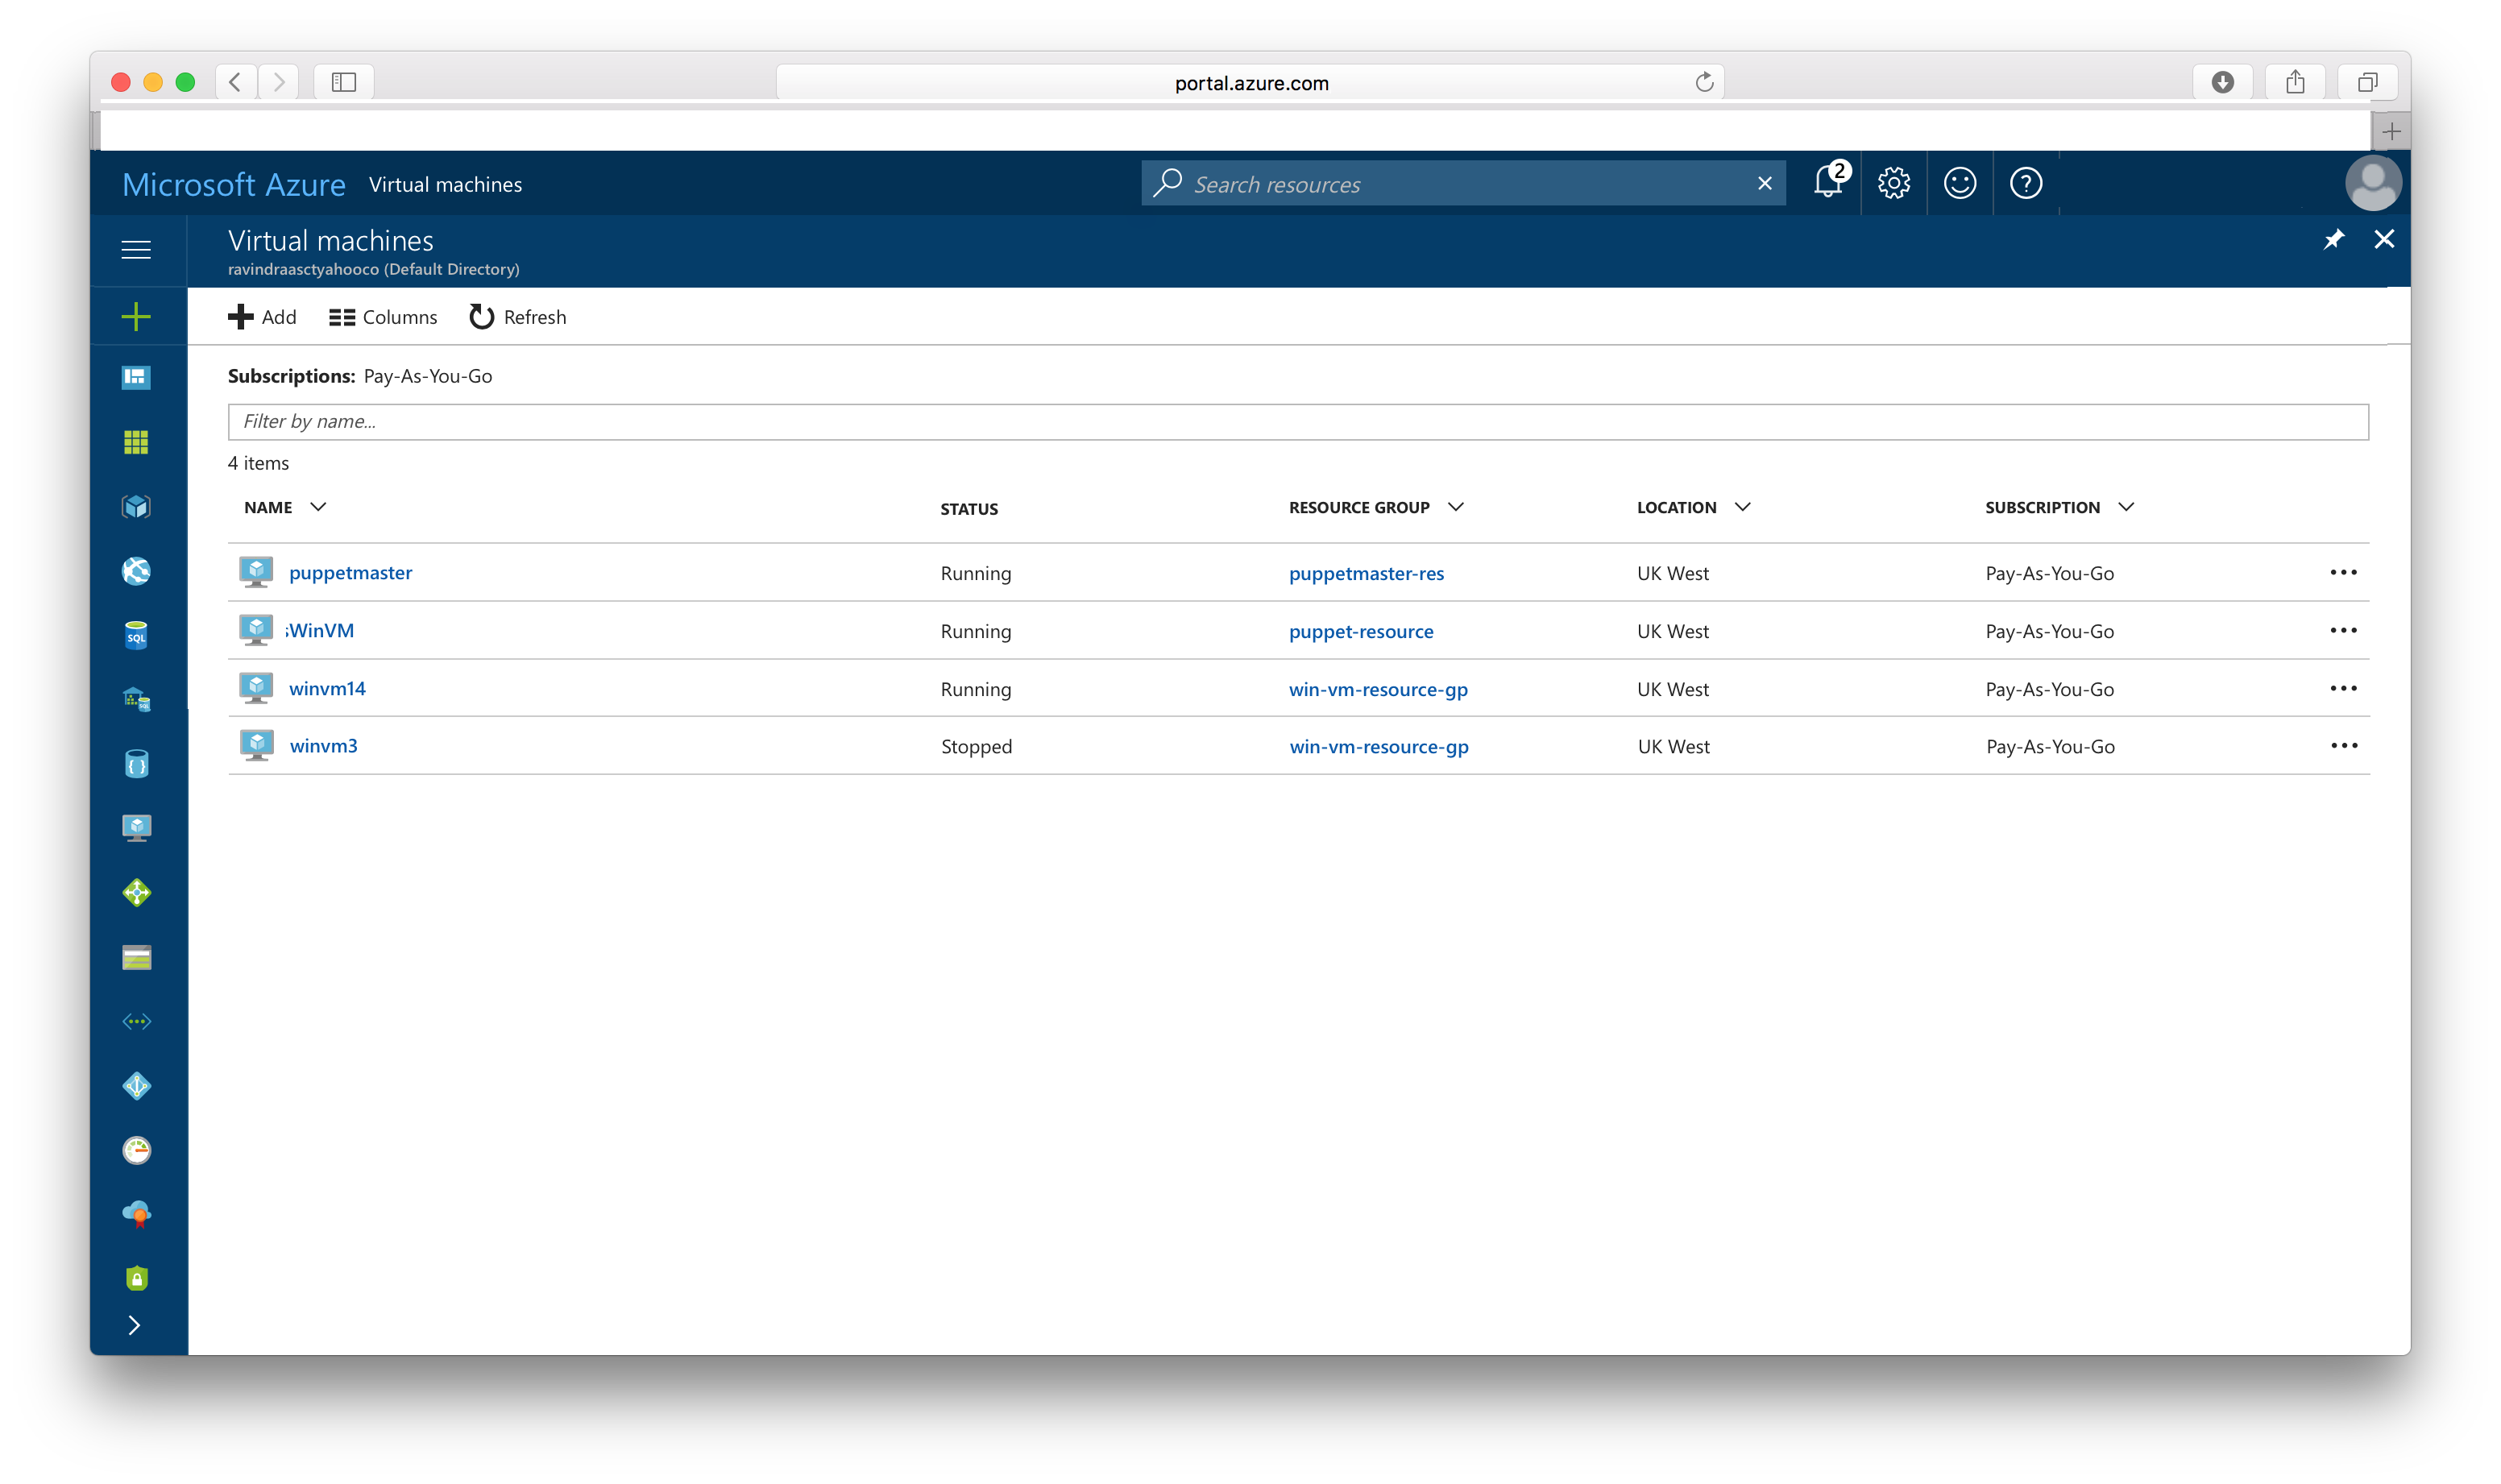
Source VM is Stopped now – You are good to go to create the Image of the source VM
Trigger the Powershell script now ….
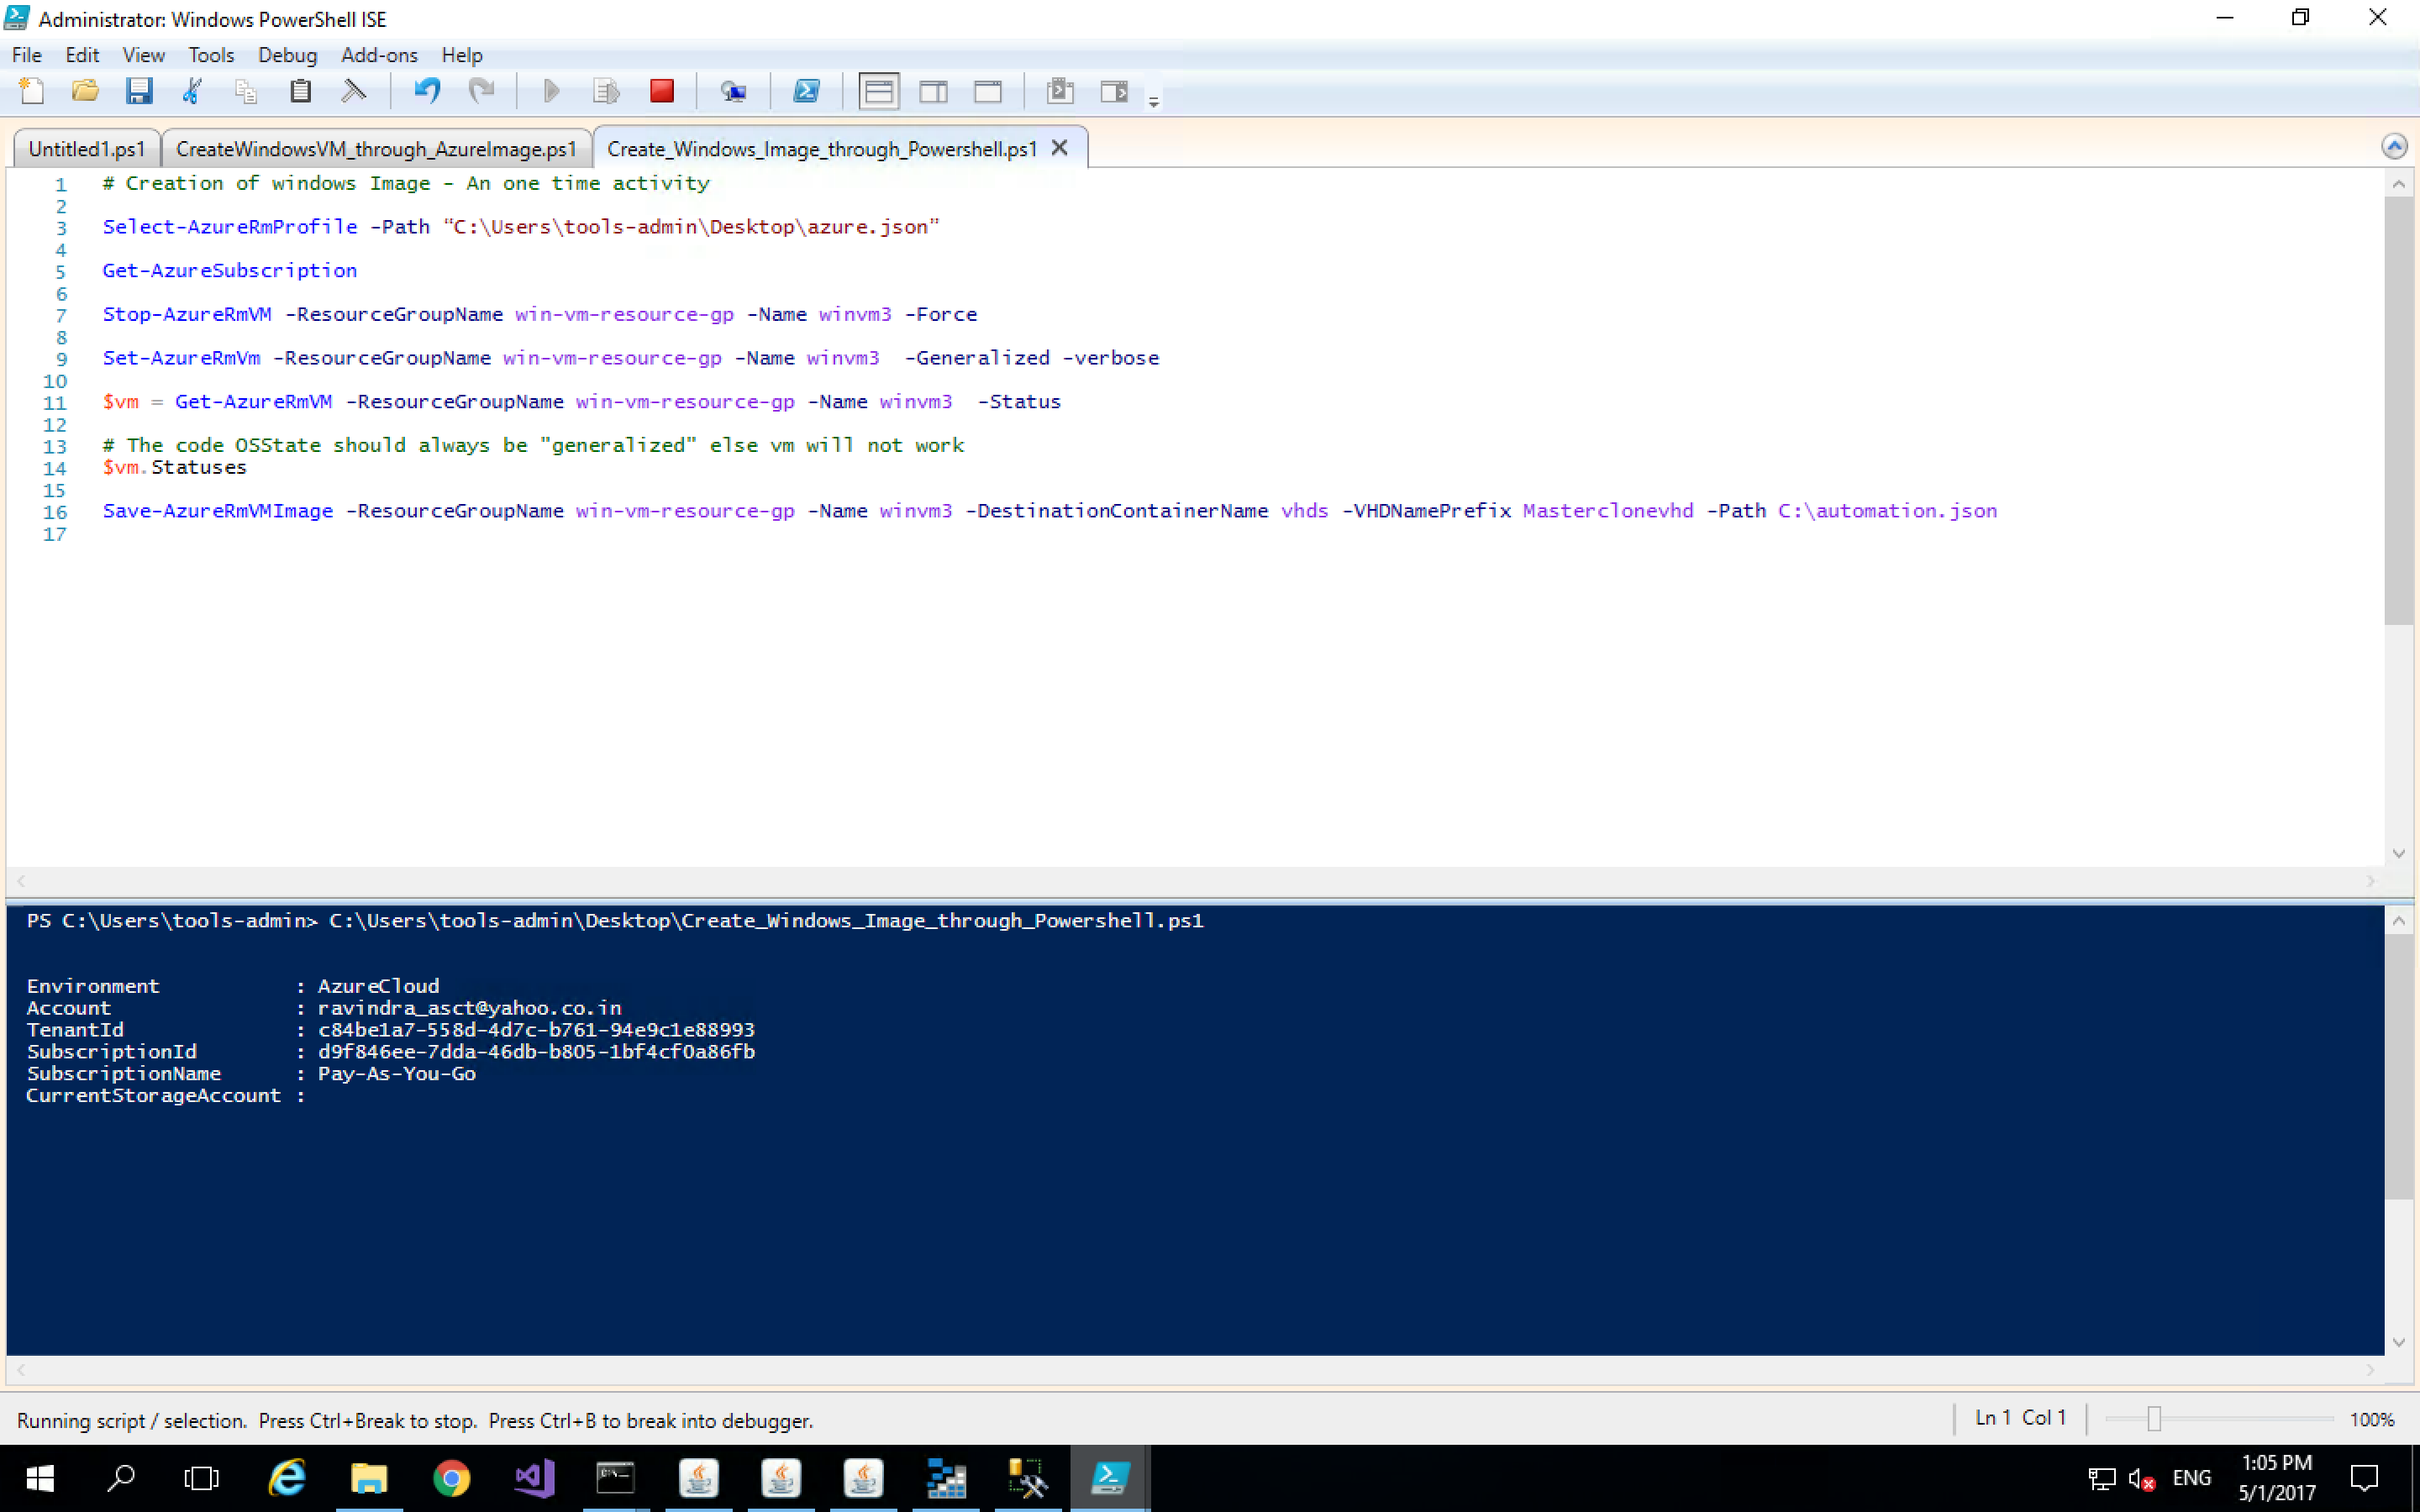
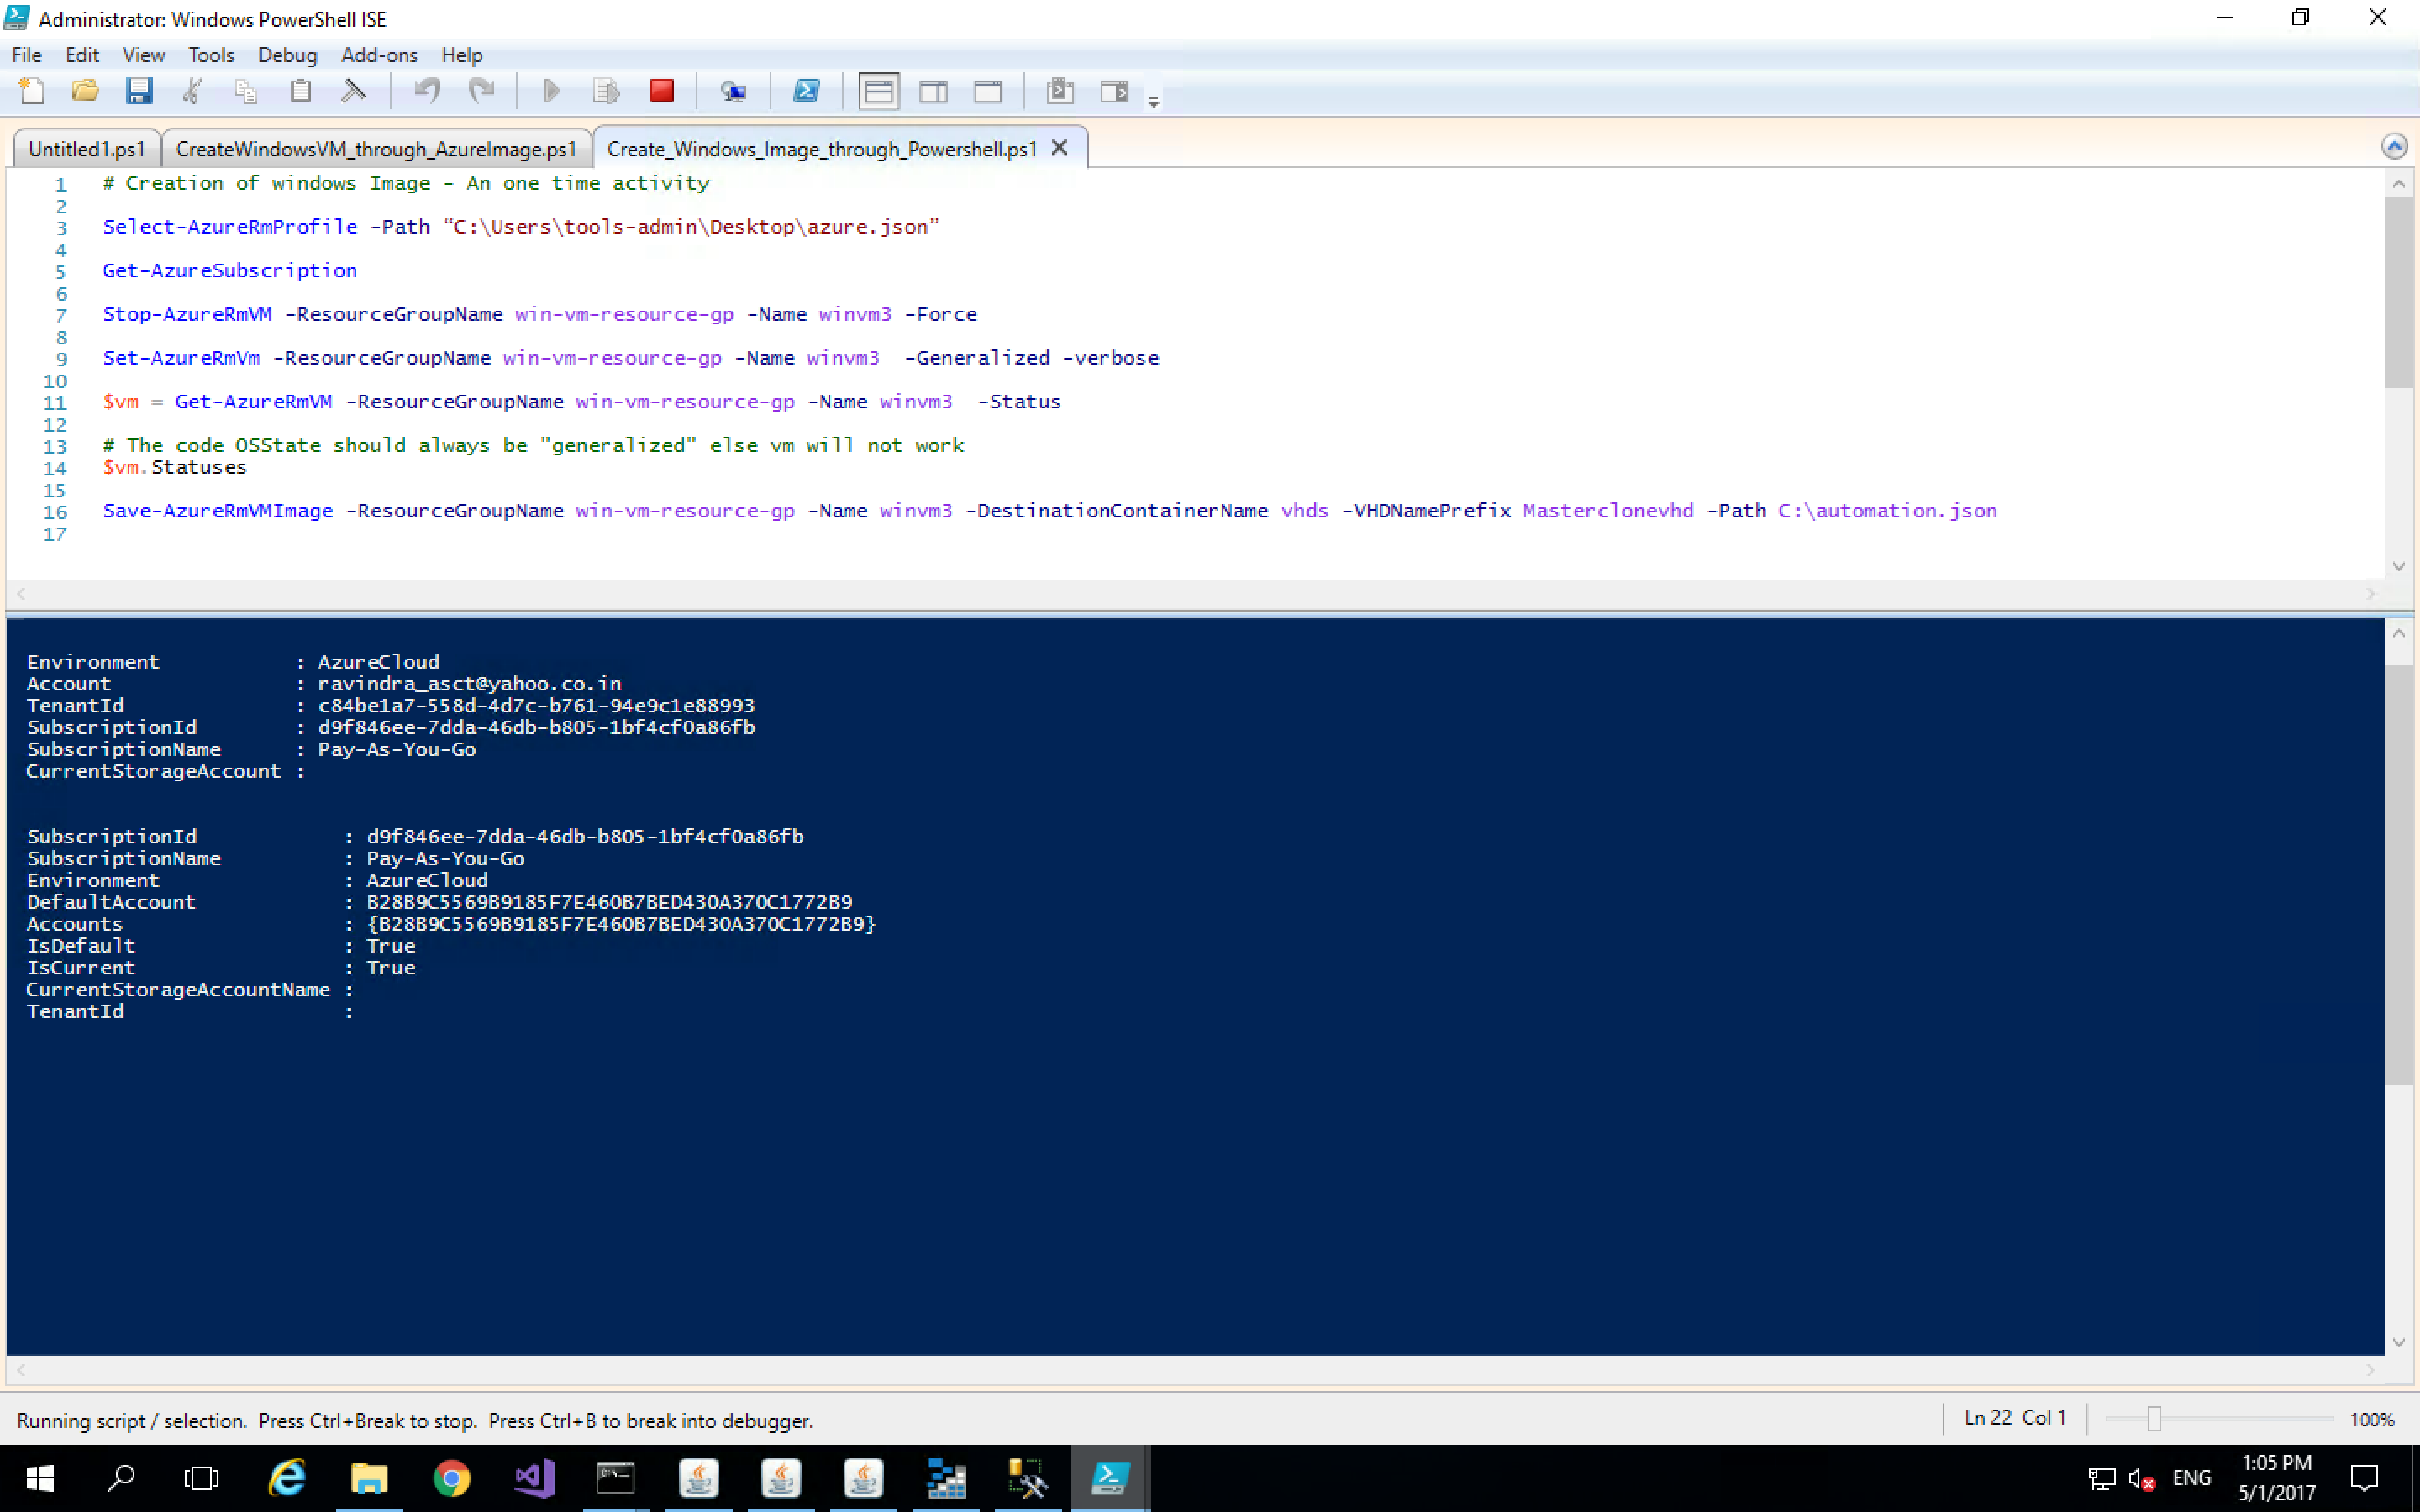
Script is running ….Please Wait ….

You can now get the image name from the Storage Explorer.
I have used “win-vm-resource-gp” as Resource Group name – You can define yours
I have given Destination container name as “vhds” and Prefixed the Image name with “MasterClonevhd” – You can change it accordingly
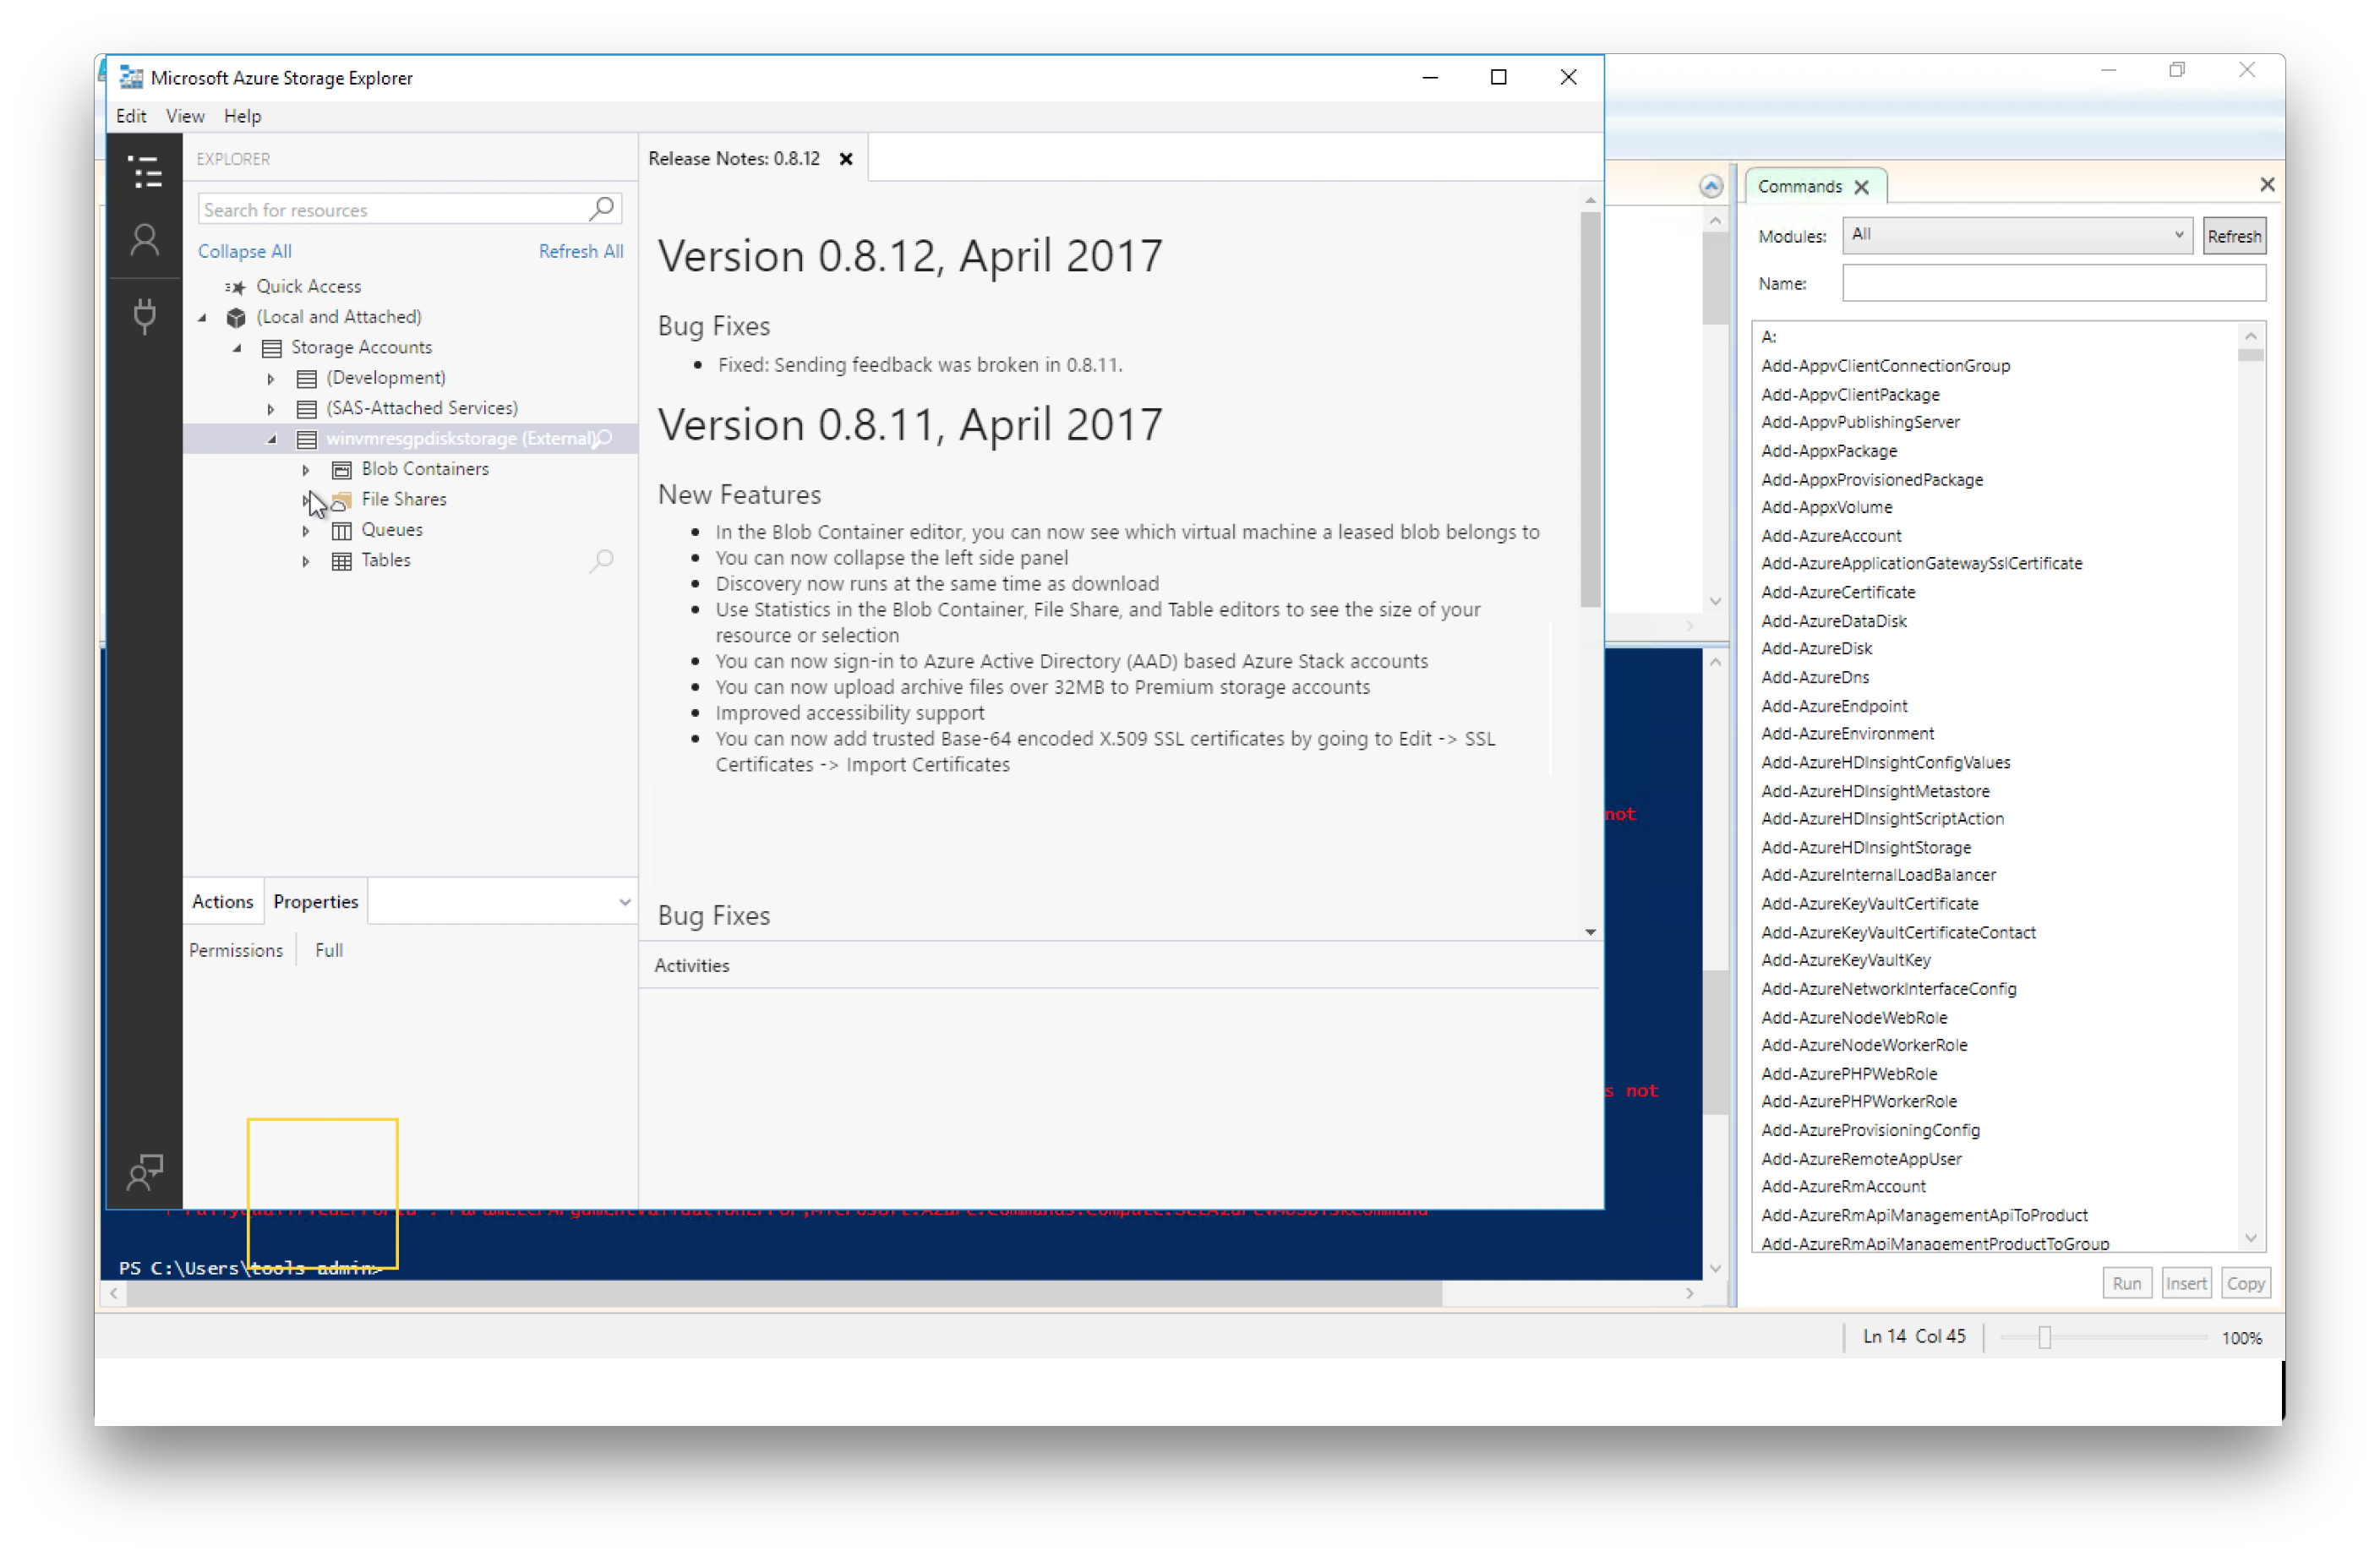
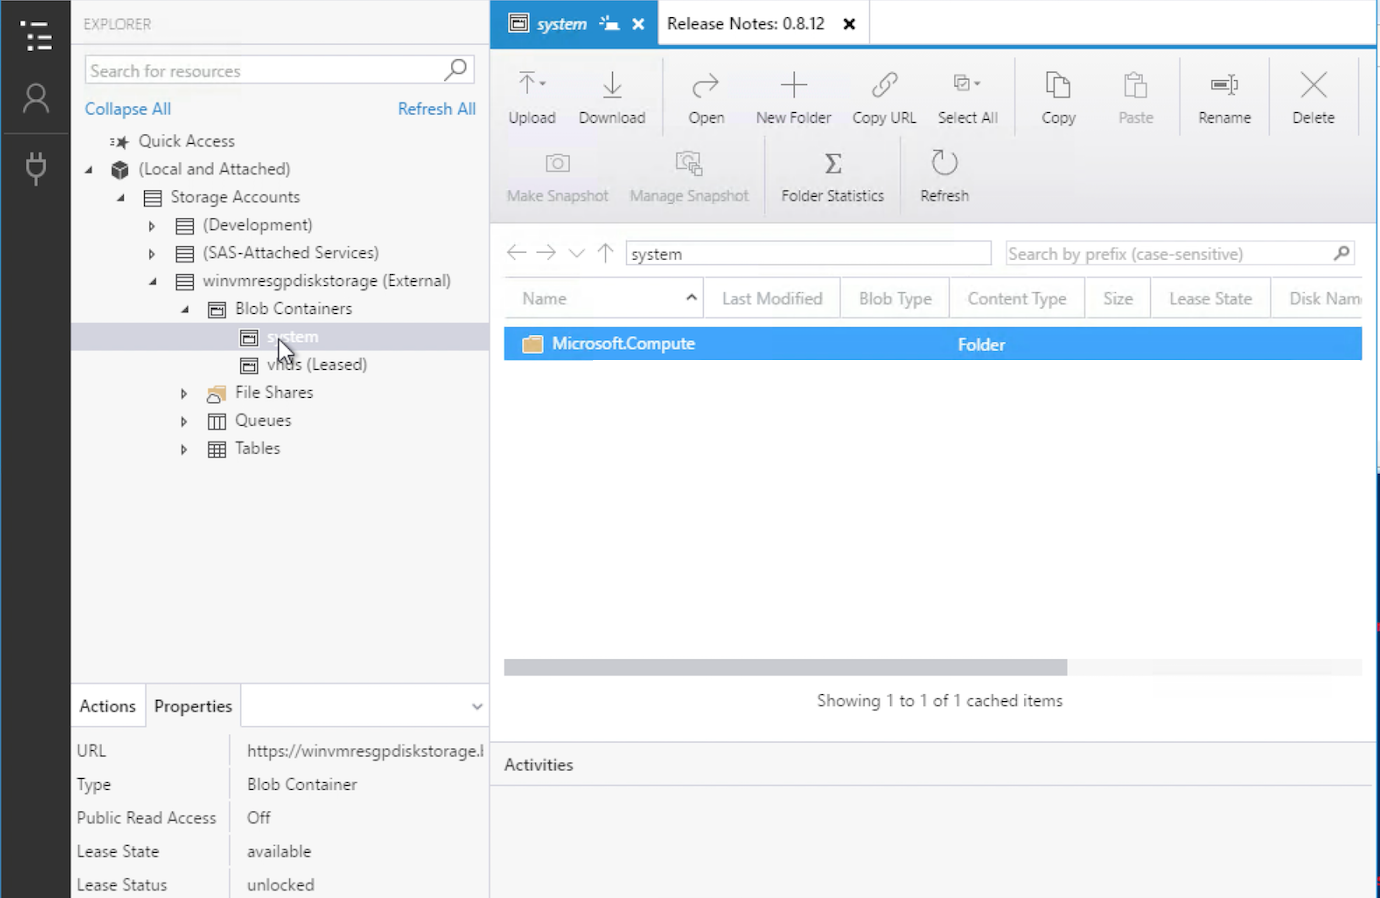
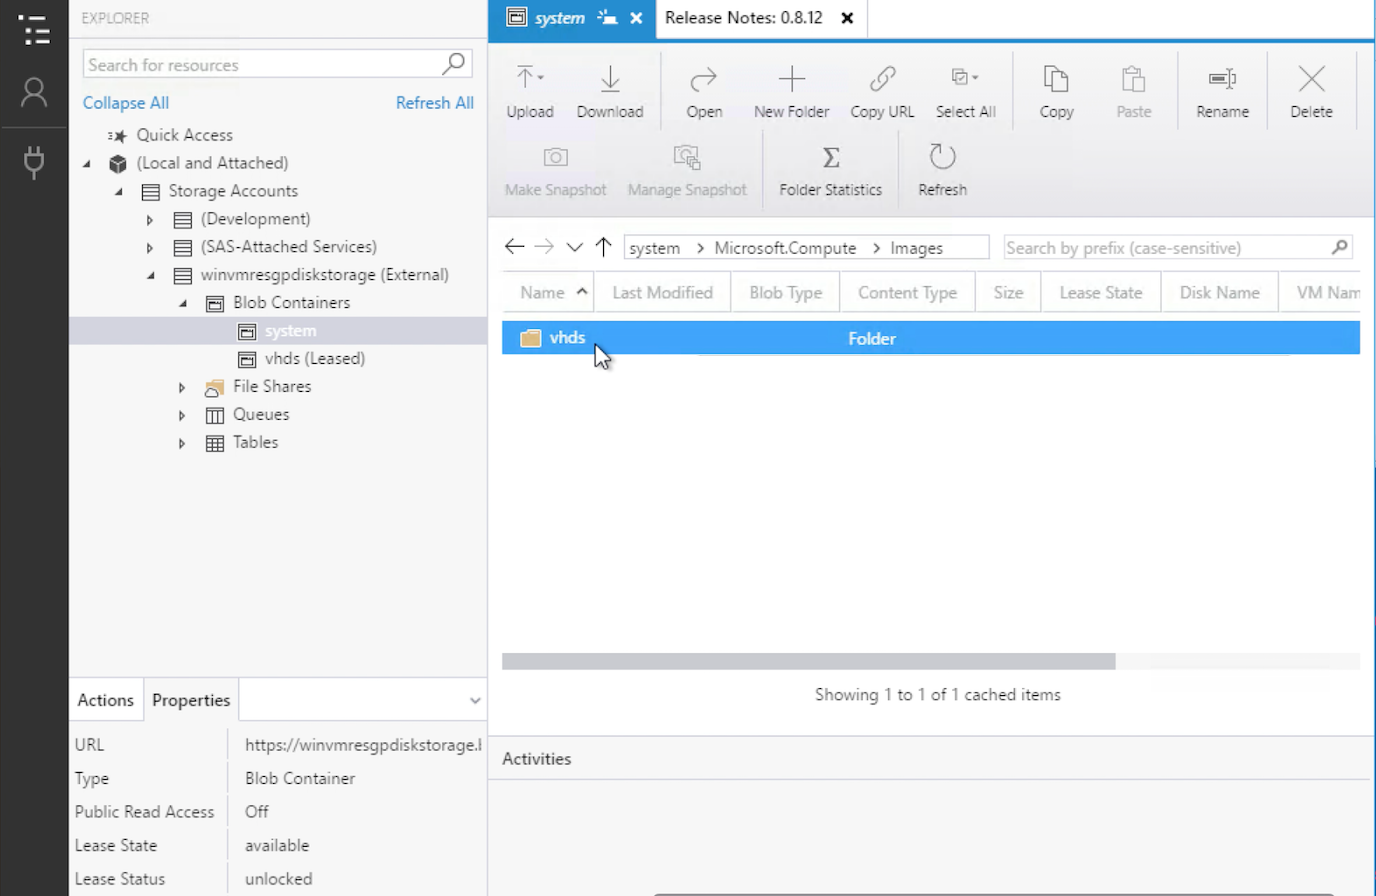
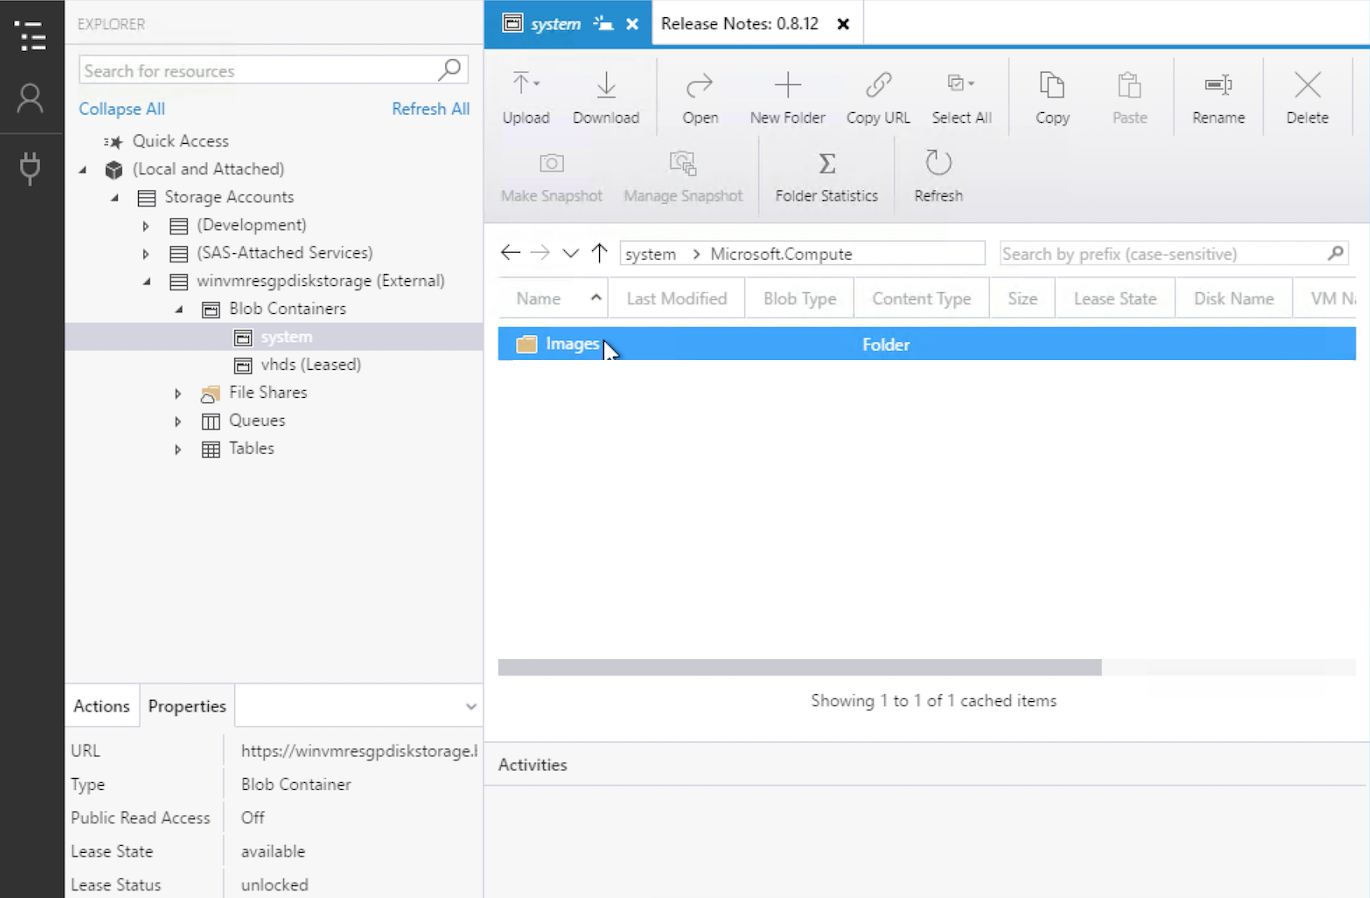
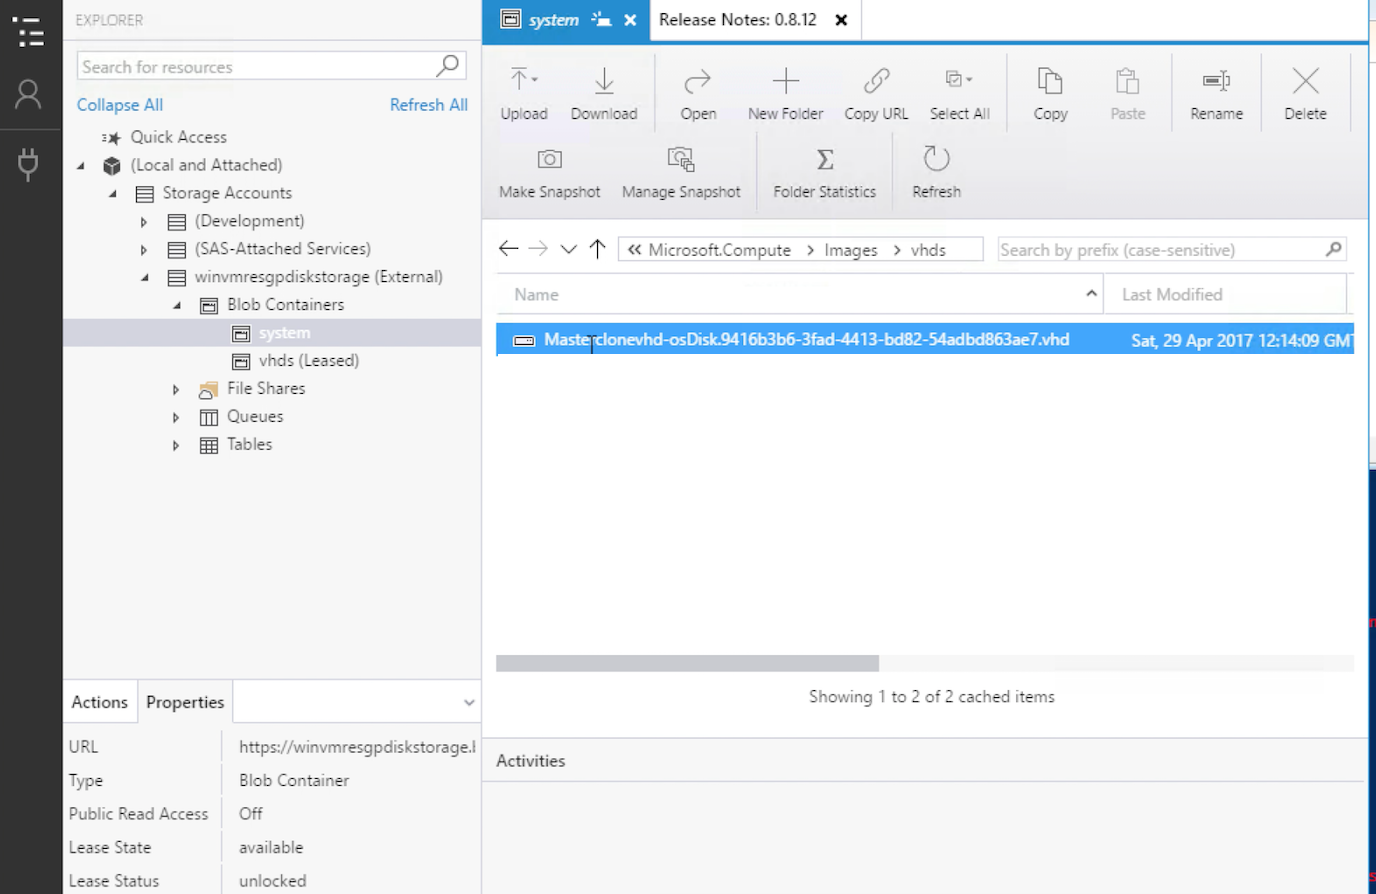
You can then click on “Copy URL” after selecting the image to get the Image URI
You can also check the “Properties” of Image :
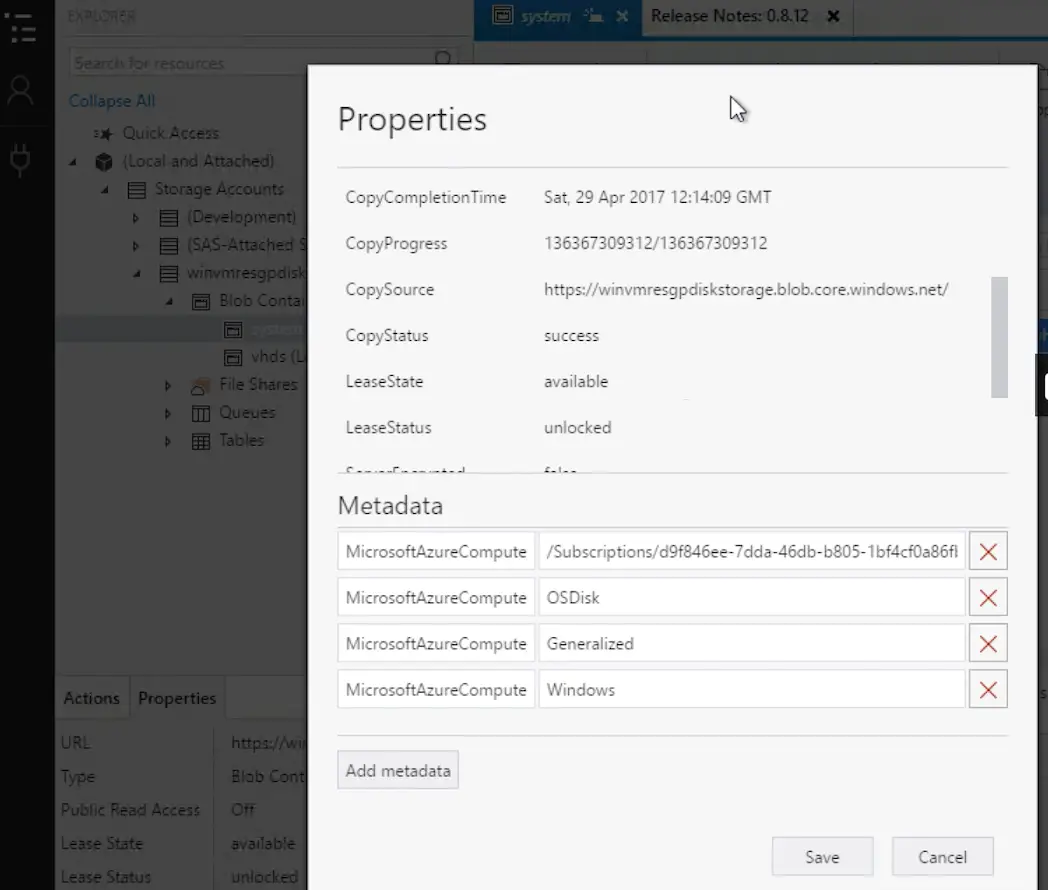
Thats it – You have successfully created an Azure Image from another VM 🙂
If you do not have such requirement to create the VM image through command line and would like to go with normal approach with Azure GUI Dashboard, then Azure has already published the document on Capture an image of an Azure Windows virtual machine created with the classic deployment model.
Hope you enjoyed our article, In the next article we will create a Azure VM through this Azure Image.
