
Jenkins : One of the leading and most popular CI/CD tool which is currently used in most of the organisations because of its simplicity, flexibility and lot many features like ease-of-use, extensibility, cross-platforms-working, etc
The best thing about Jenkins is that its an Open-Source tool, that means you don’t have to worry about managing licenses, arranging project funds to buy it.
There are thousands of plugins developed to enhance its functionality and capability and the development is still going on by numerous individuals to make and maintain Jenkins as a best CI/CD tool.
You can find an extensive list of jenkins plugins @ https://wiki.jenkins-ci.org/display/JENKINS/Plugins
Now, lets try to install and configure Jenkins on Centos Linux 7 (Assuming you have a internet access from your linux machine, else you can follow the manual installation which is described in jenkins-ci.org)
Please note that Jenkins requires Java 7 or above. As per jenkins-ci.org, Java8 is recommended.
Jenkins also requires a fair amount of memory to operate flawlessly. Smaller installations should start around 256MB-1GB.
The first step is to setup the yum repository
To install a stable release – type
sudo wget -O /etc/yum.repos.d/jenkins.repo http://pkg.jenkins-ci.org/redhat-stable/jenkins.repo
or to install the latest release – type
sudo wget -O /etc/yum.repos.d/jenkins.repo http://pkg.jenkins-ci.org/redhat/jenkins.repo
Once you place the jenkins repo inside yum repos, the next step is to import the key, to do that just type
sudo rpm --import https://jenkins-ci.org/redhat/jenkins-ci.org.key
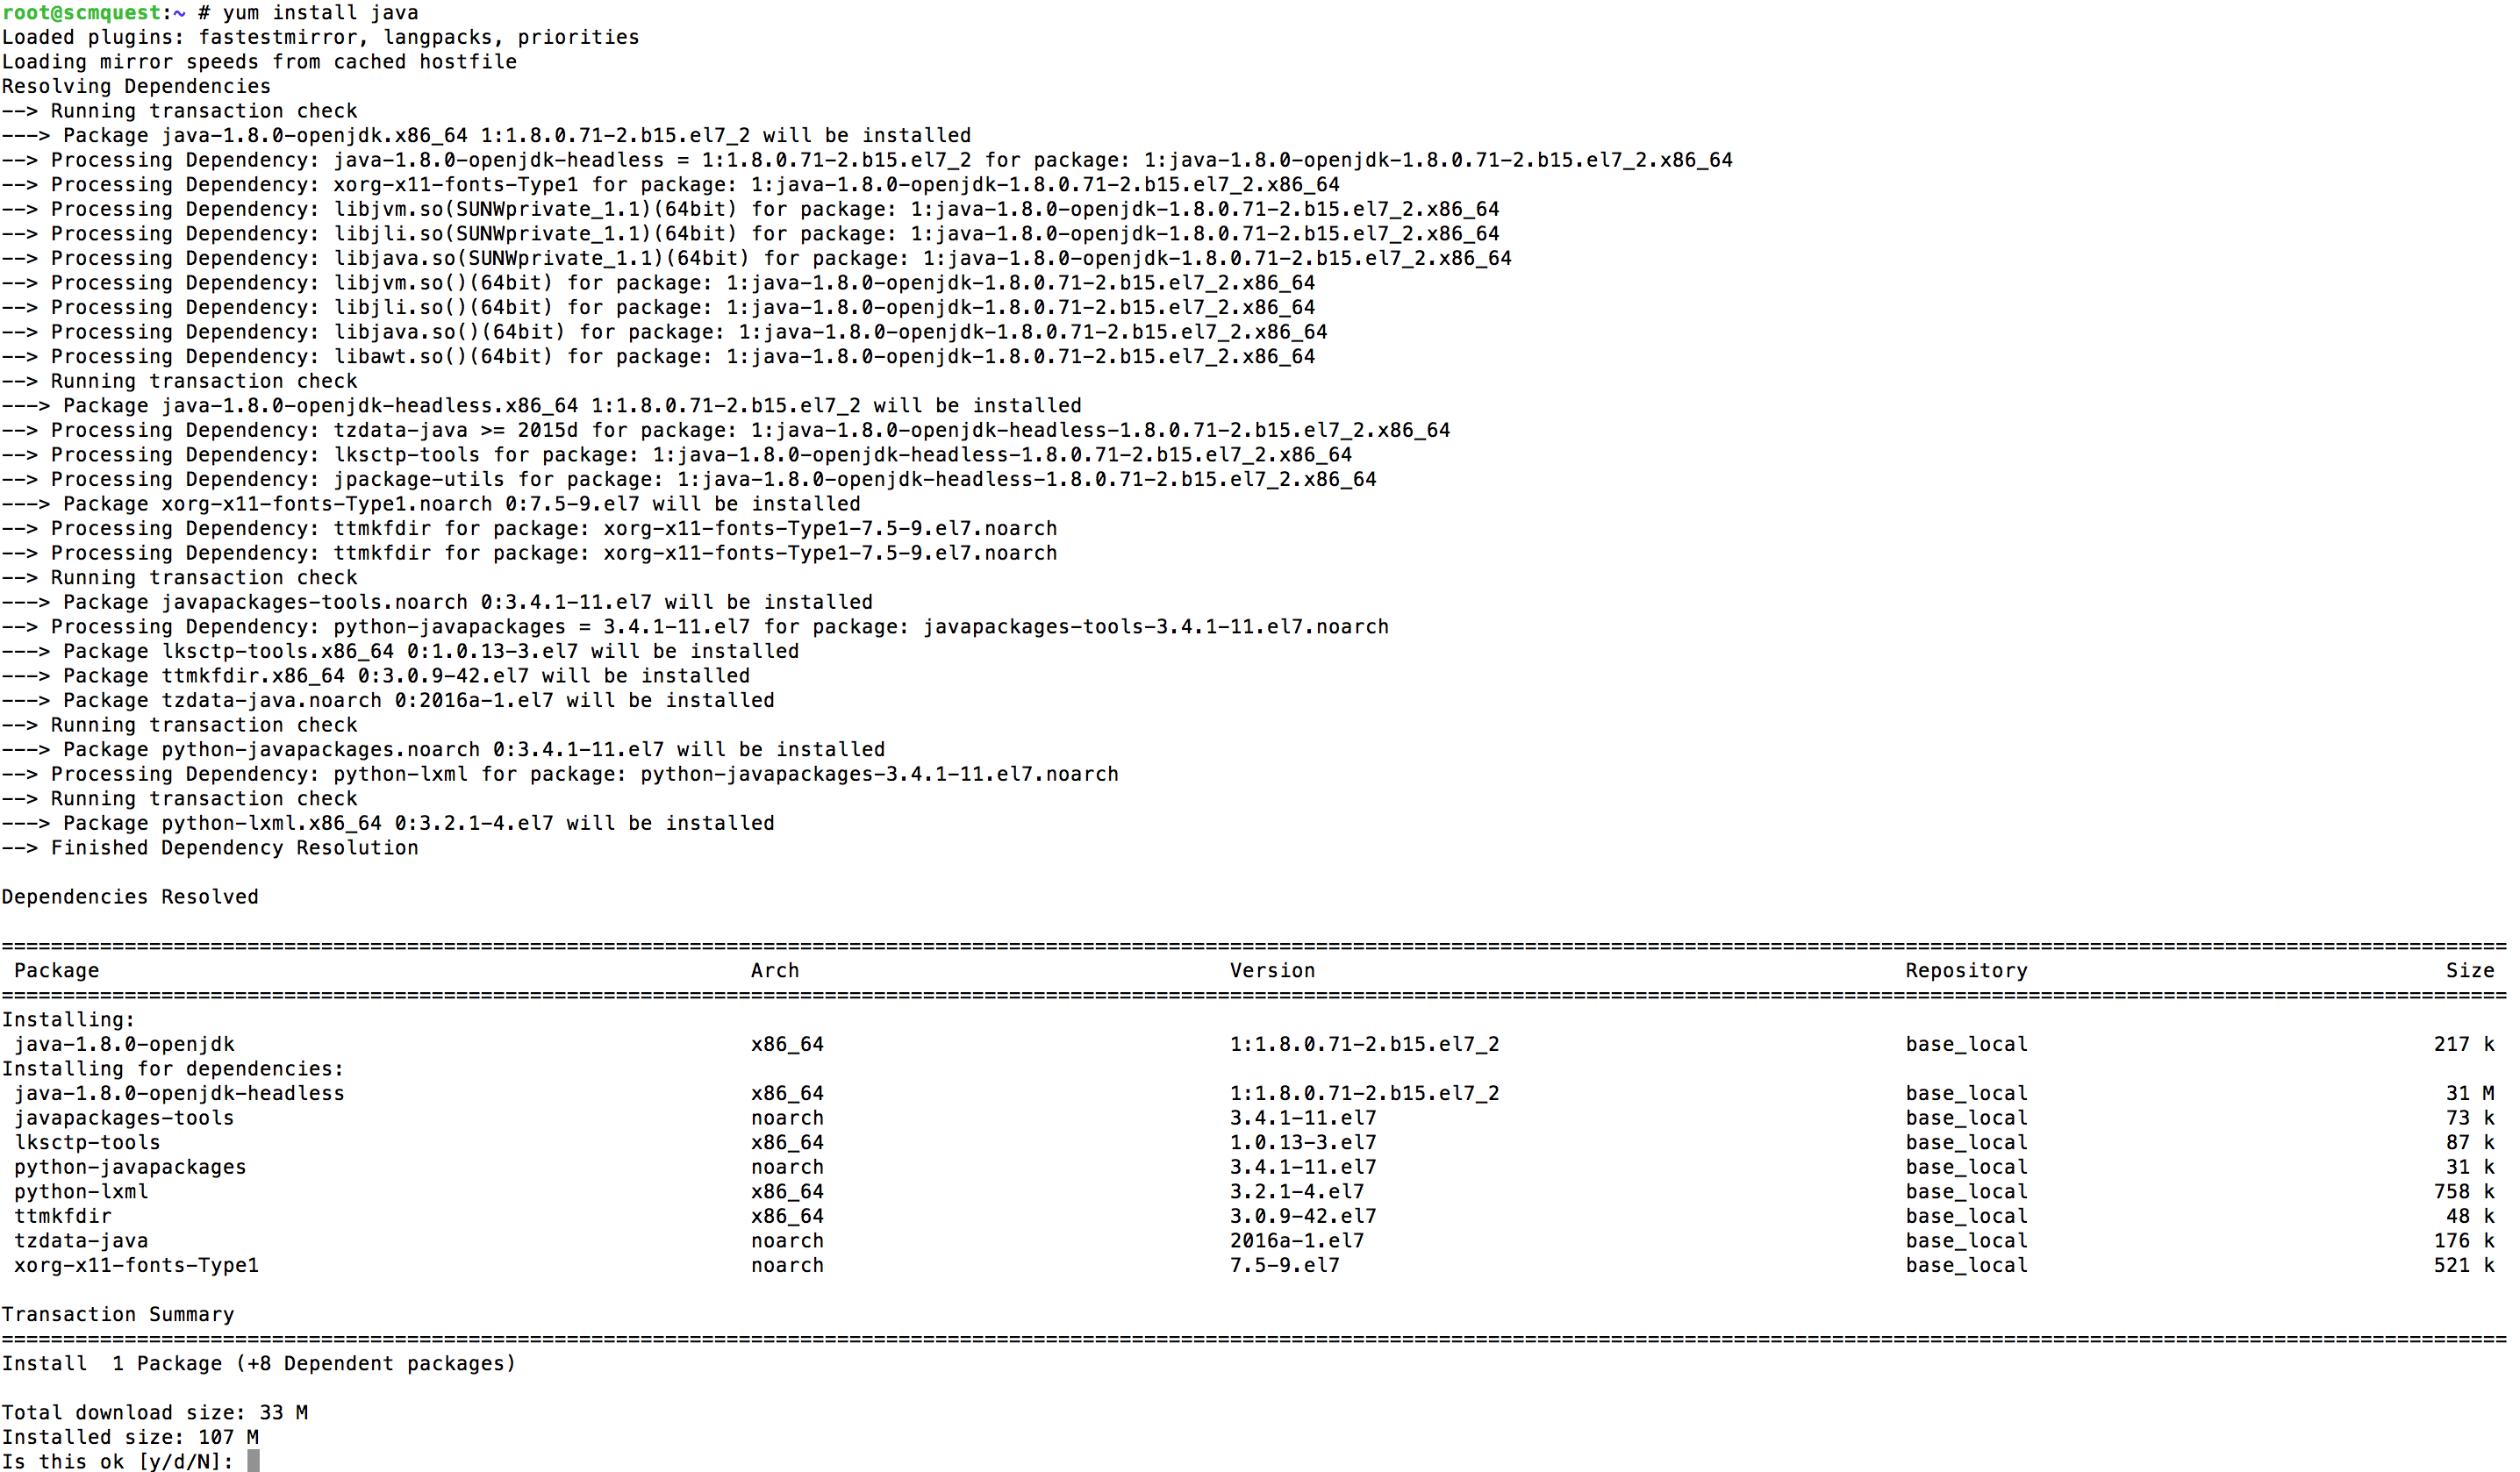
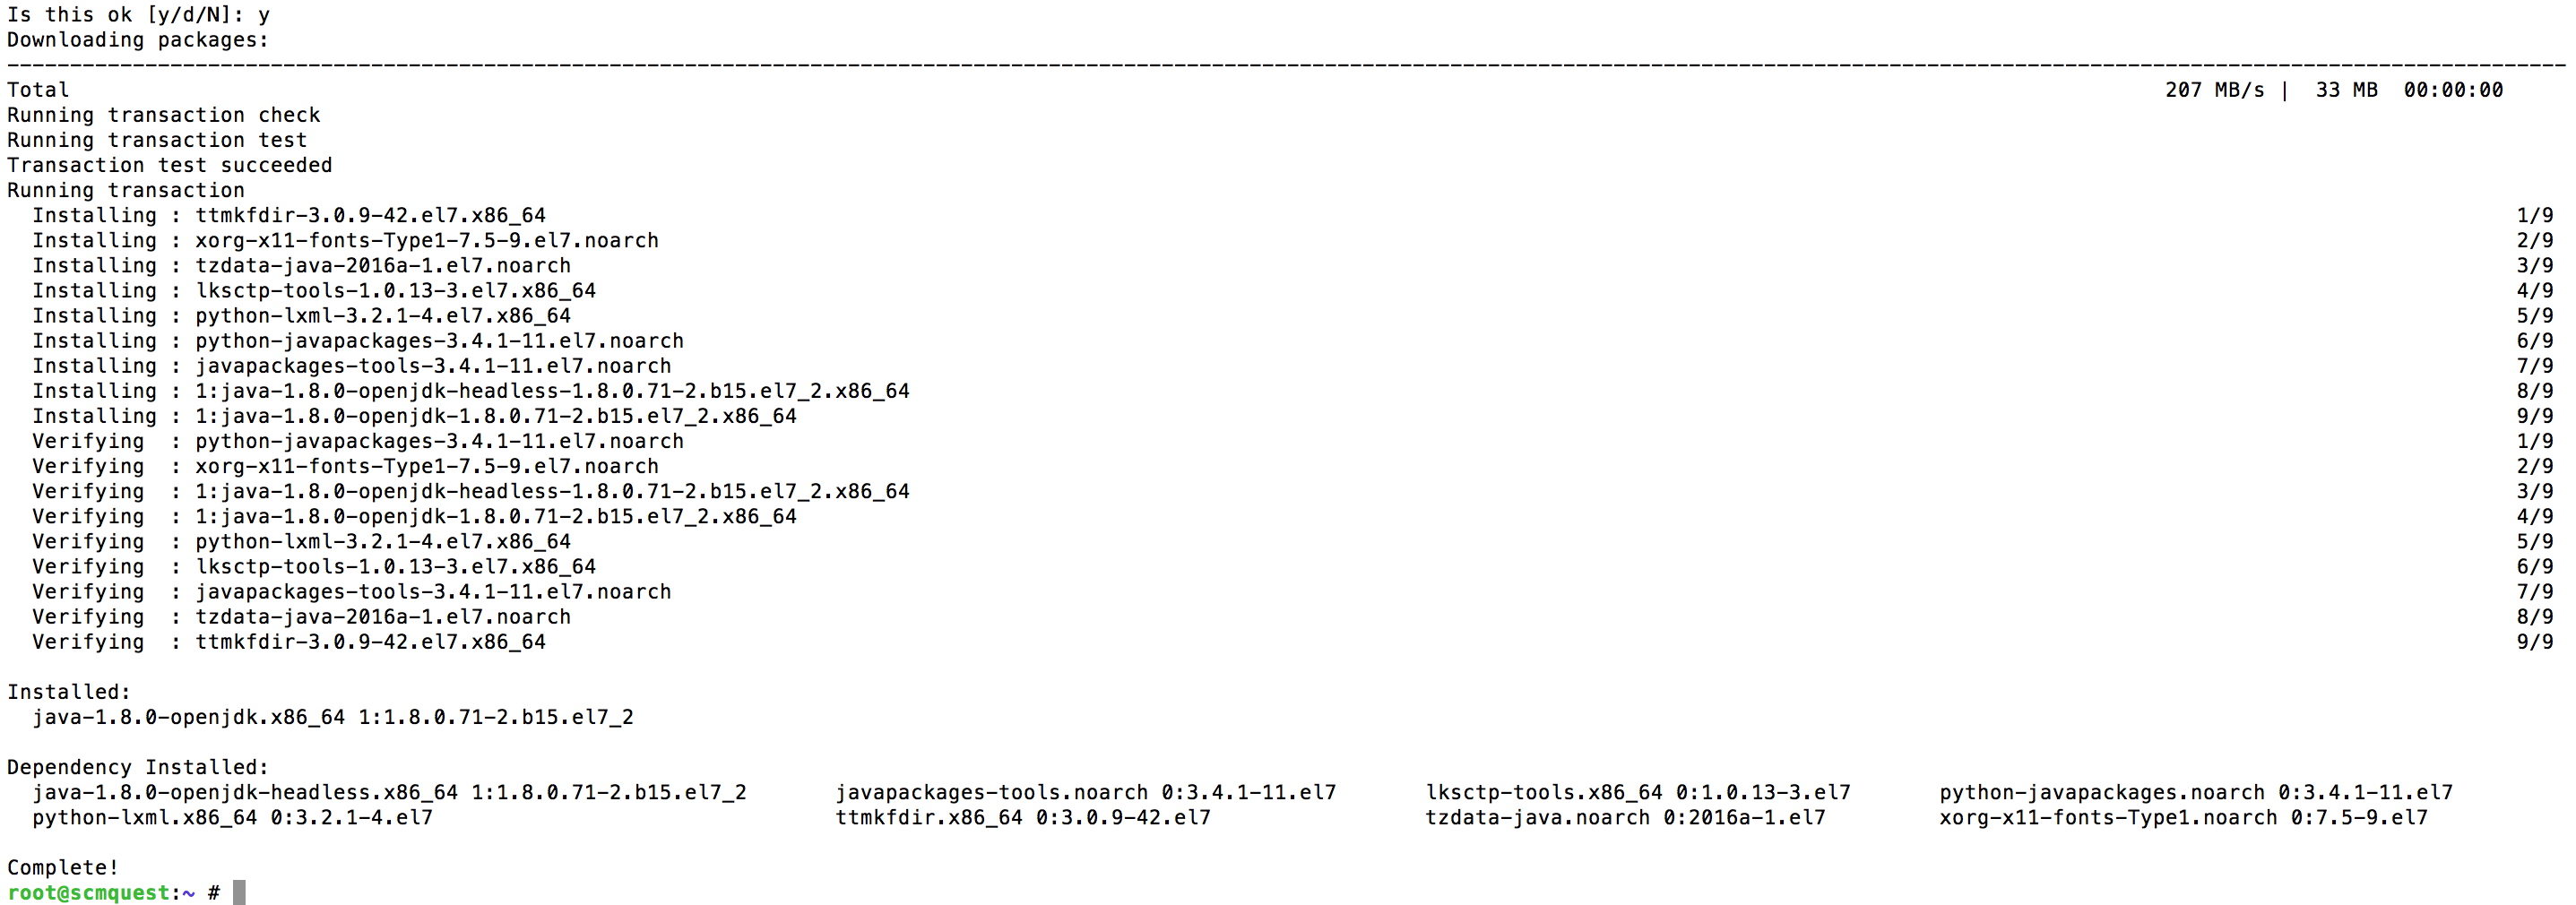
Then install Java through yum
Type ‘y’ to continue
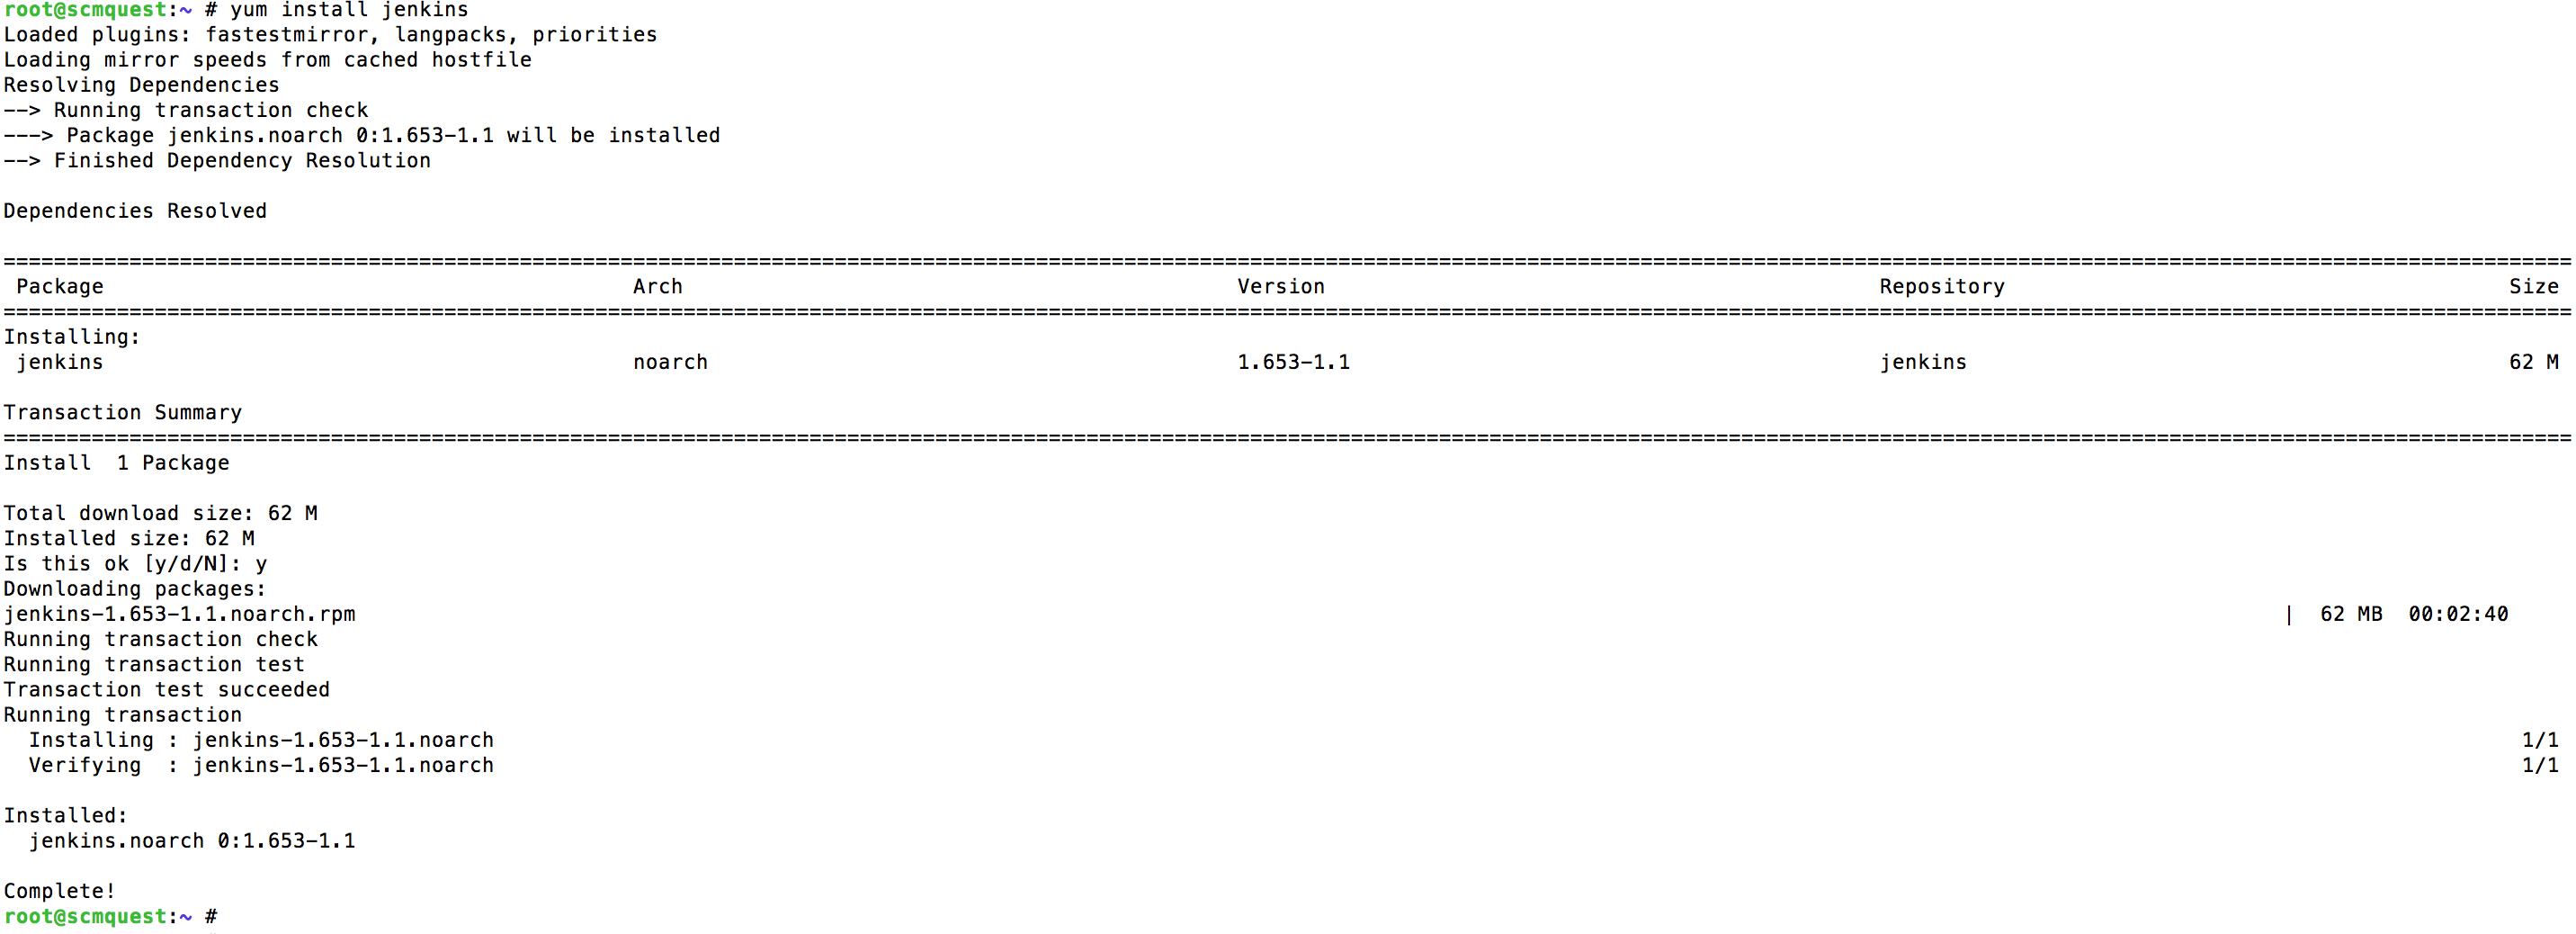
Once done, then install Jenkins through yum
Check and then Start the Jenkins service
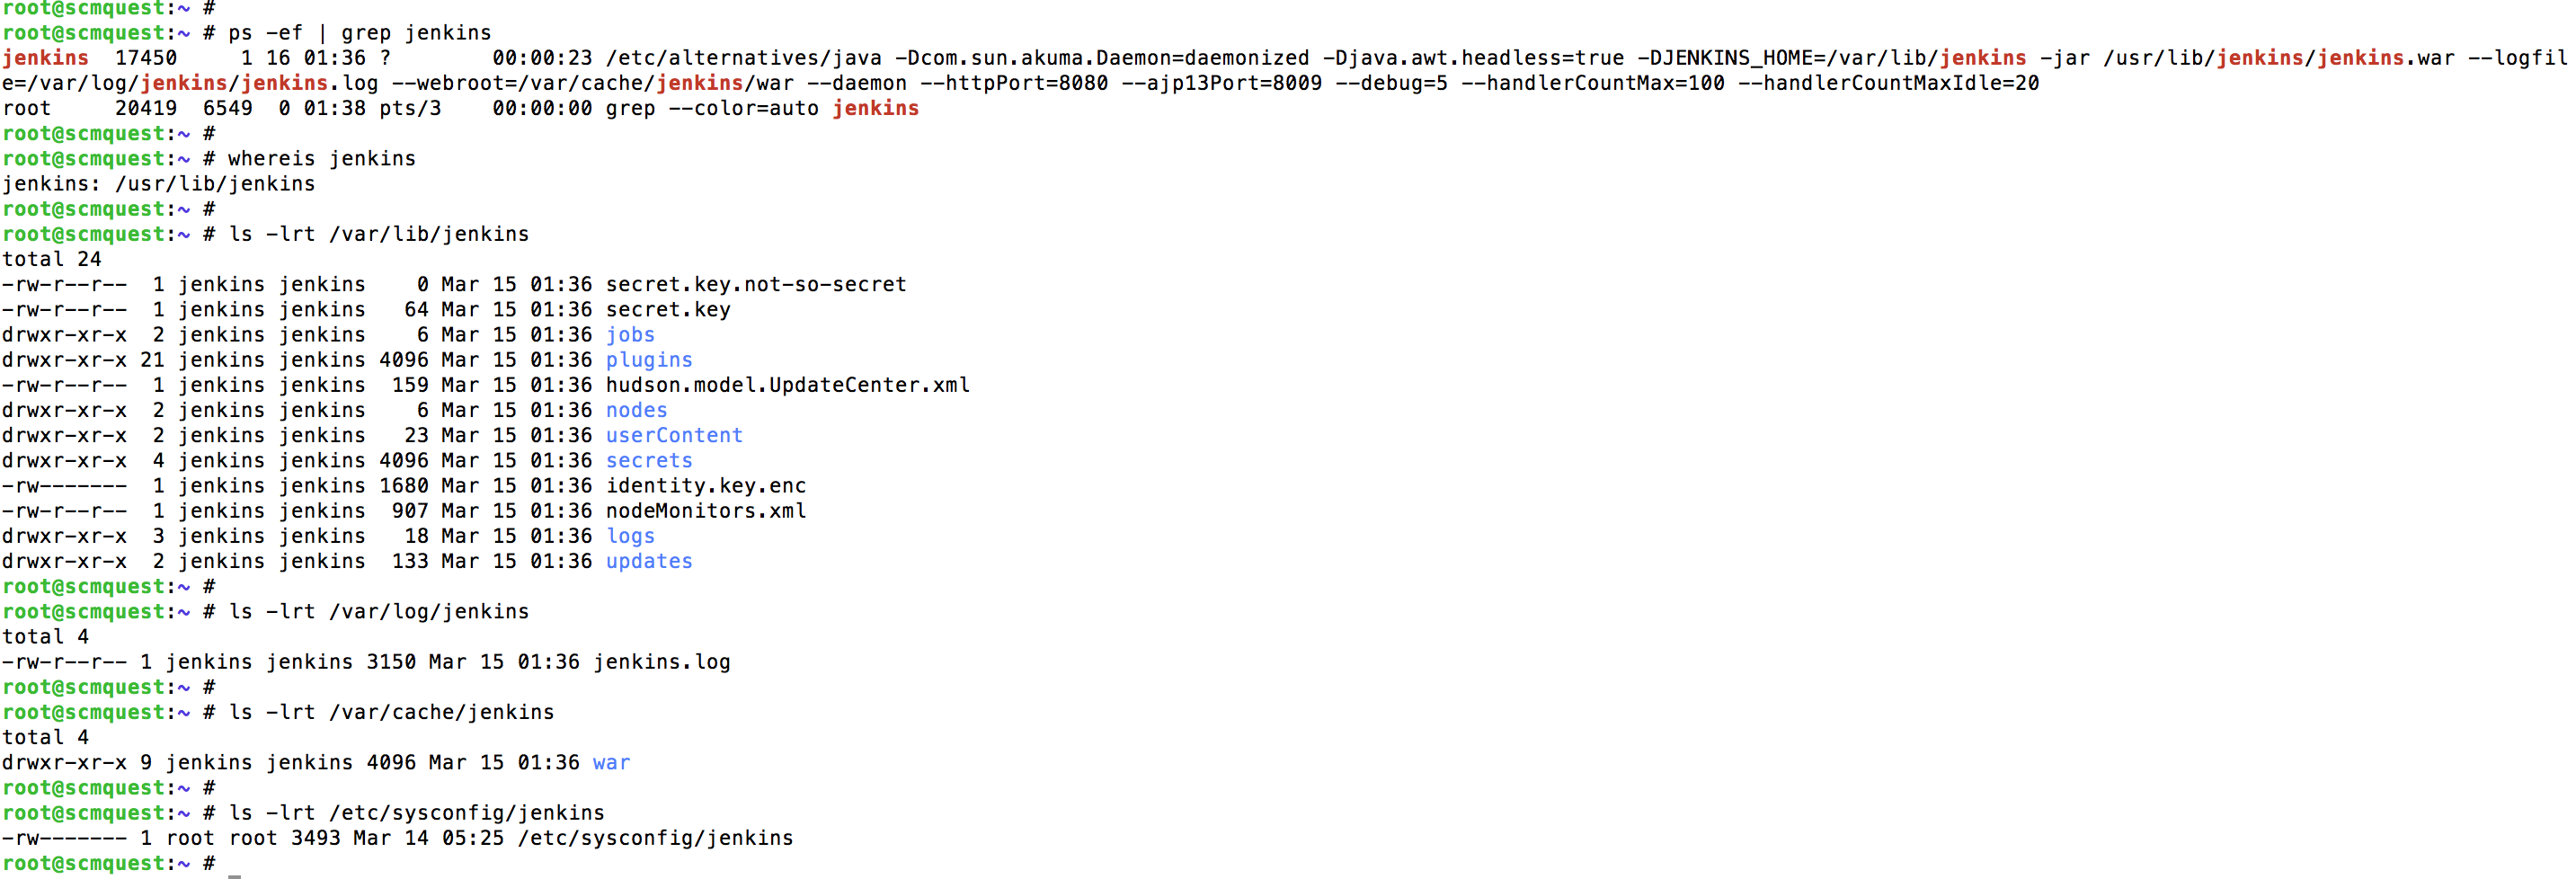
You can then verify Jenkins installation and jenkins process
If everything looks okay, then proceed further and open Jenkins UI.
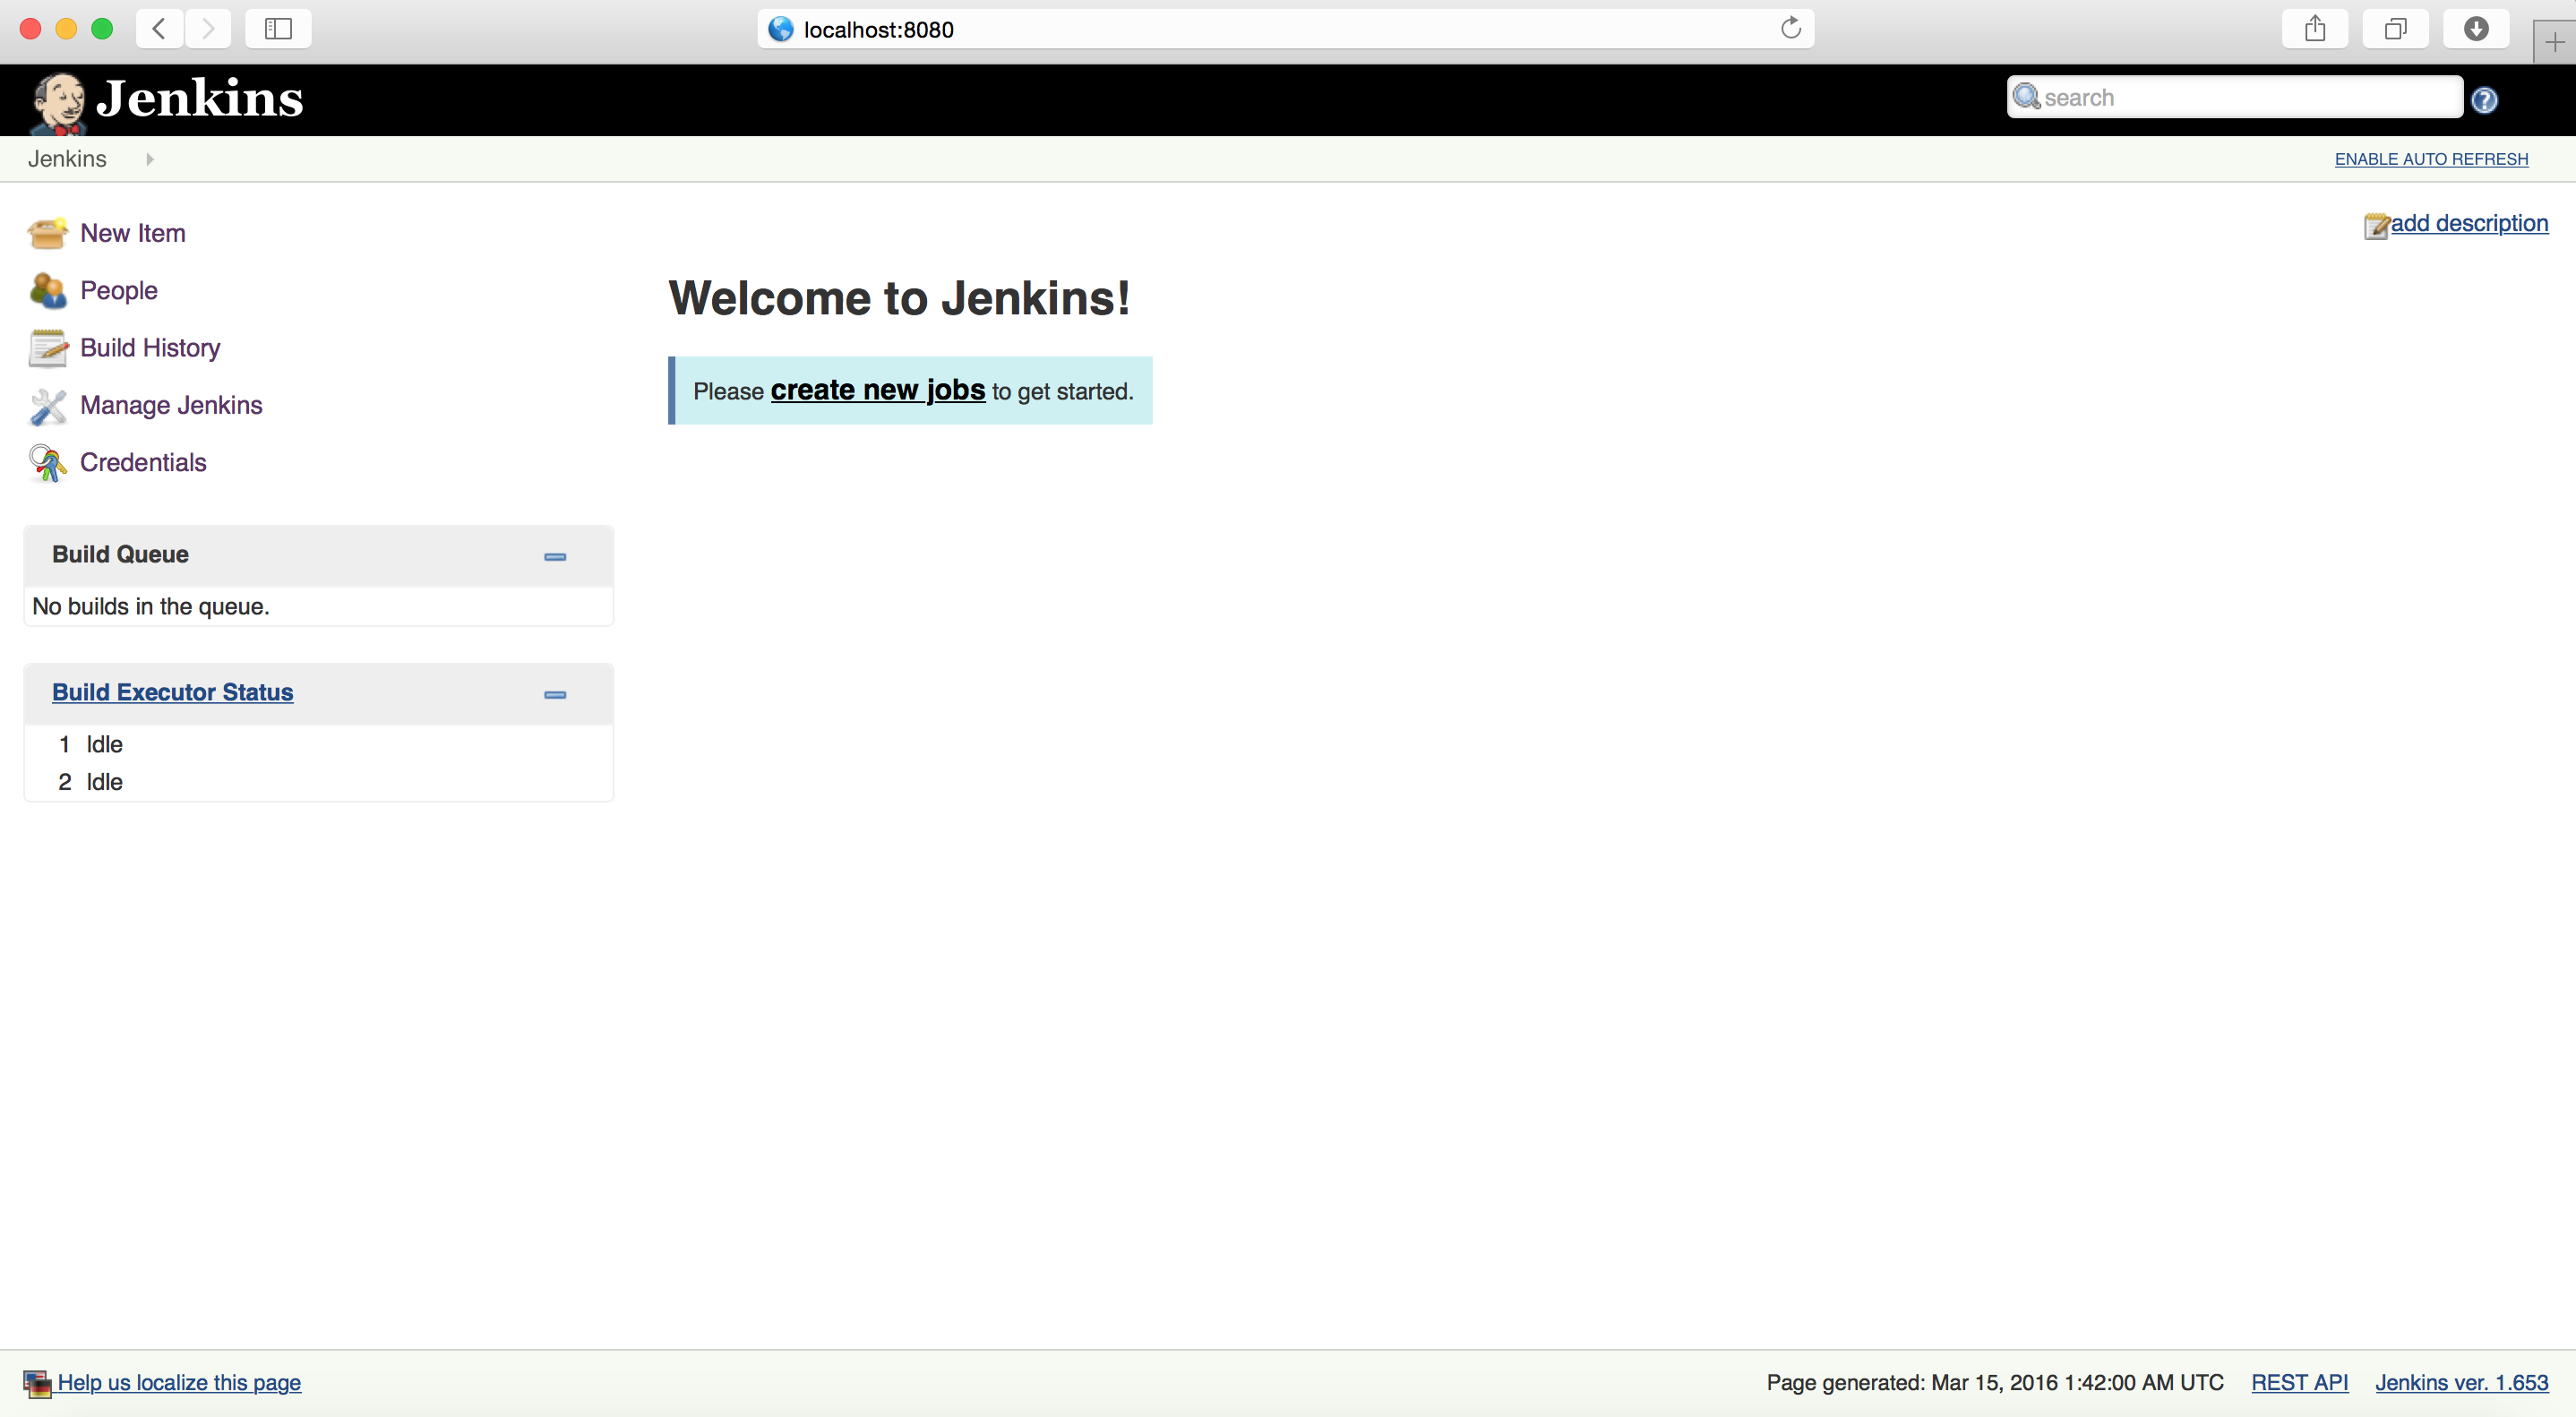
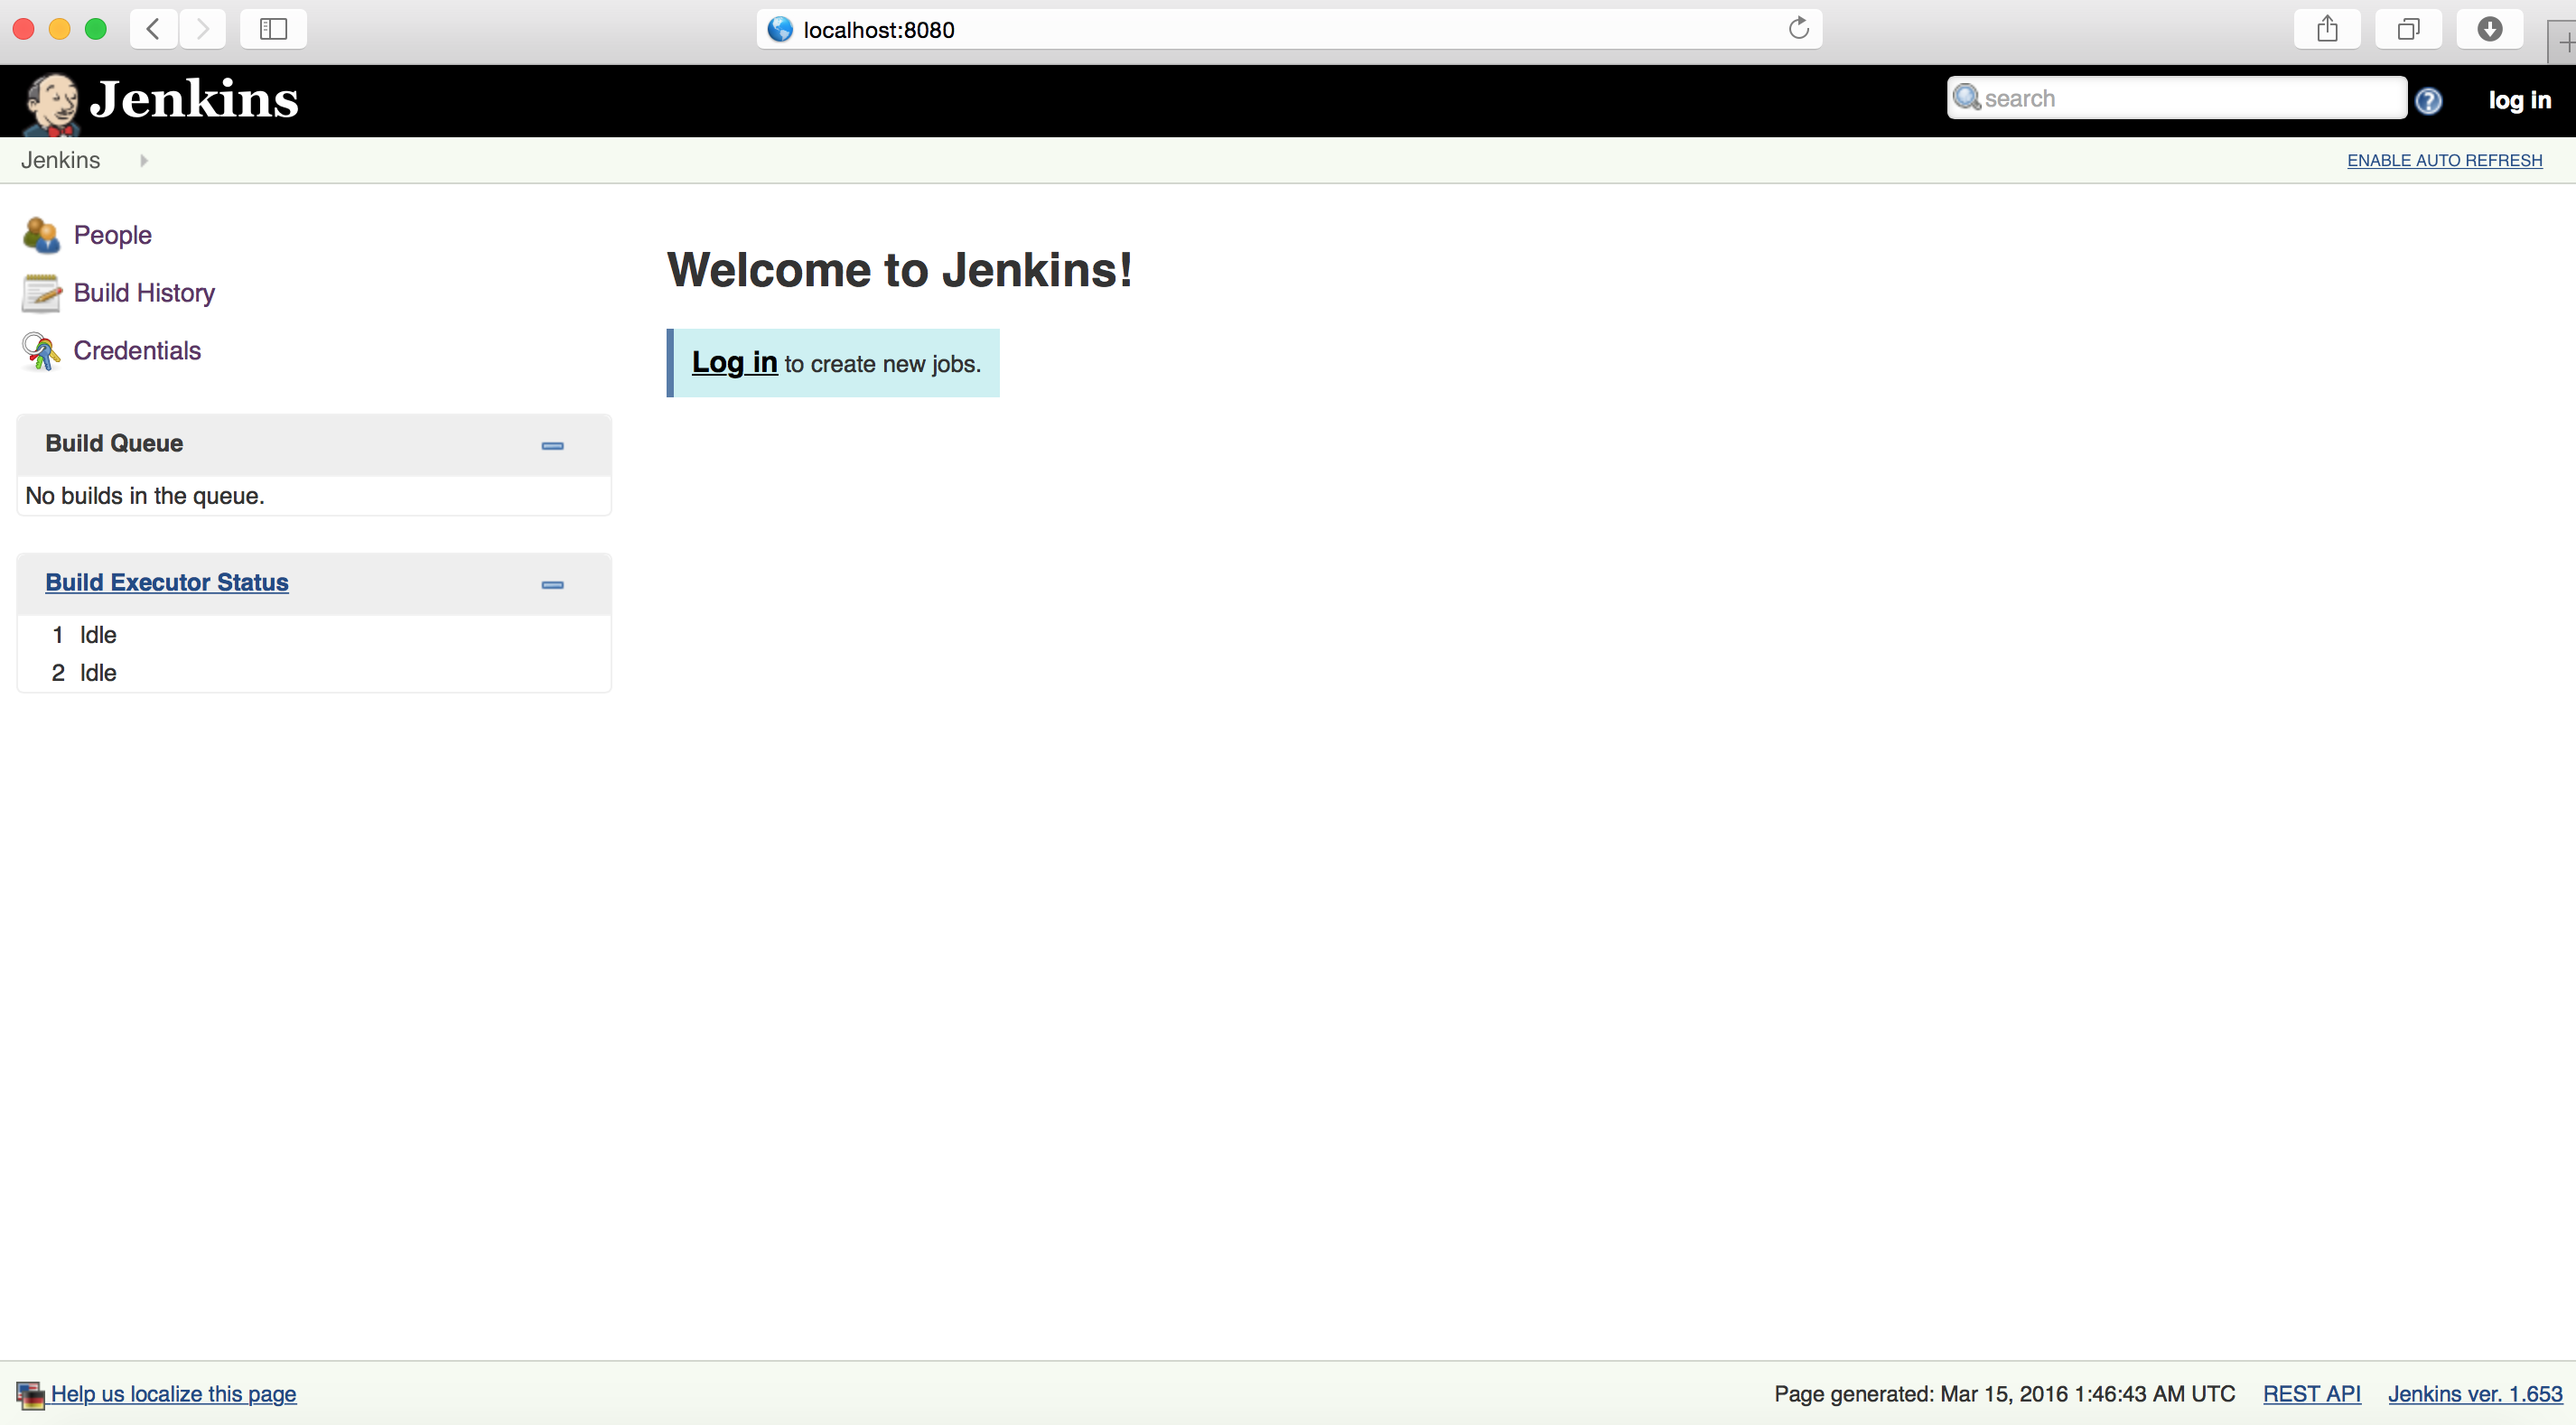
Open Browser and type http://localhost:8080
Jenkins, by default runs on port 8080. You can change the default port to other port by changing the value of below variable in file /etc/sysconfig/jenkins
JENKINS_PORT=”8080″
Note that the built-in firewall may have to be opened to access this port from other computers. (See http://www.cyberciti.biz/faq/disable-linux-firewall-under-centos-rhel-fedora/ for instructions how to disable the firewall permanently)
Now, lets start the jenkins and do the basic configuration.
Once you type the URL, the default jenkins page will open, which is accessible to all the users who have access to your server.
First thing you should configure is your user-id, so that you can restrict others to play with your instance.
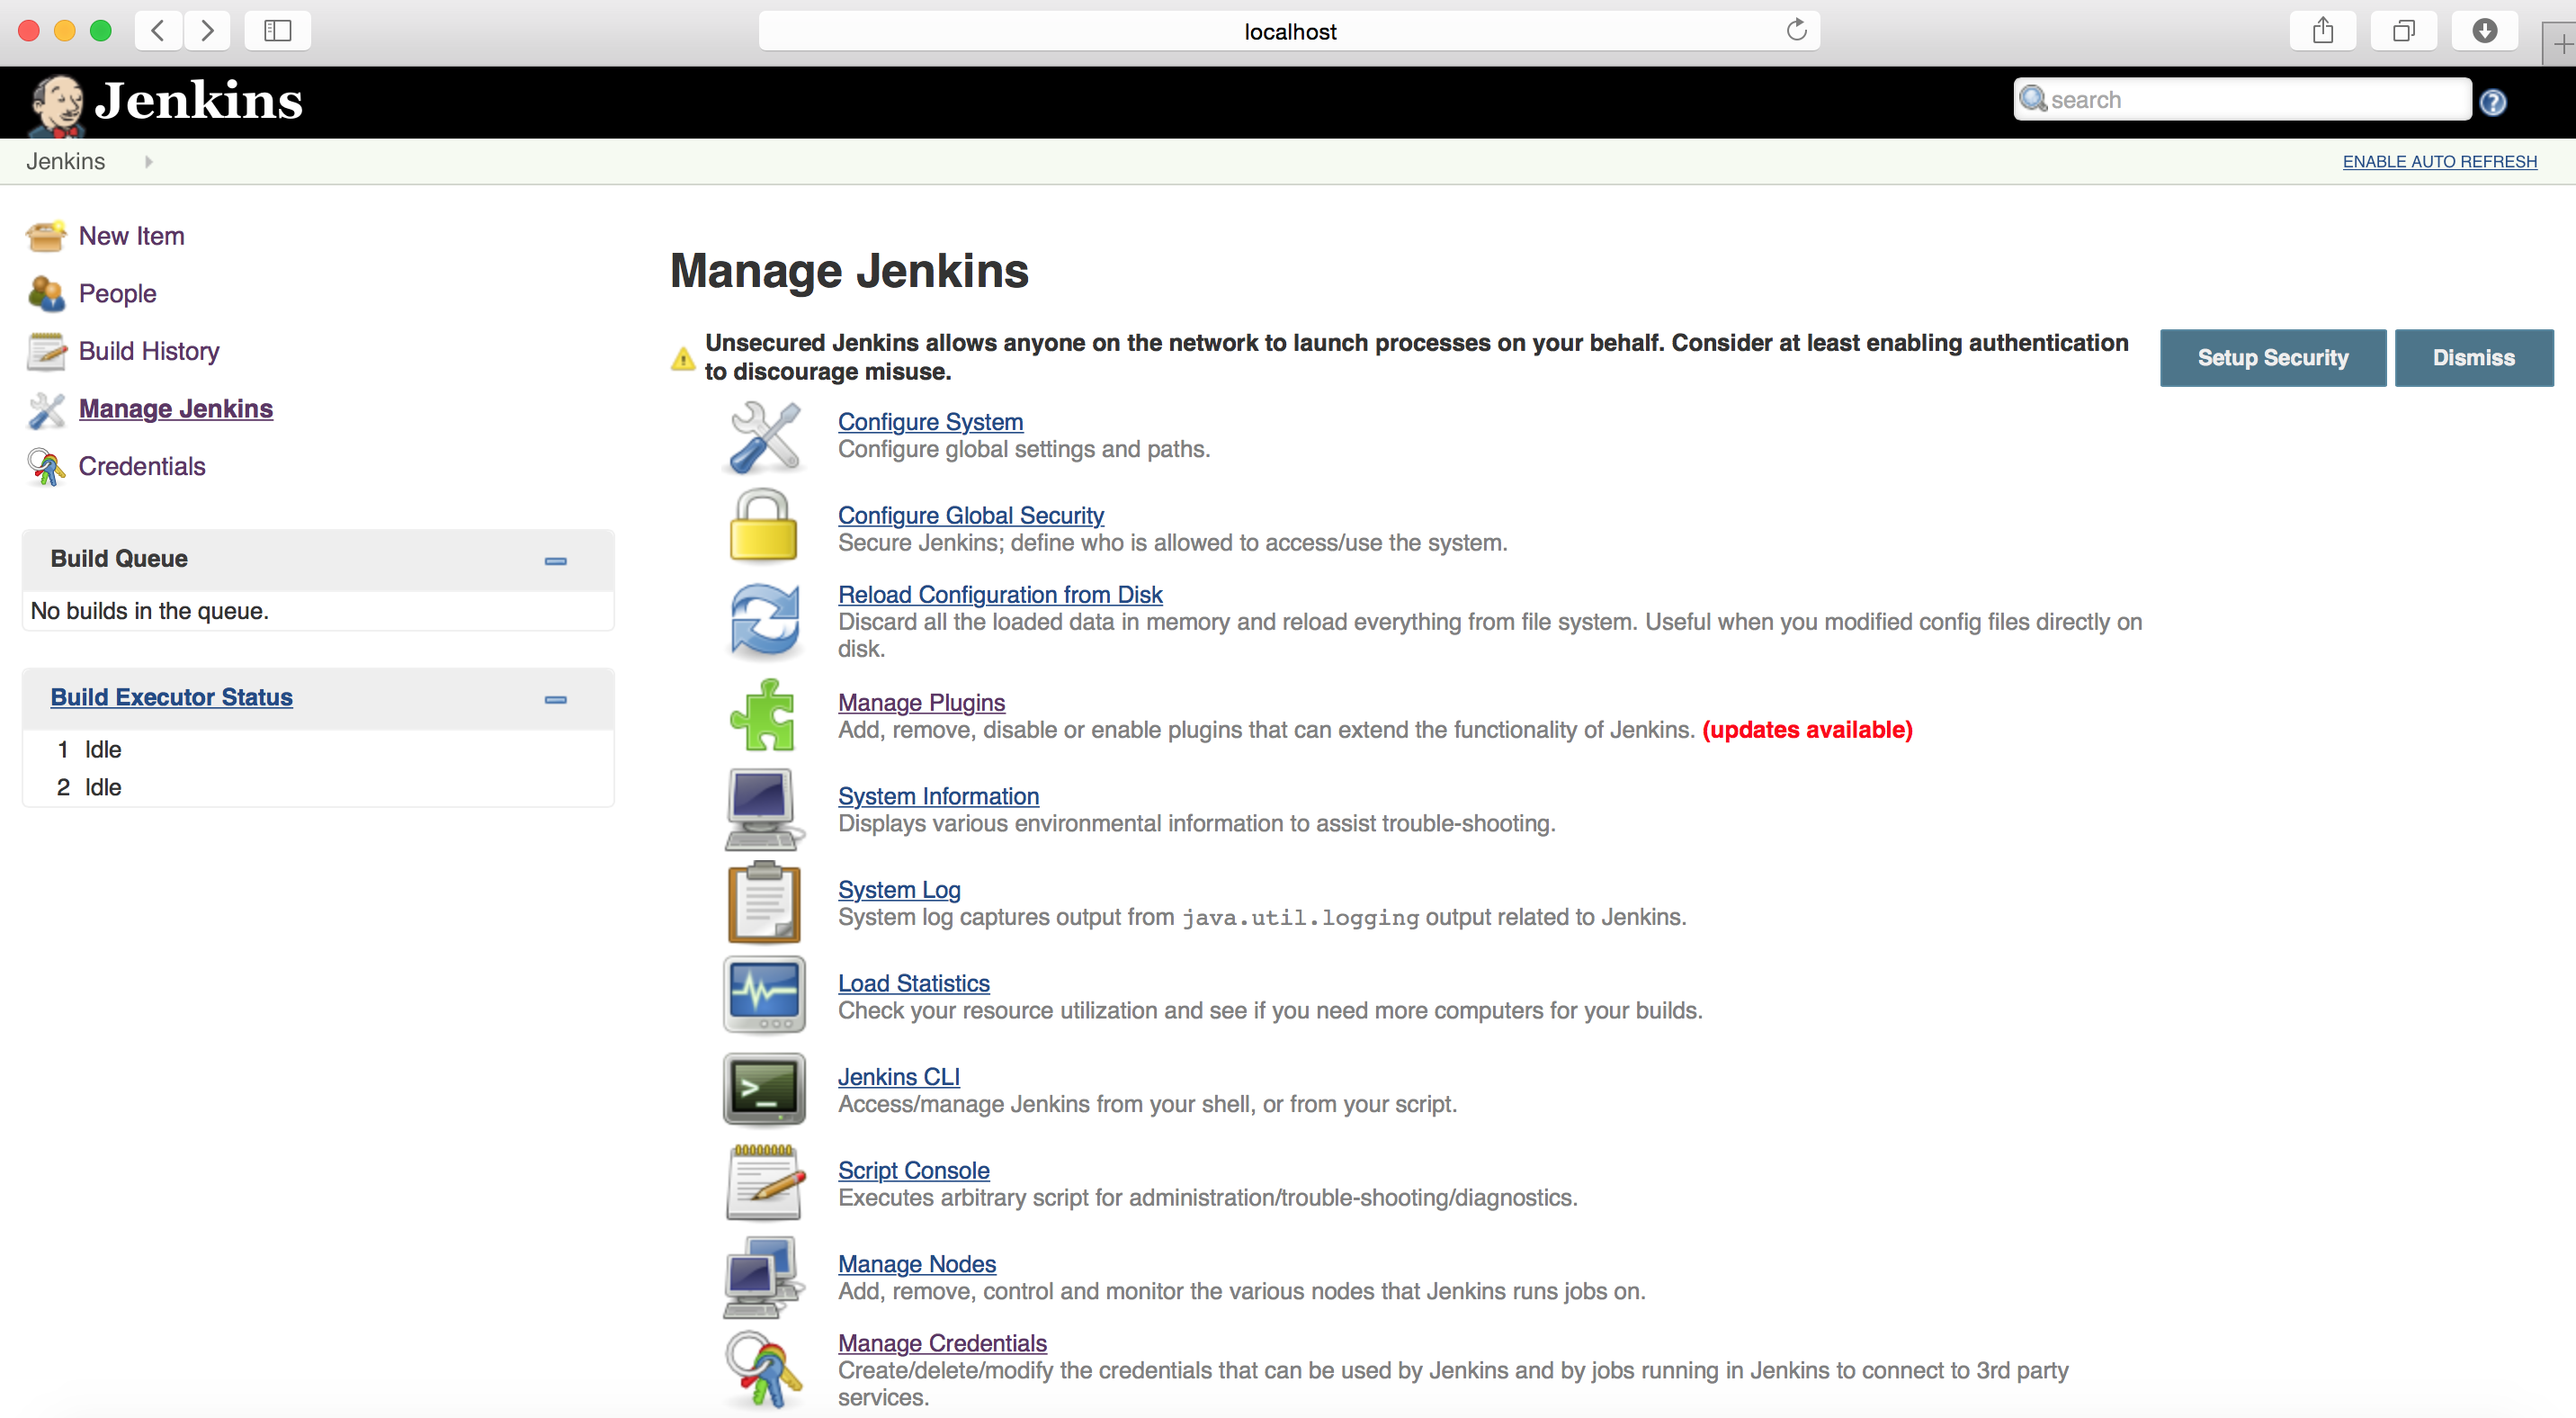
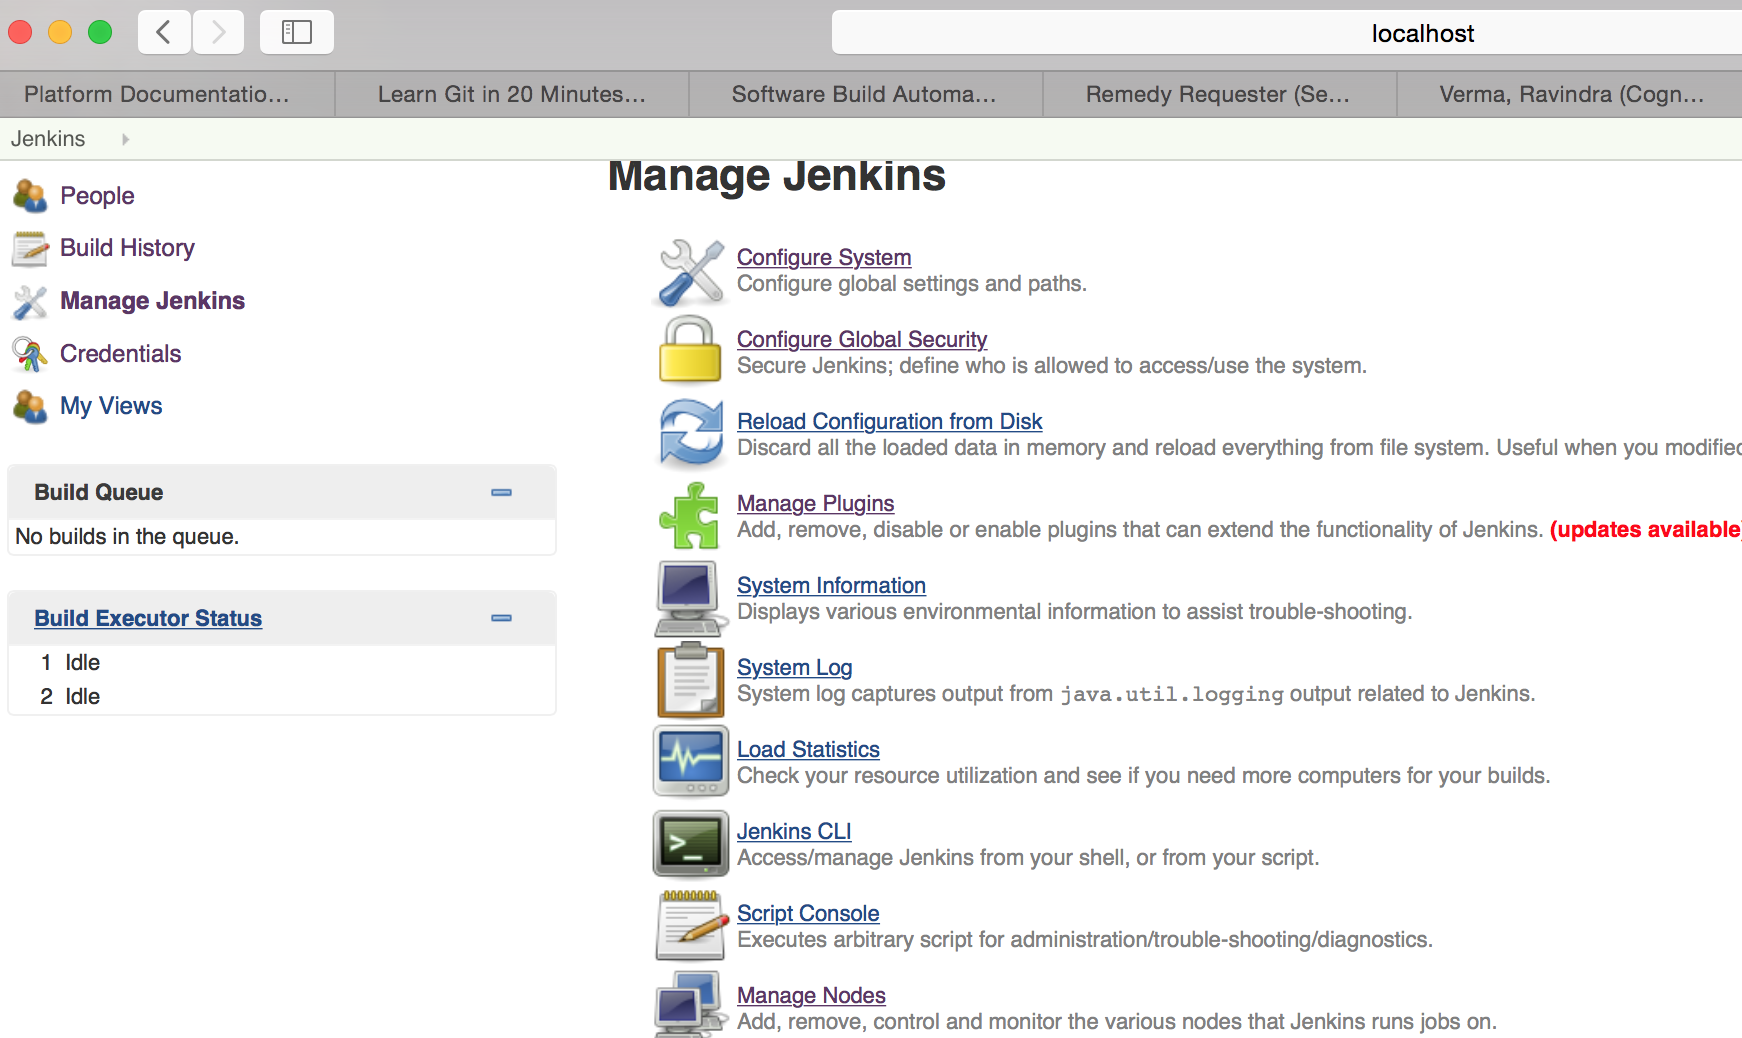
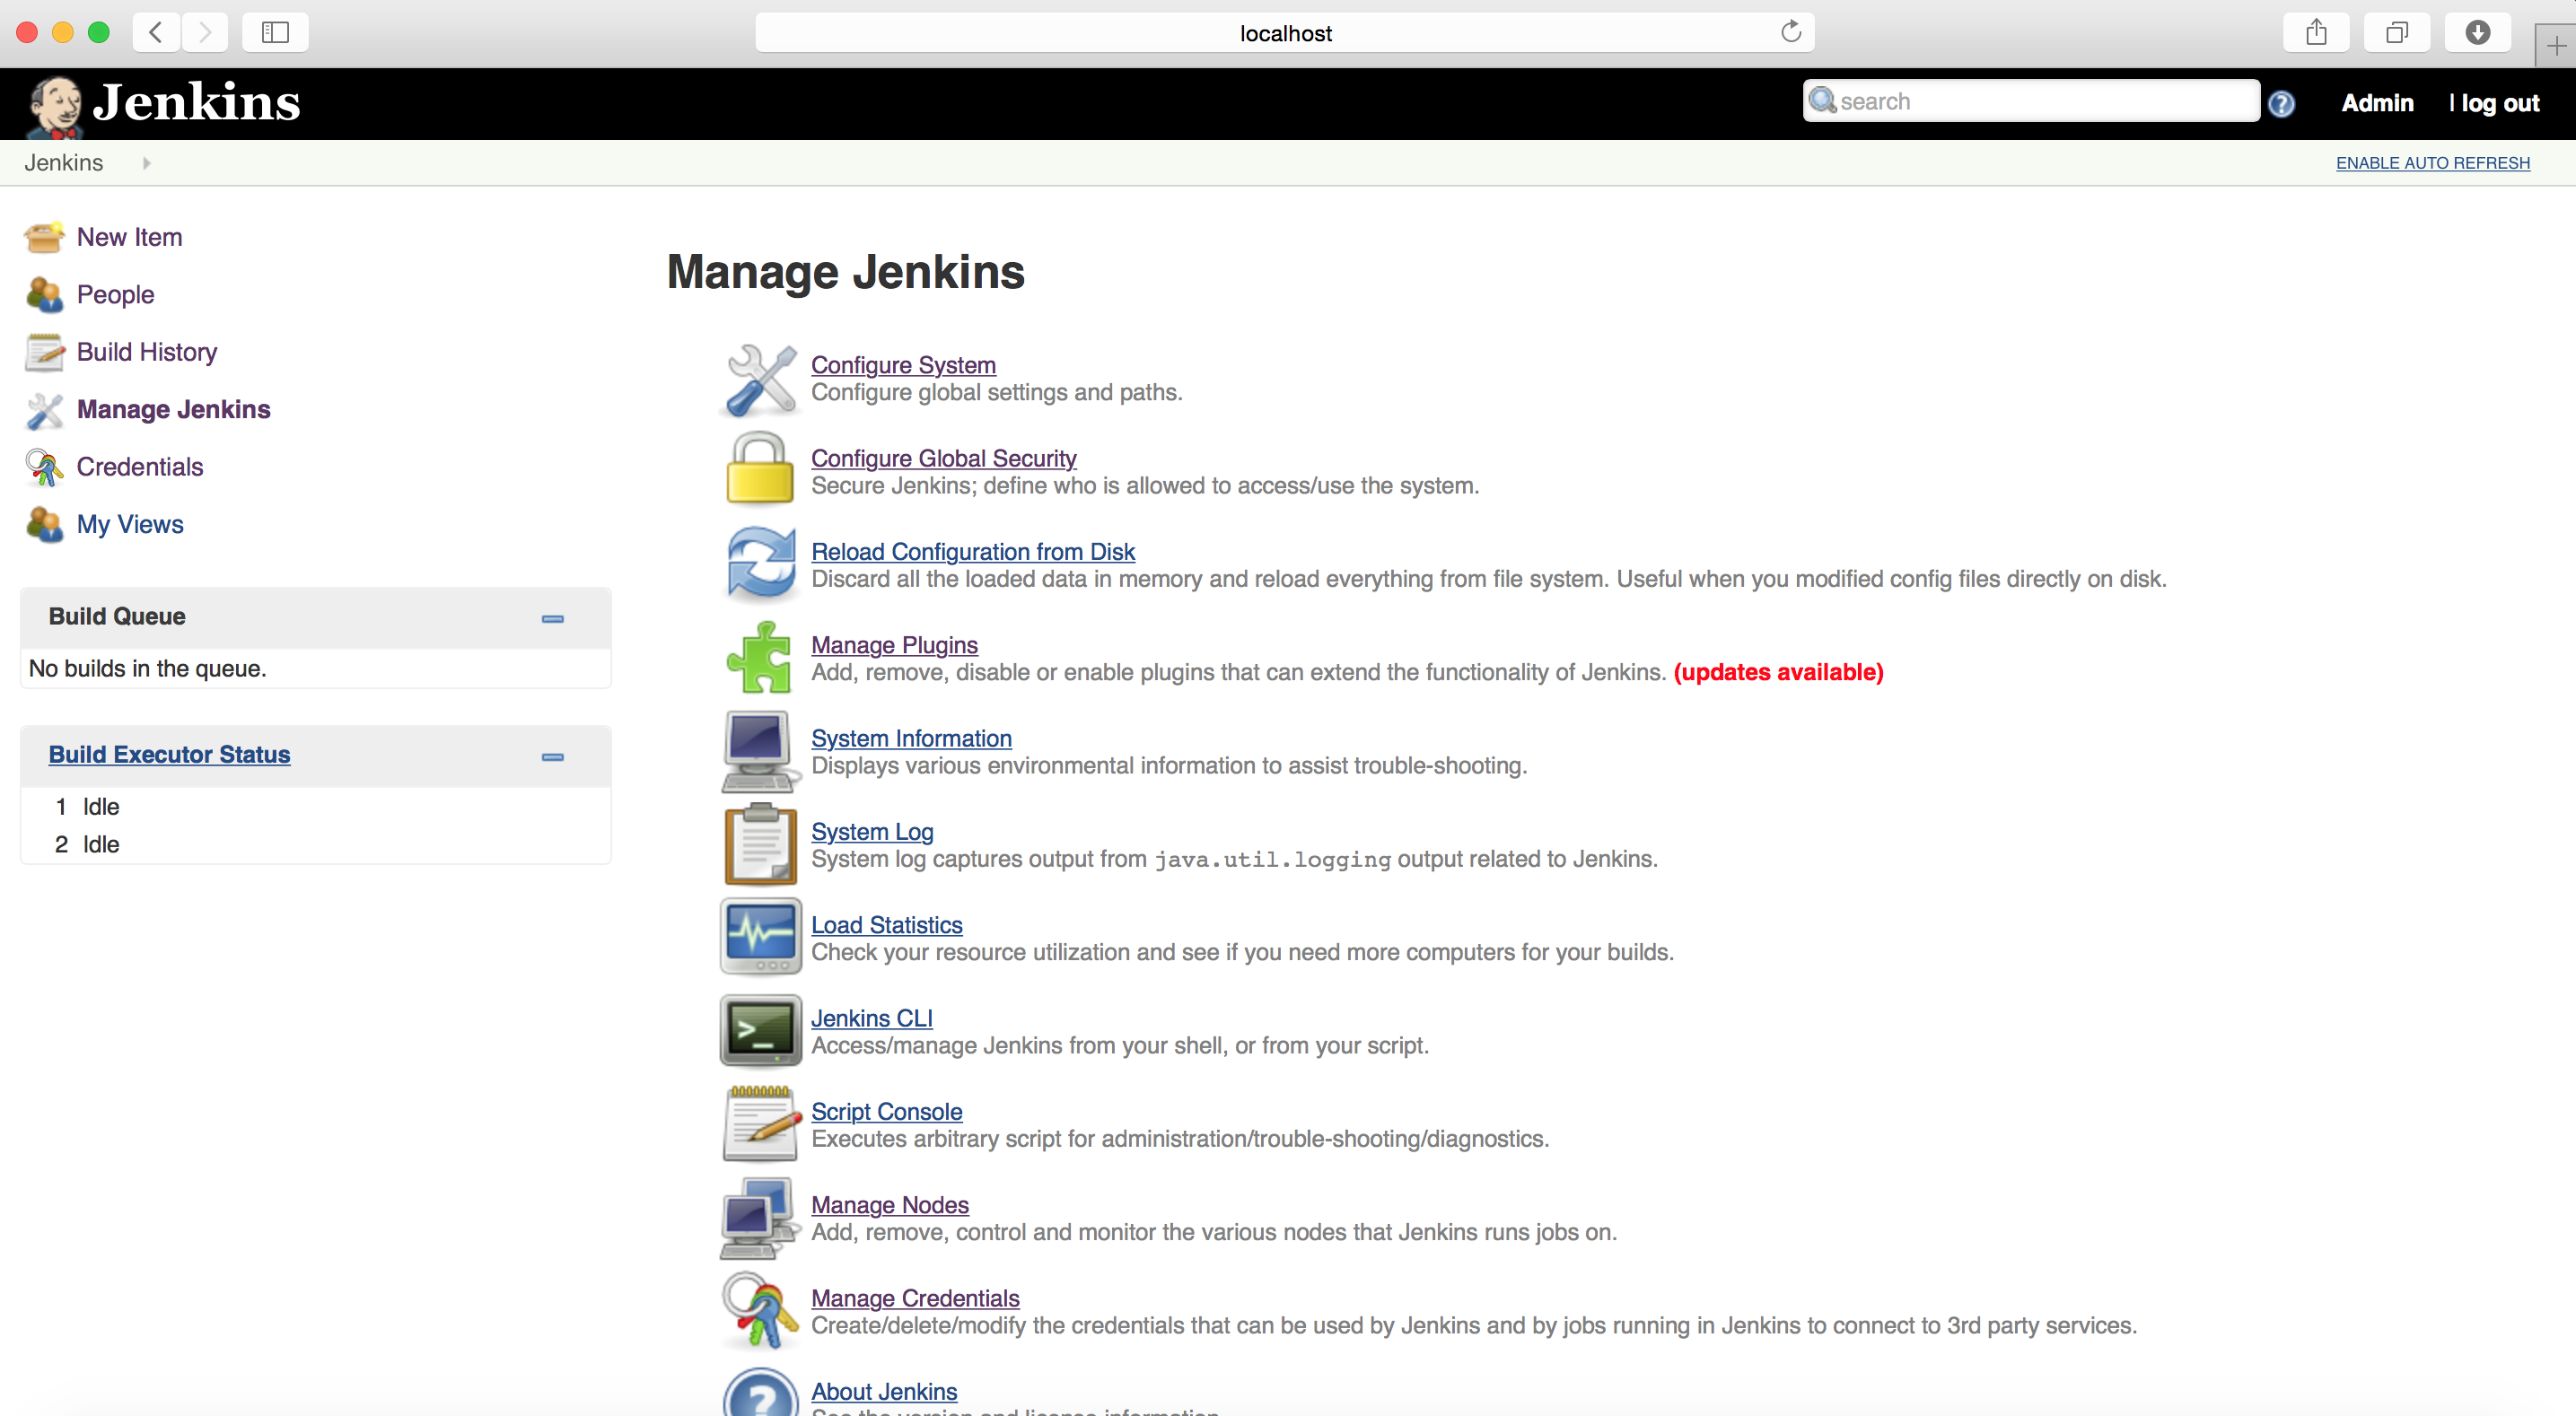
To do so, click on “Manage Jenkins” link available on left side bar
You can see the warning message about insecure Jenkins page. Click on “Setup Security” link
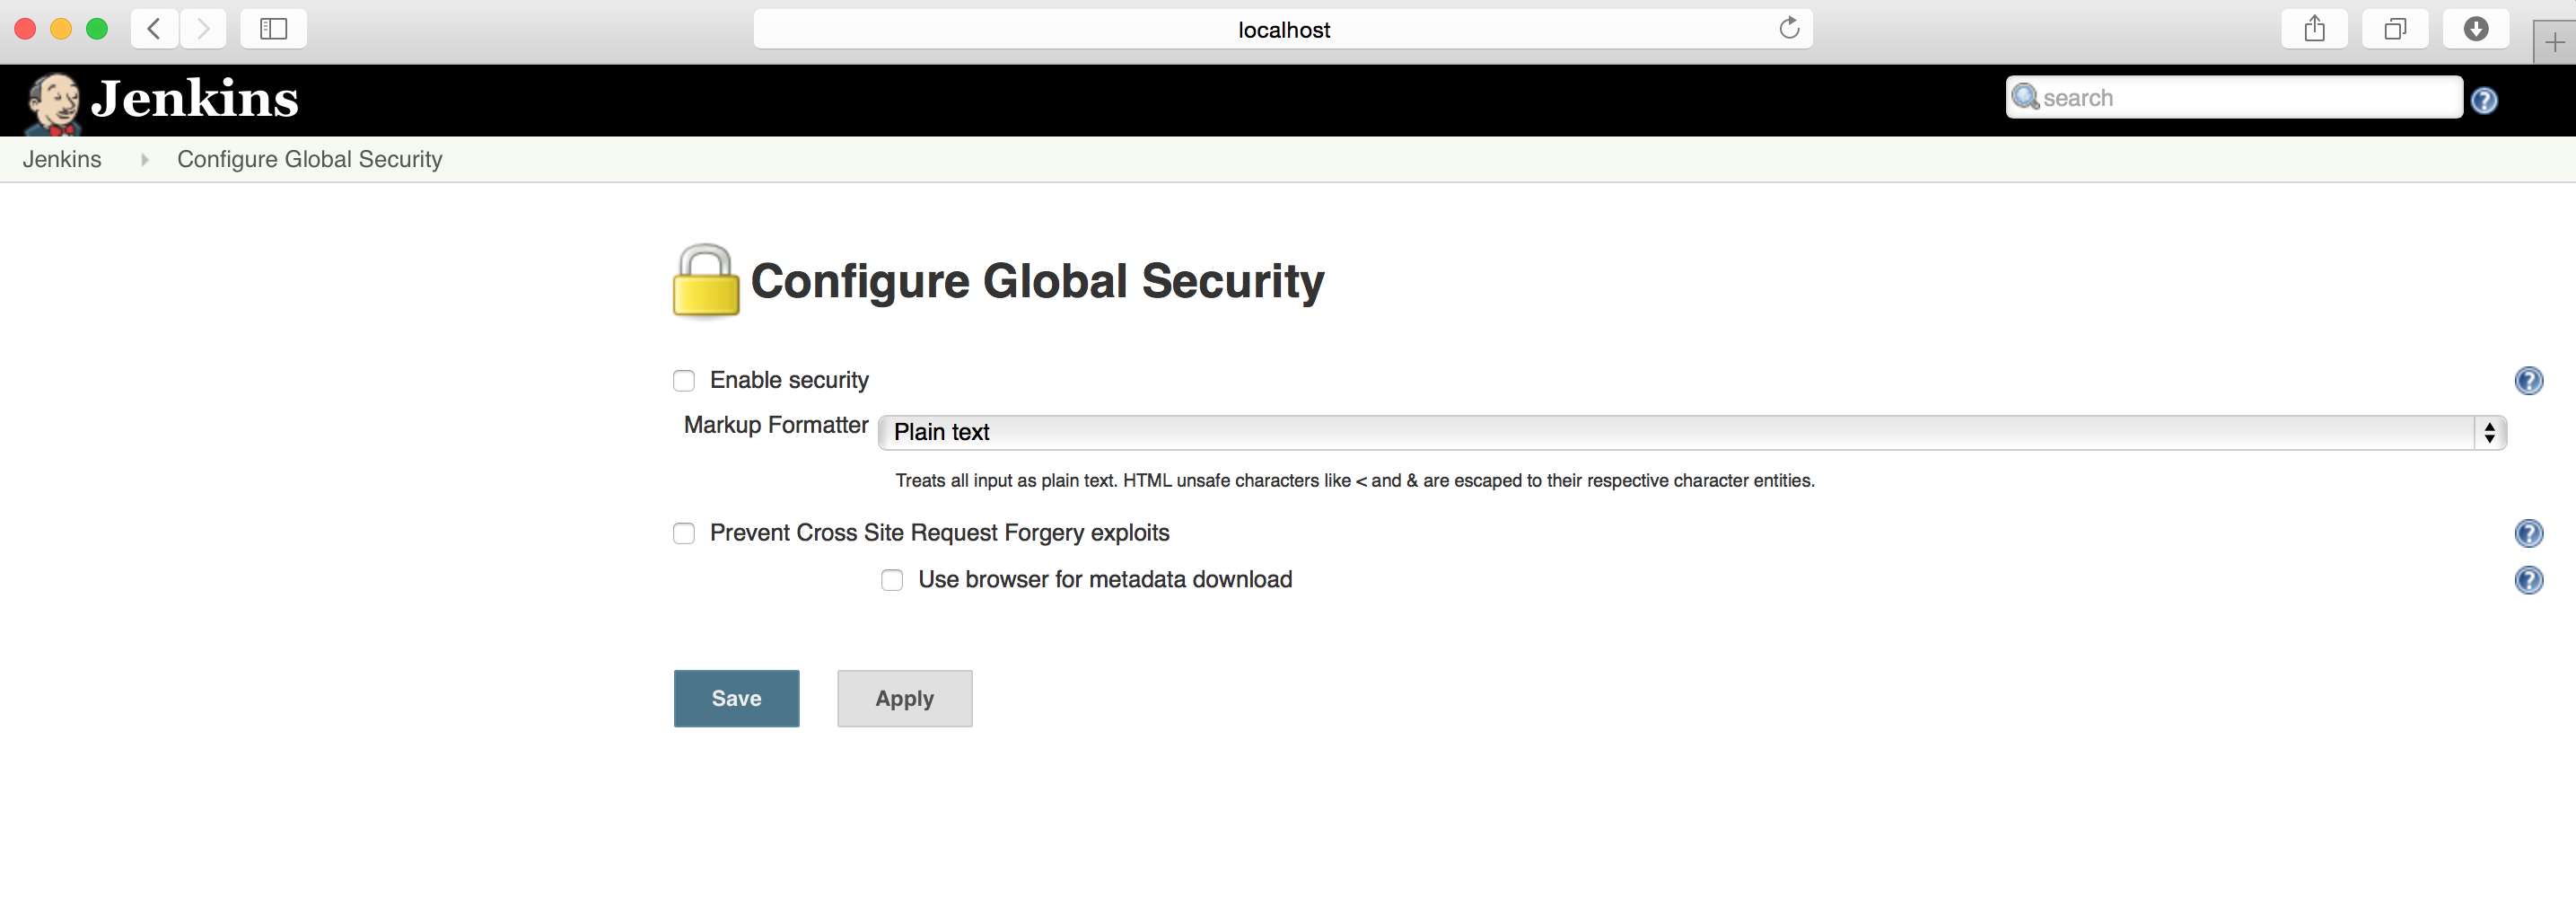
This will open the new page of “Configure Global Security”
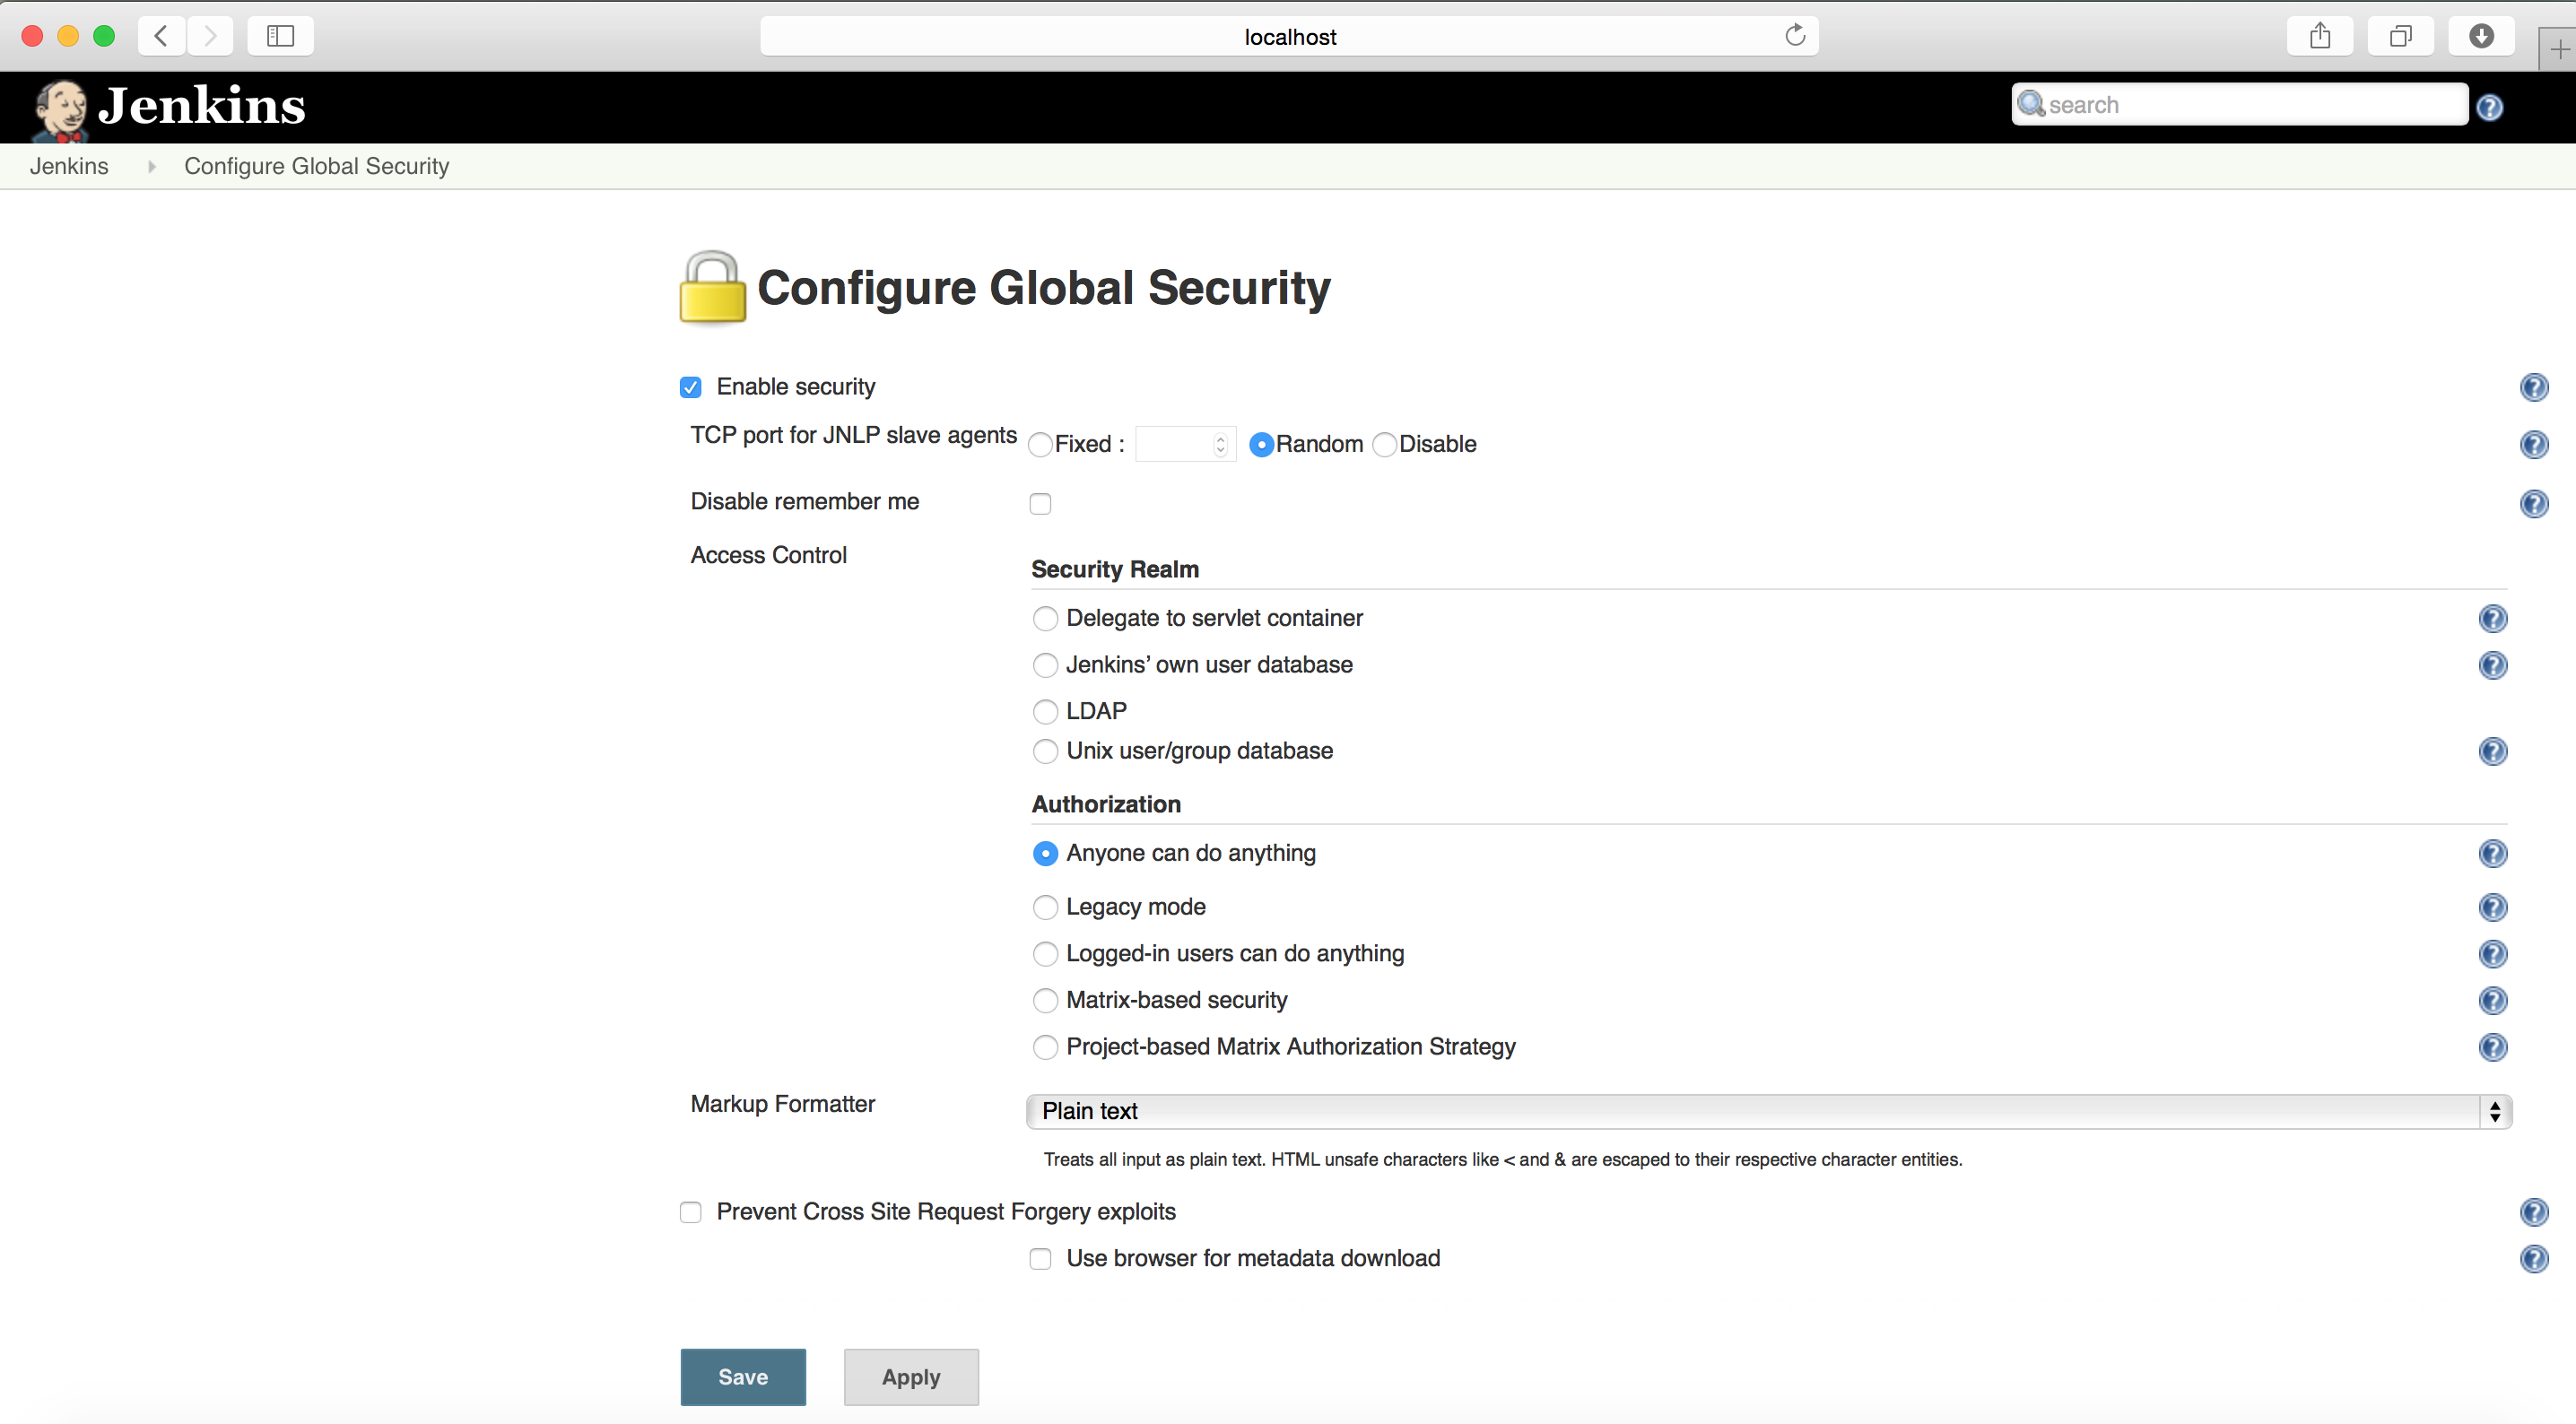
Click on “Enable security” which will open new options for you to configure.
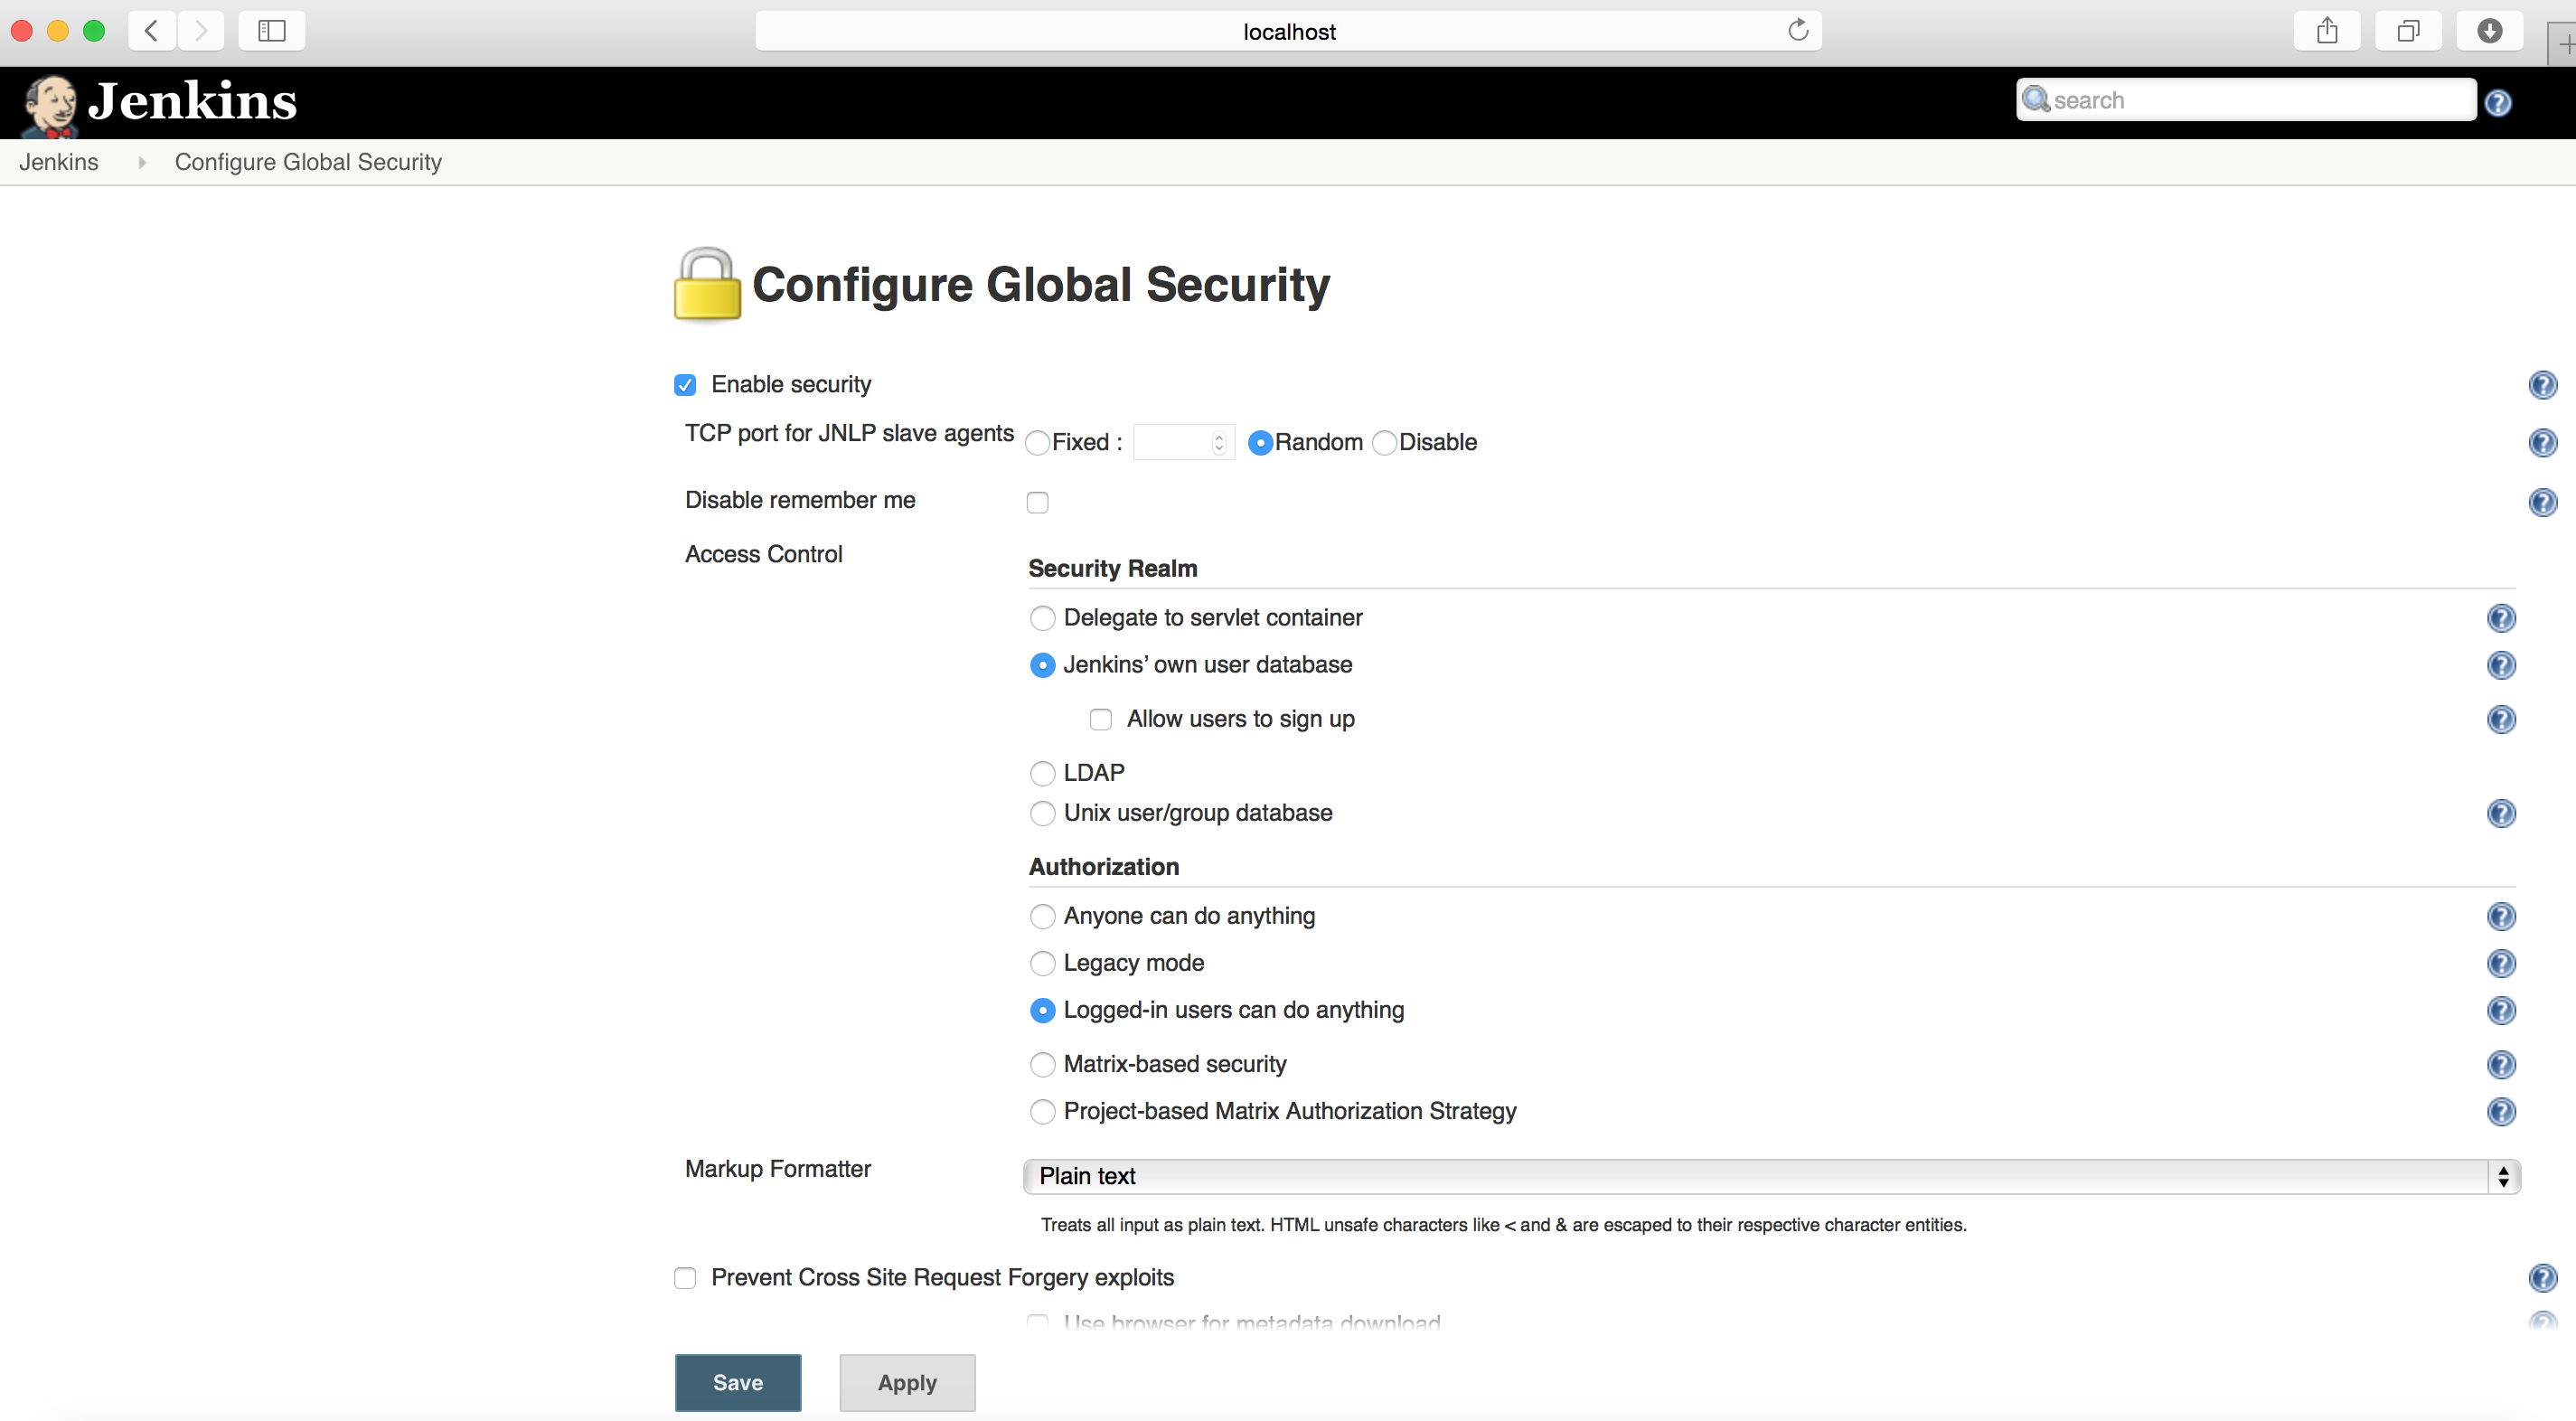
You can use different type of Access Controls, such as unix user/group, your organisation’s LDAP, any other servlet container or the normal Jenkins own database (Make suer you uncheck the checkbox of “Allow users to sign up” if want to control your installation)
You can also set up the Authorisation mode and Save it.
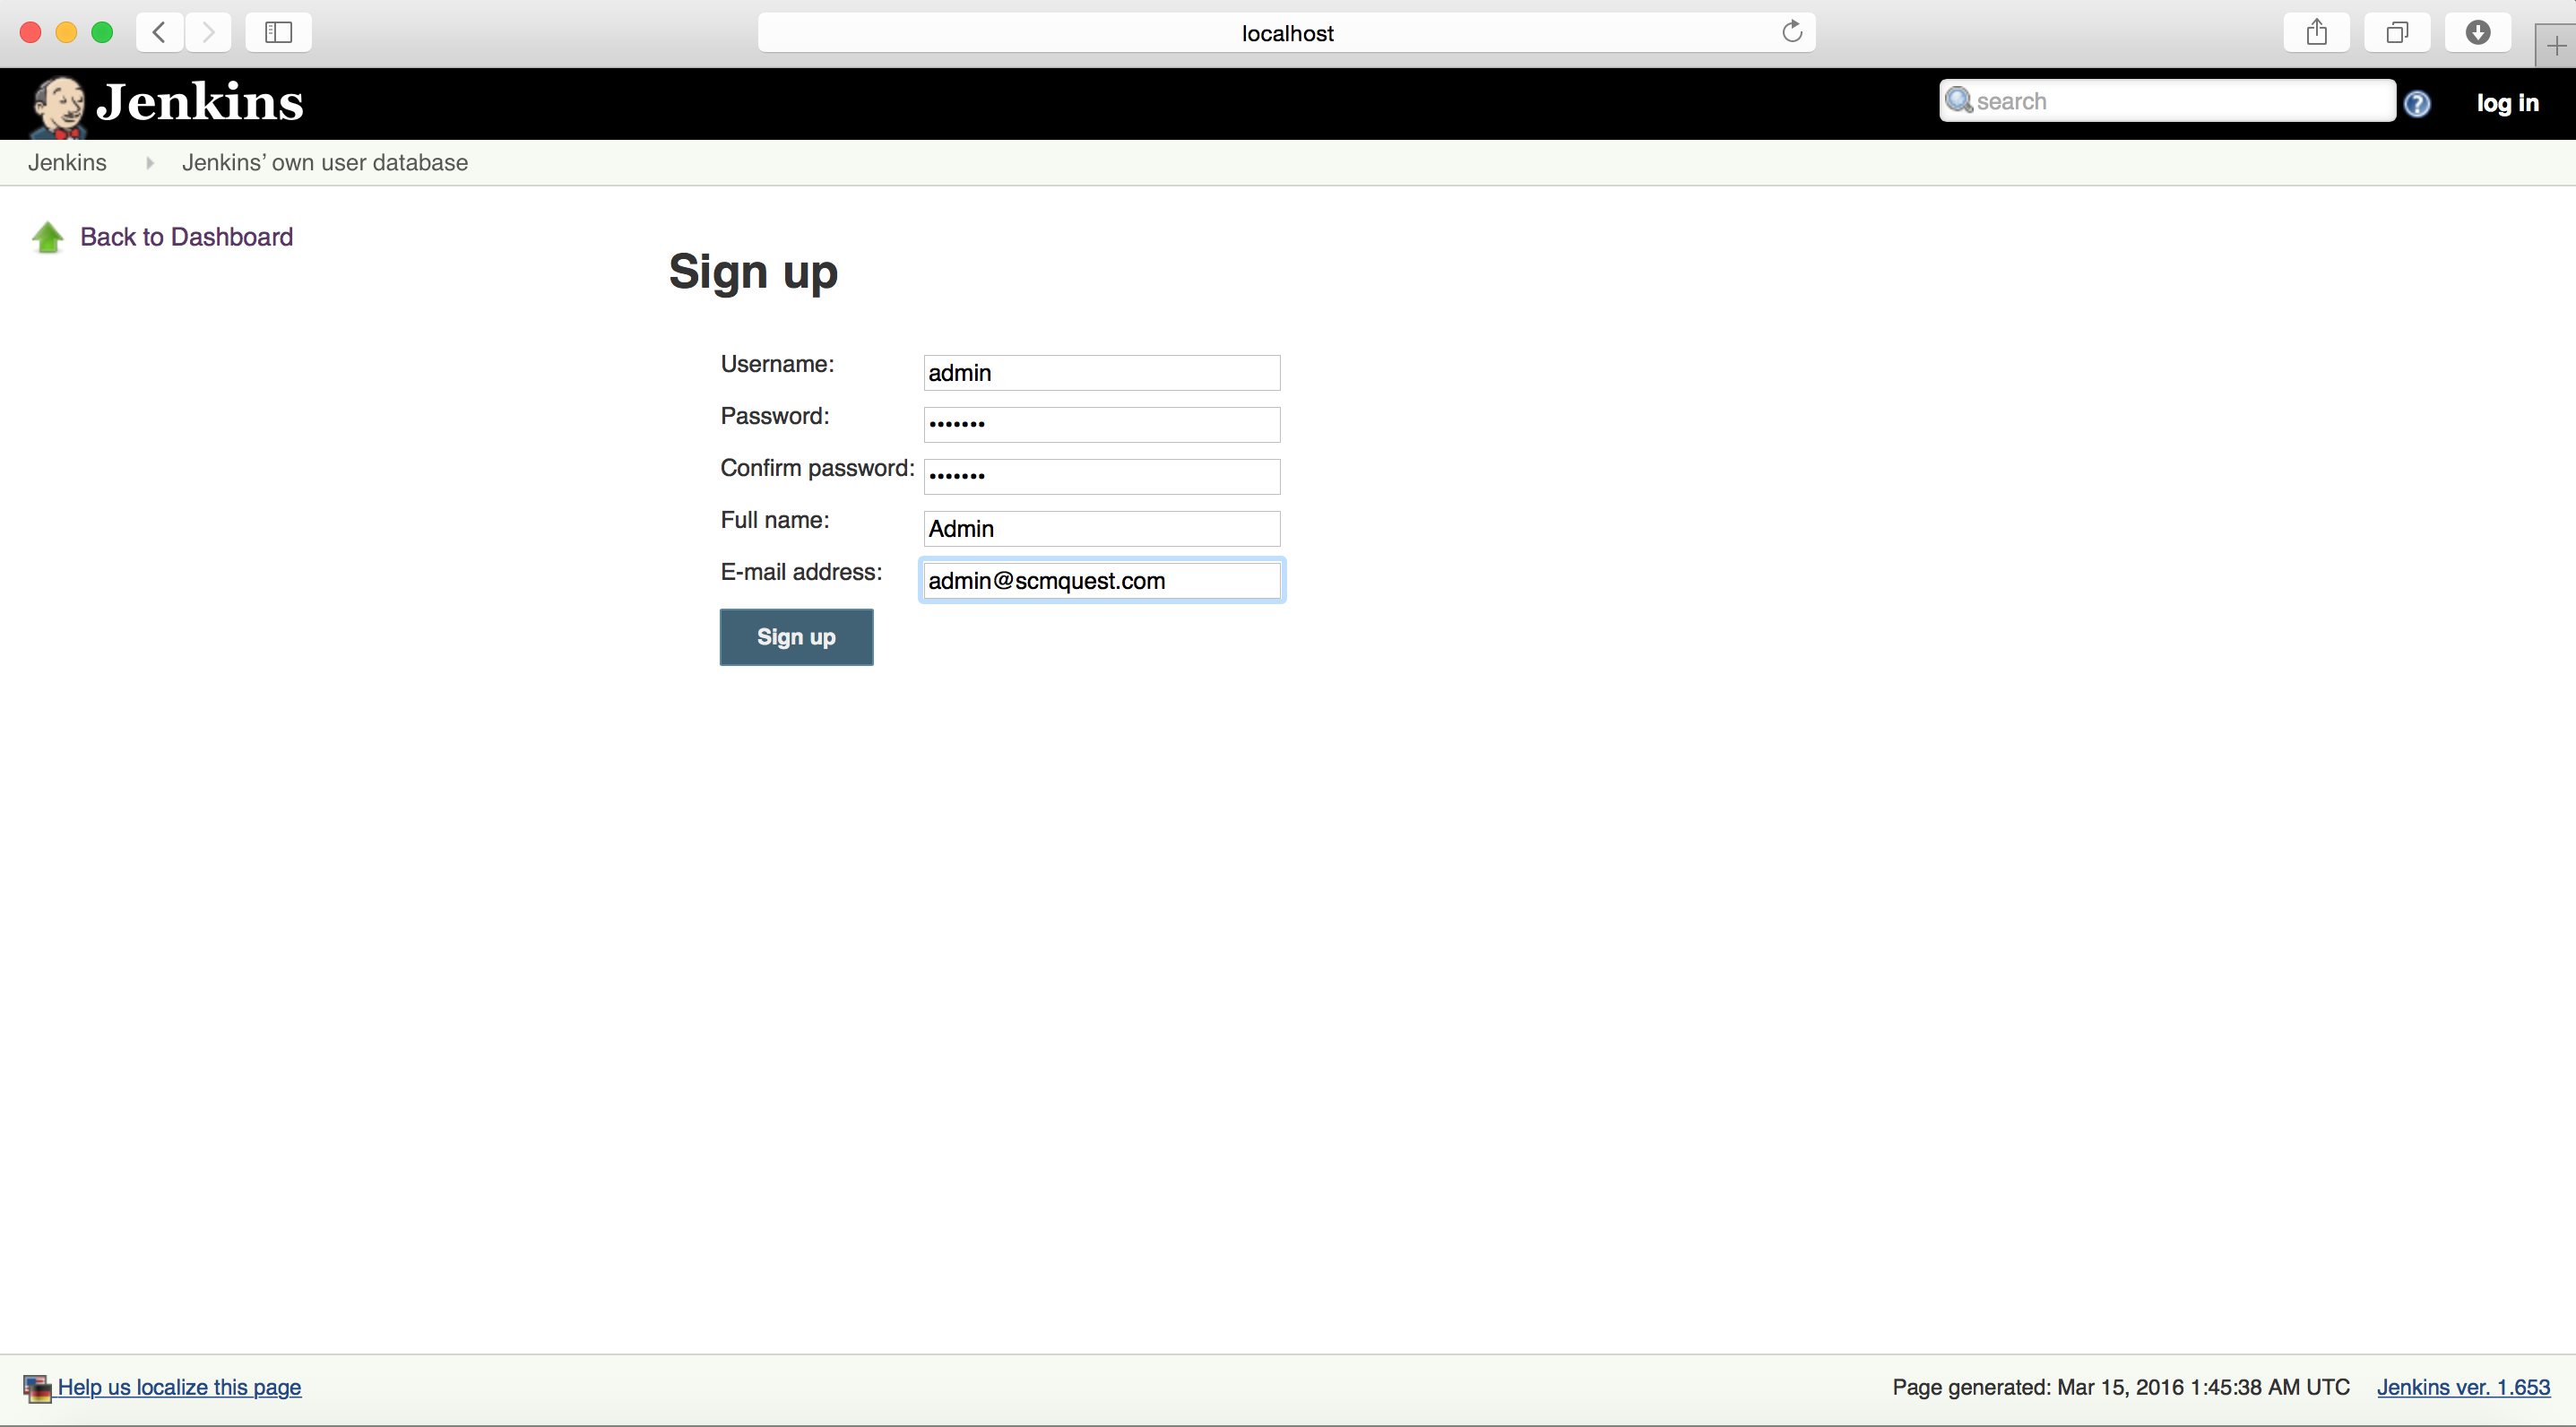
Once you save it, Jenkins will allow you to create one admin user so that you can start working on it.
You can create any user (for simplicity, i used “admin” user name)
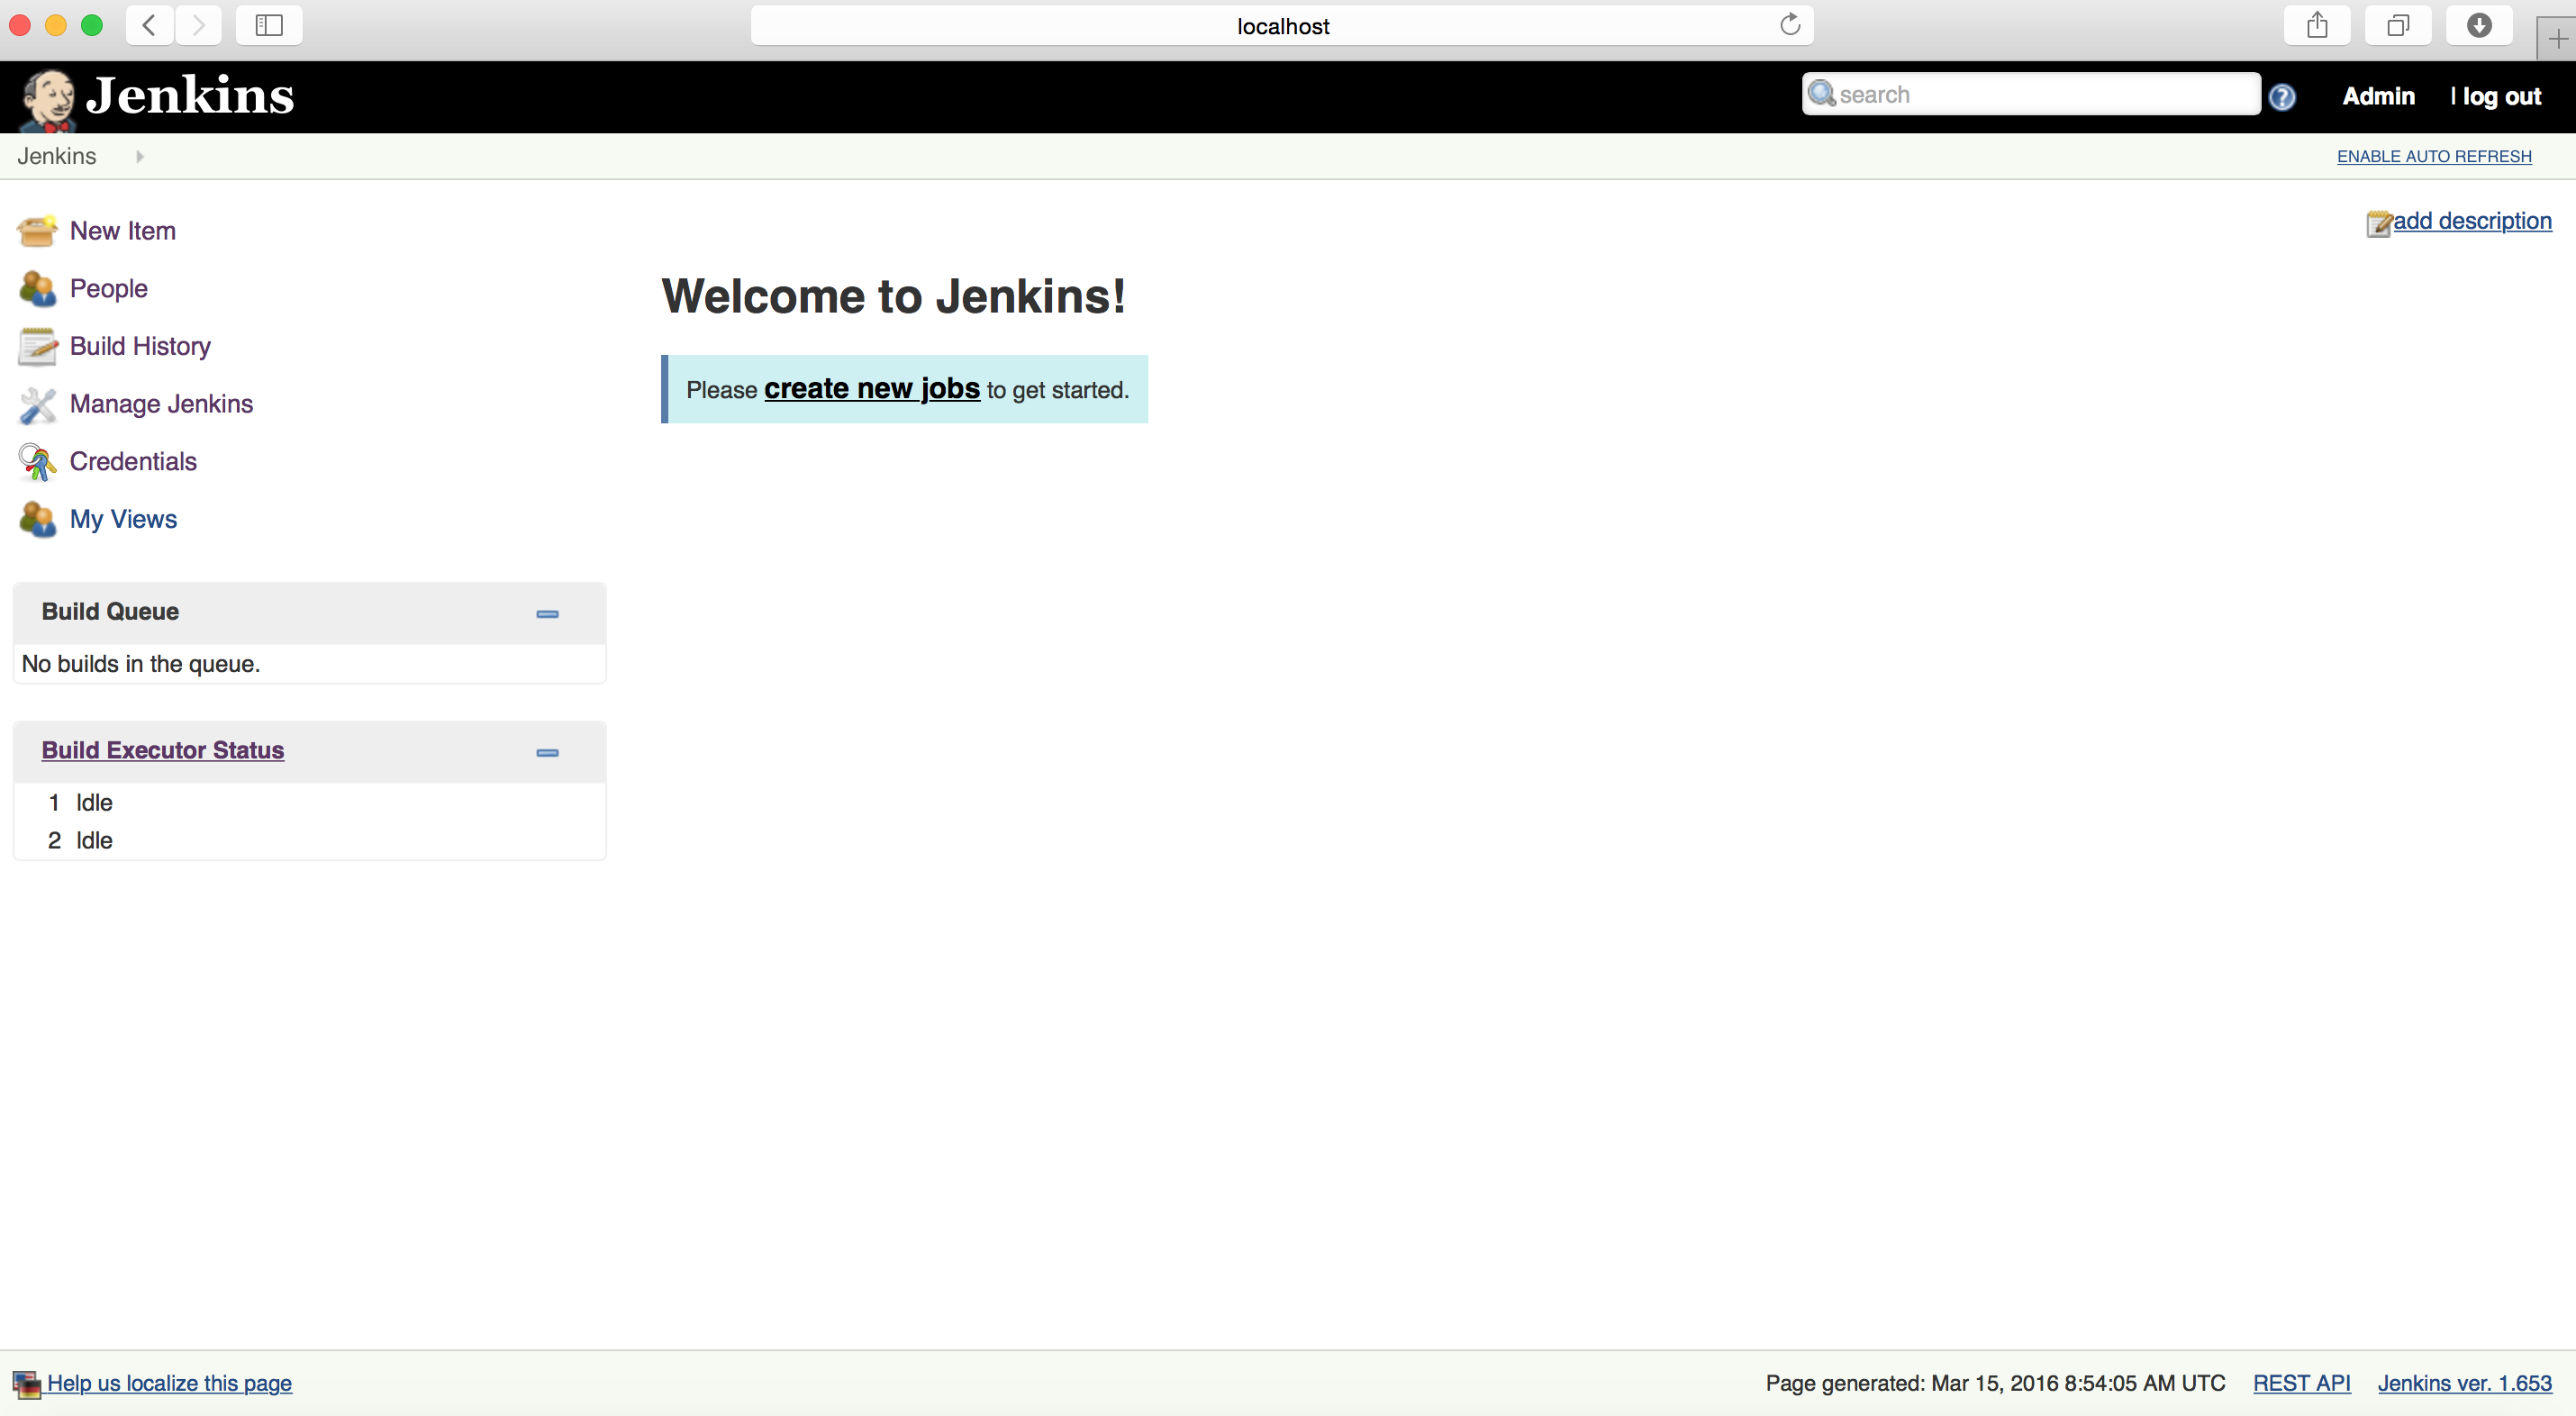
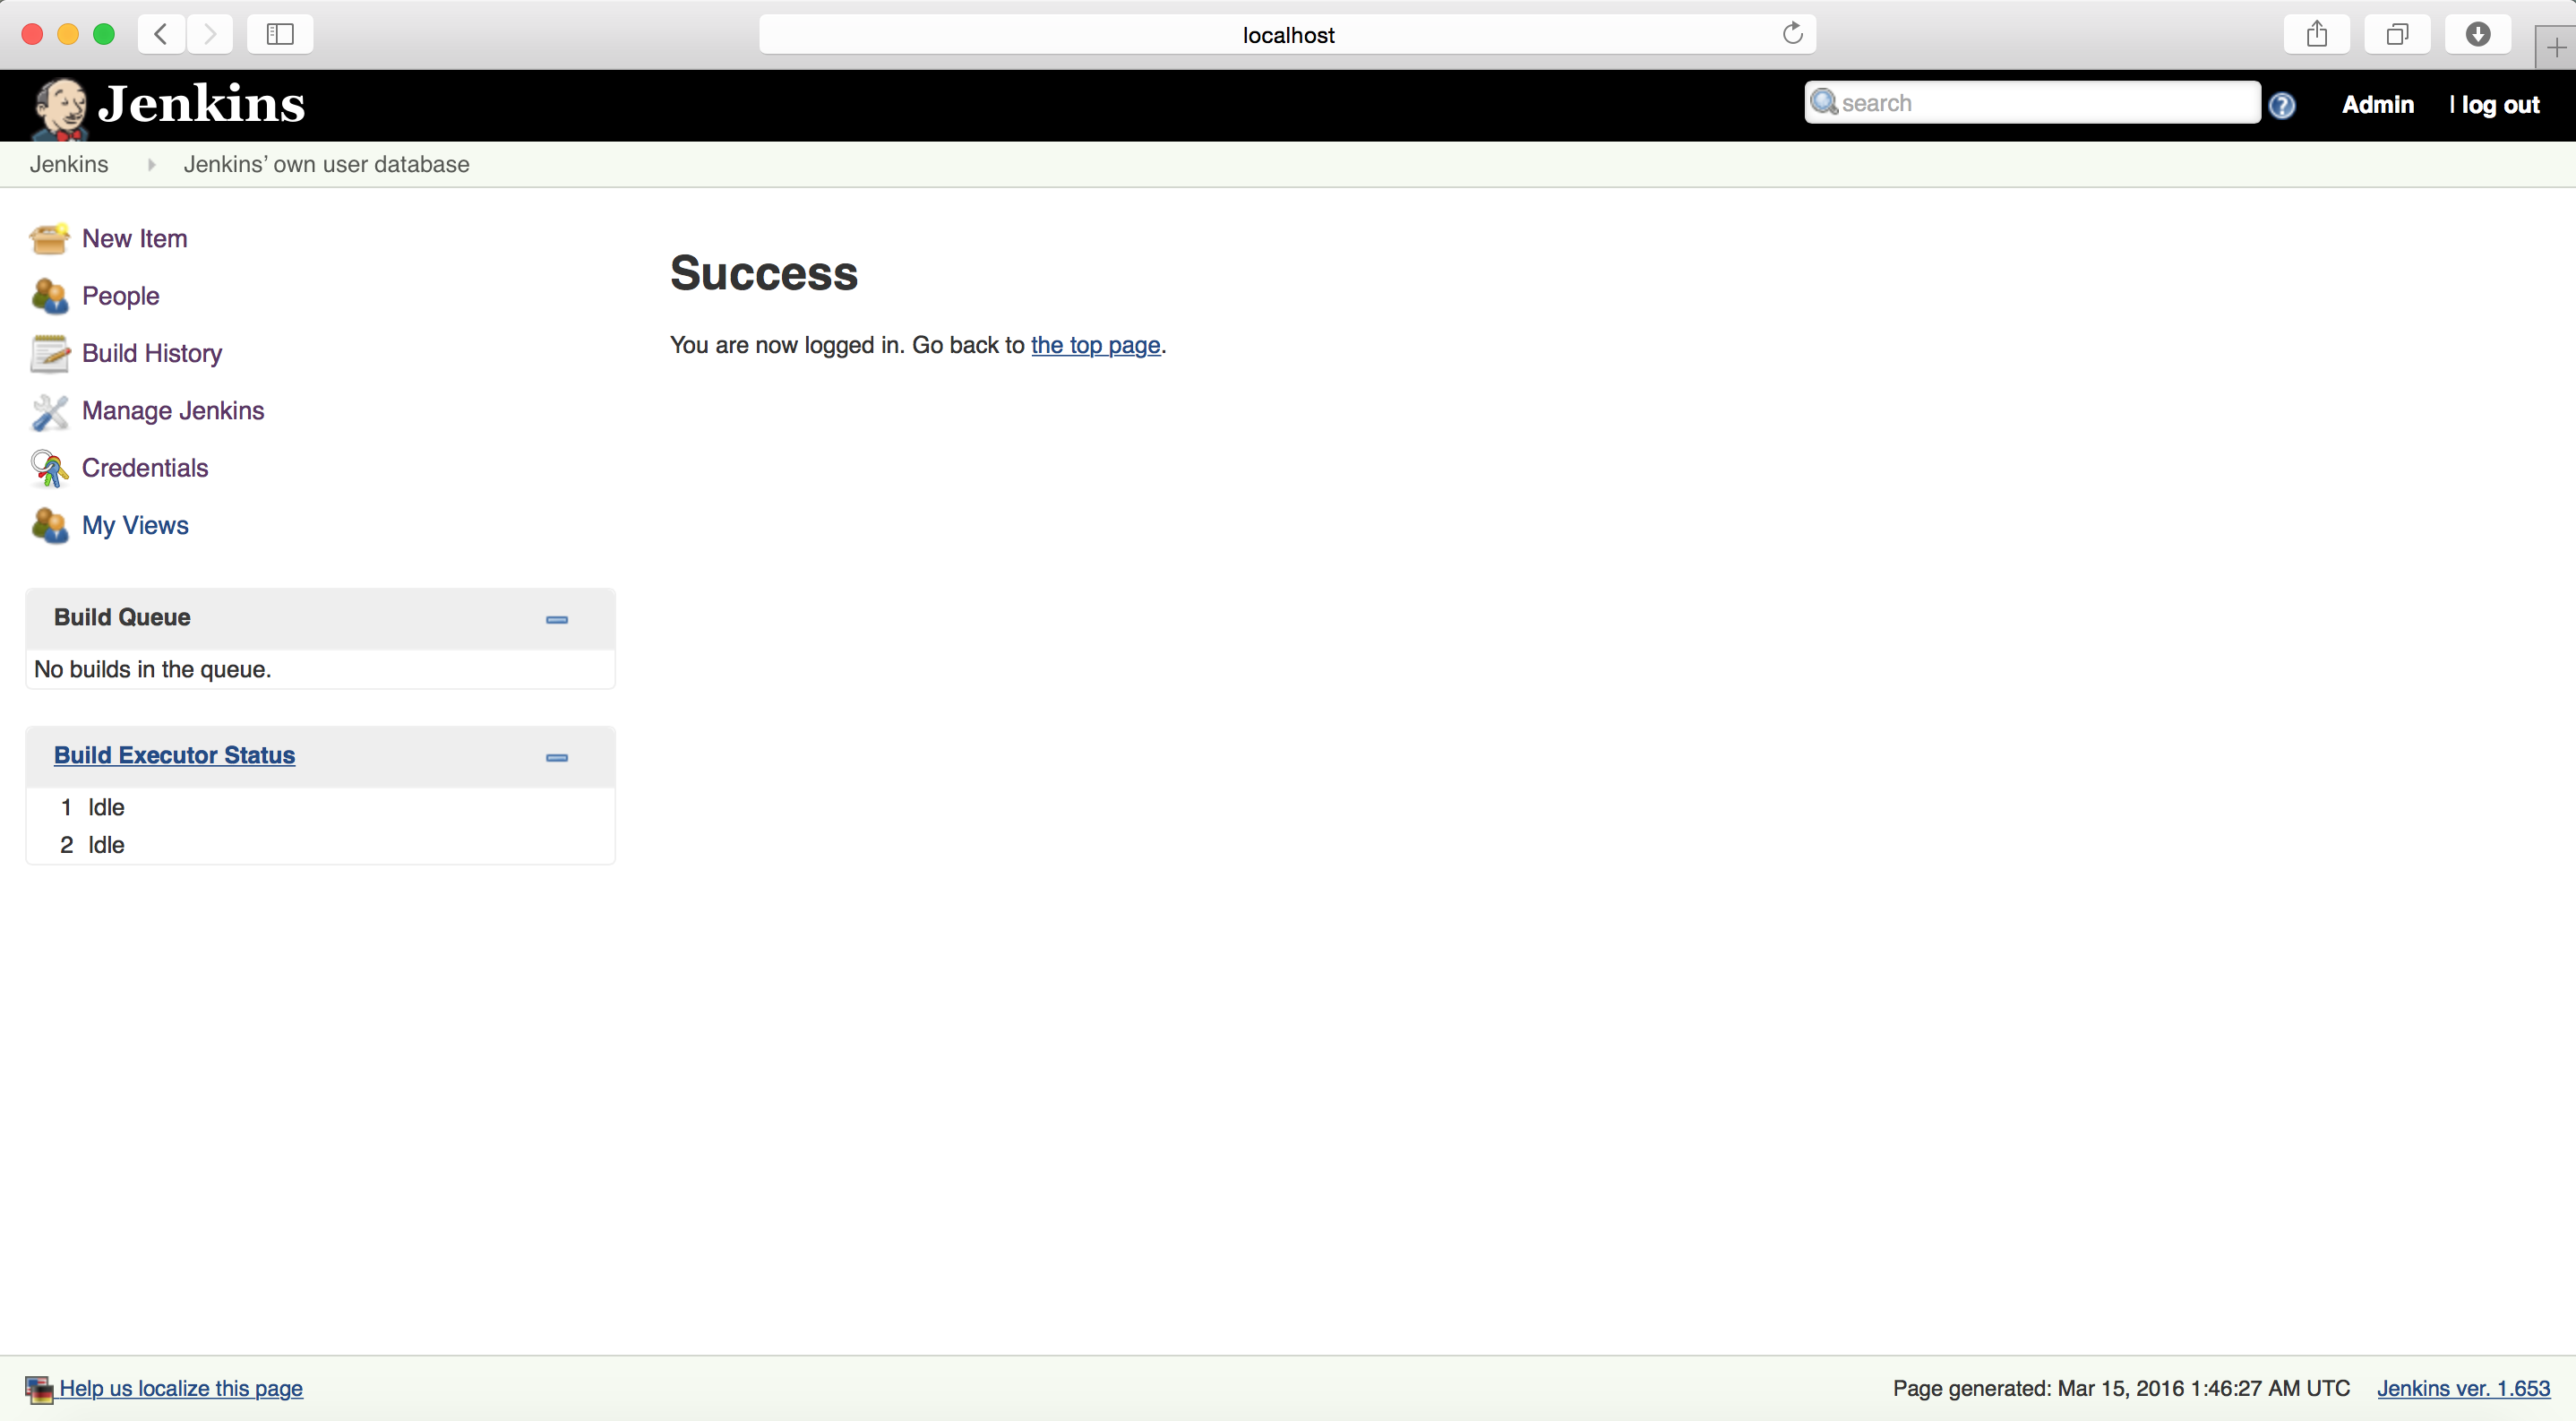
Once done, it will automatically logged in as Admin user, but in case you want to check, close the browser and type the jenkins url again.
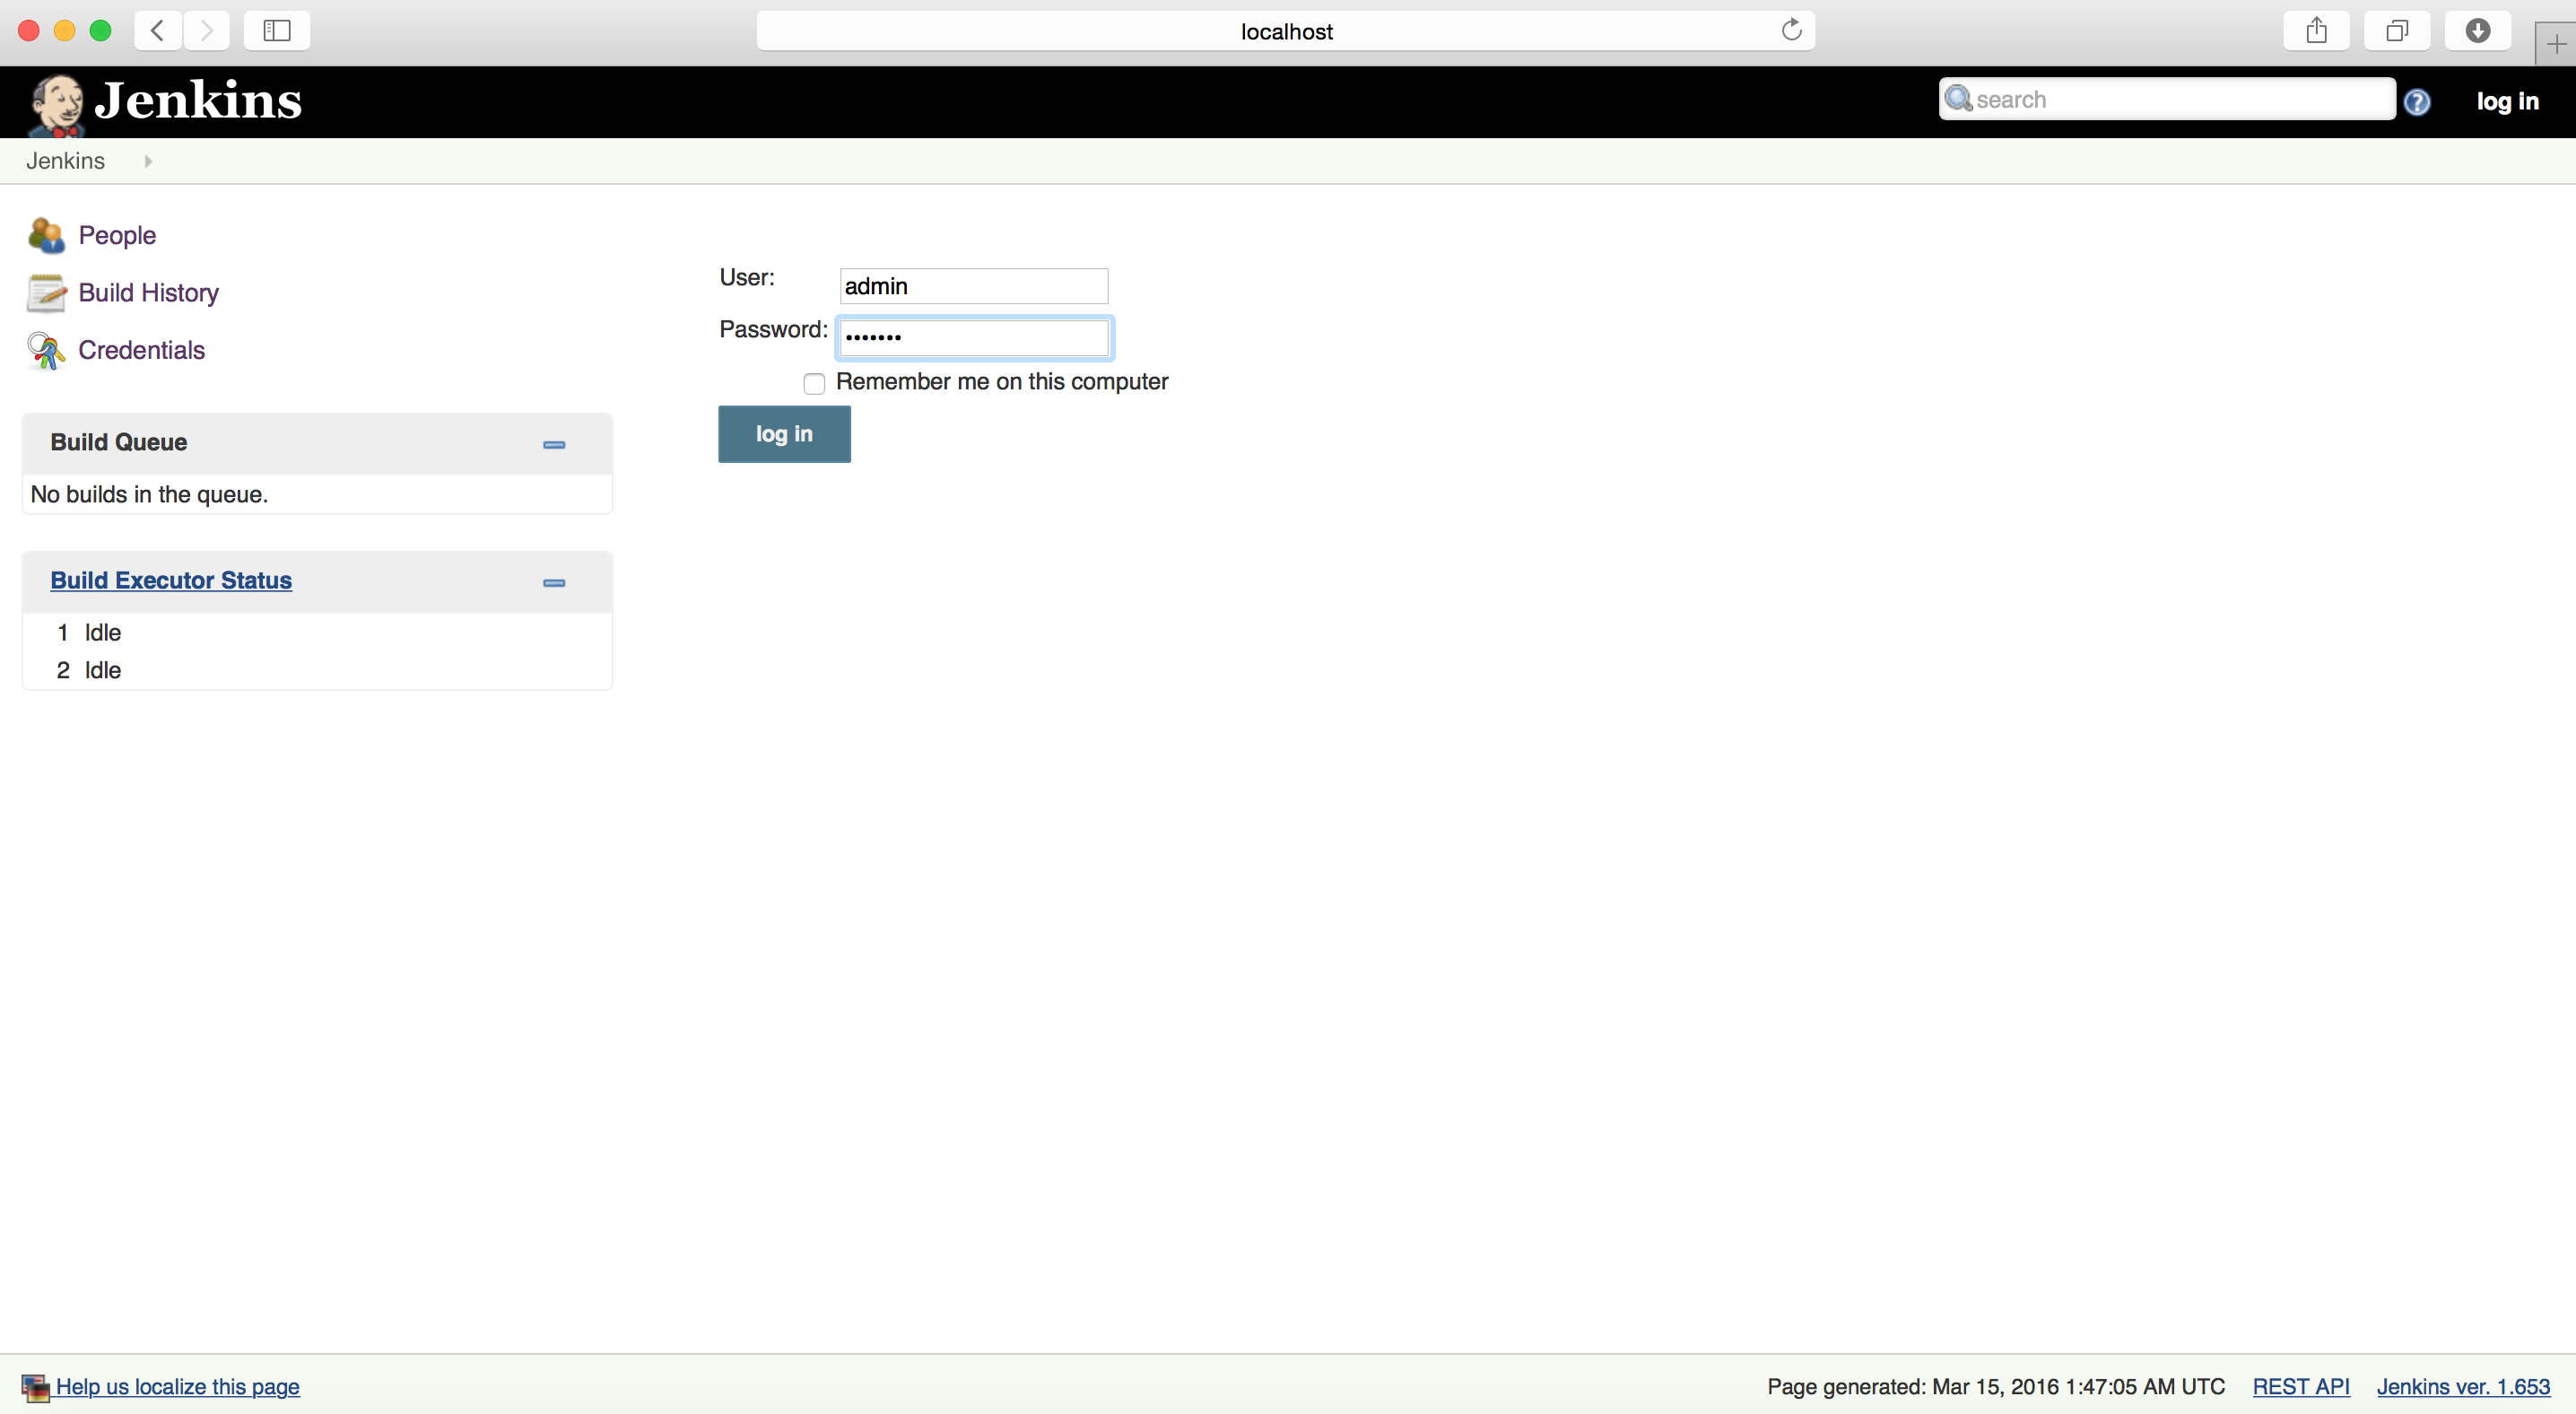
This time it will ask you to Log-in.
Type your credentials which you just setup.
Now, you can also create user-ids for other users if you wish so.
Again click on “Manage Jenkins”
Click on “Manage Users”
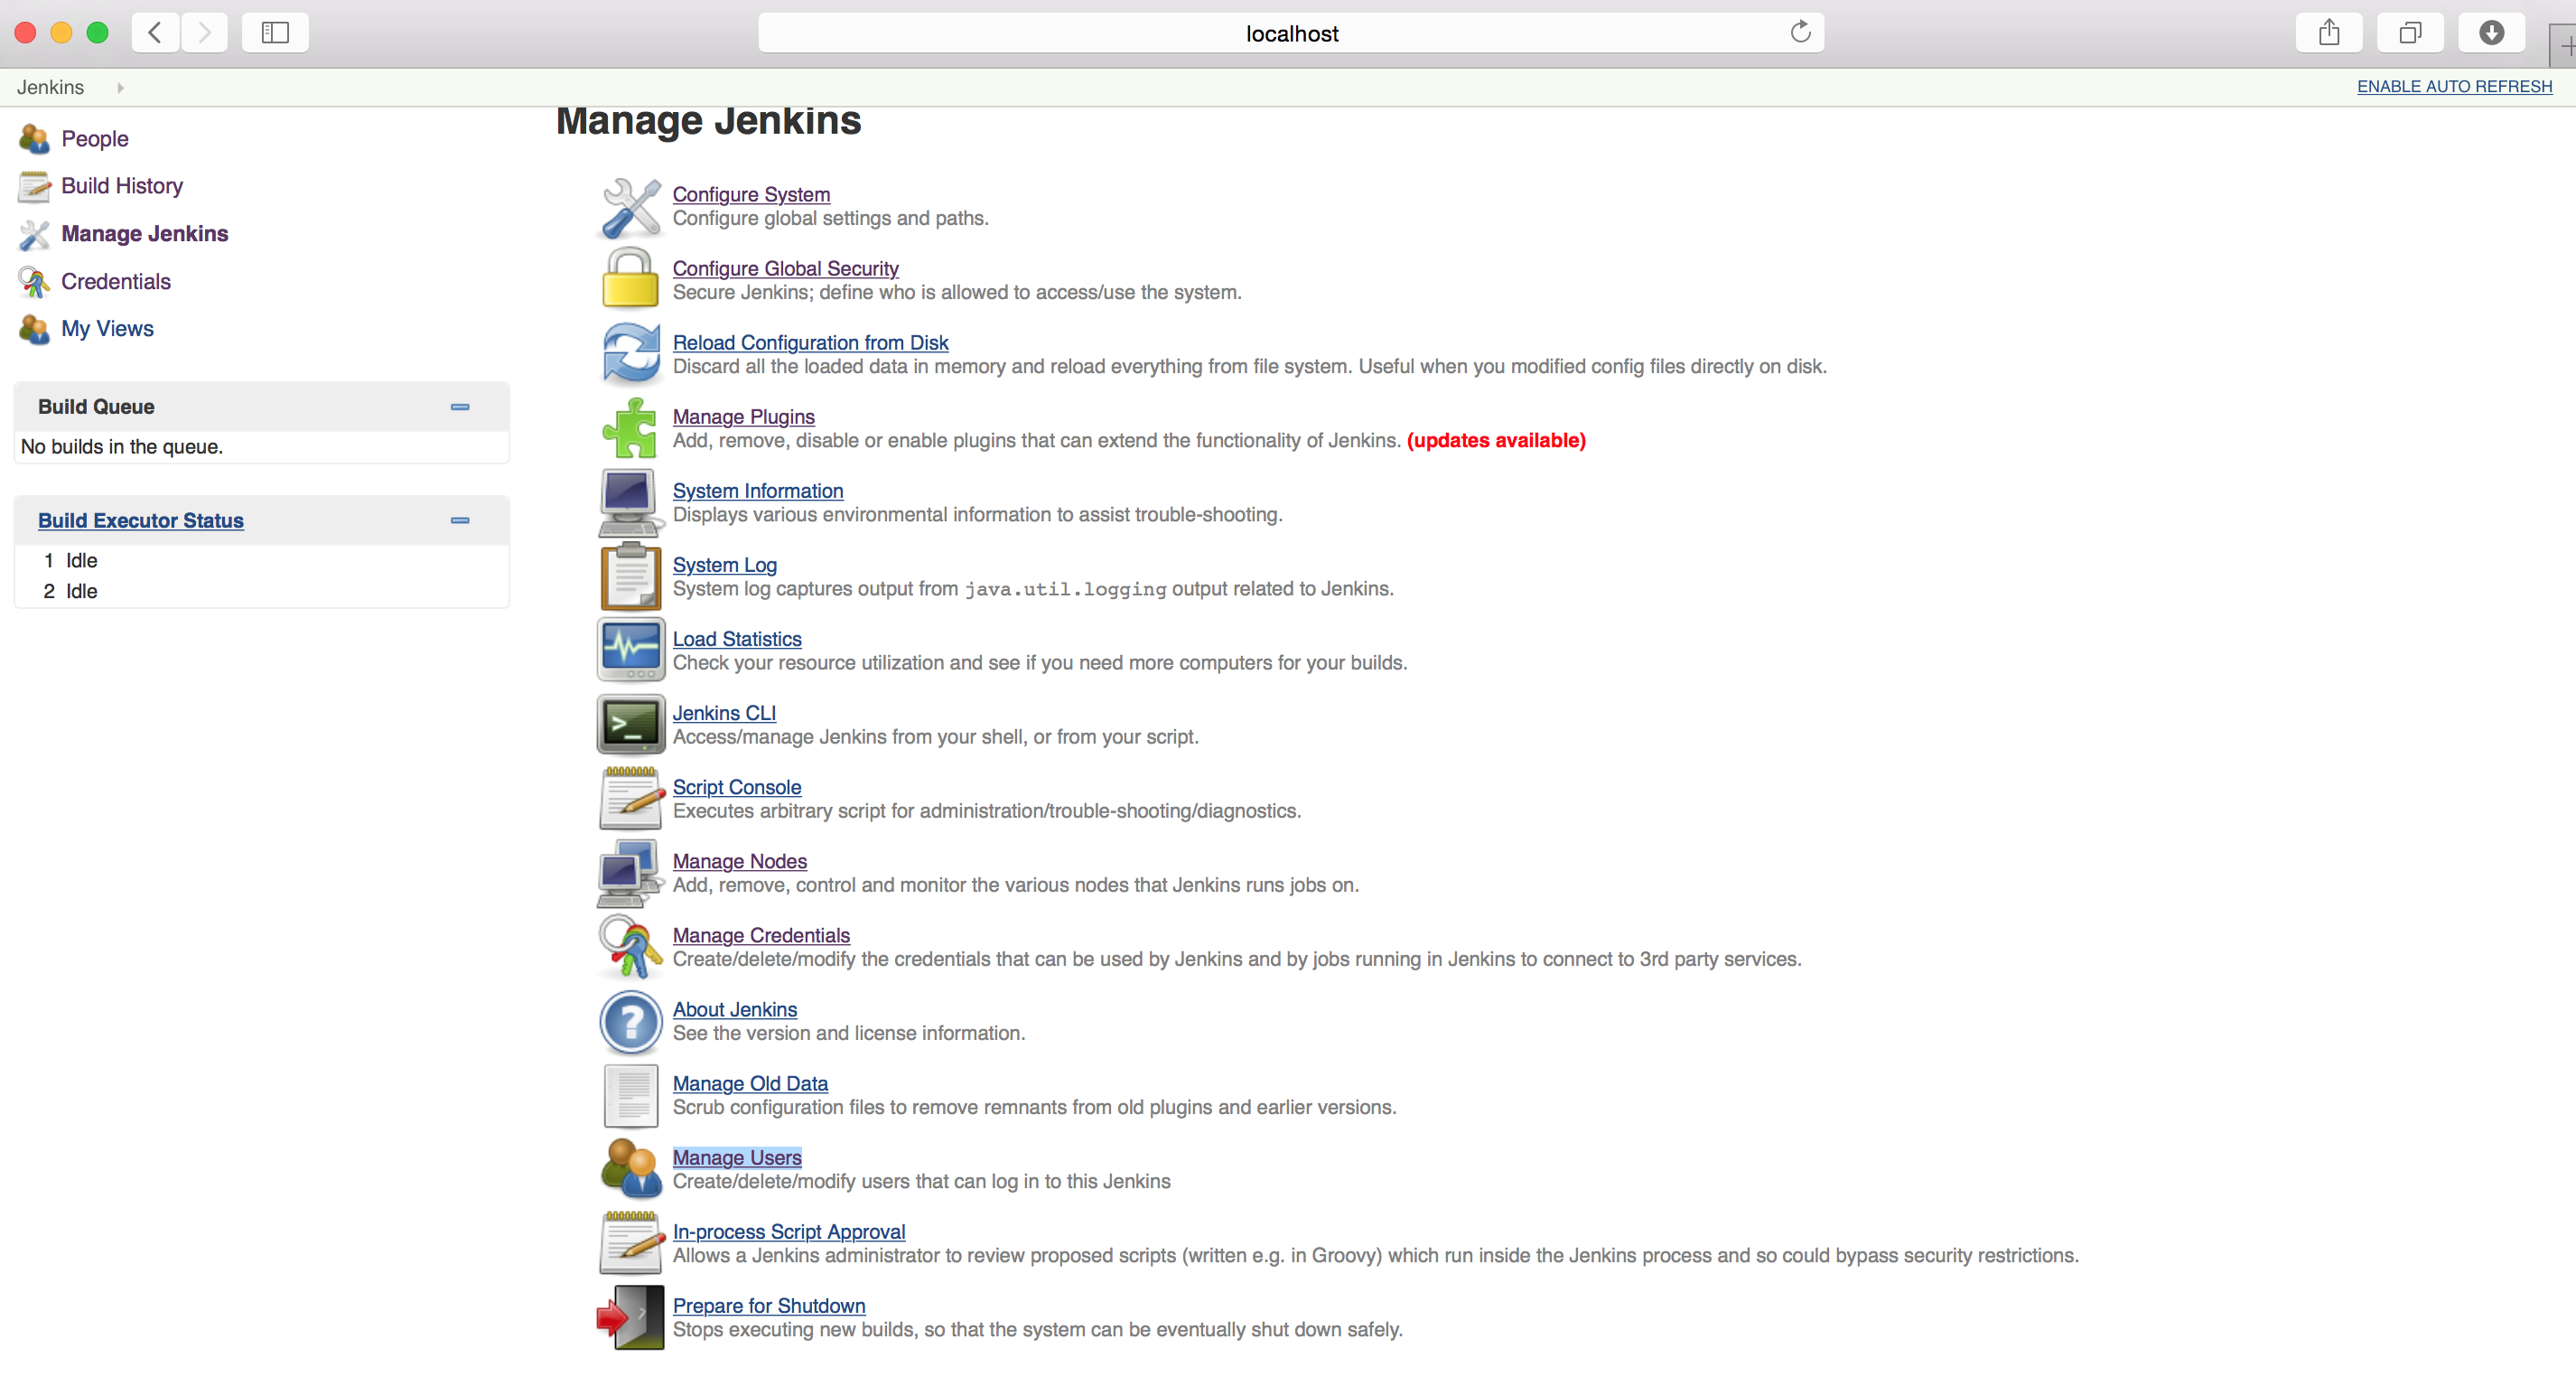
This will open a webpage where you can see all the available users. As you just created only one user, it will list out that user

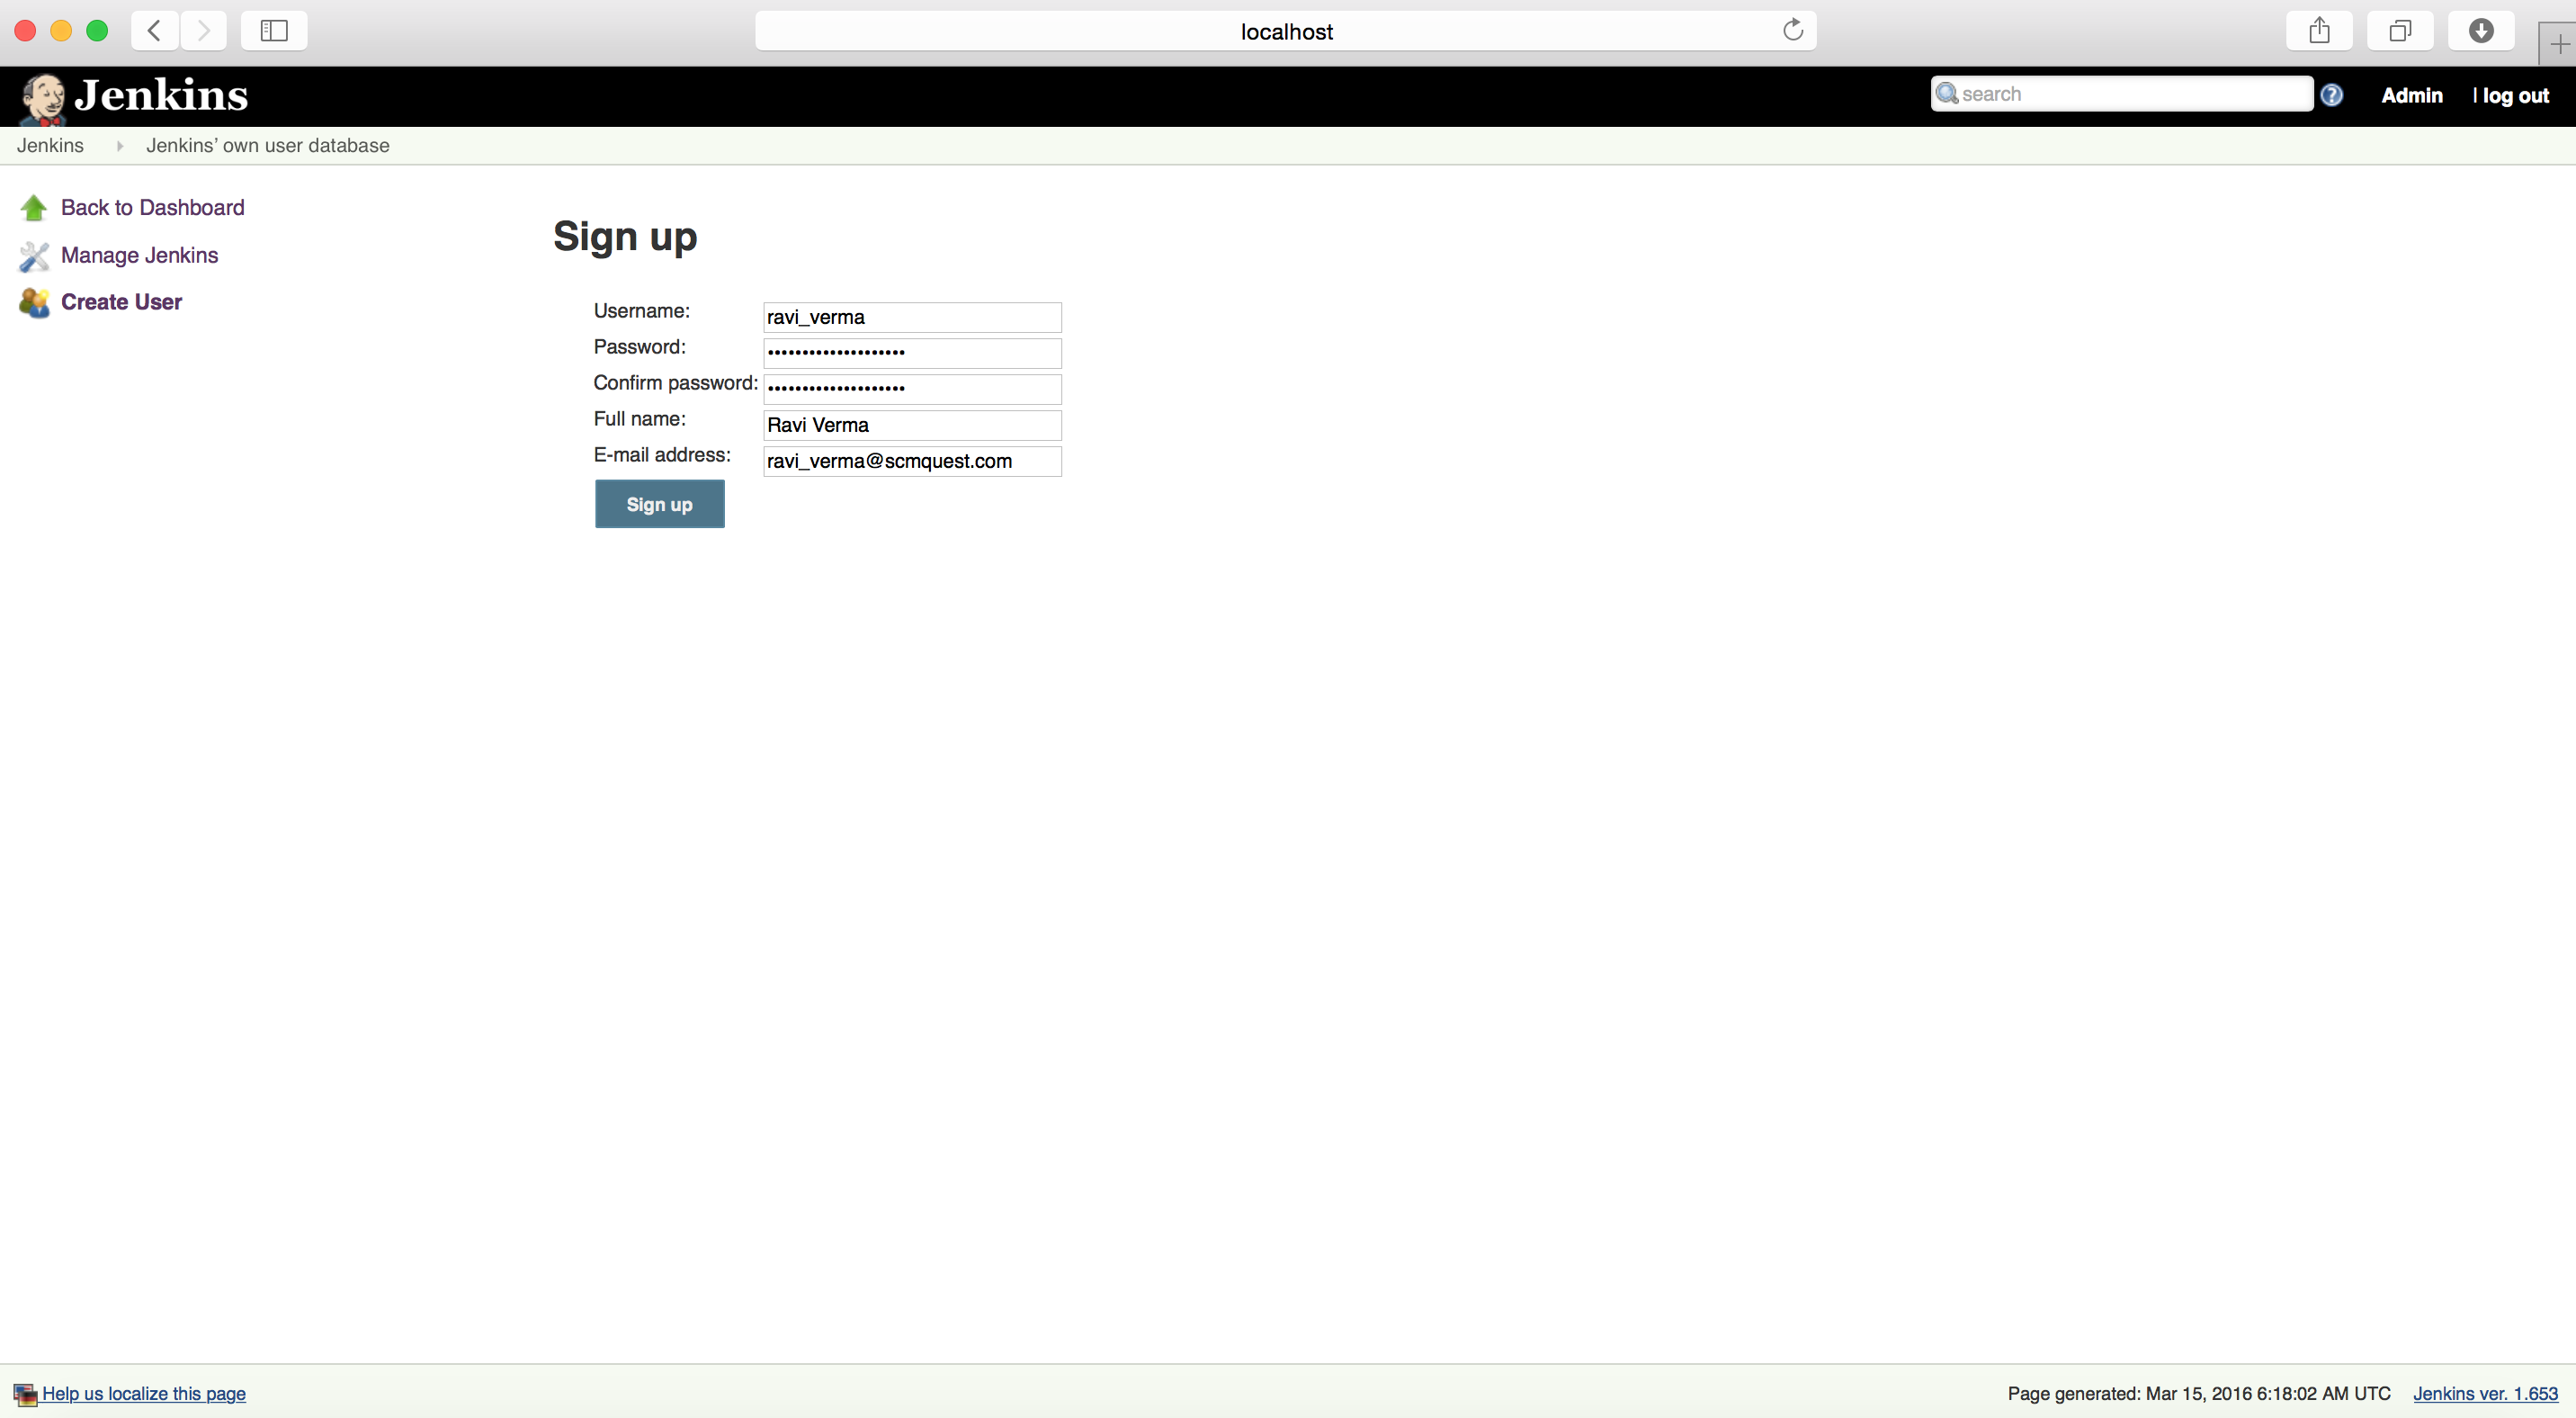
Now click on “Create User” link present on left hand side bar and fill the user details accordingly
Once done, click on Sign-up and new user will be added to Jenkins database.
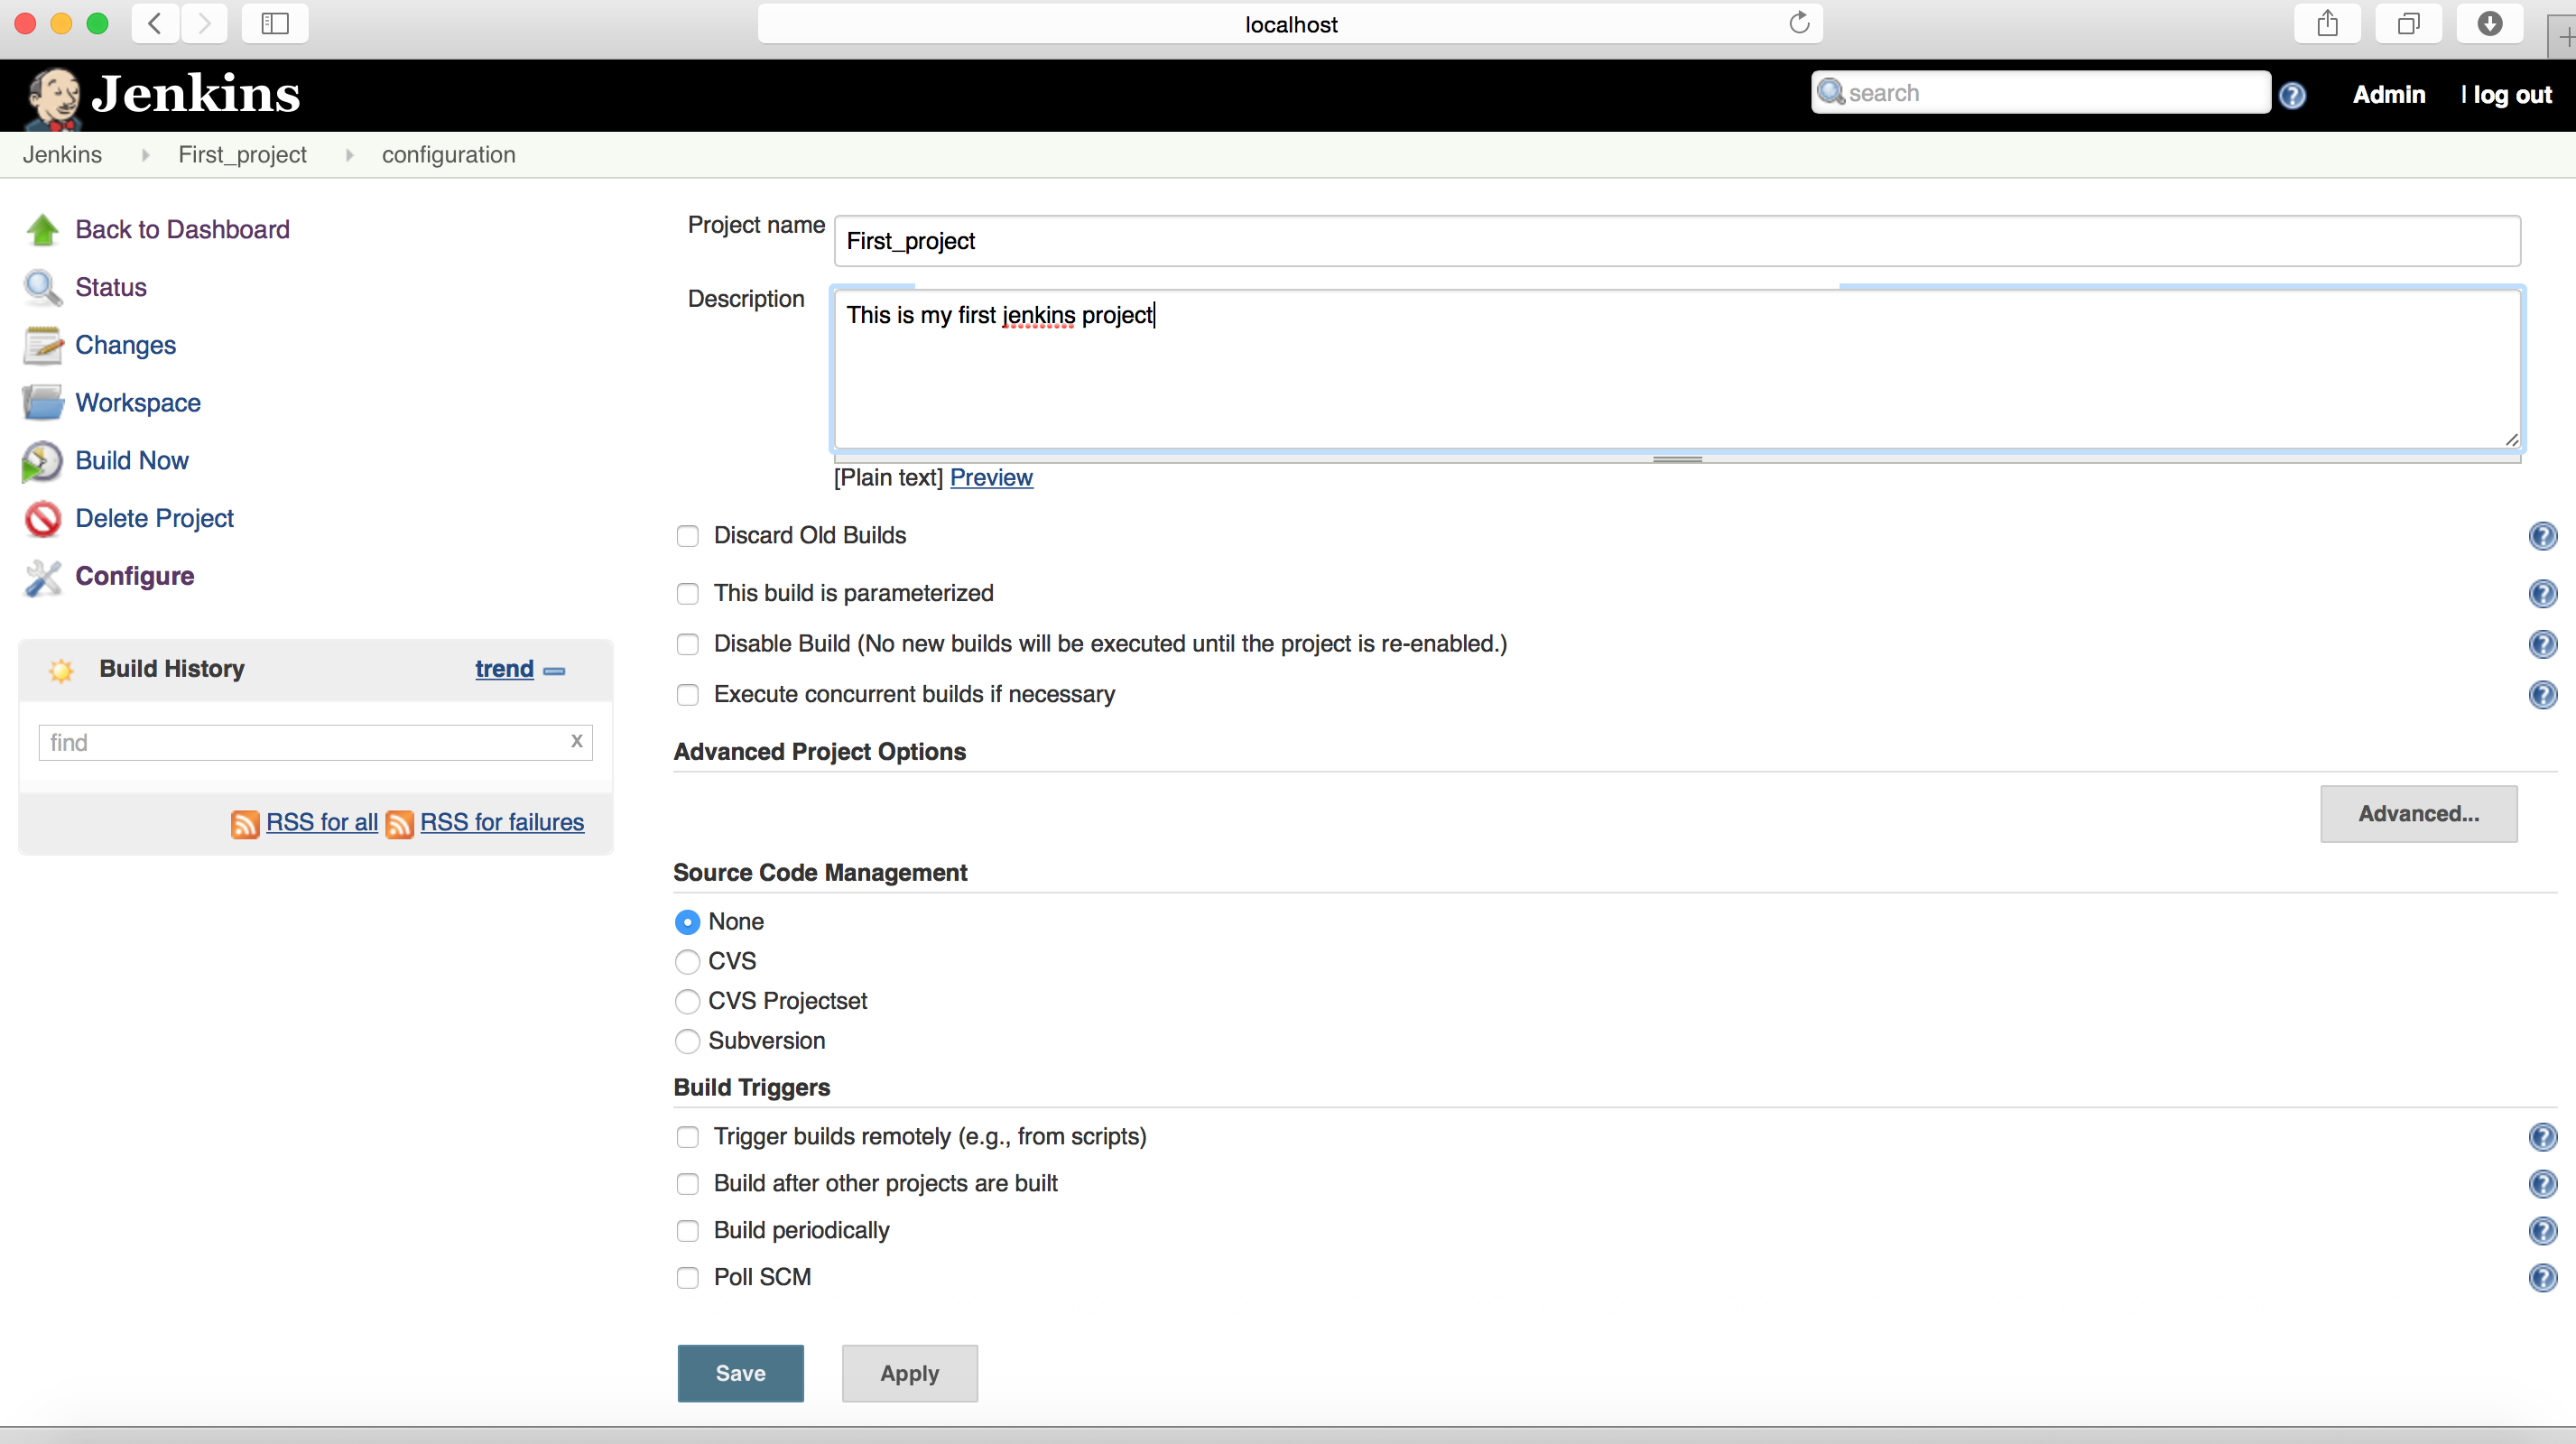
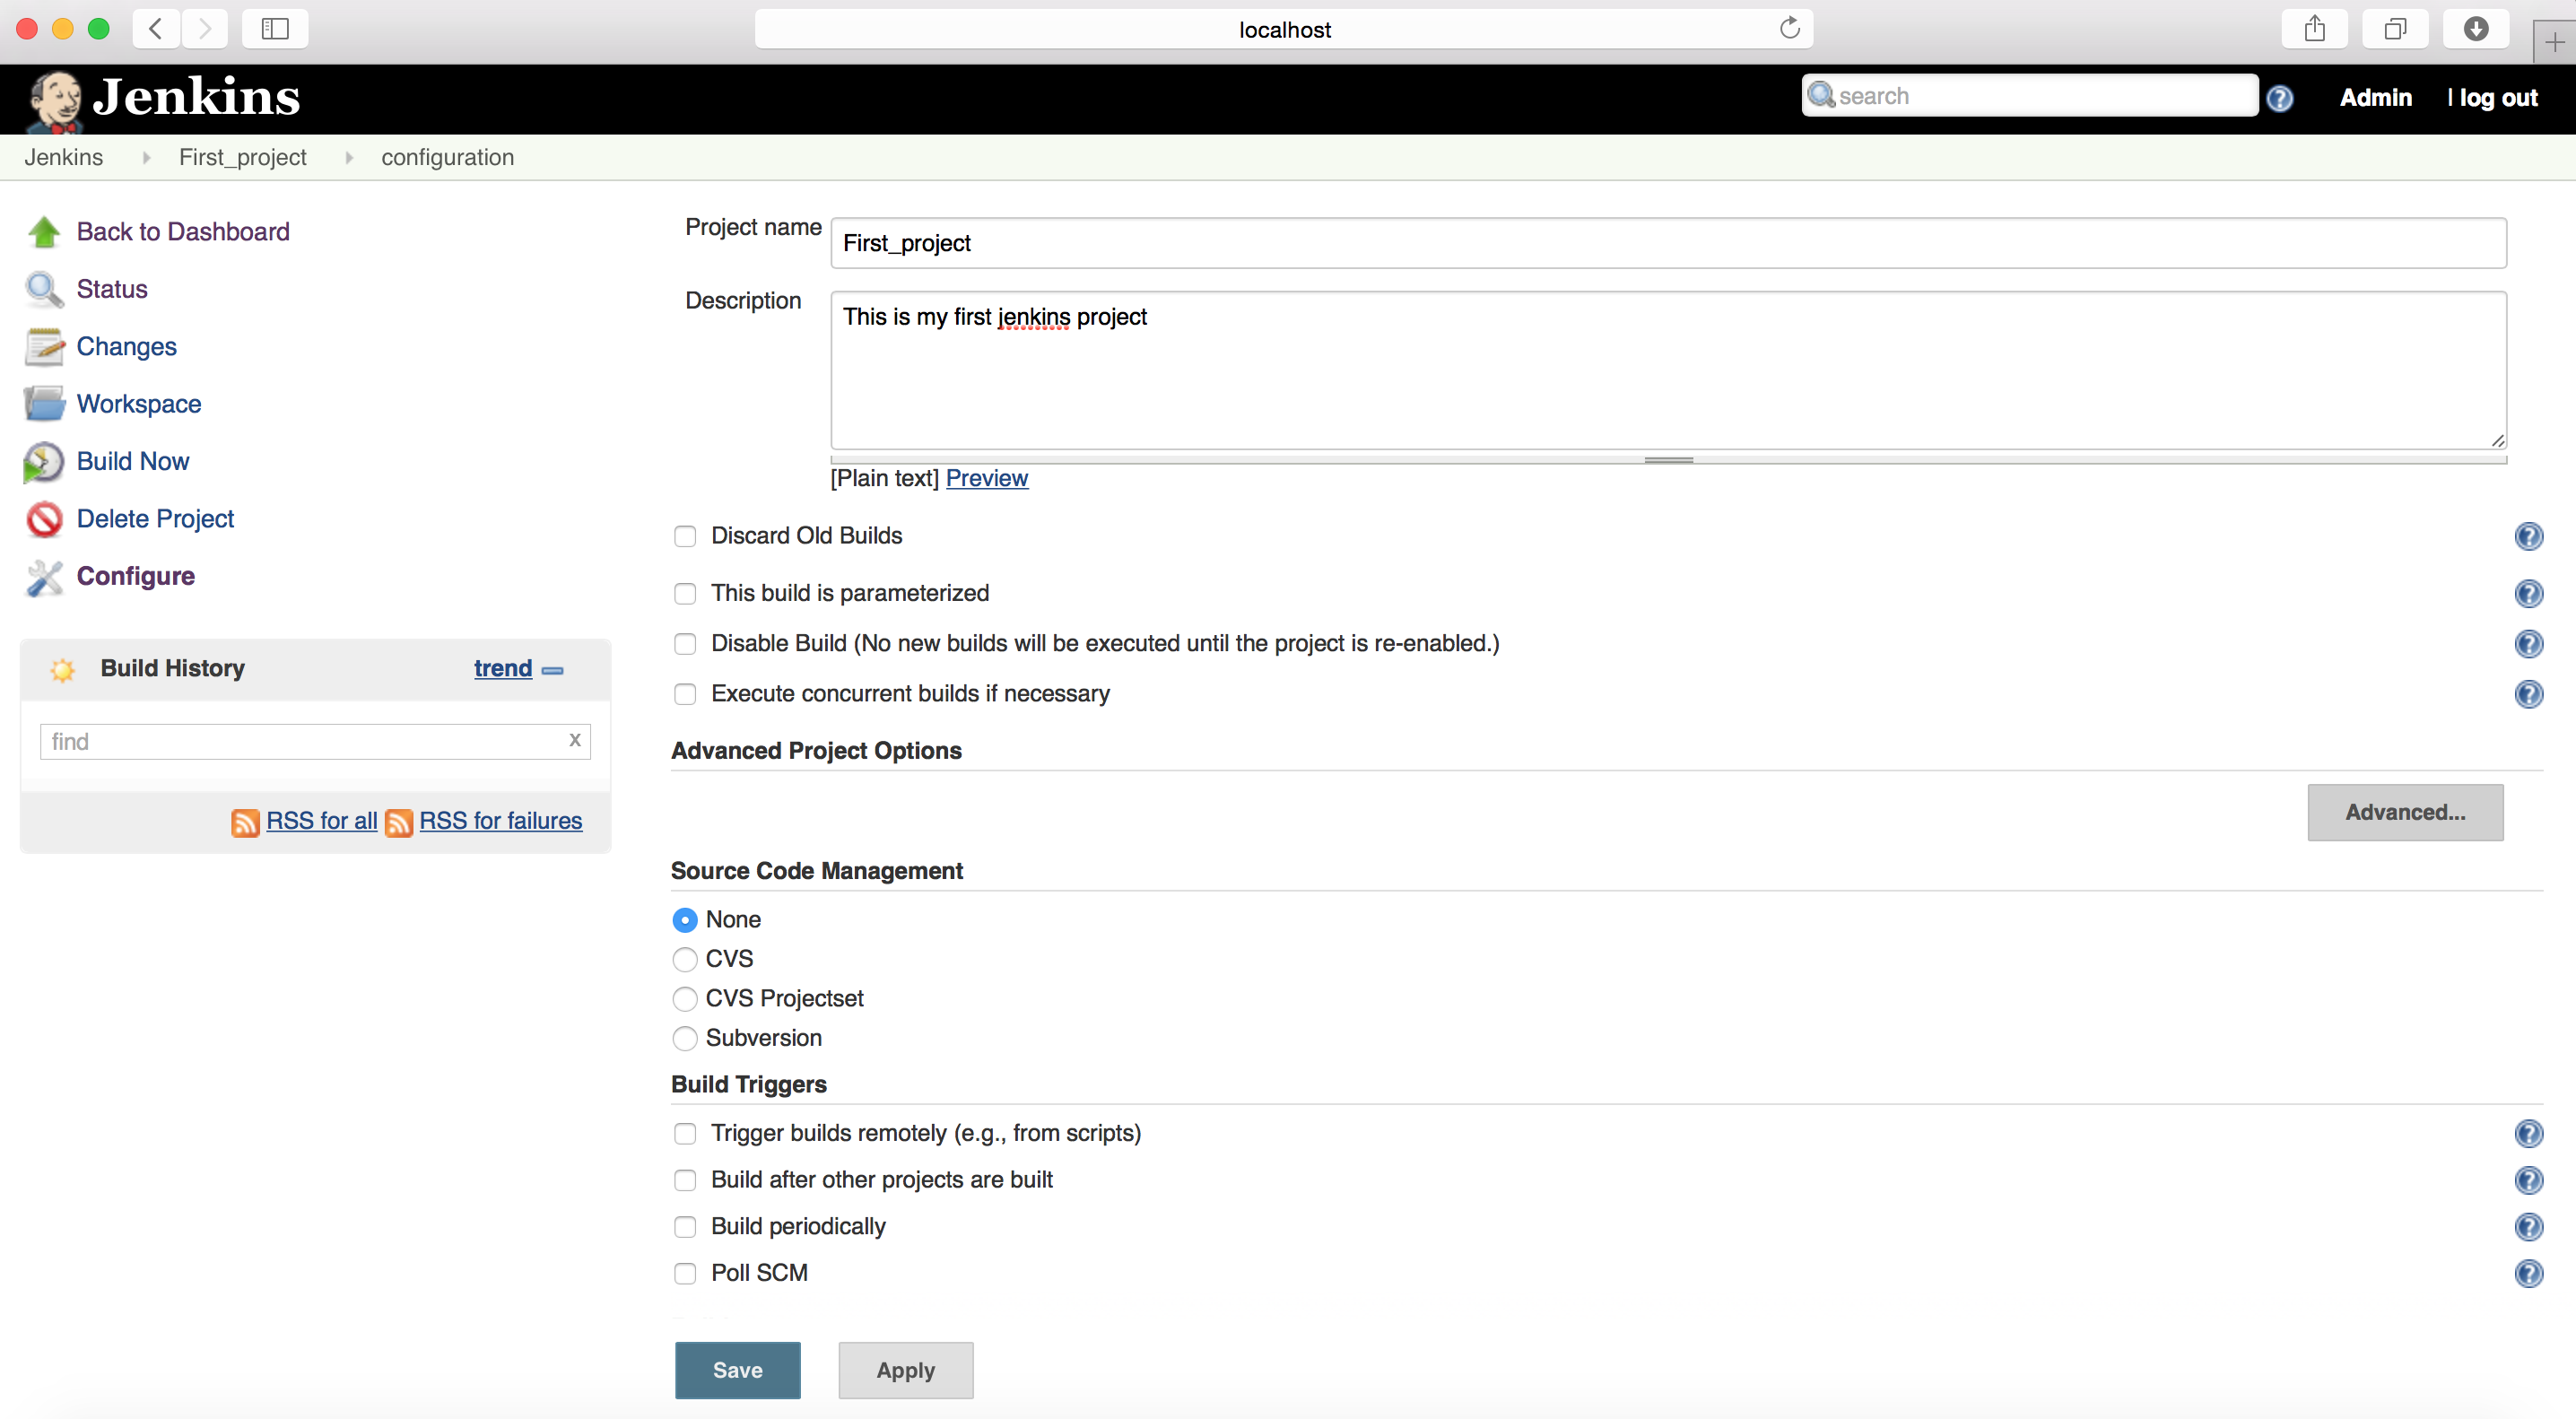
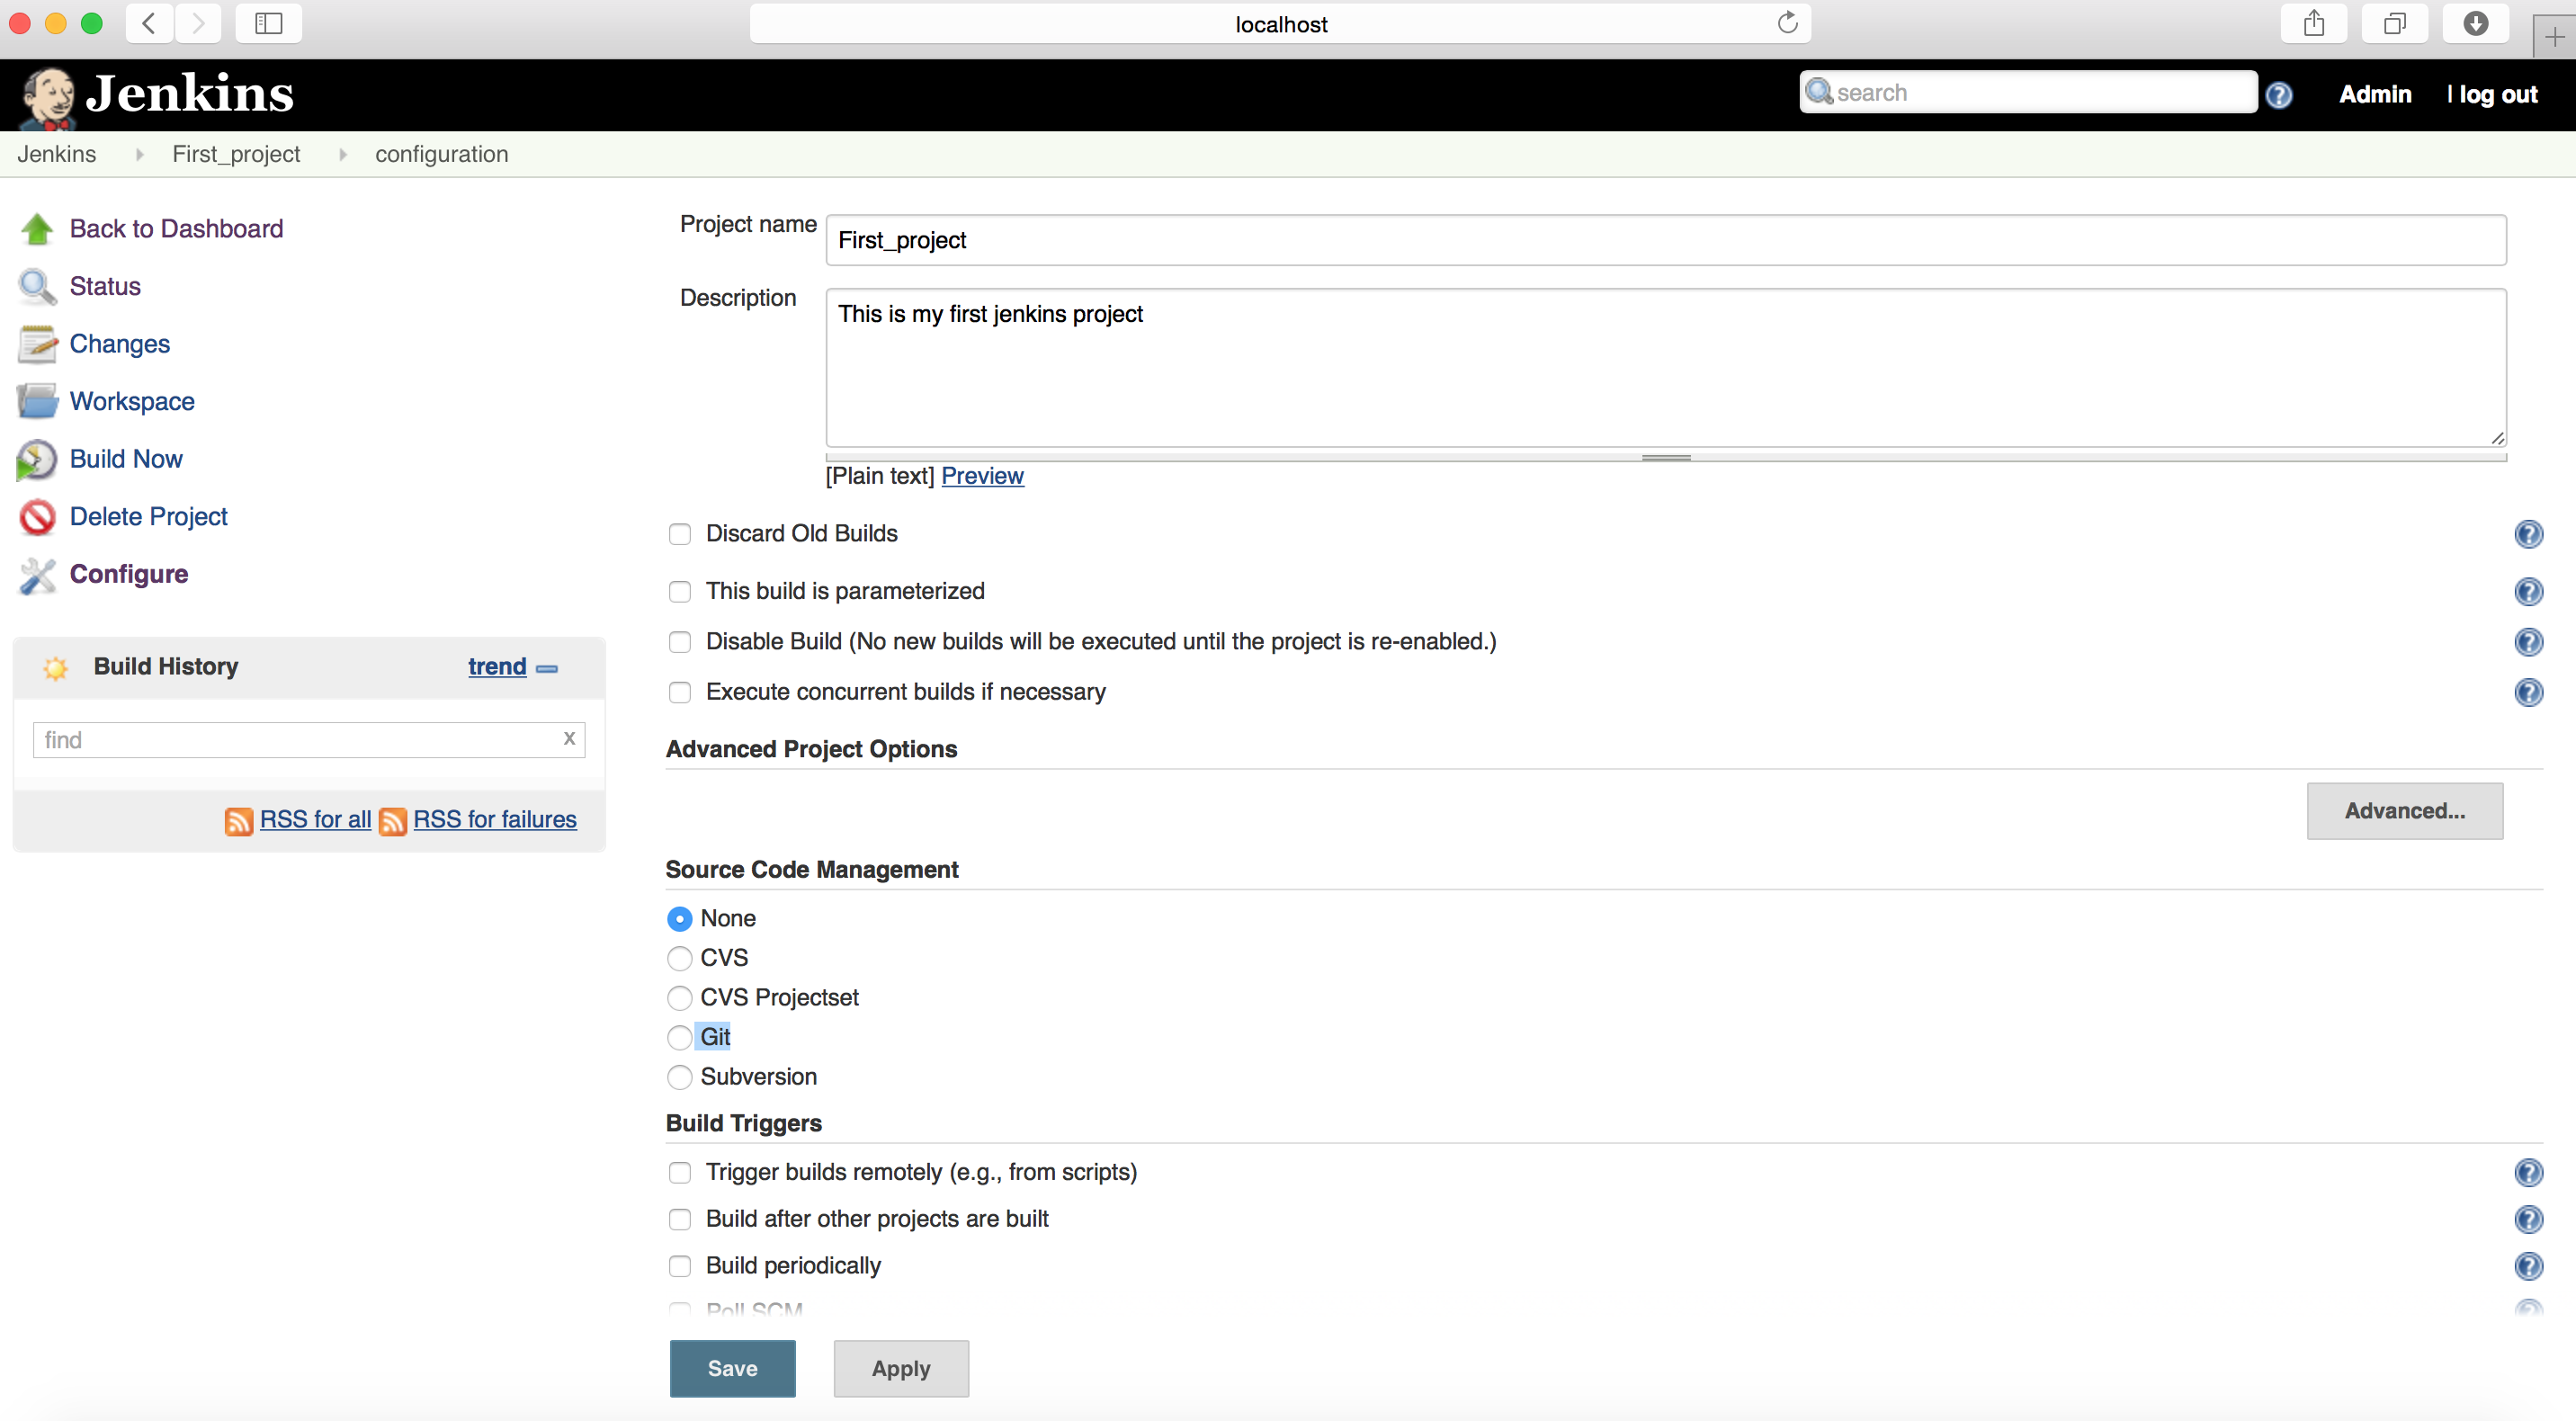
Now create a project to get started.
You can give a brief description about your project if you want.
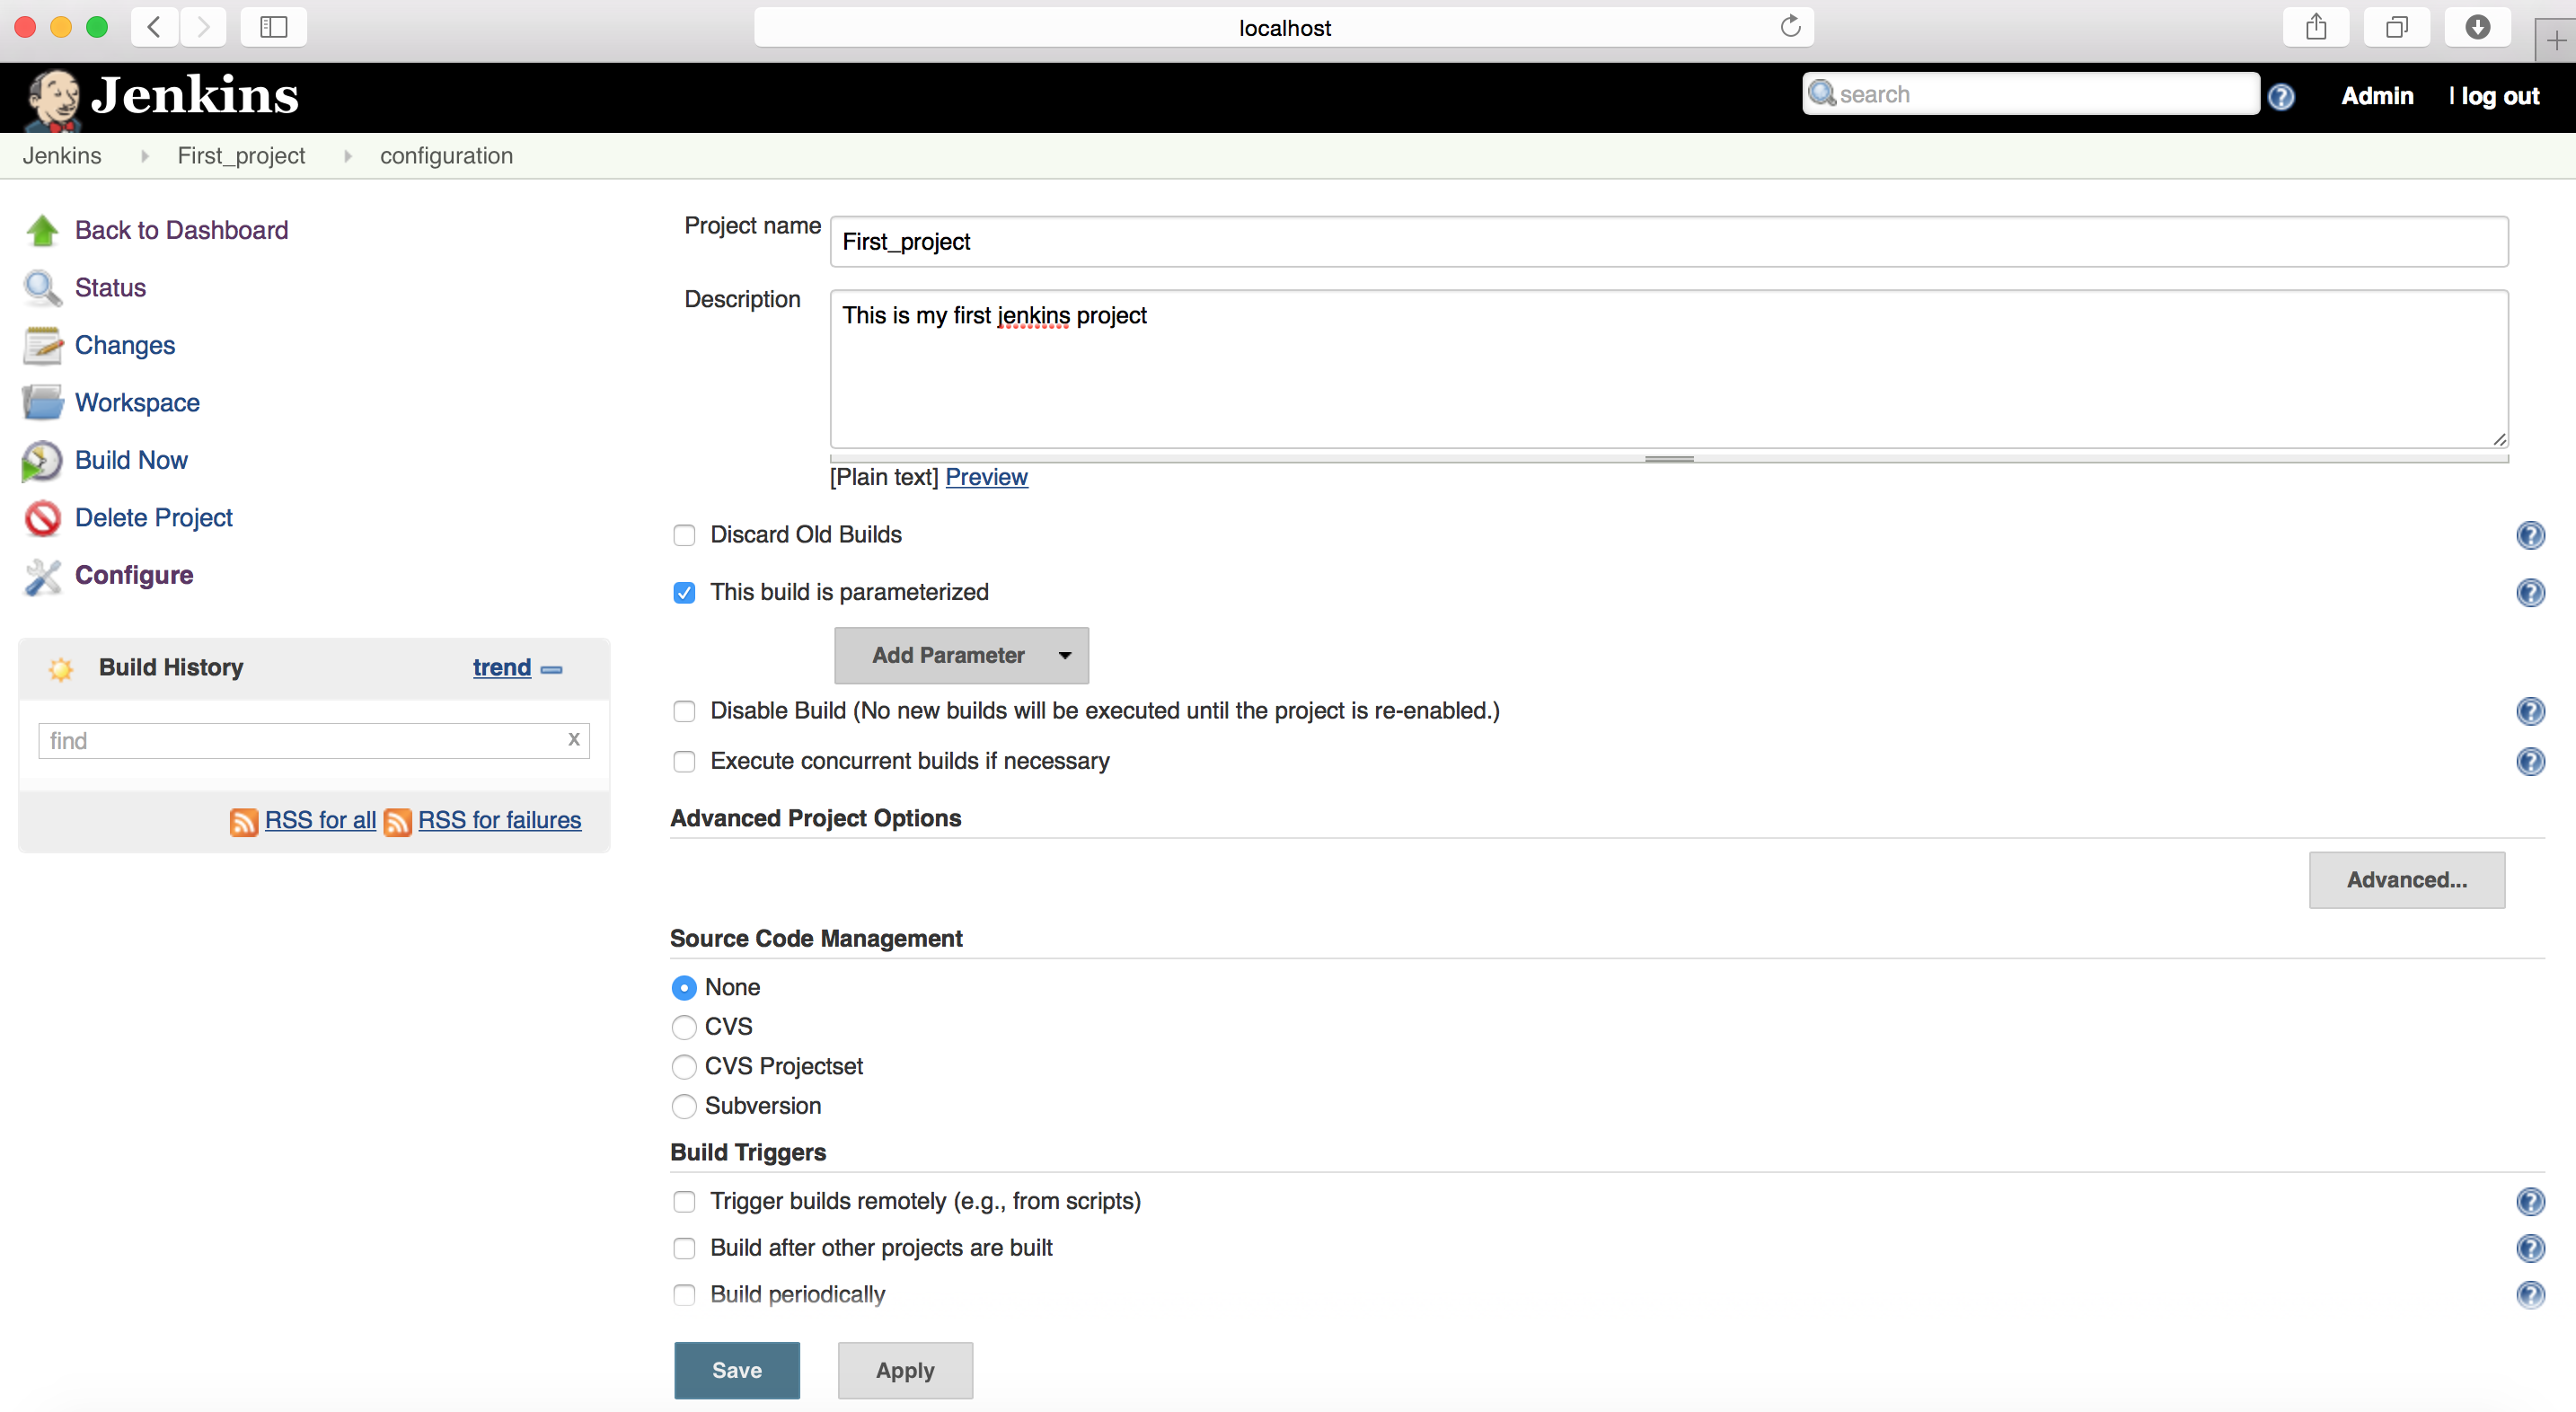
You can define other options, as shown below:
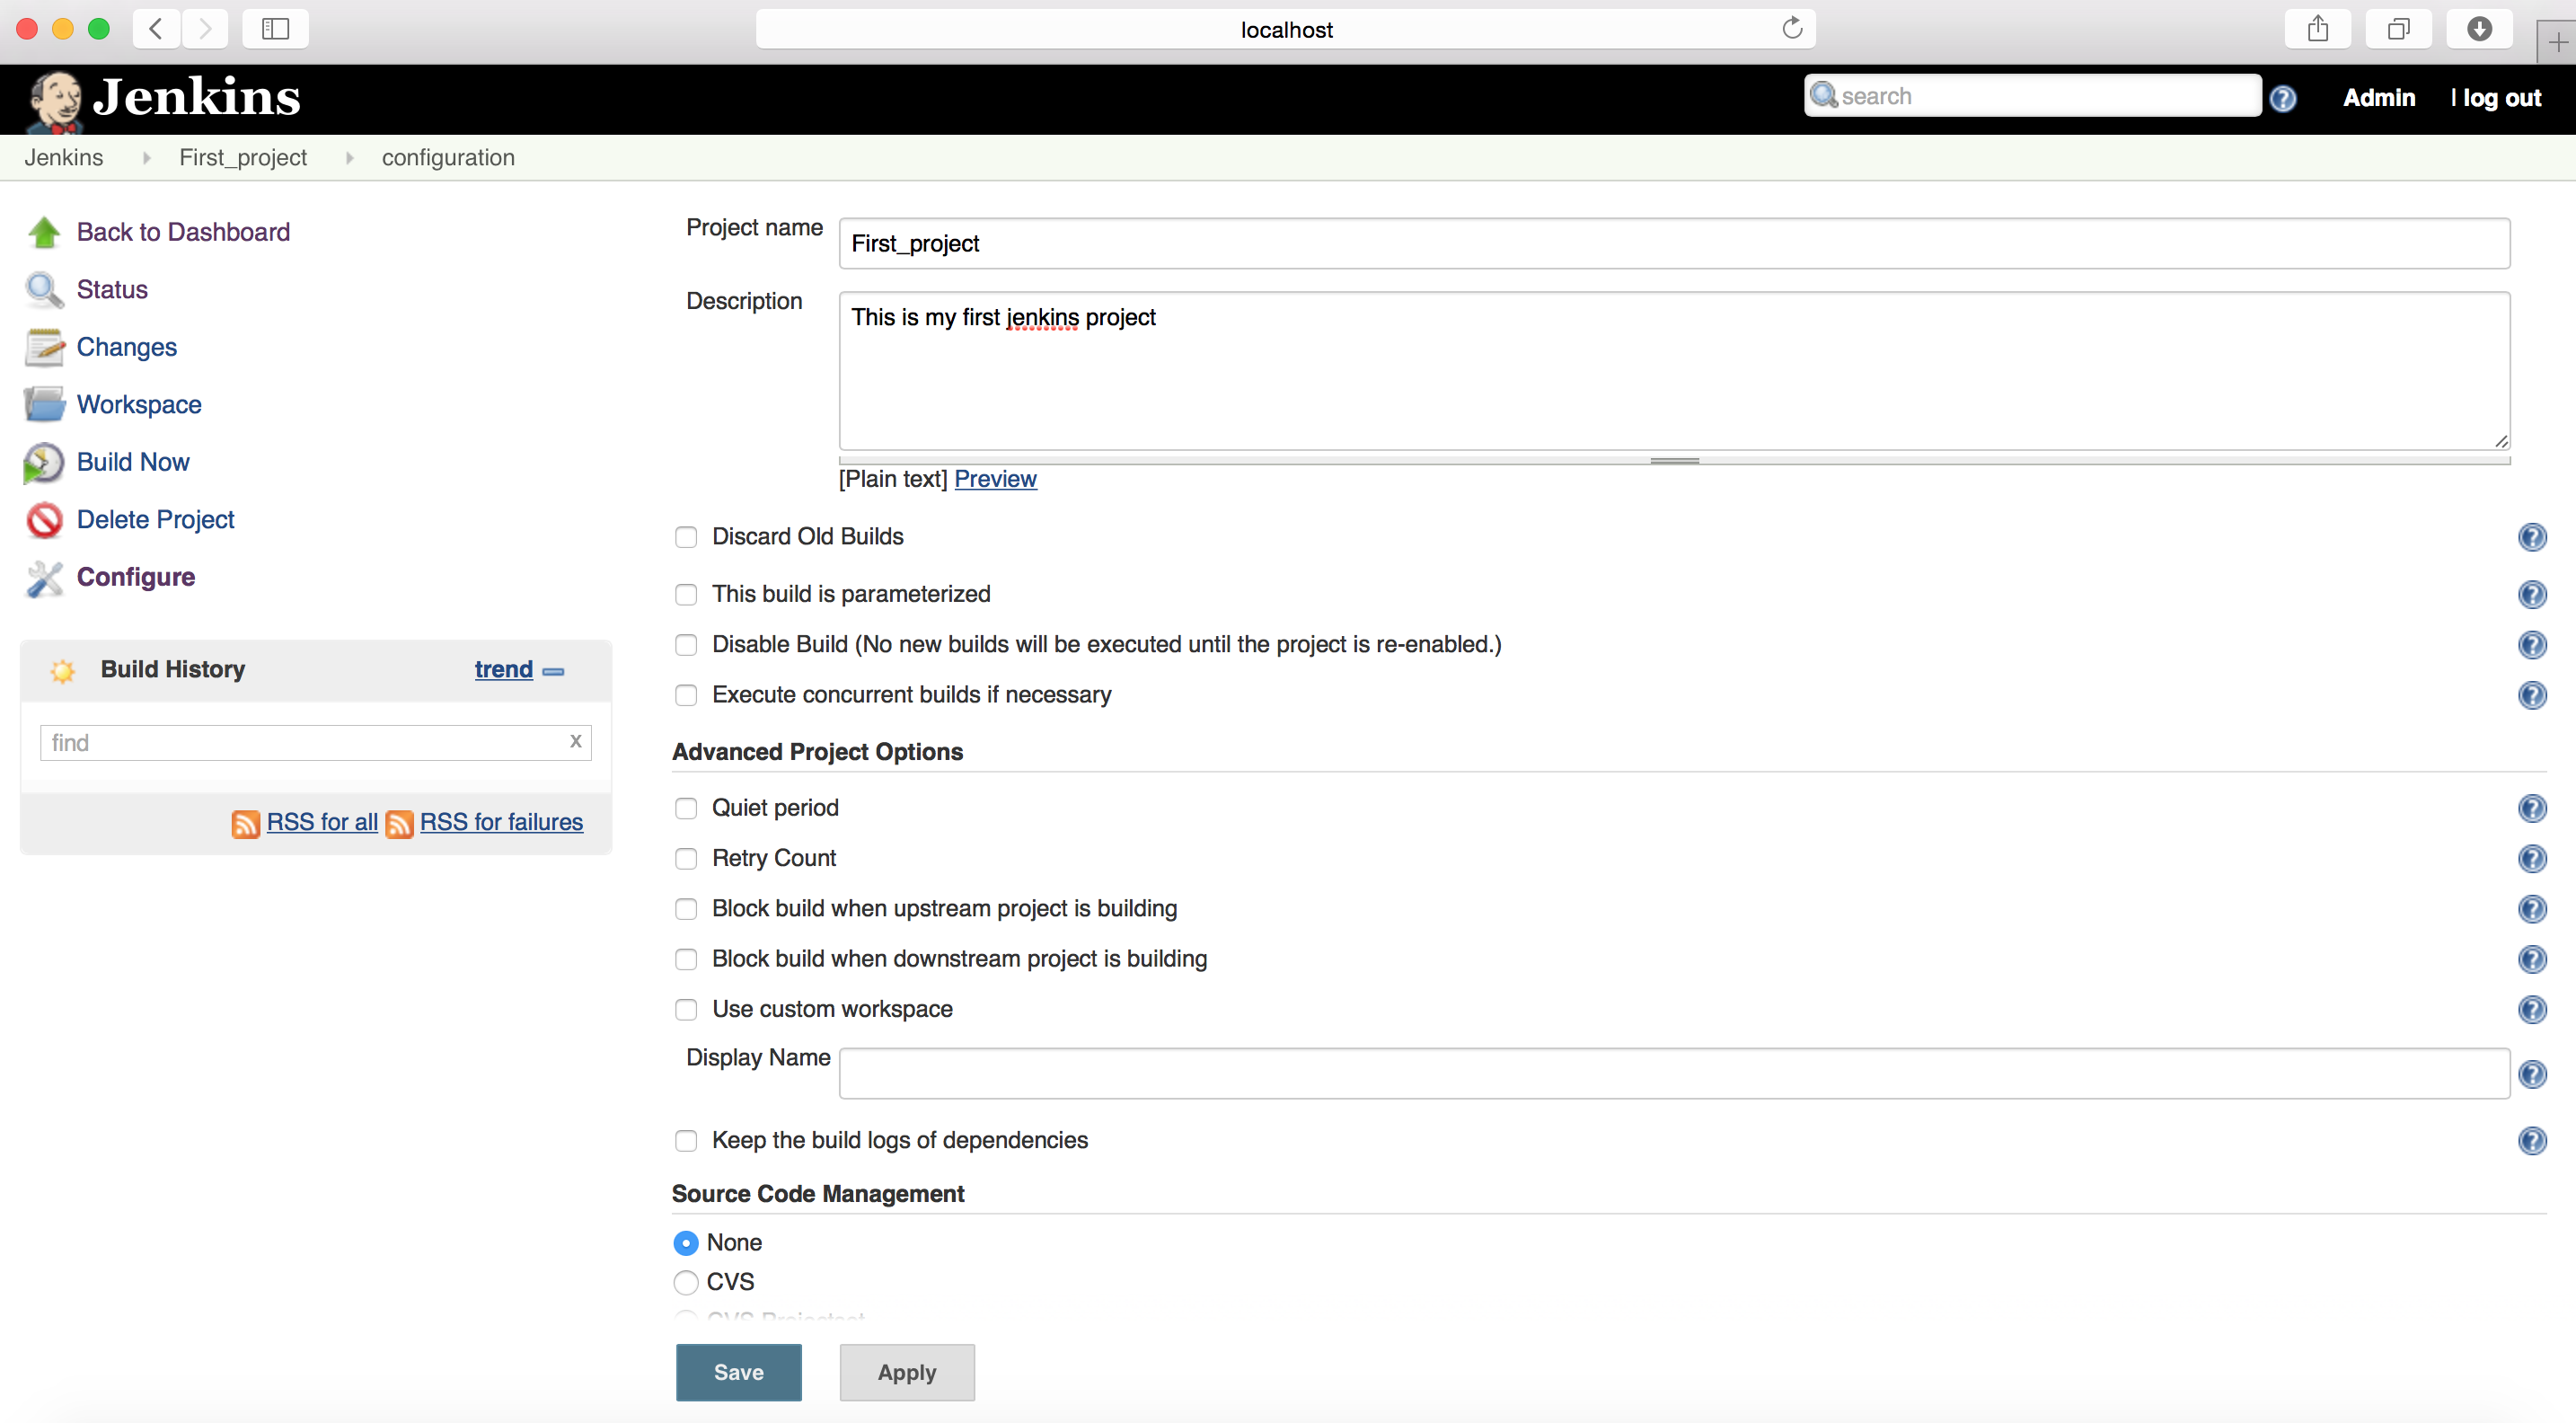
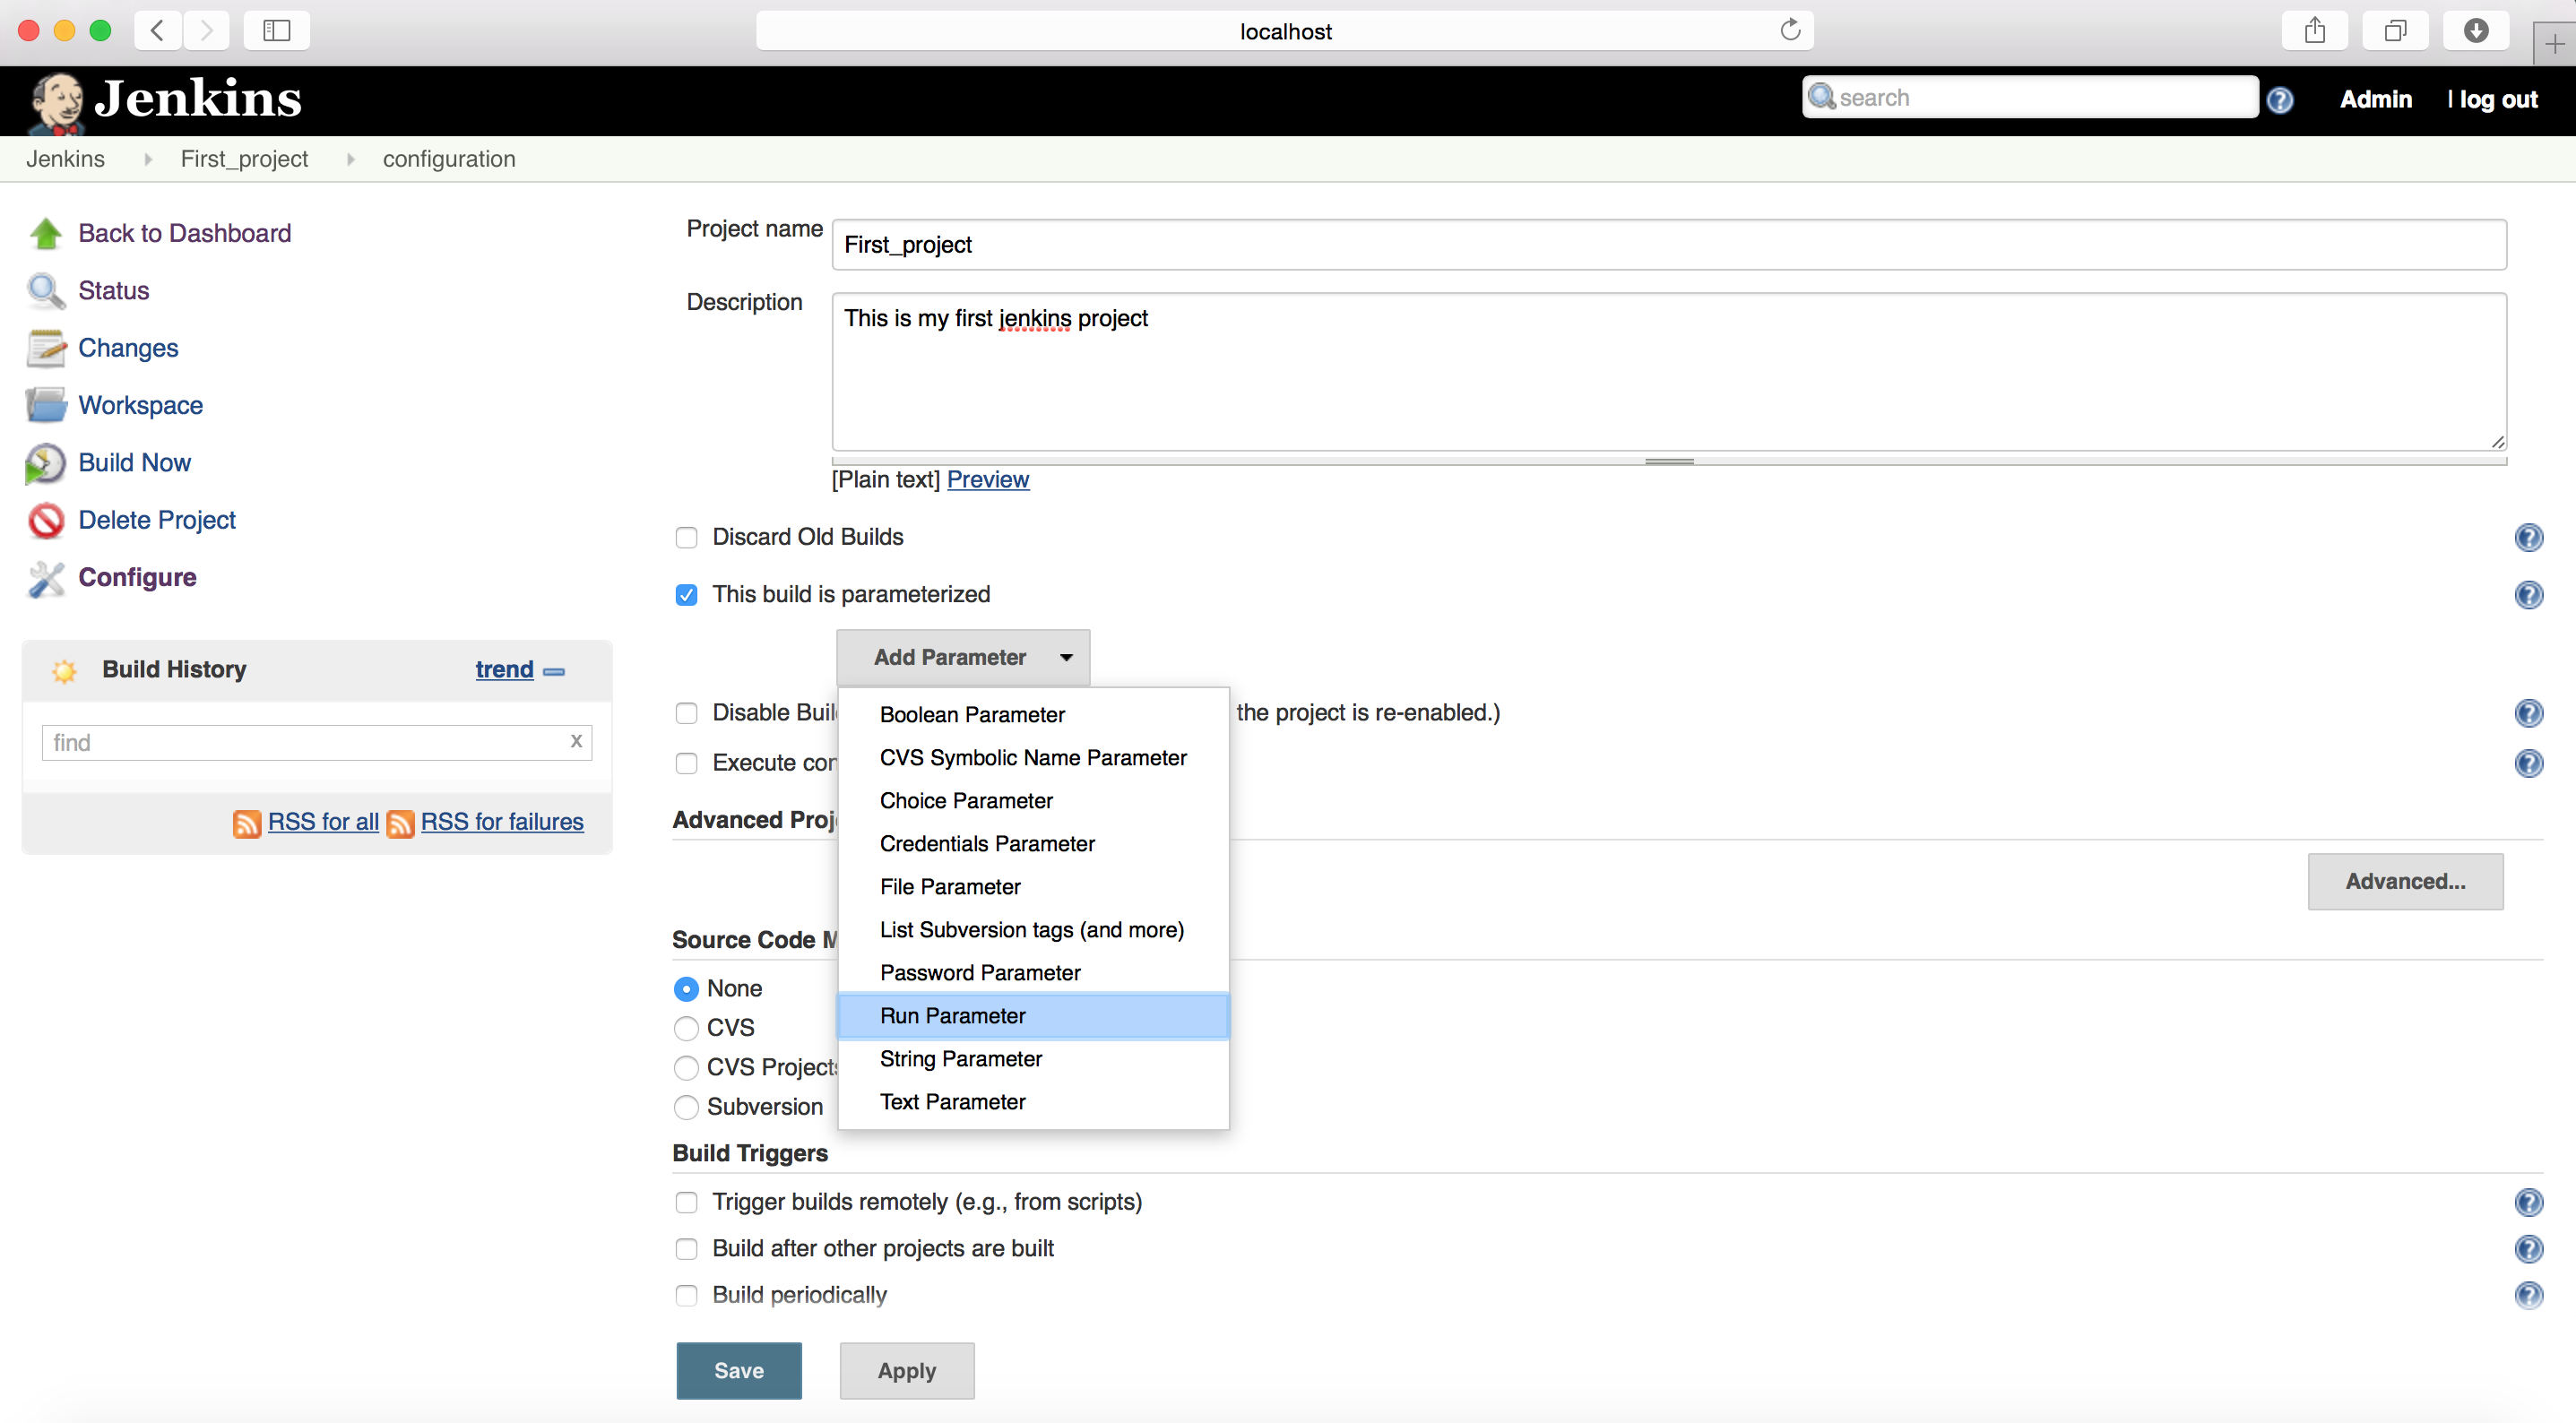
If you define the build as parameterised, it will show you another option to add a new parameter
By default, only CVS and subversion is available as Source code management.
But don’t forget – Jenkins works with plugins and there are thousand of plugins to fulfil your requests.
In case you need any other VCS, just save this project configuration now and we will configure it later.
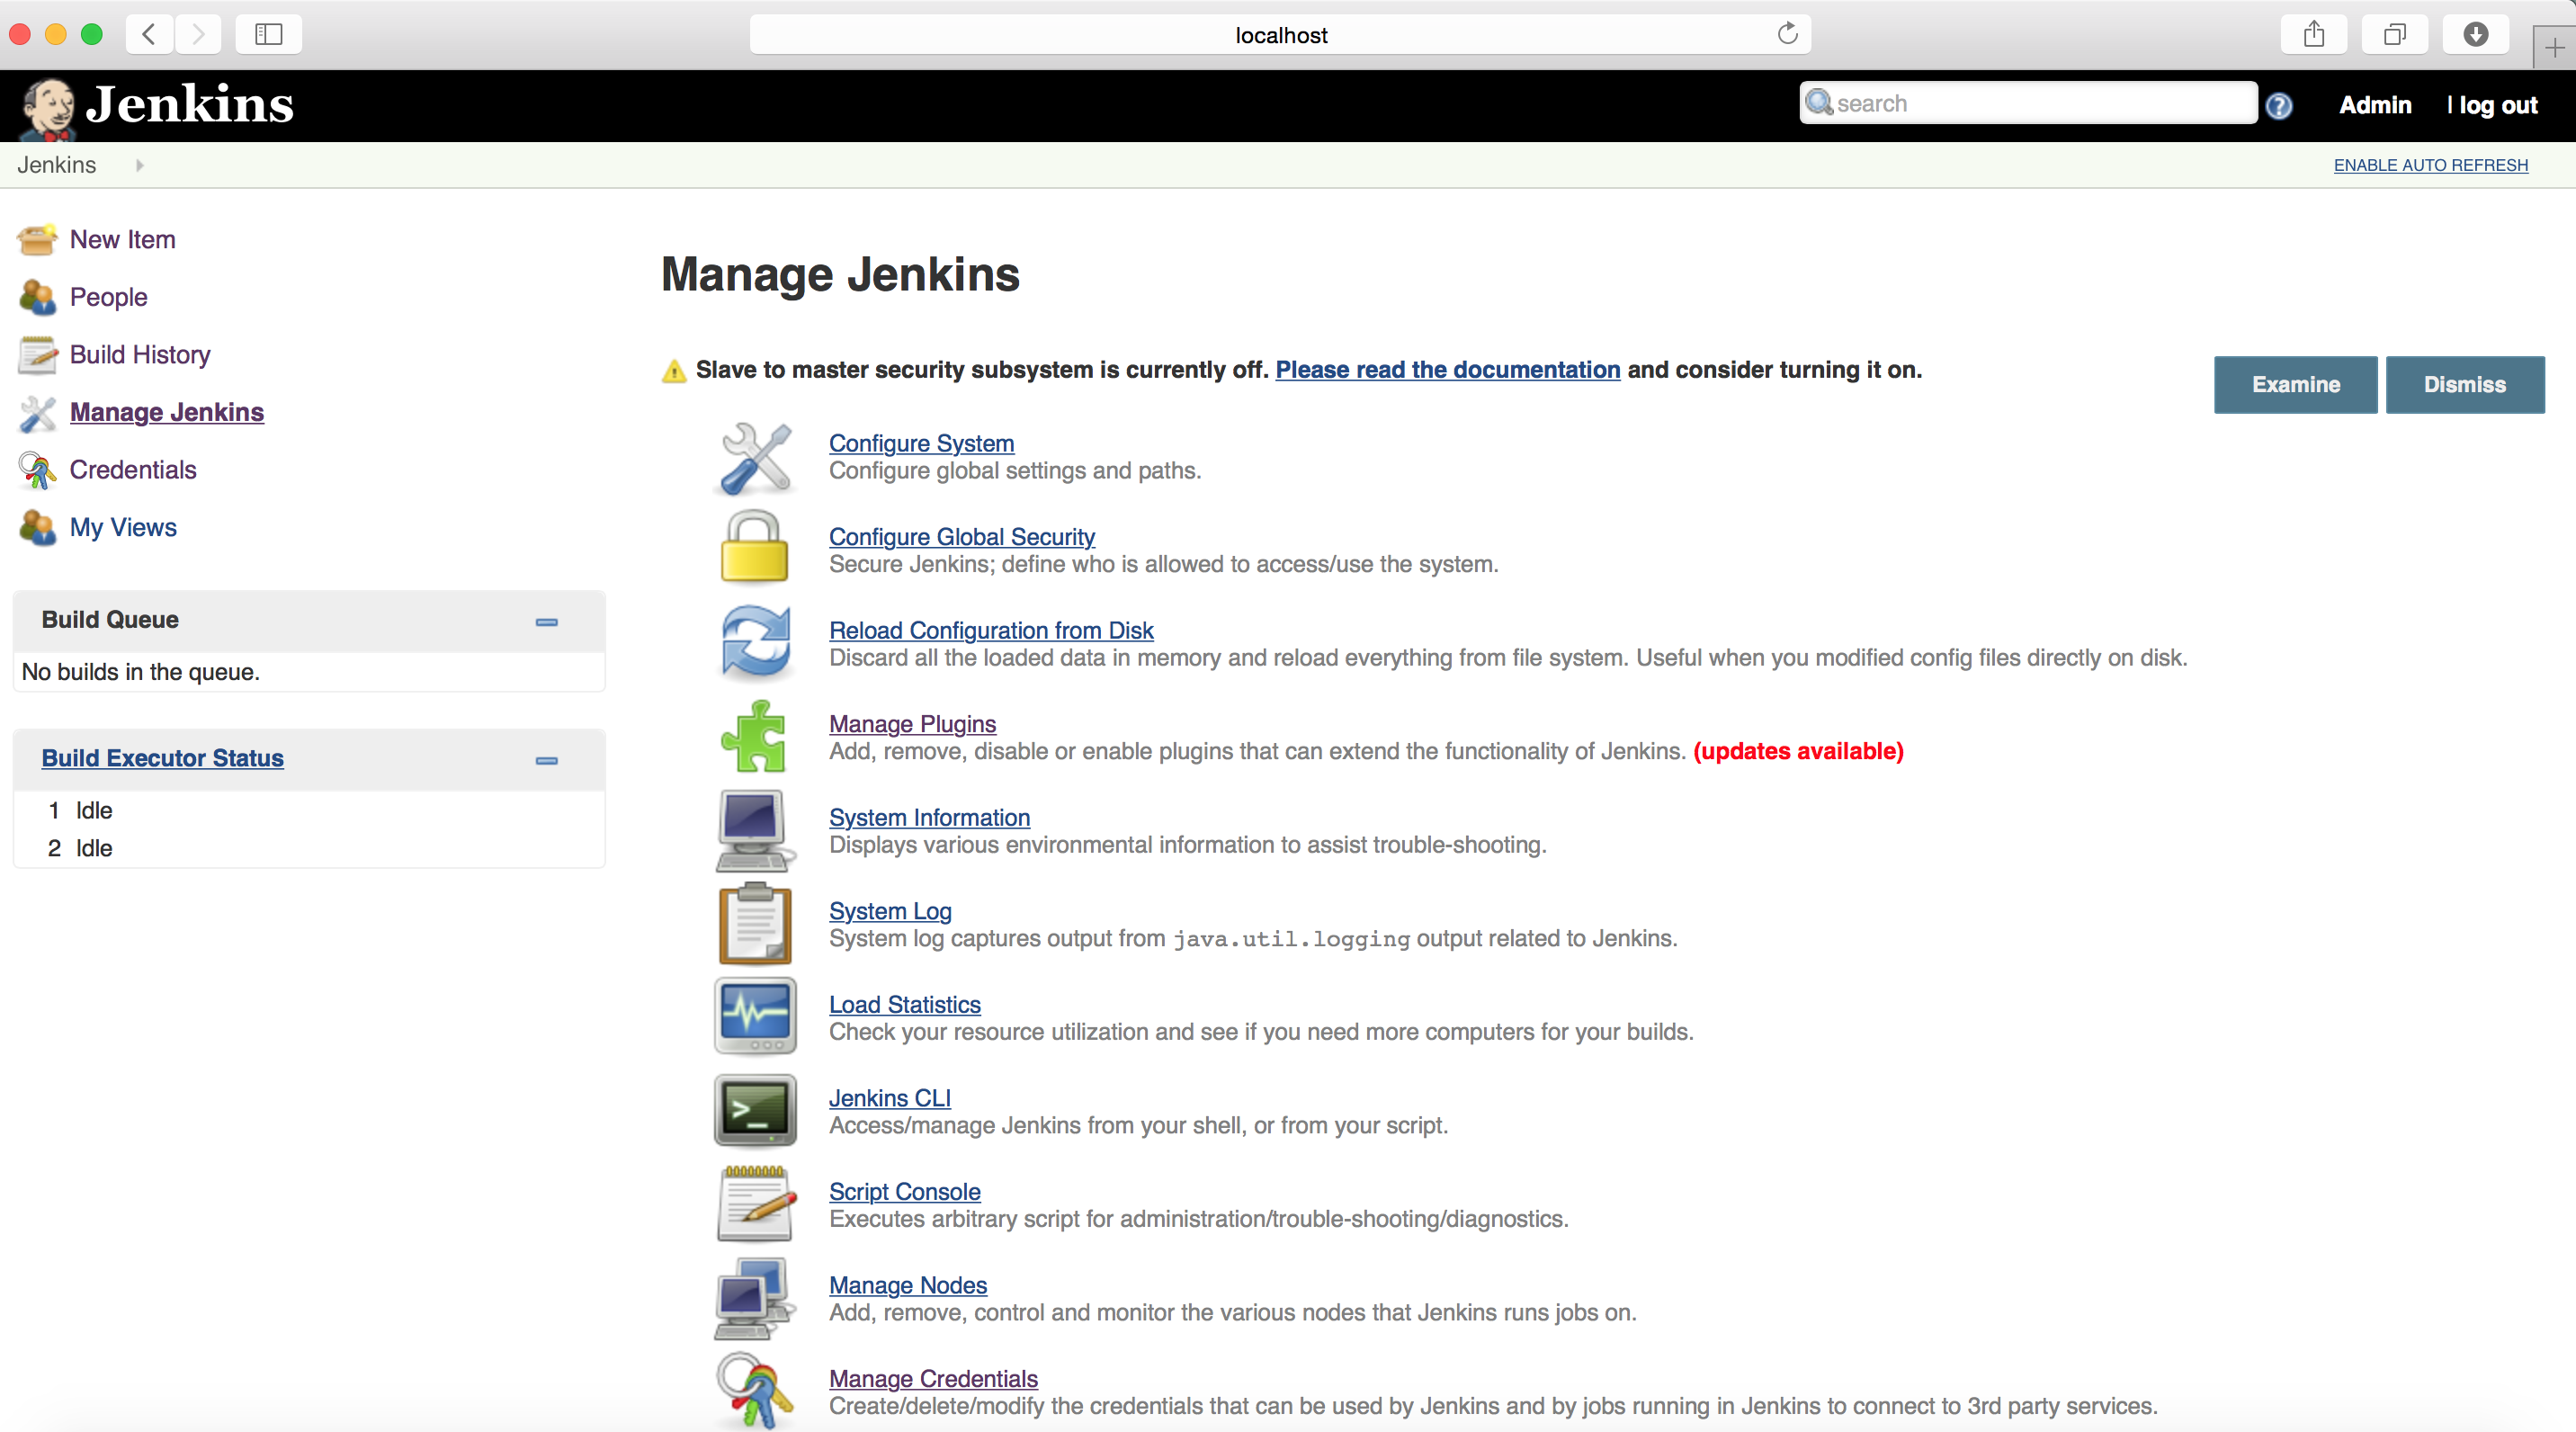
Again go to the link “Manage Jenkins”
Click on “Manage Plugins”
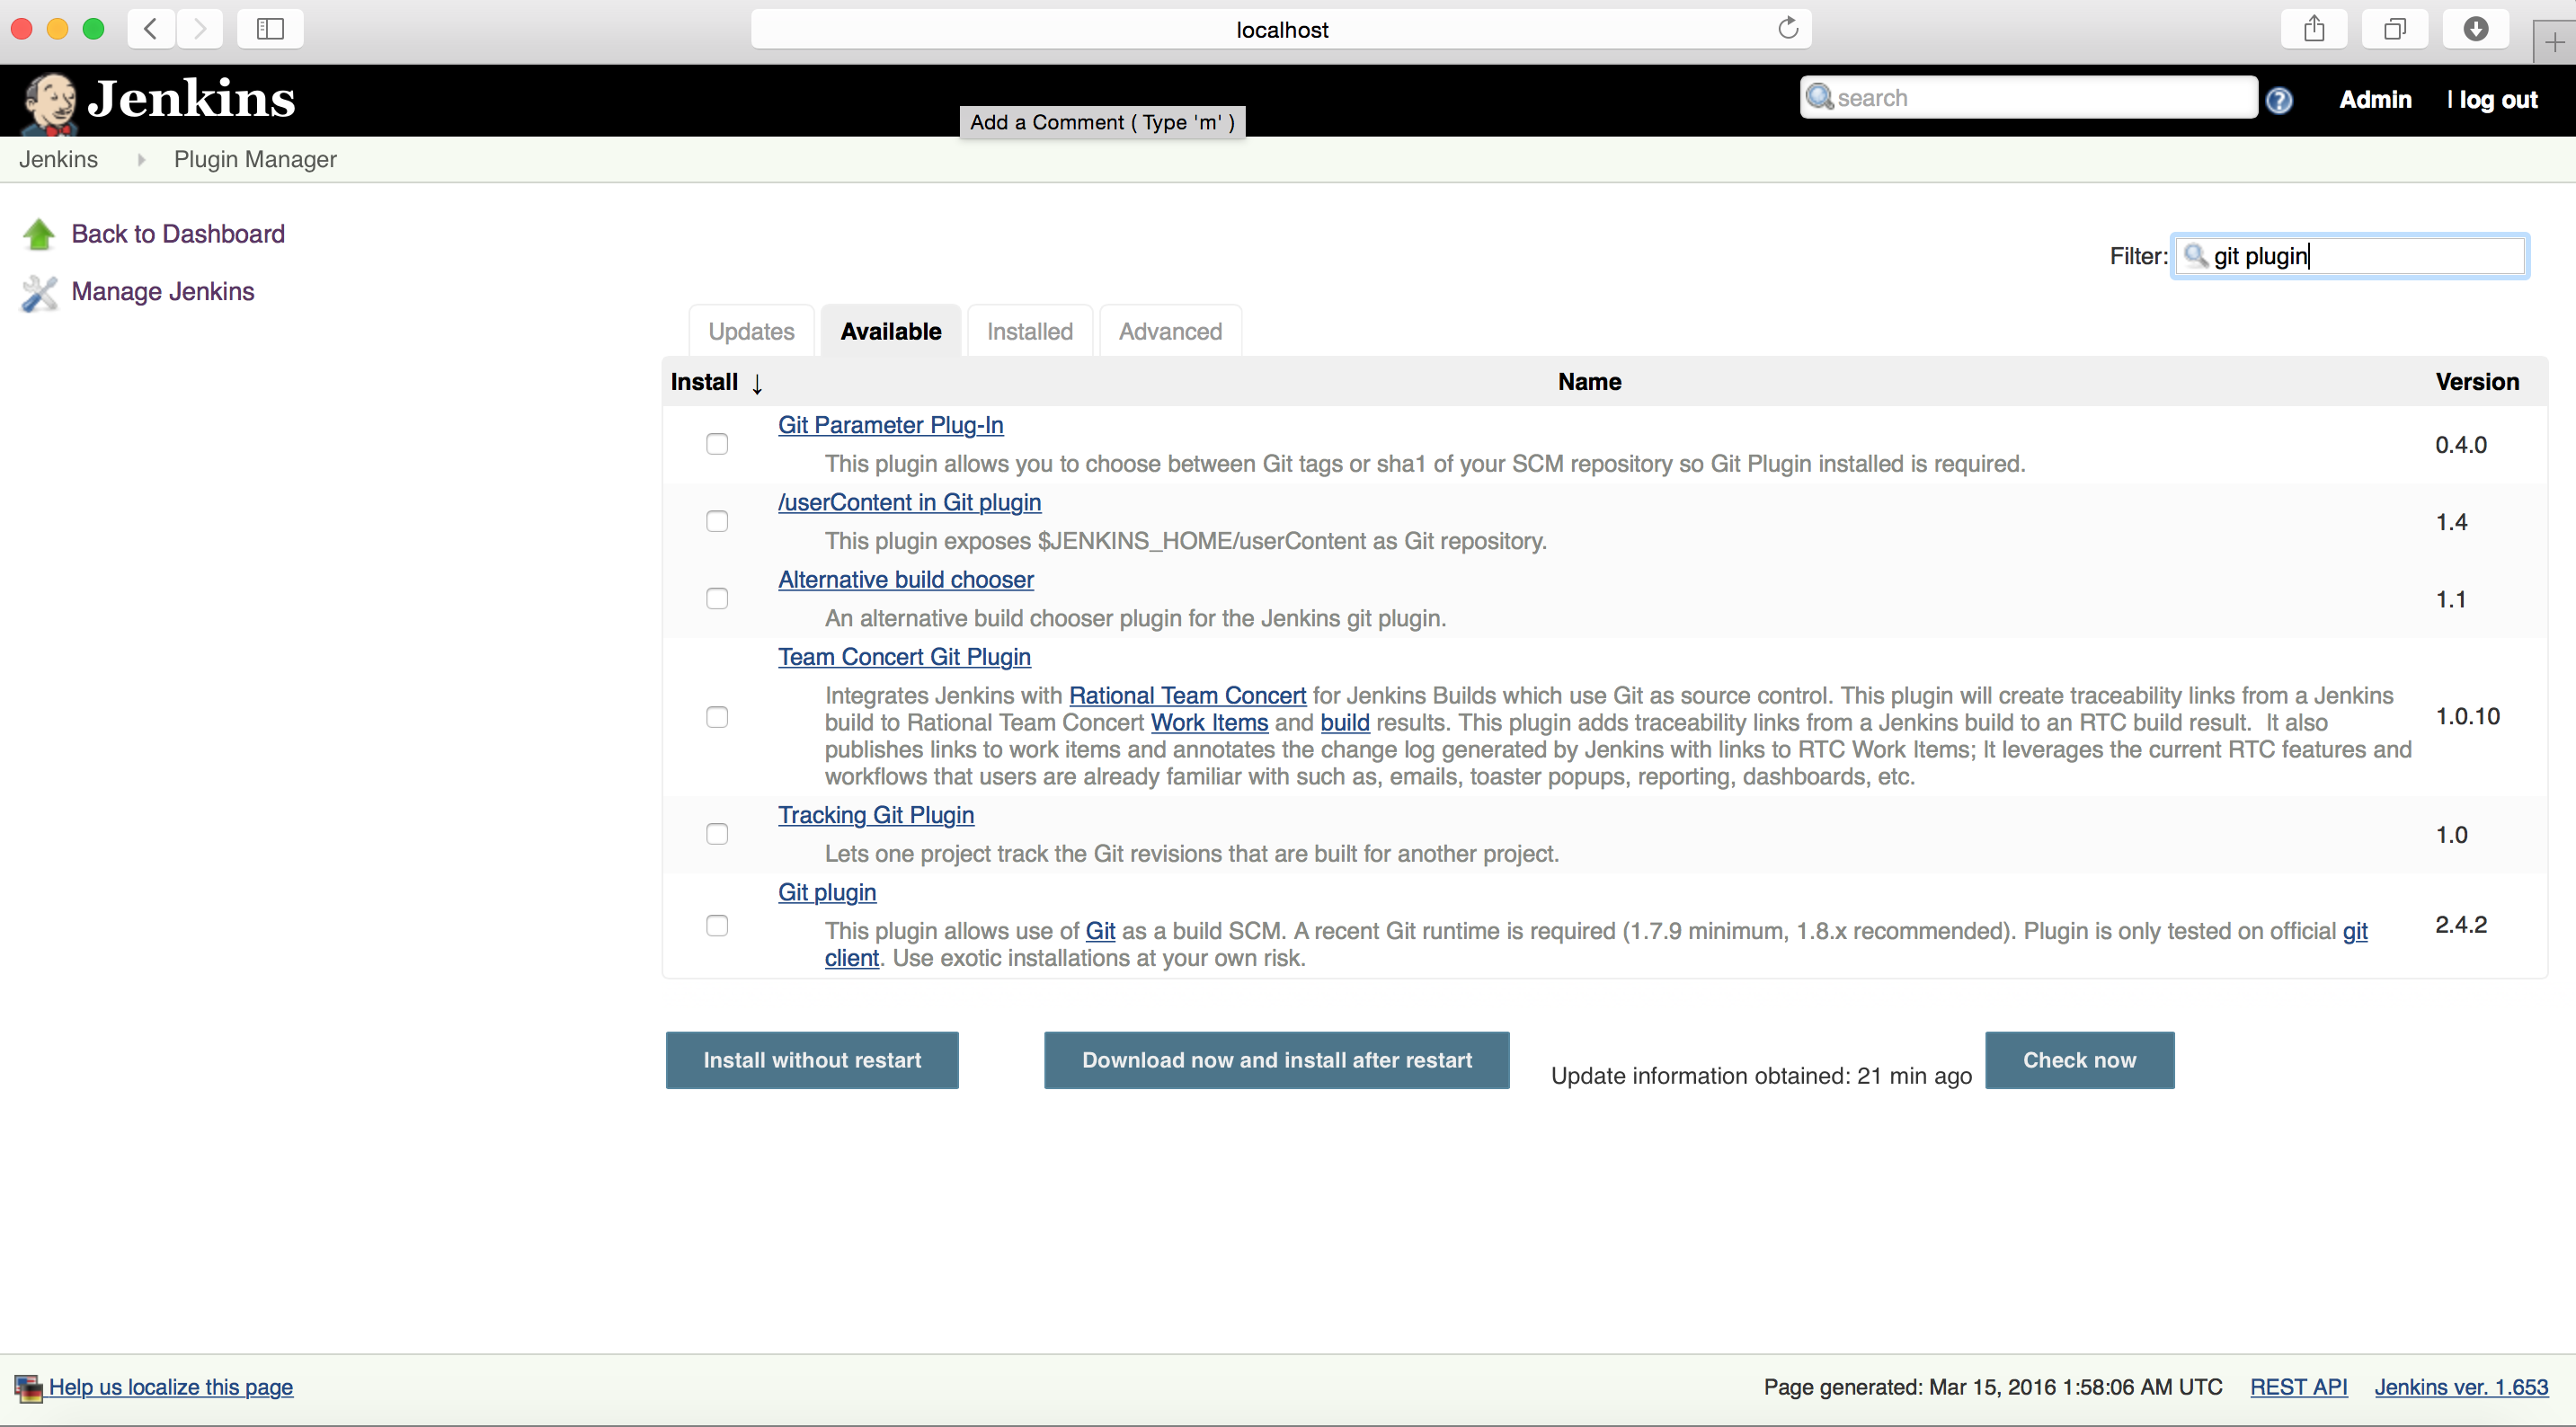
I have my code in GIT repository, so i will add git as source code management.
To achieve it, just type “git plugin” in Filter (if filter is not working you can use CTRL + F to find on the webpage)
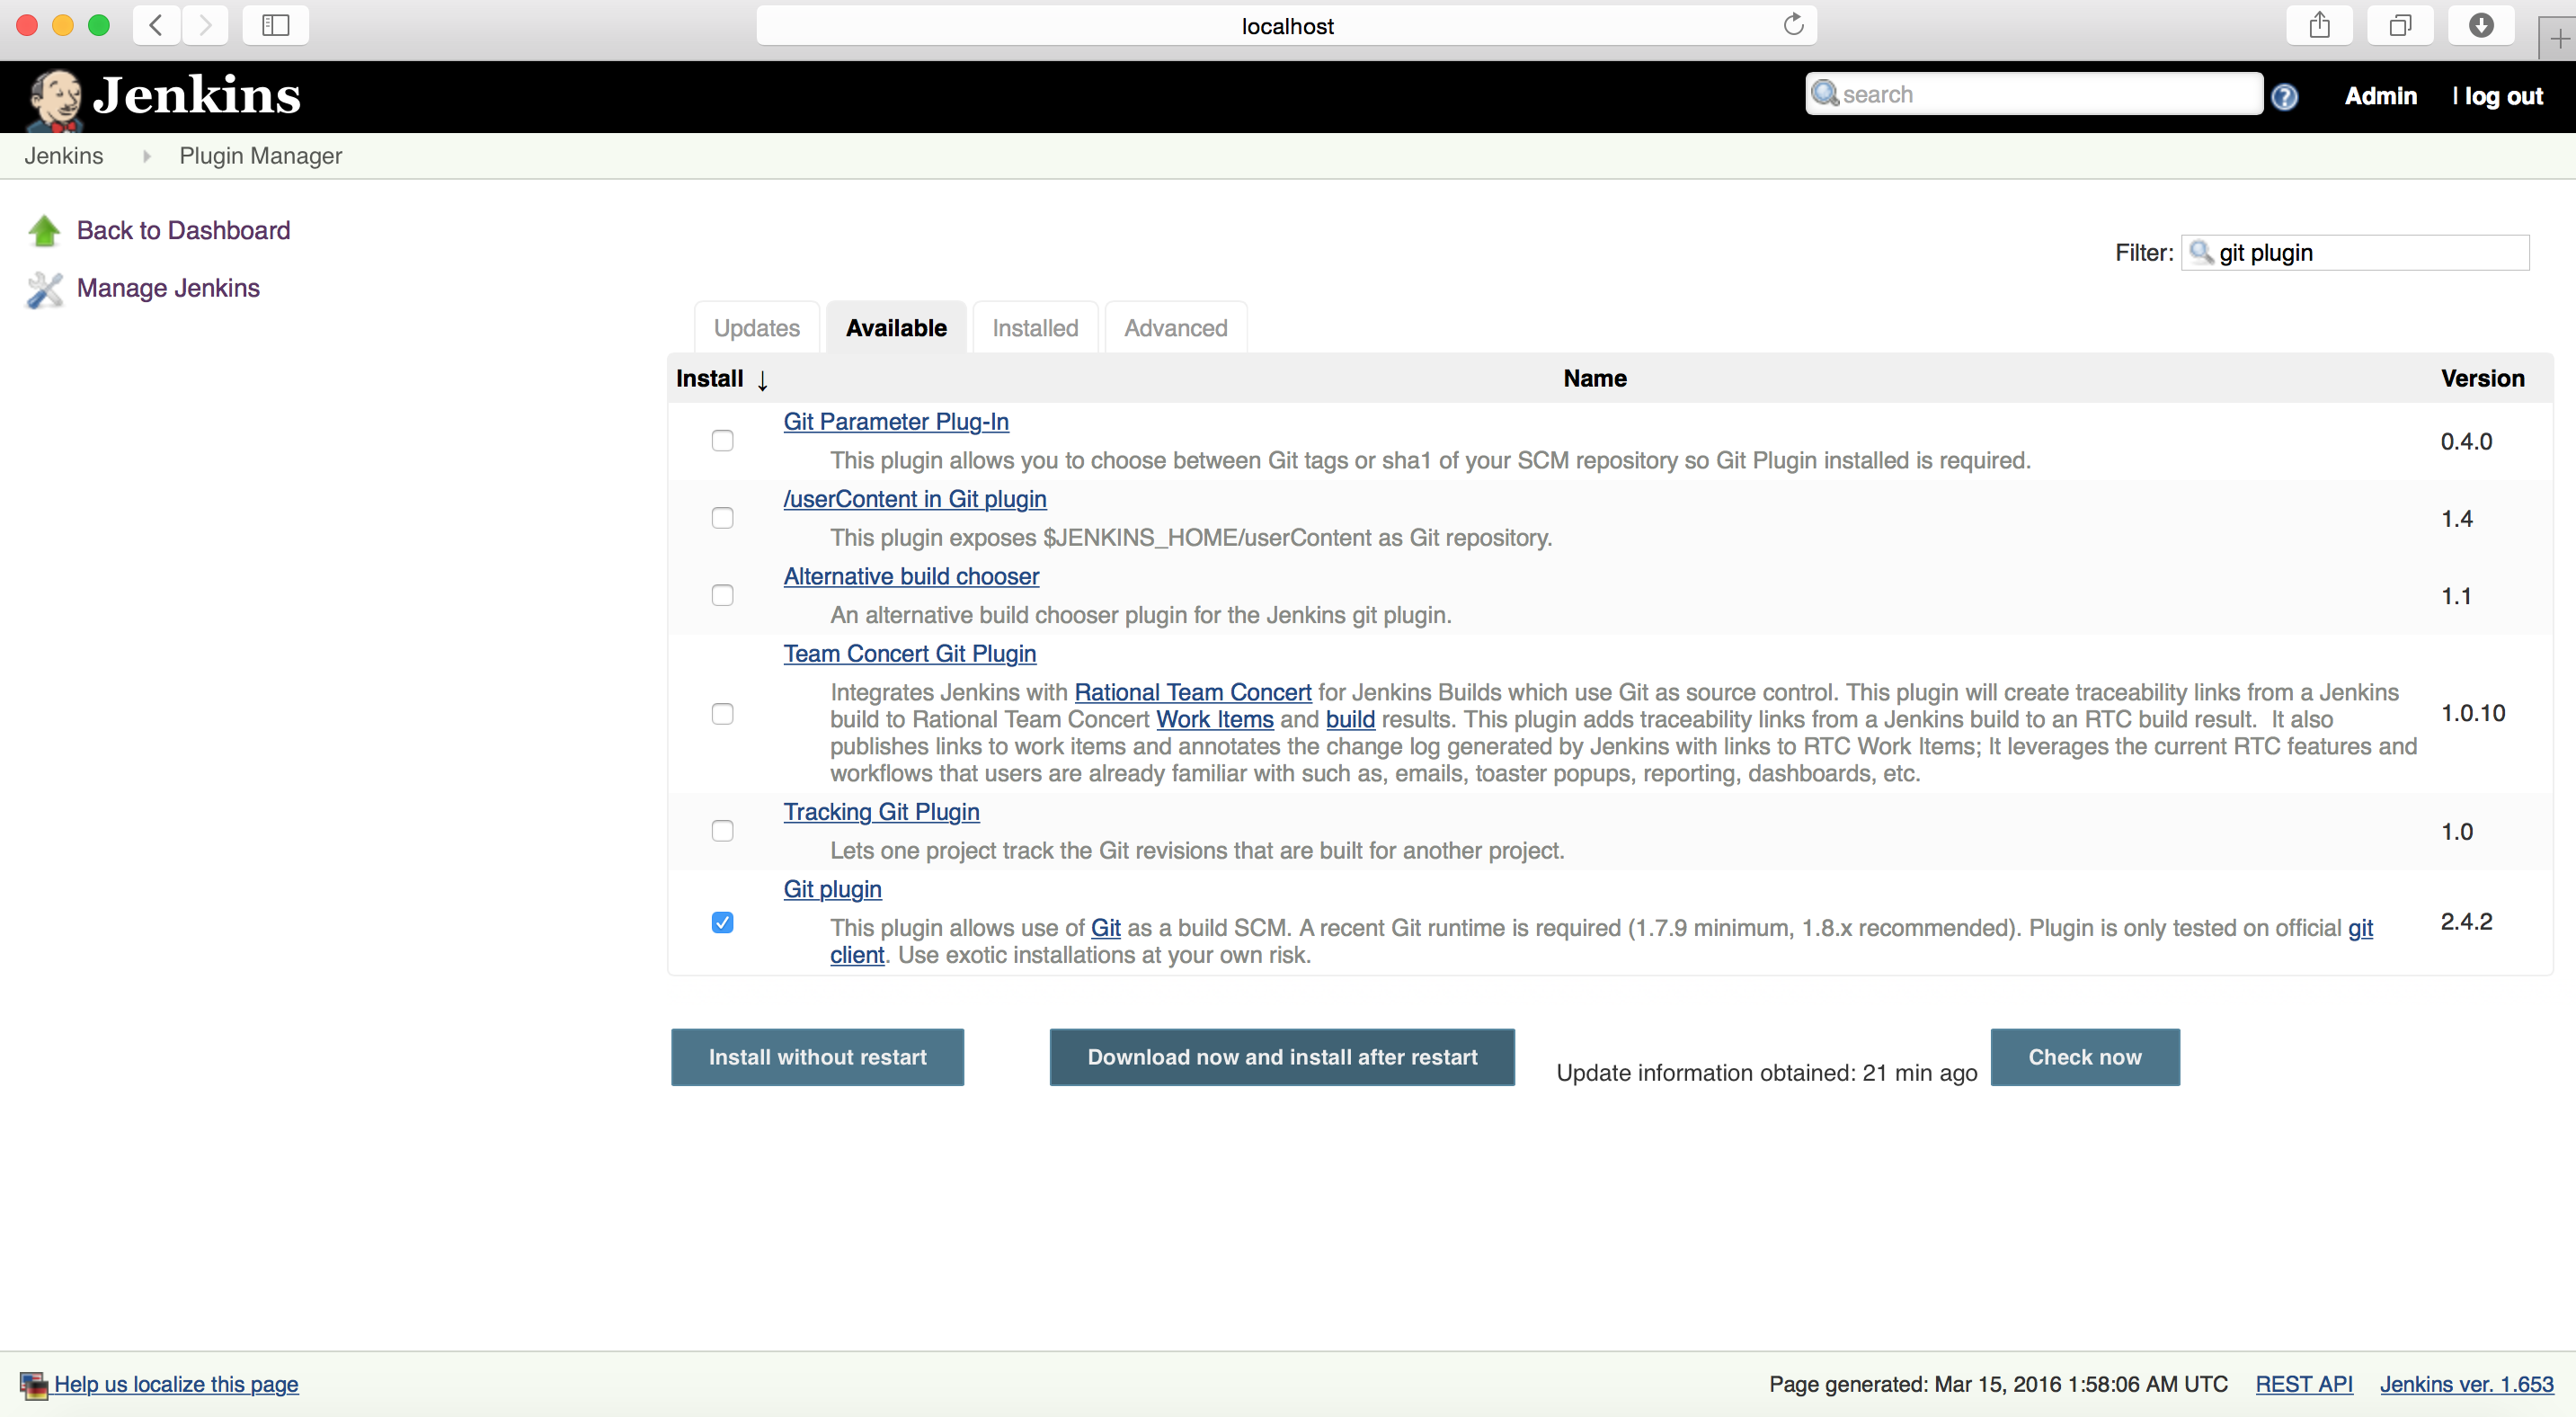
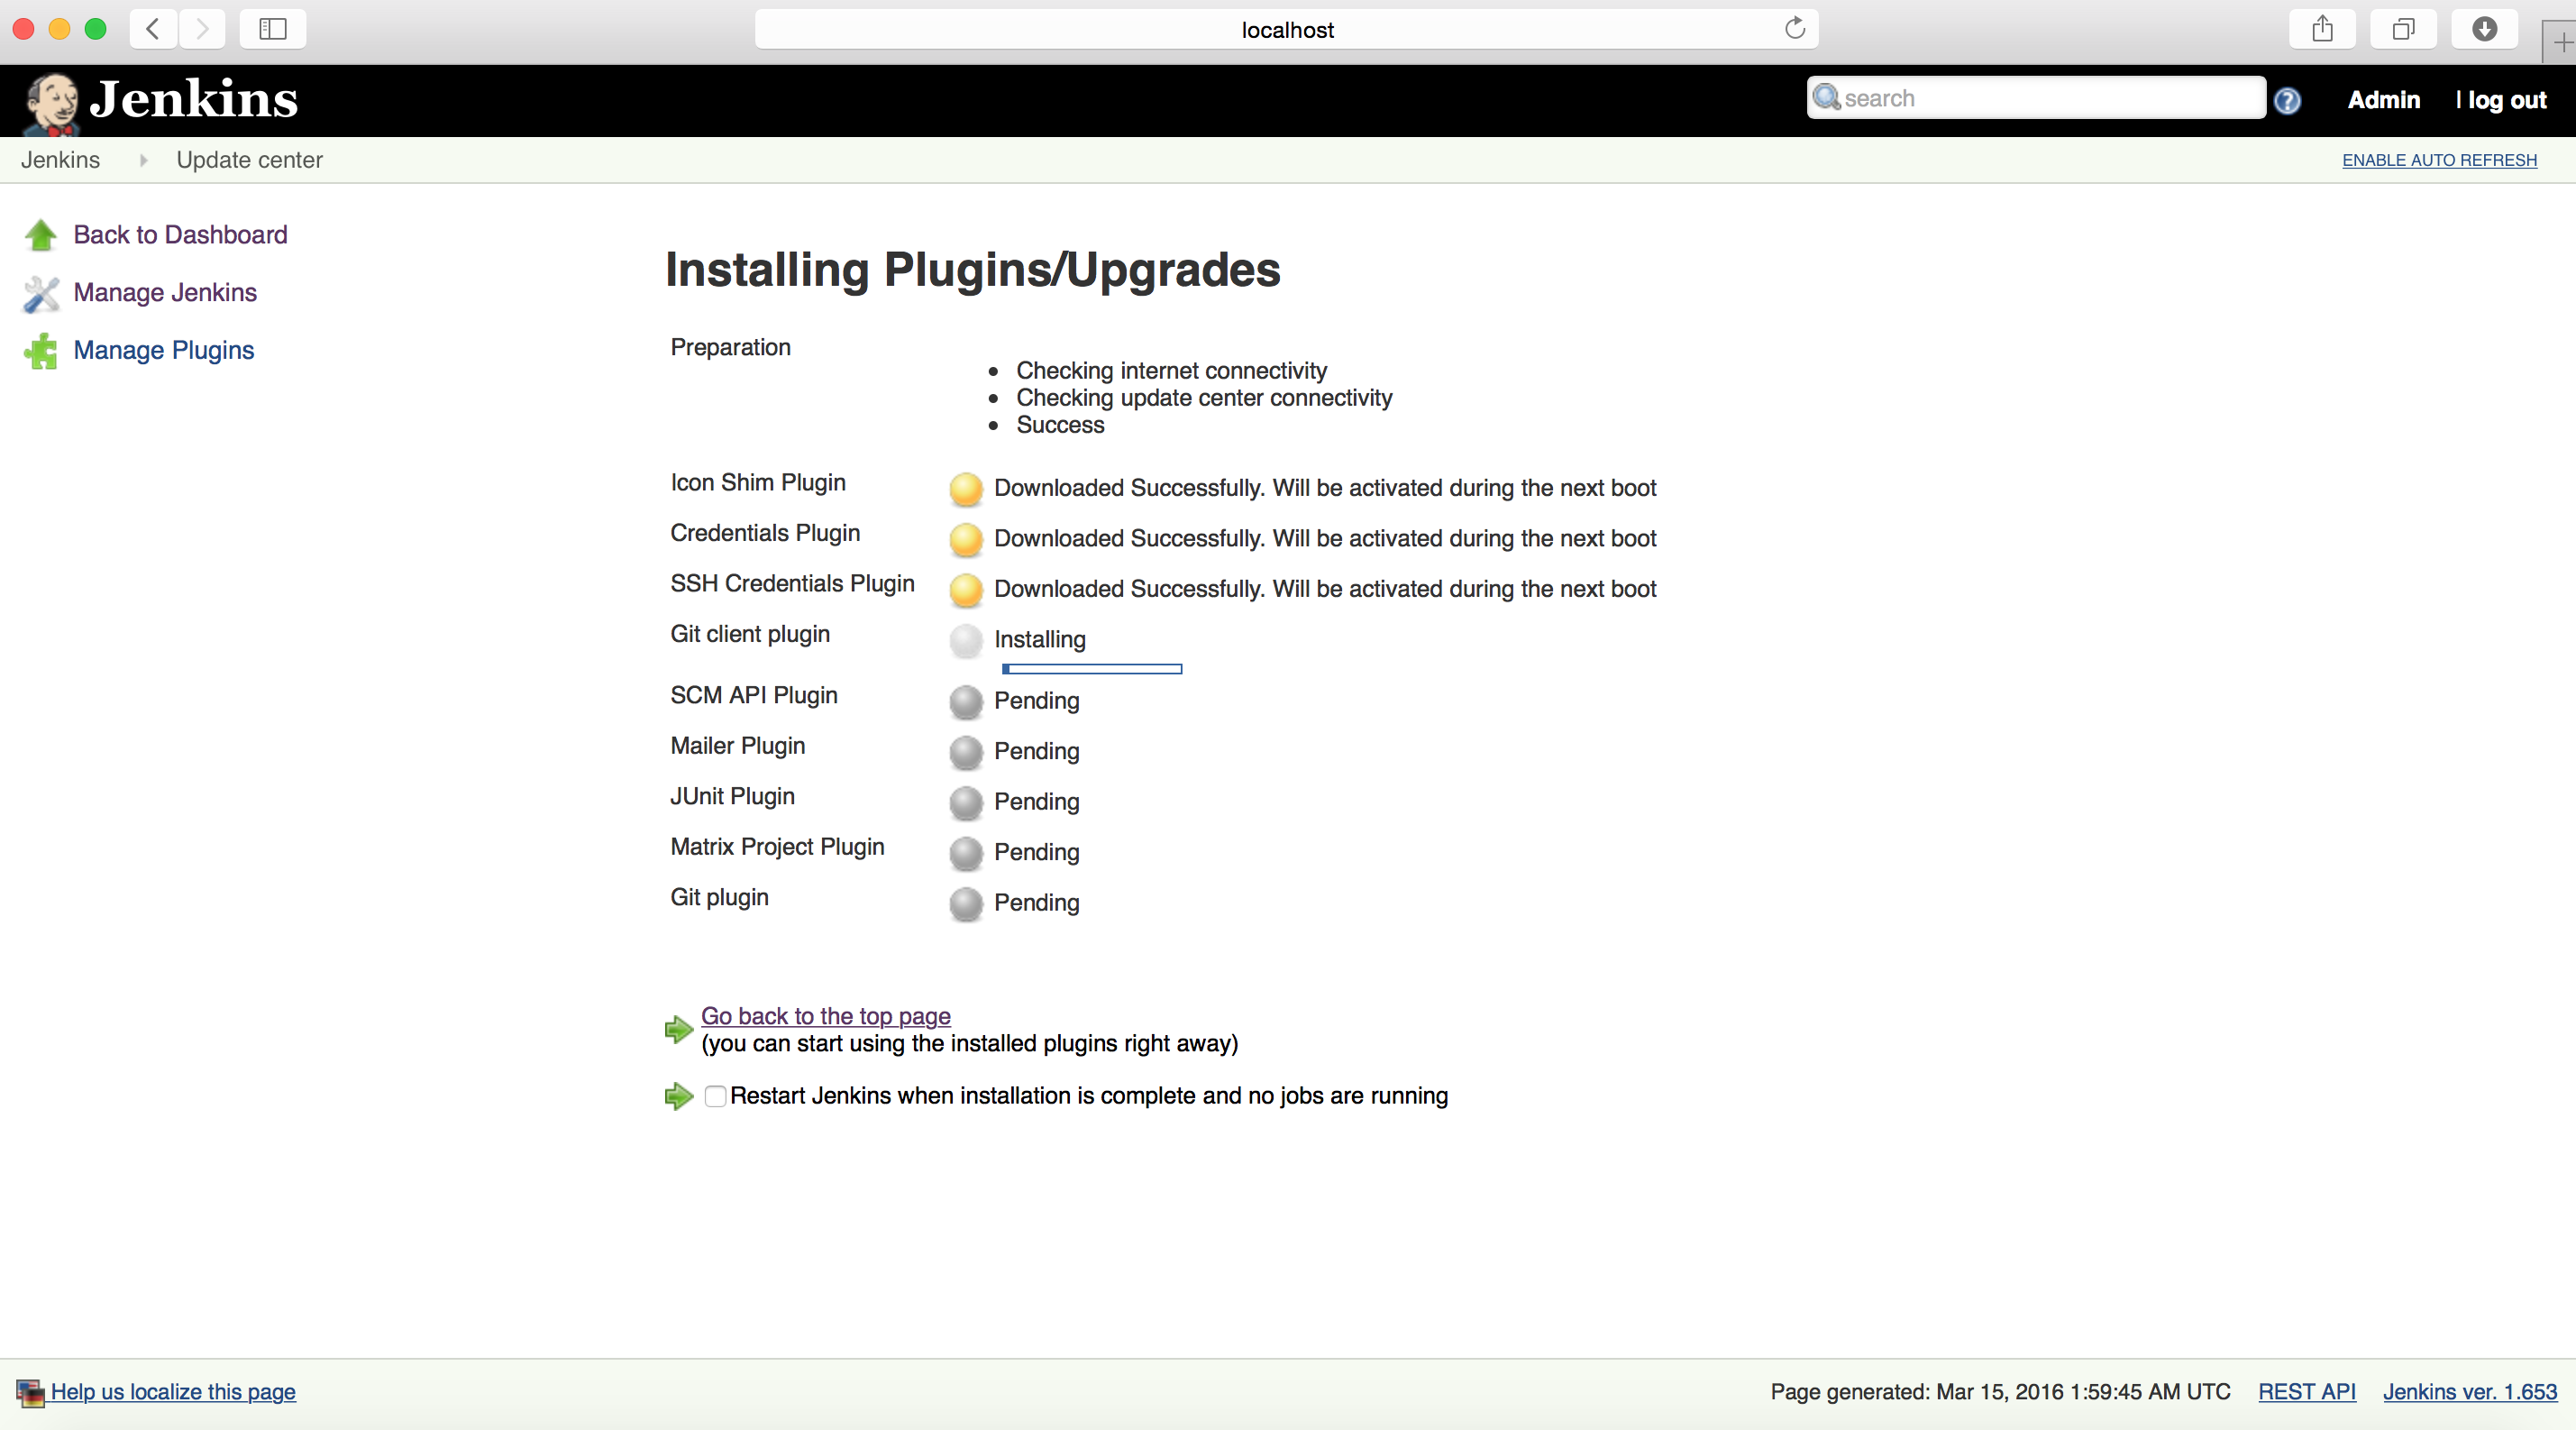
Just select the relevant plugin and click on “Download now and install after restart” button
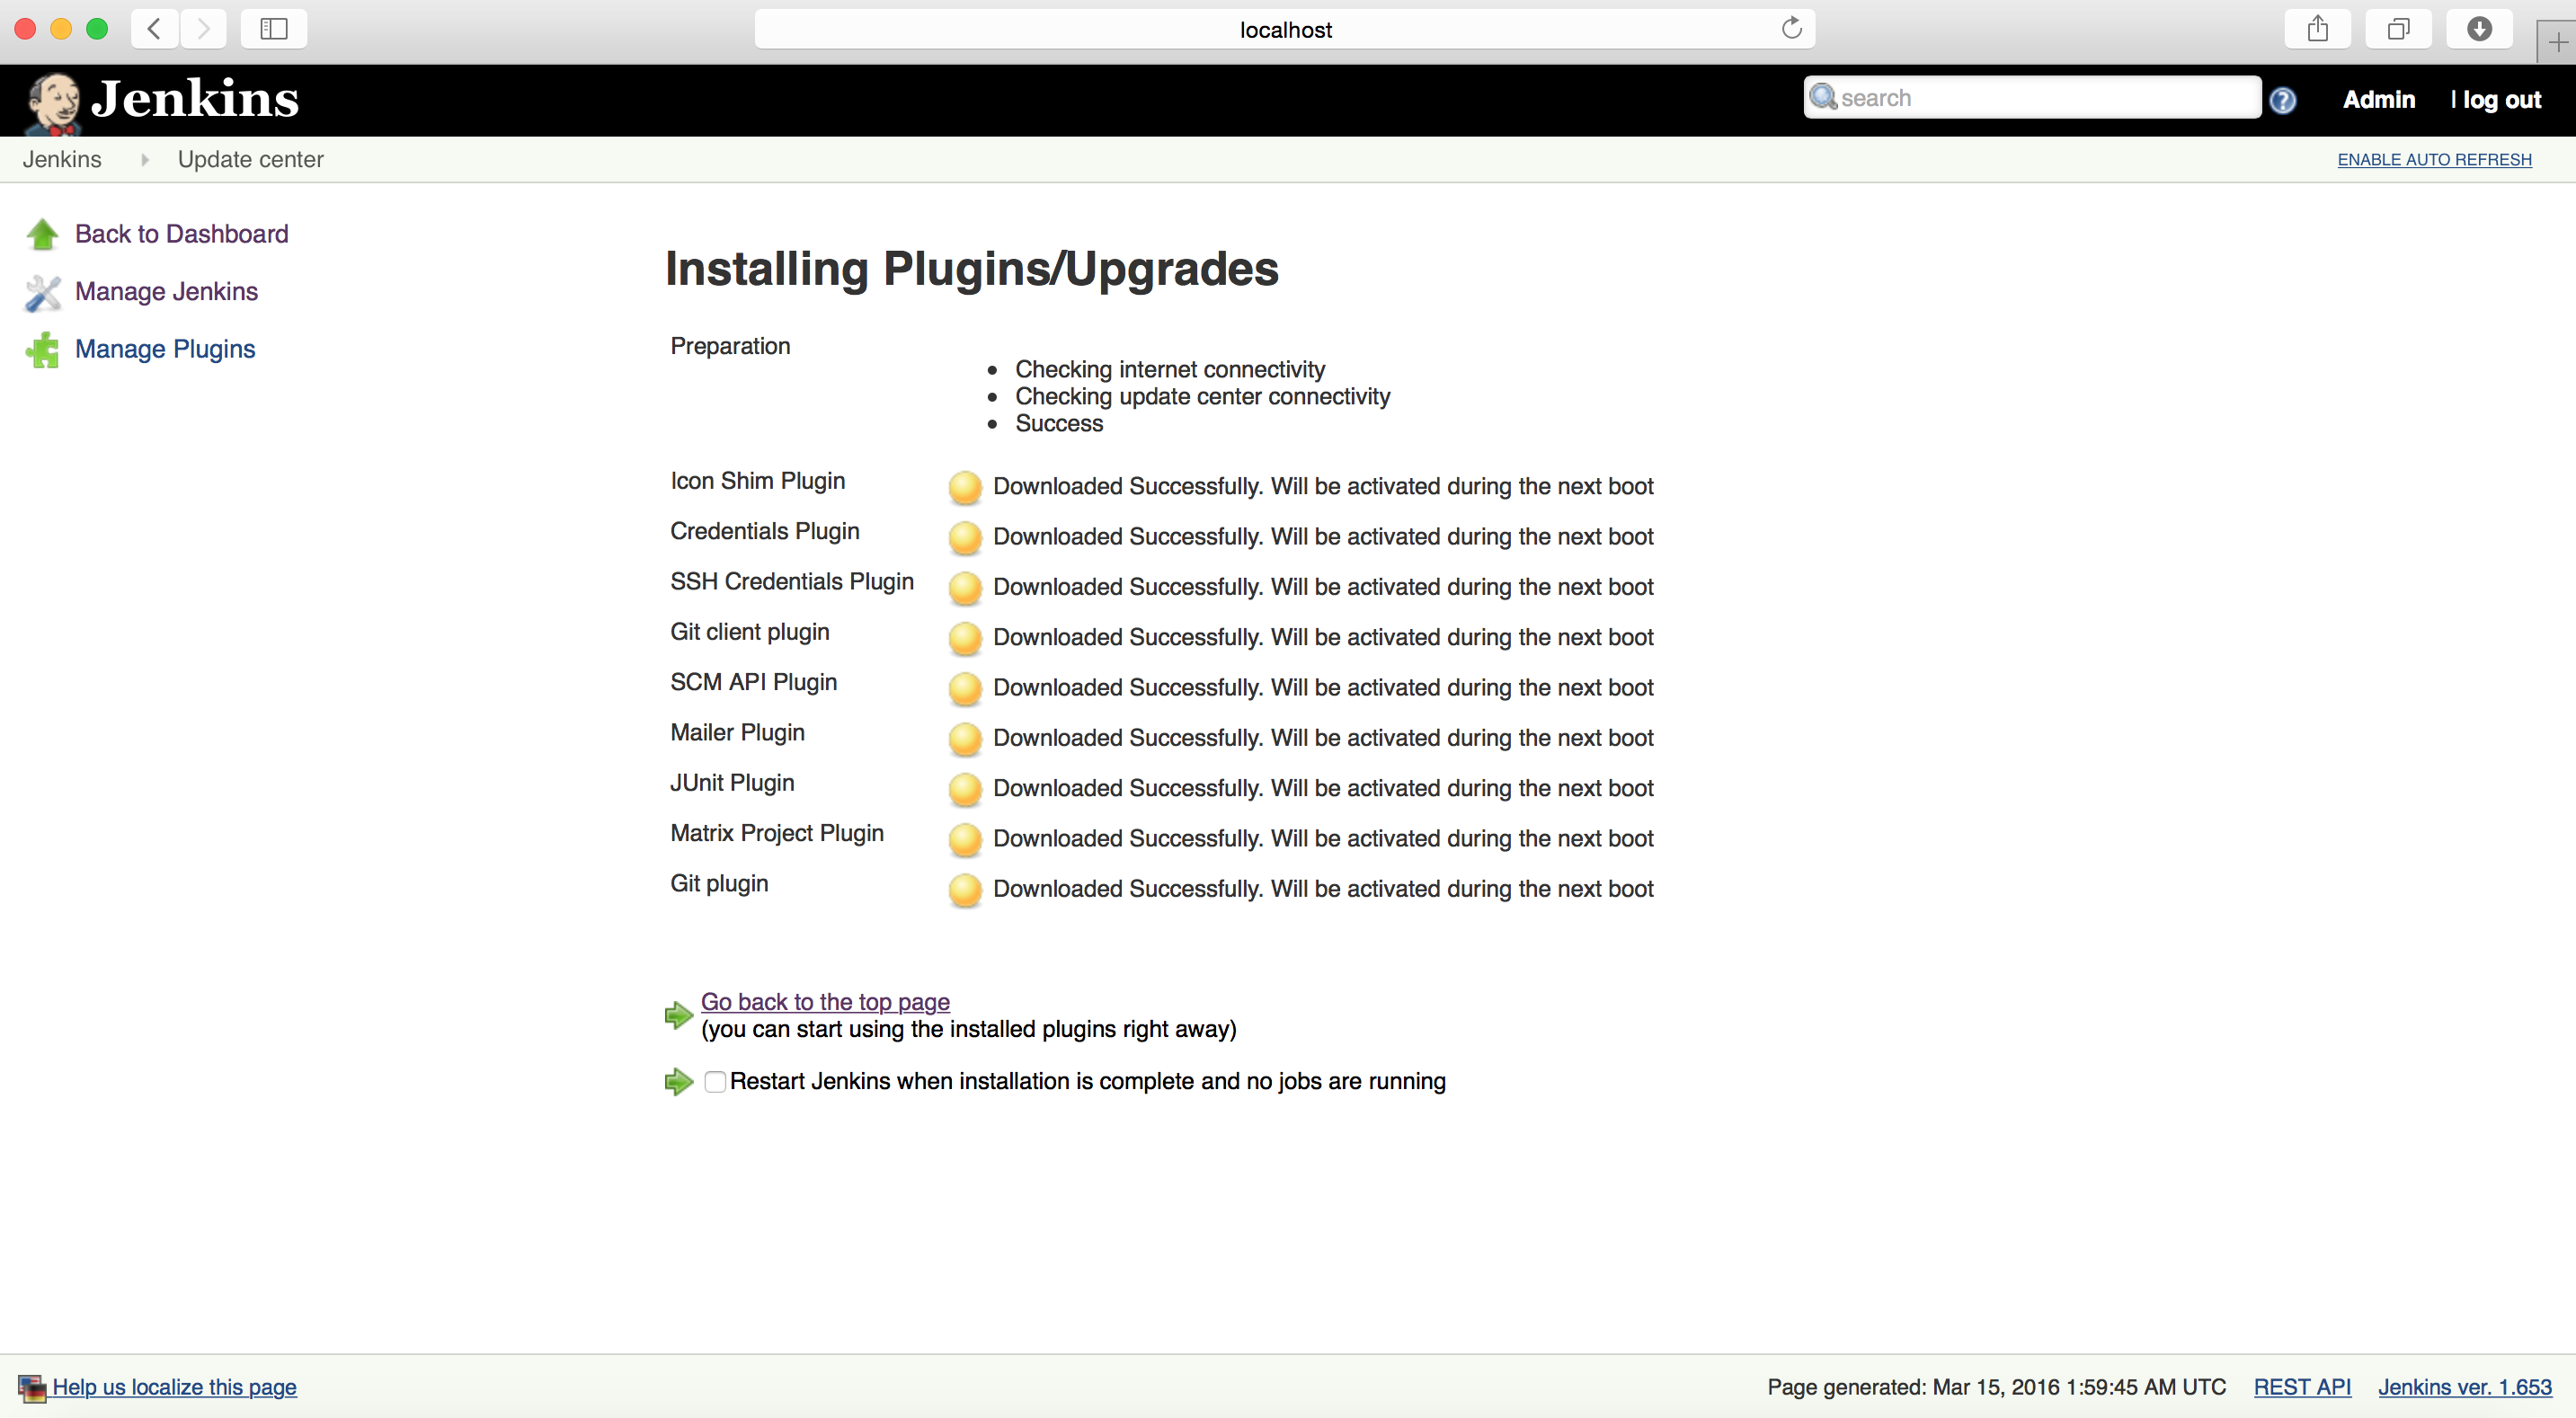
It will then start to download the plugin.
You can click on the checkbox of “Restart Jenkins when installation is complete and no jobs are running”
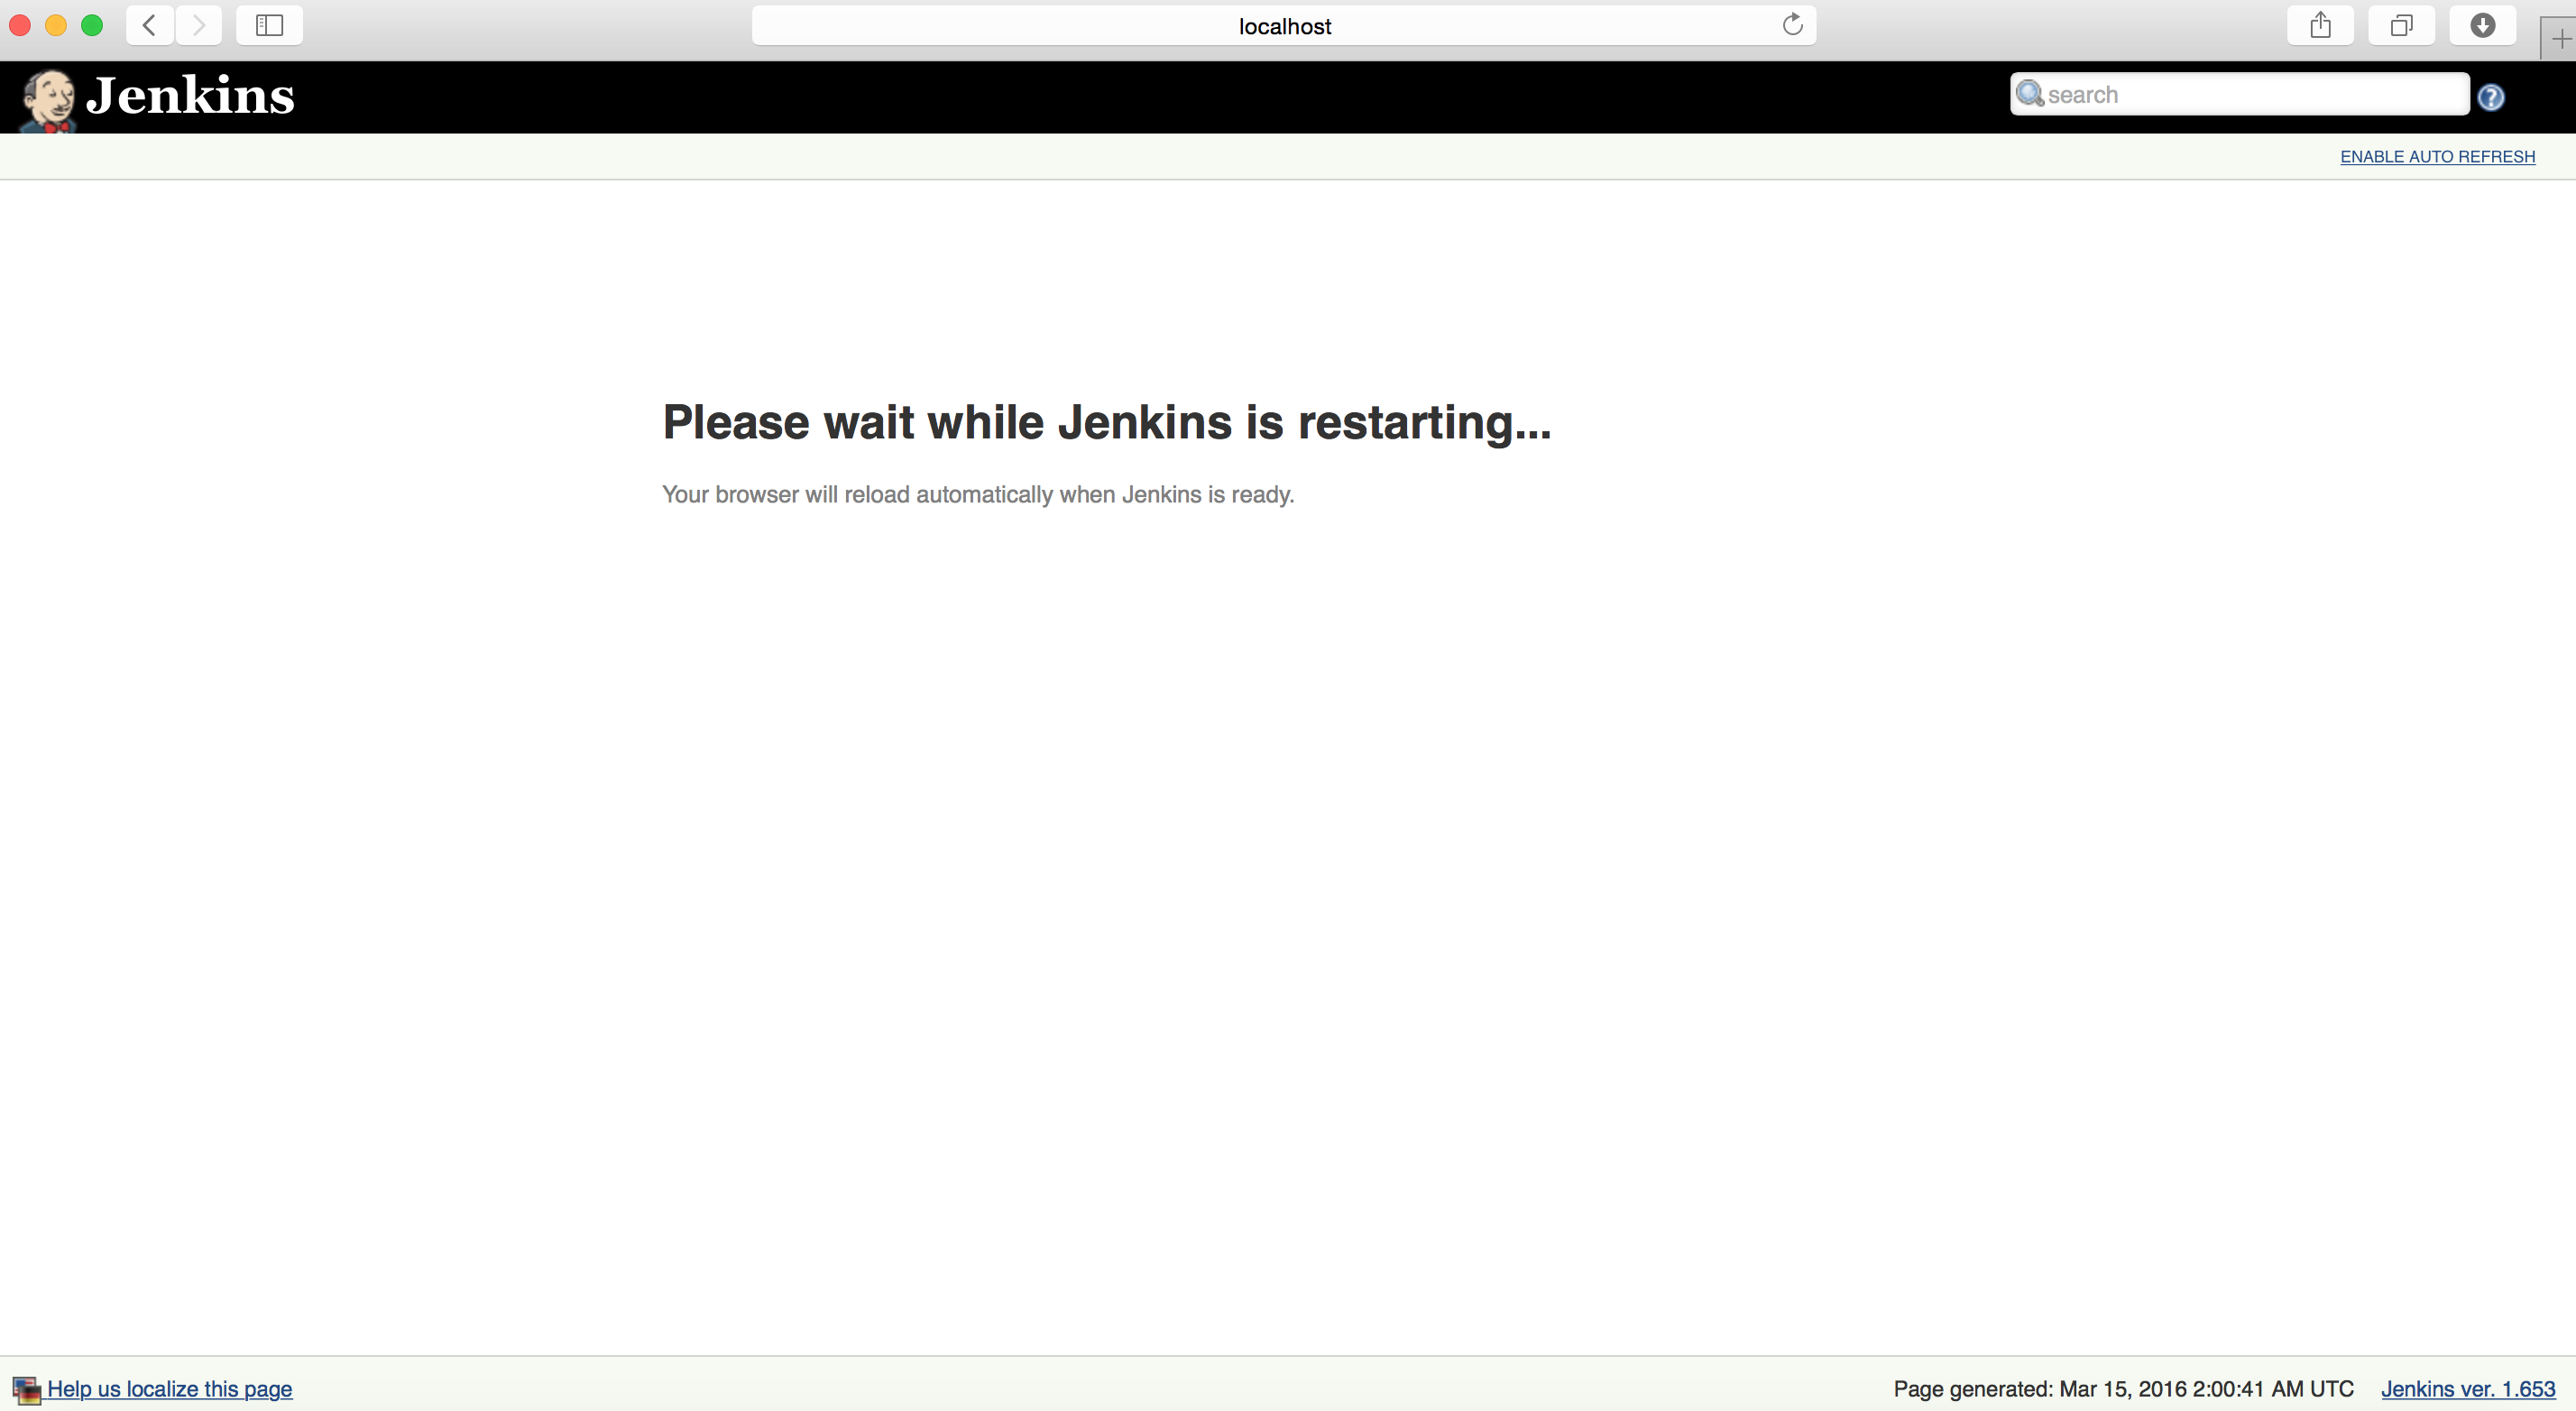
This will allow Jenkins to retstart
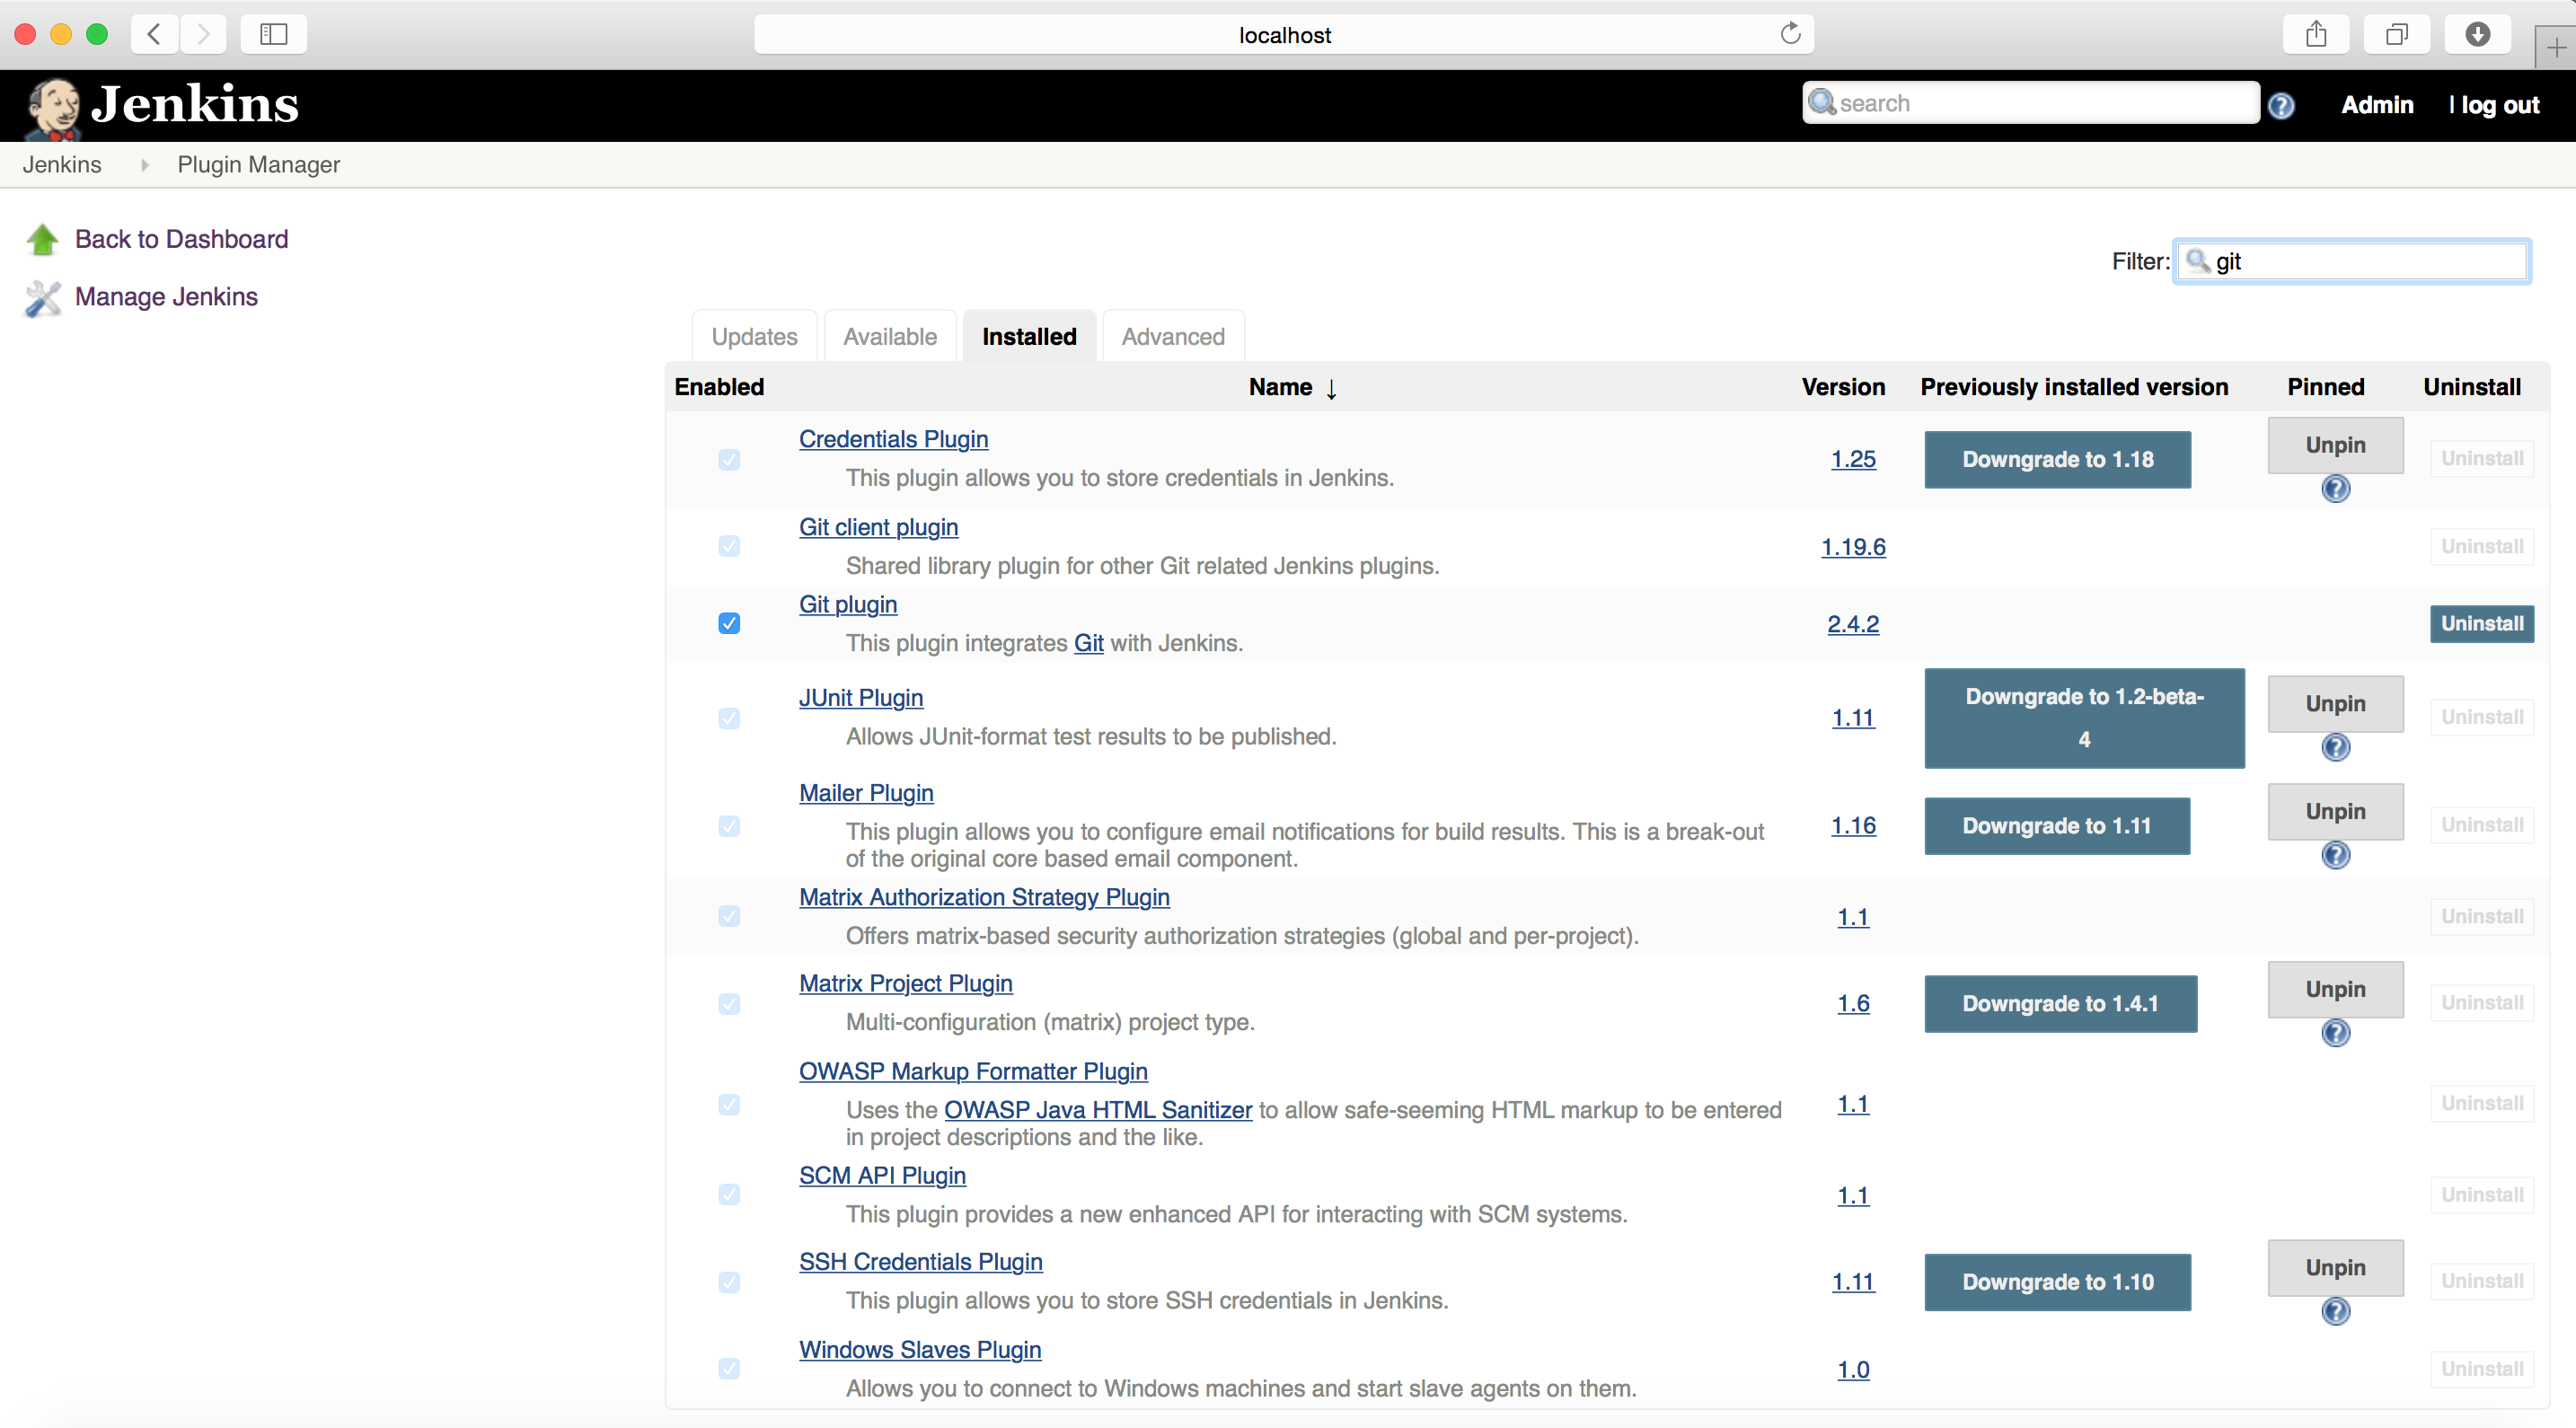
Once restarted, you can verify the new plugin in “Installed” section of “Manage Plugins”
You can also configure your Jenkins to utilise it perfectly
Go to “Manage Jenkins” link and click on “Configure System”
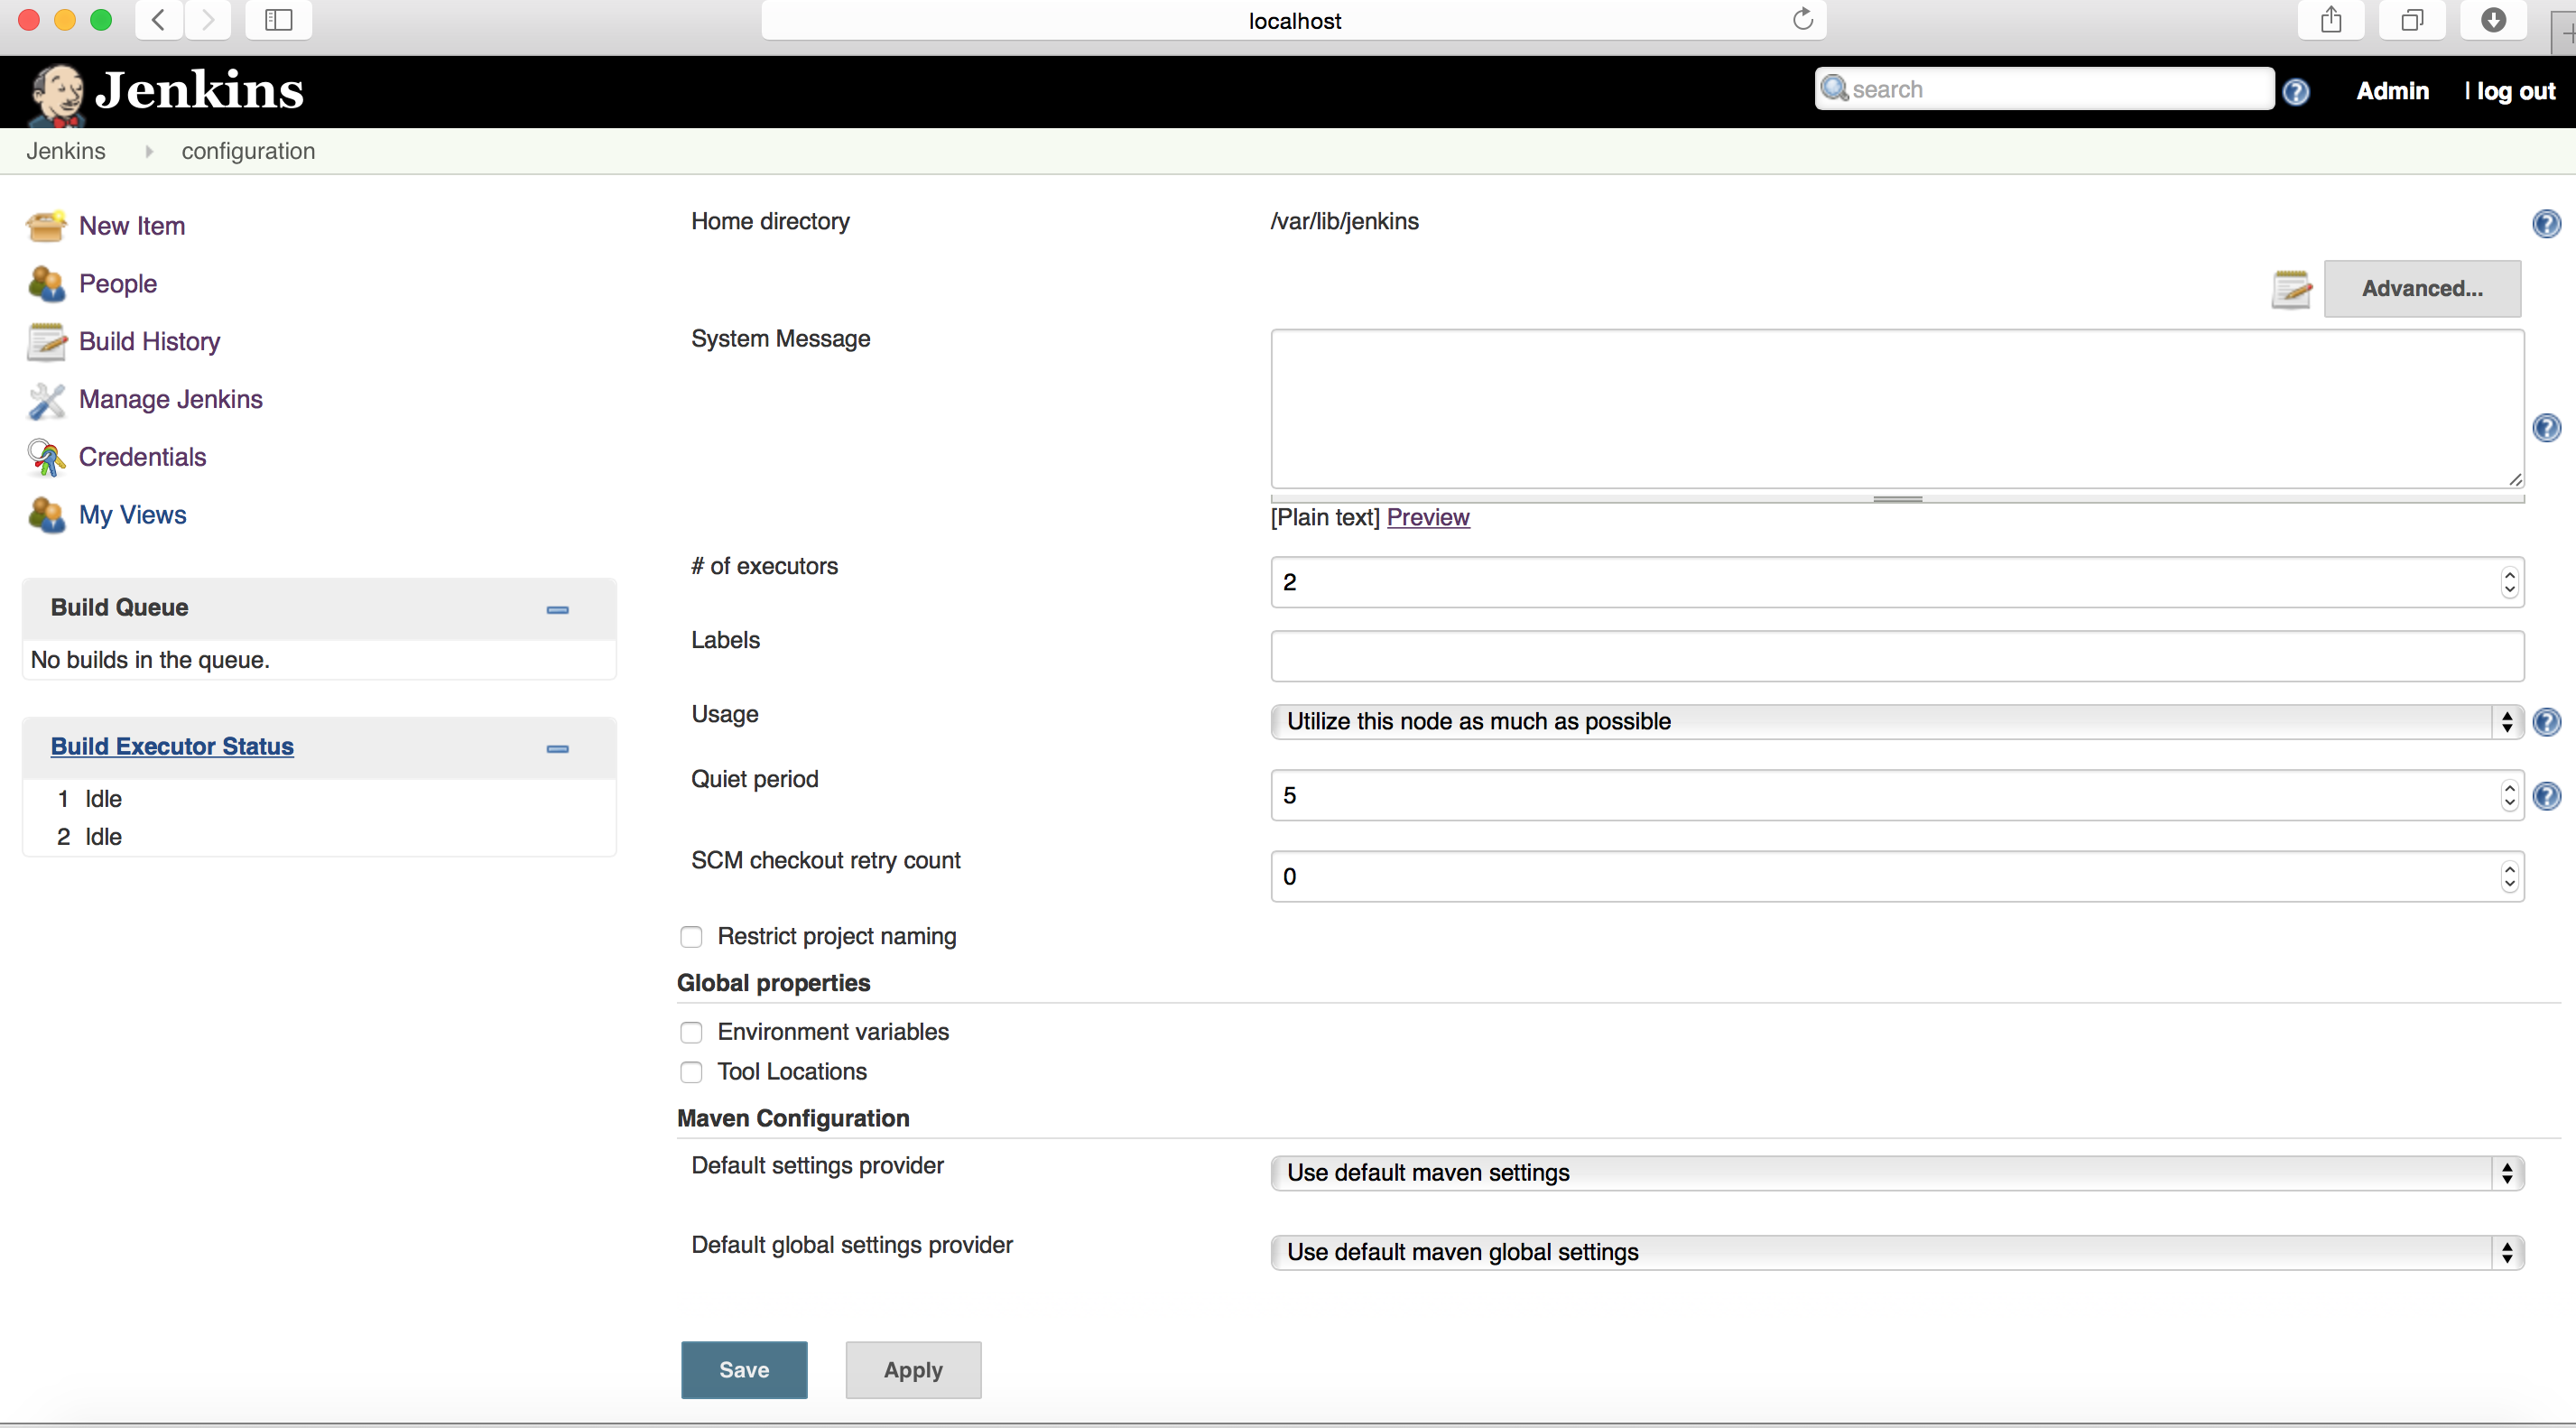
You can find all the configuration which your Jenkins instance requires.
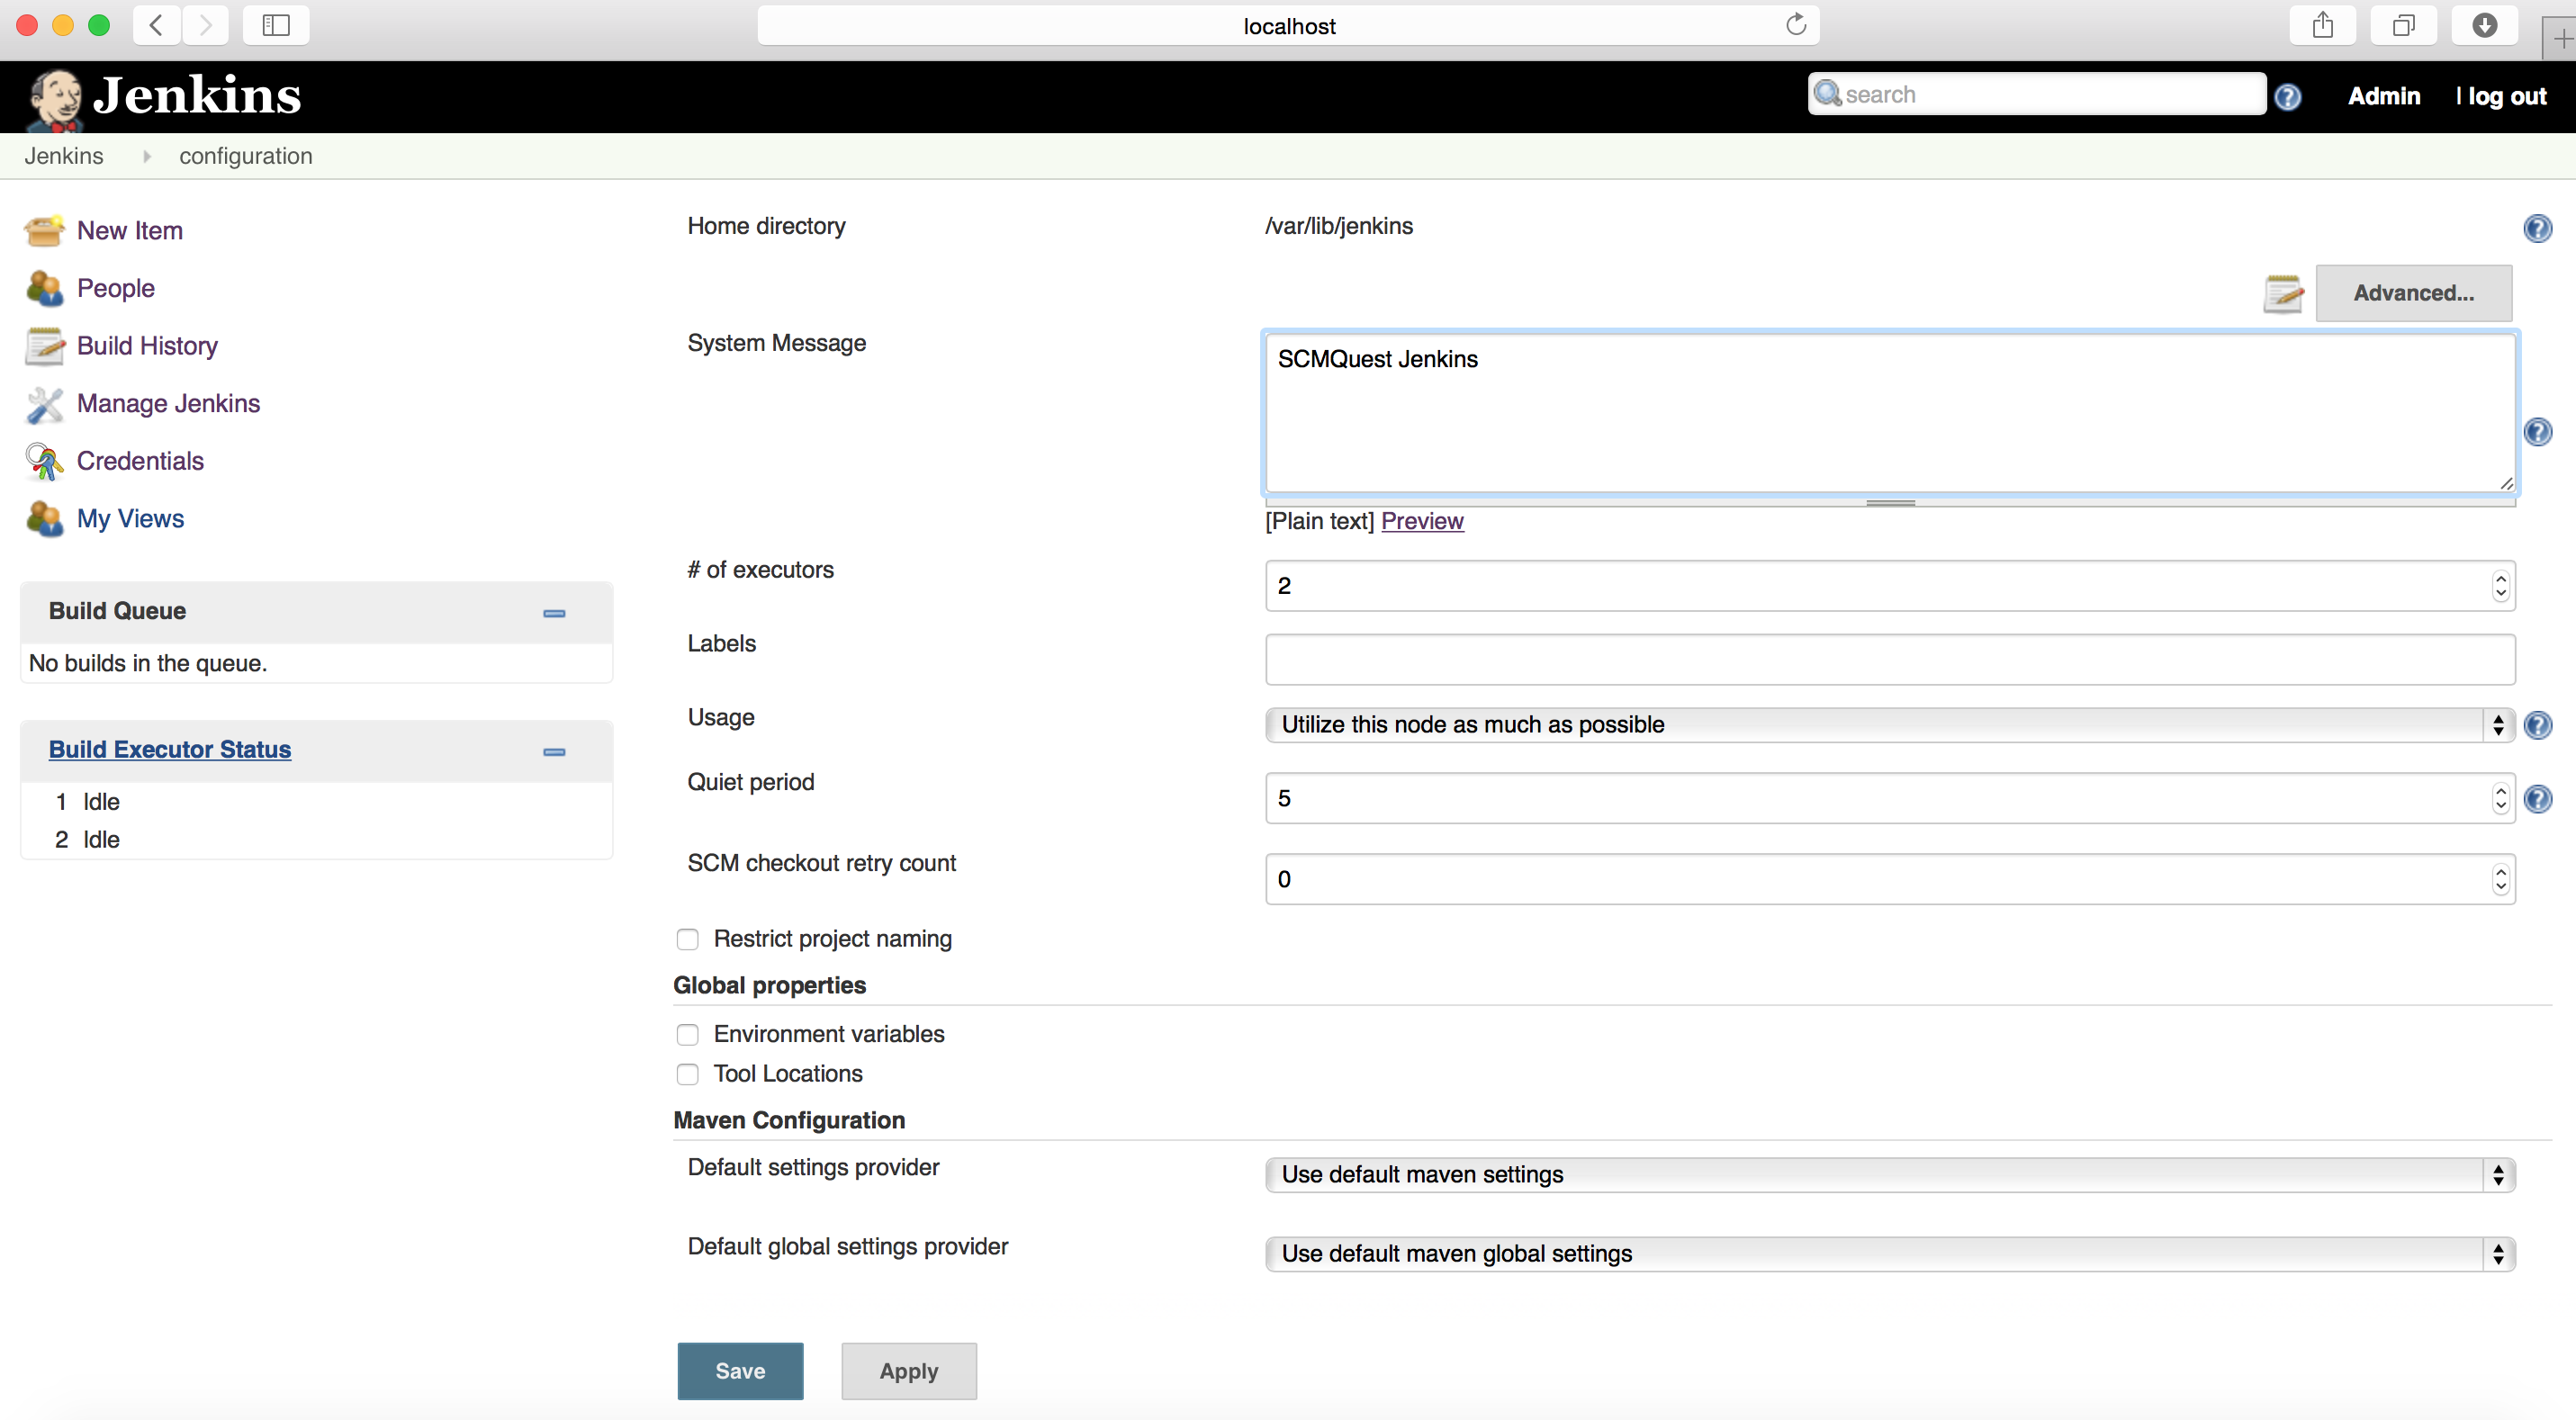
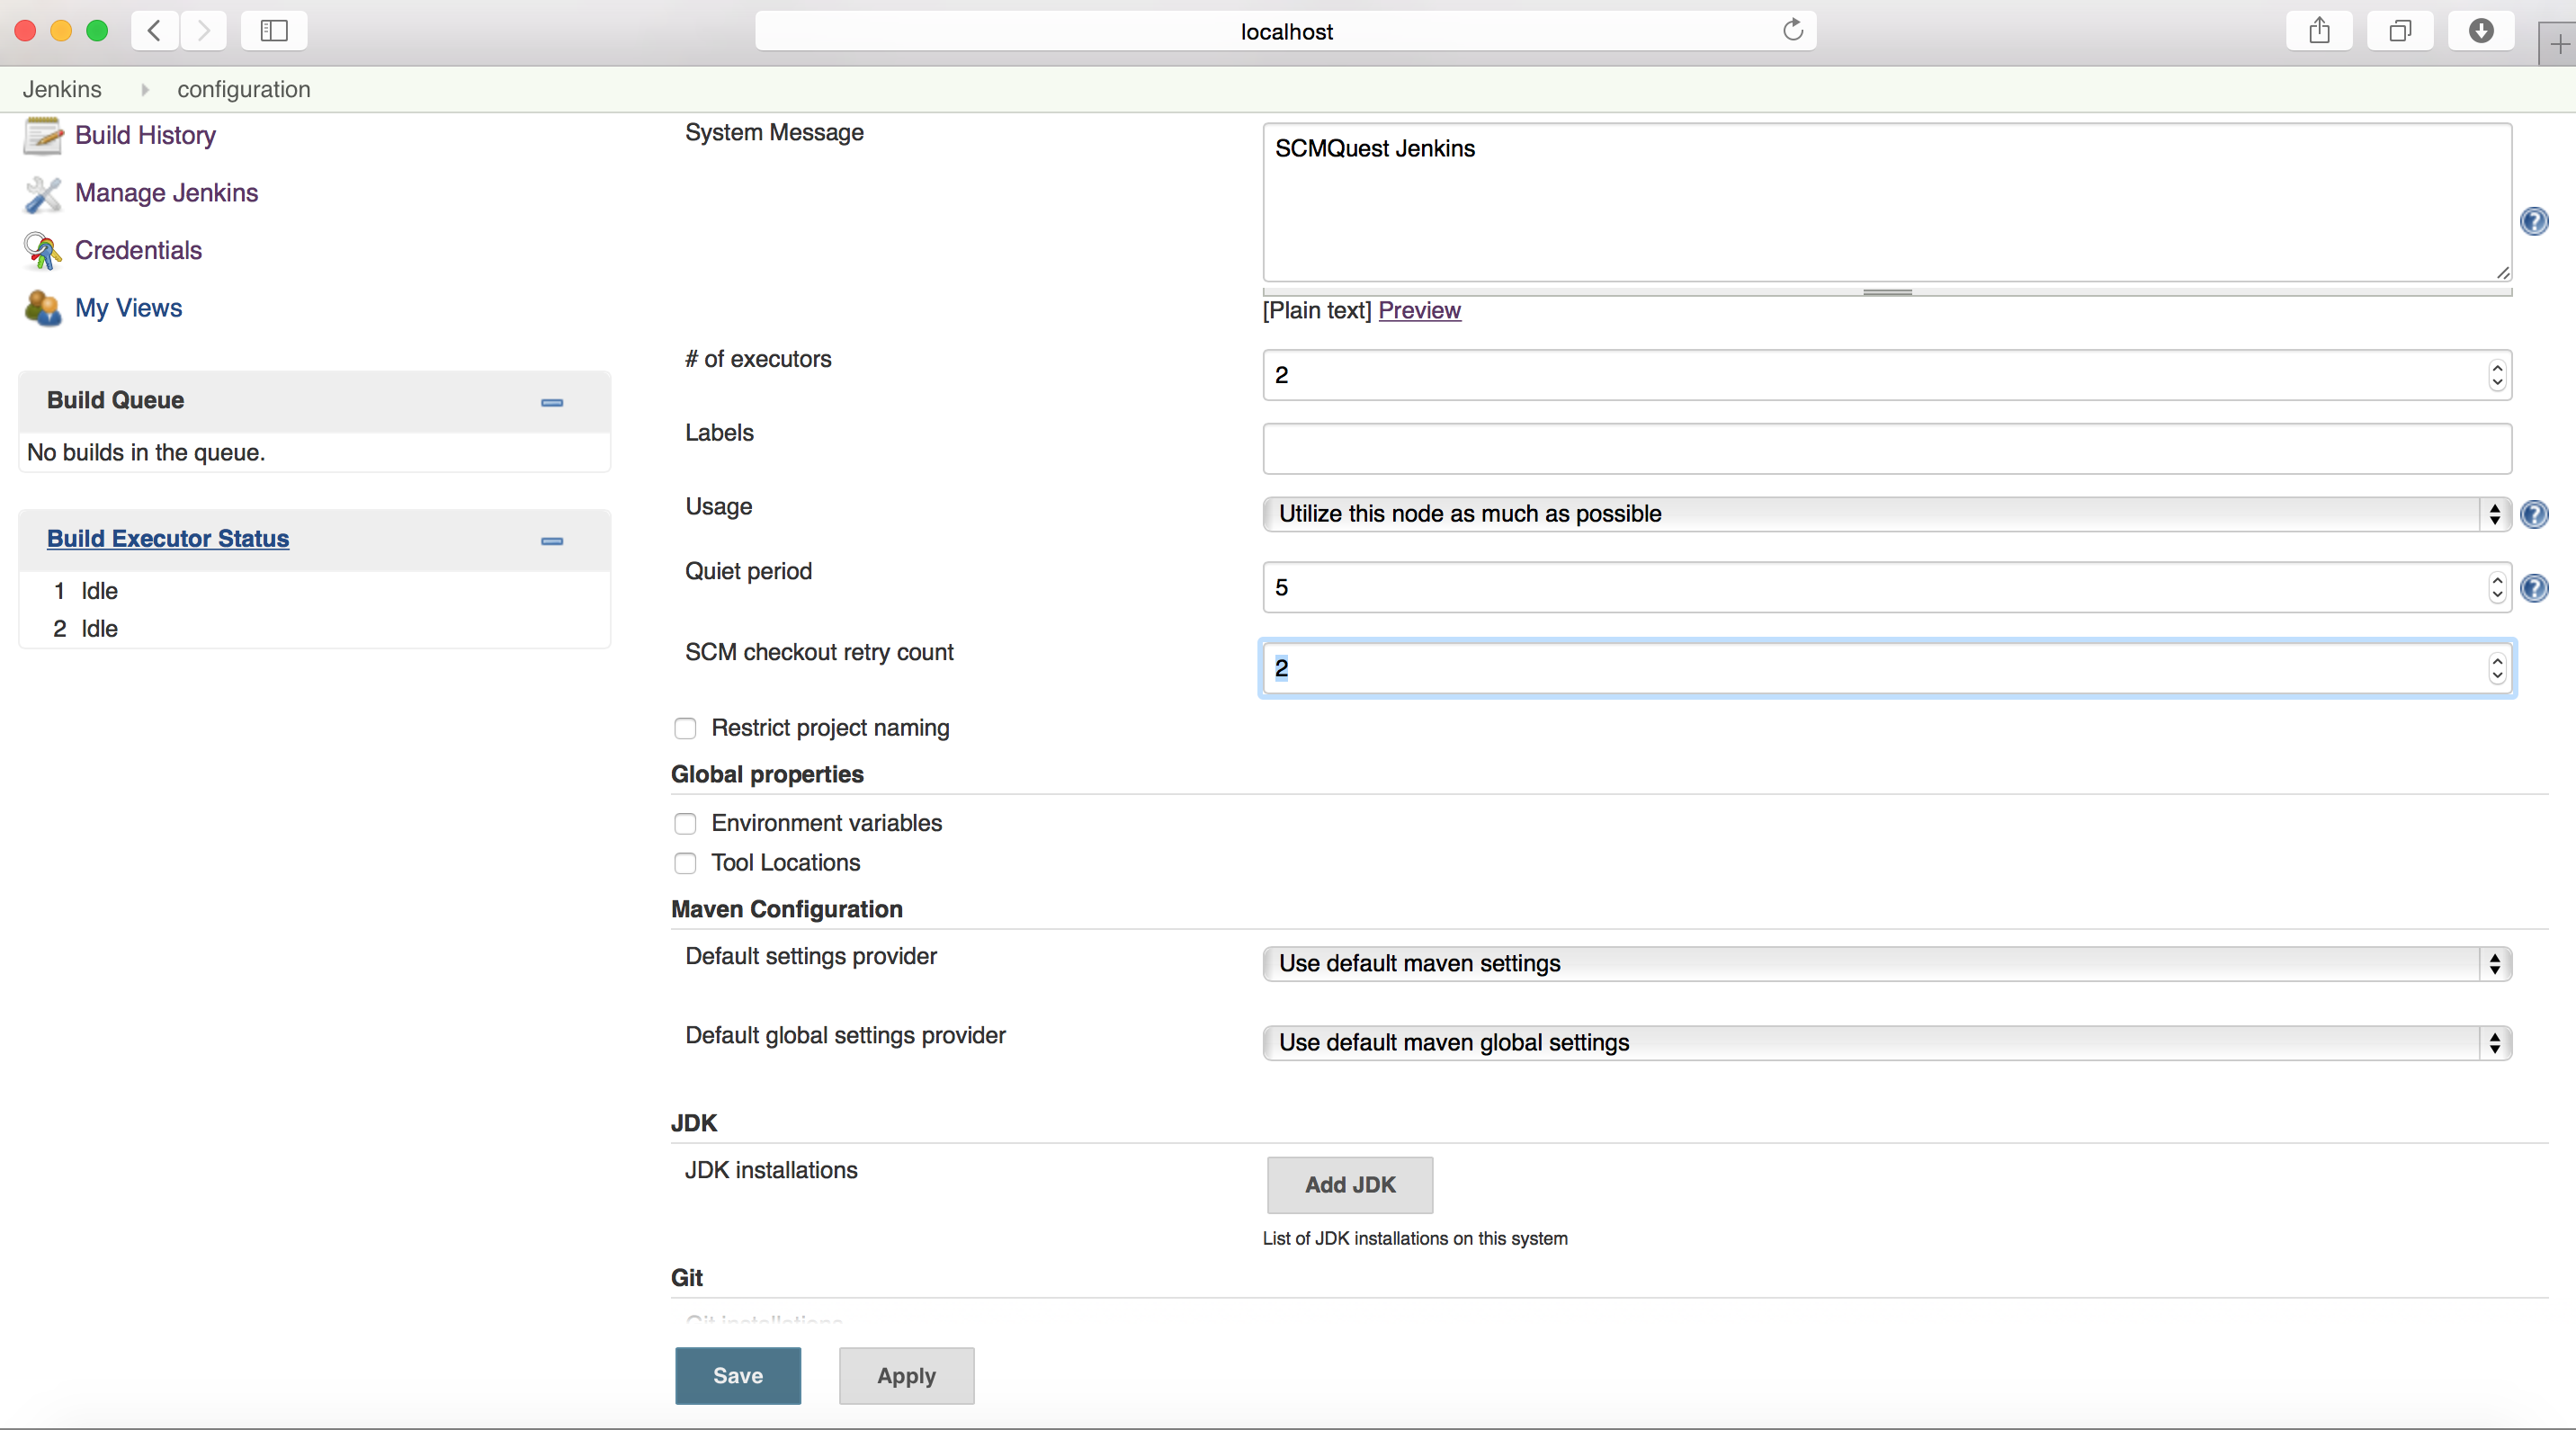
Lets begin with updating a System message which will appears on Jenkins Dashboard. You can write any message which you want to convey to the users who would be using this Jenkins instance.
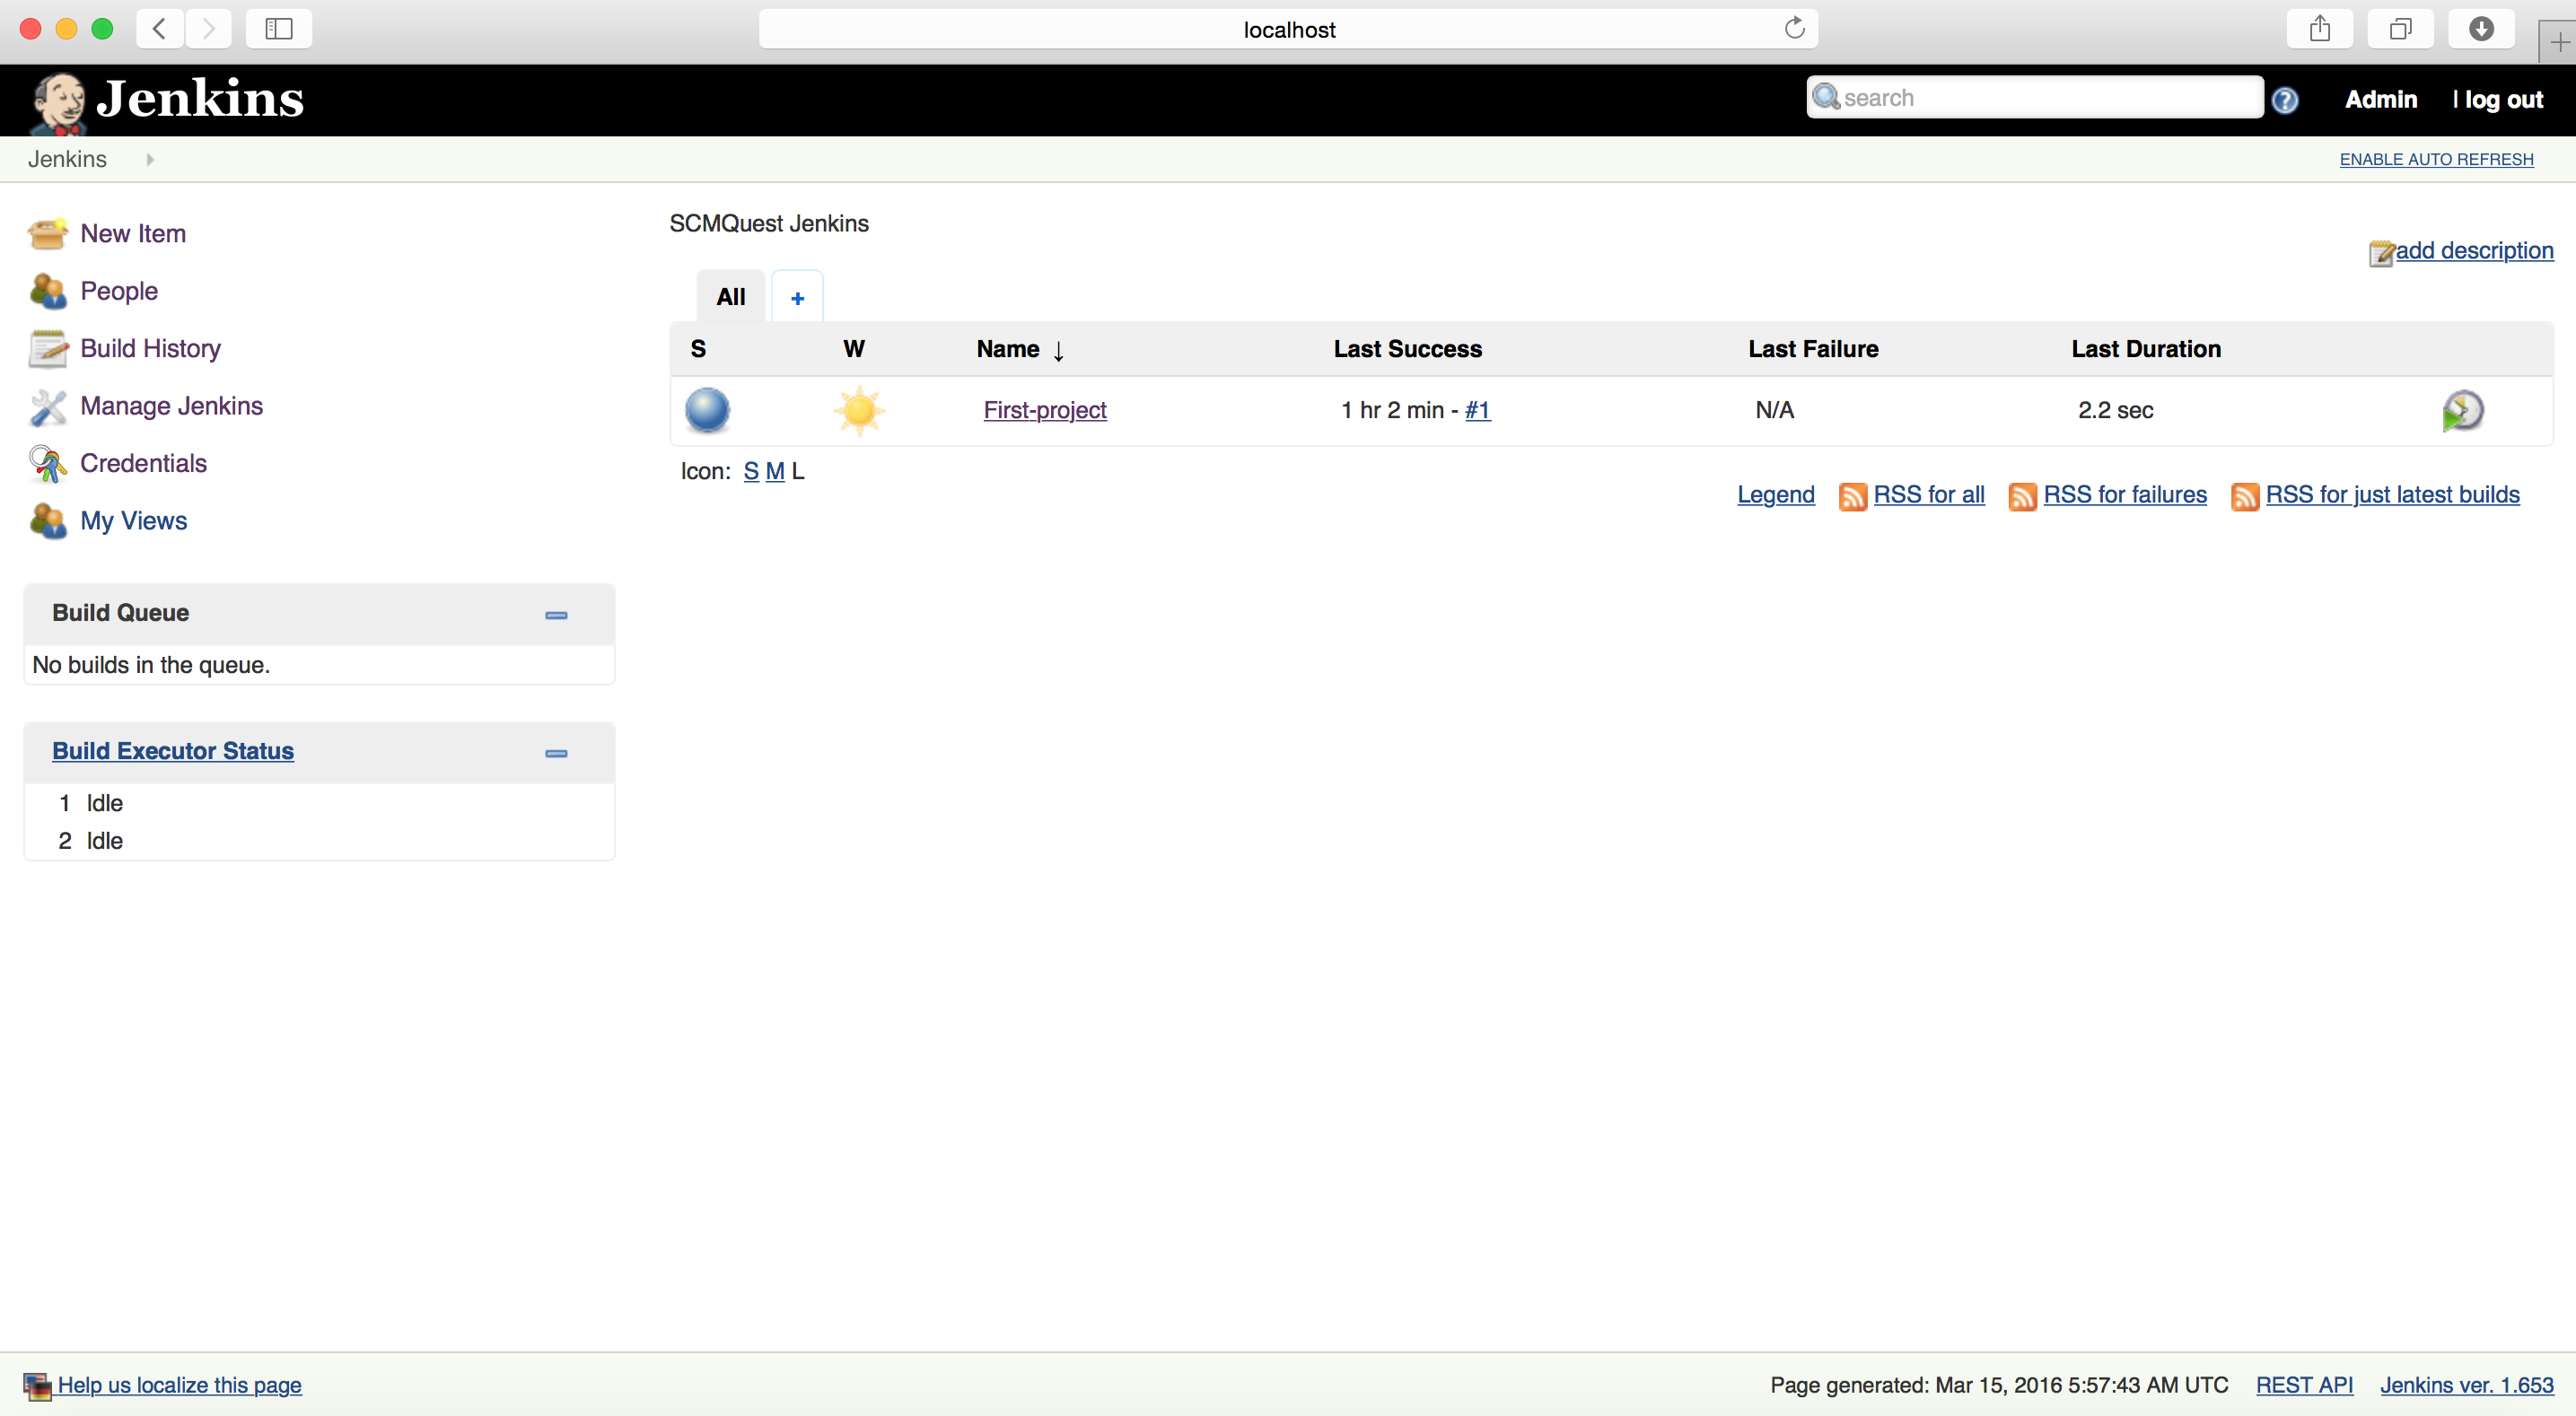
I just kept it short but you can write as many lines as you want and it will looks like as below :
Along with this you can define many things, such as you can define the default retry count of SCM checkout like below
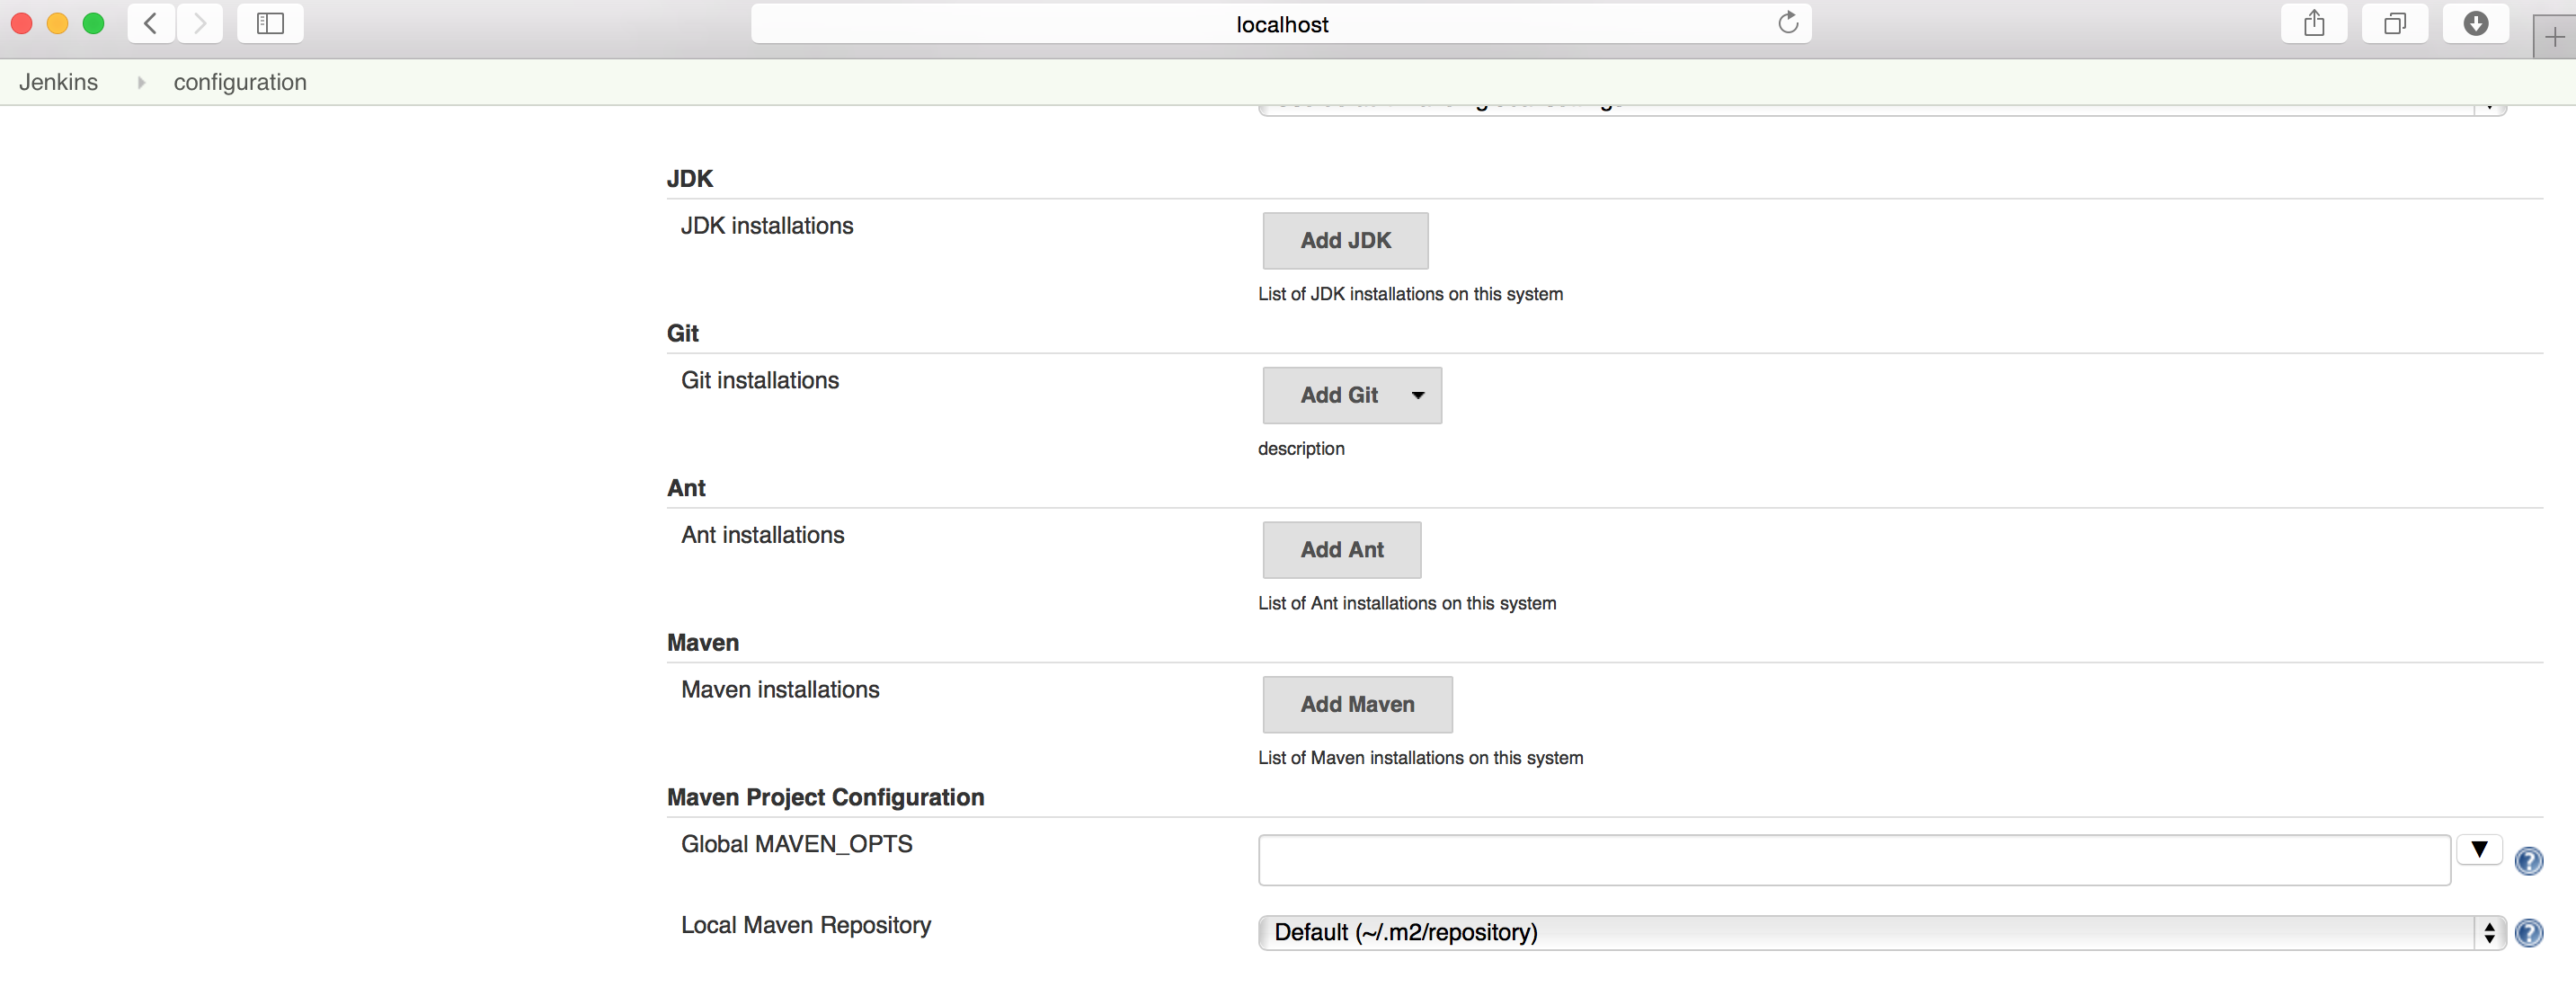
You can also tell the Jenkins where should it finds different installations, such as JDK, ANT, GIT, Maven, etc
You can also define the Jenkins URL and system admin’s email address which Jenkins will use for notifying errors
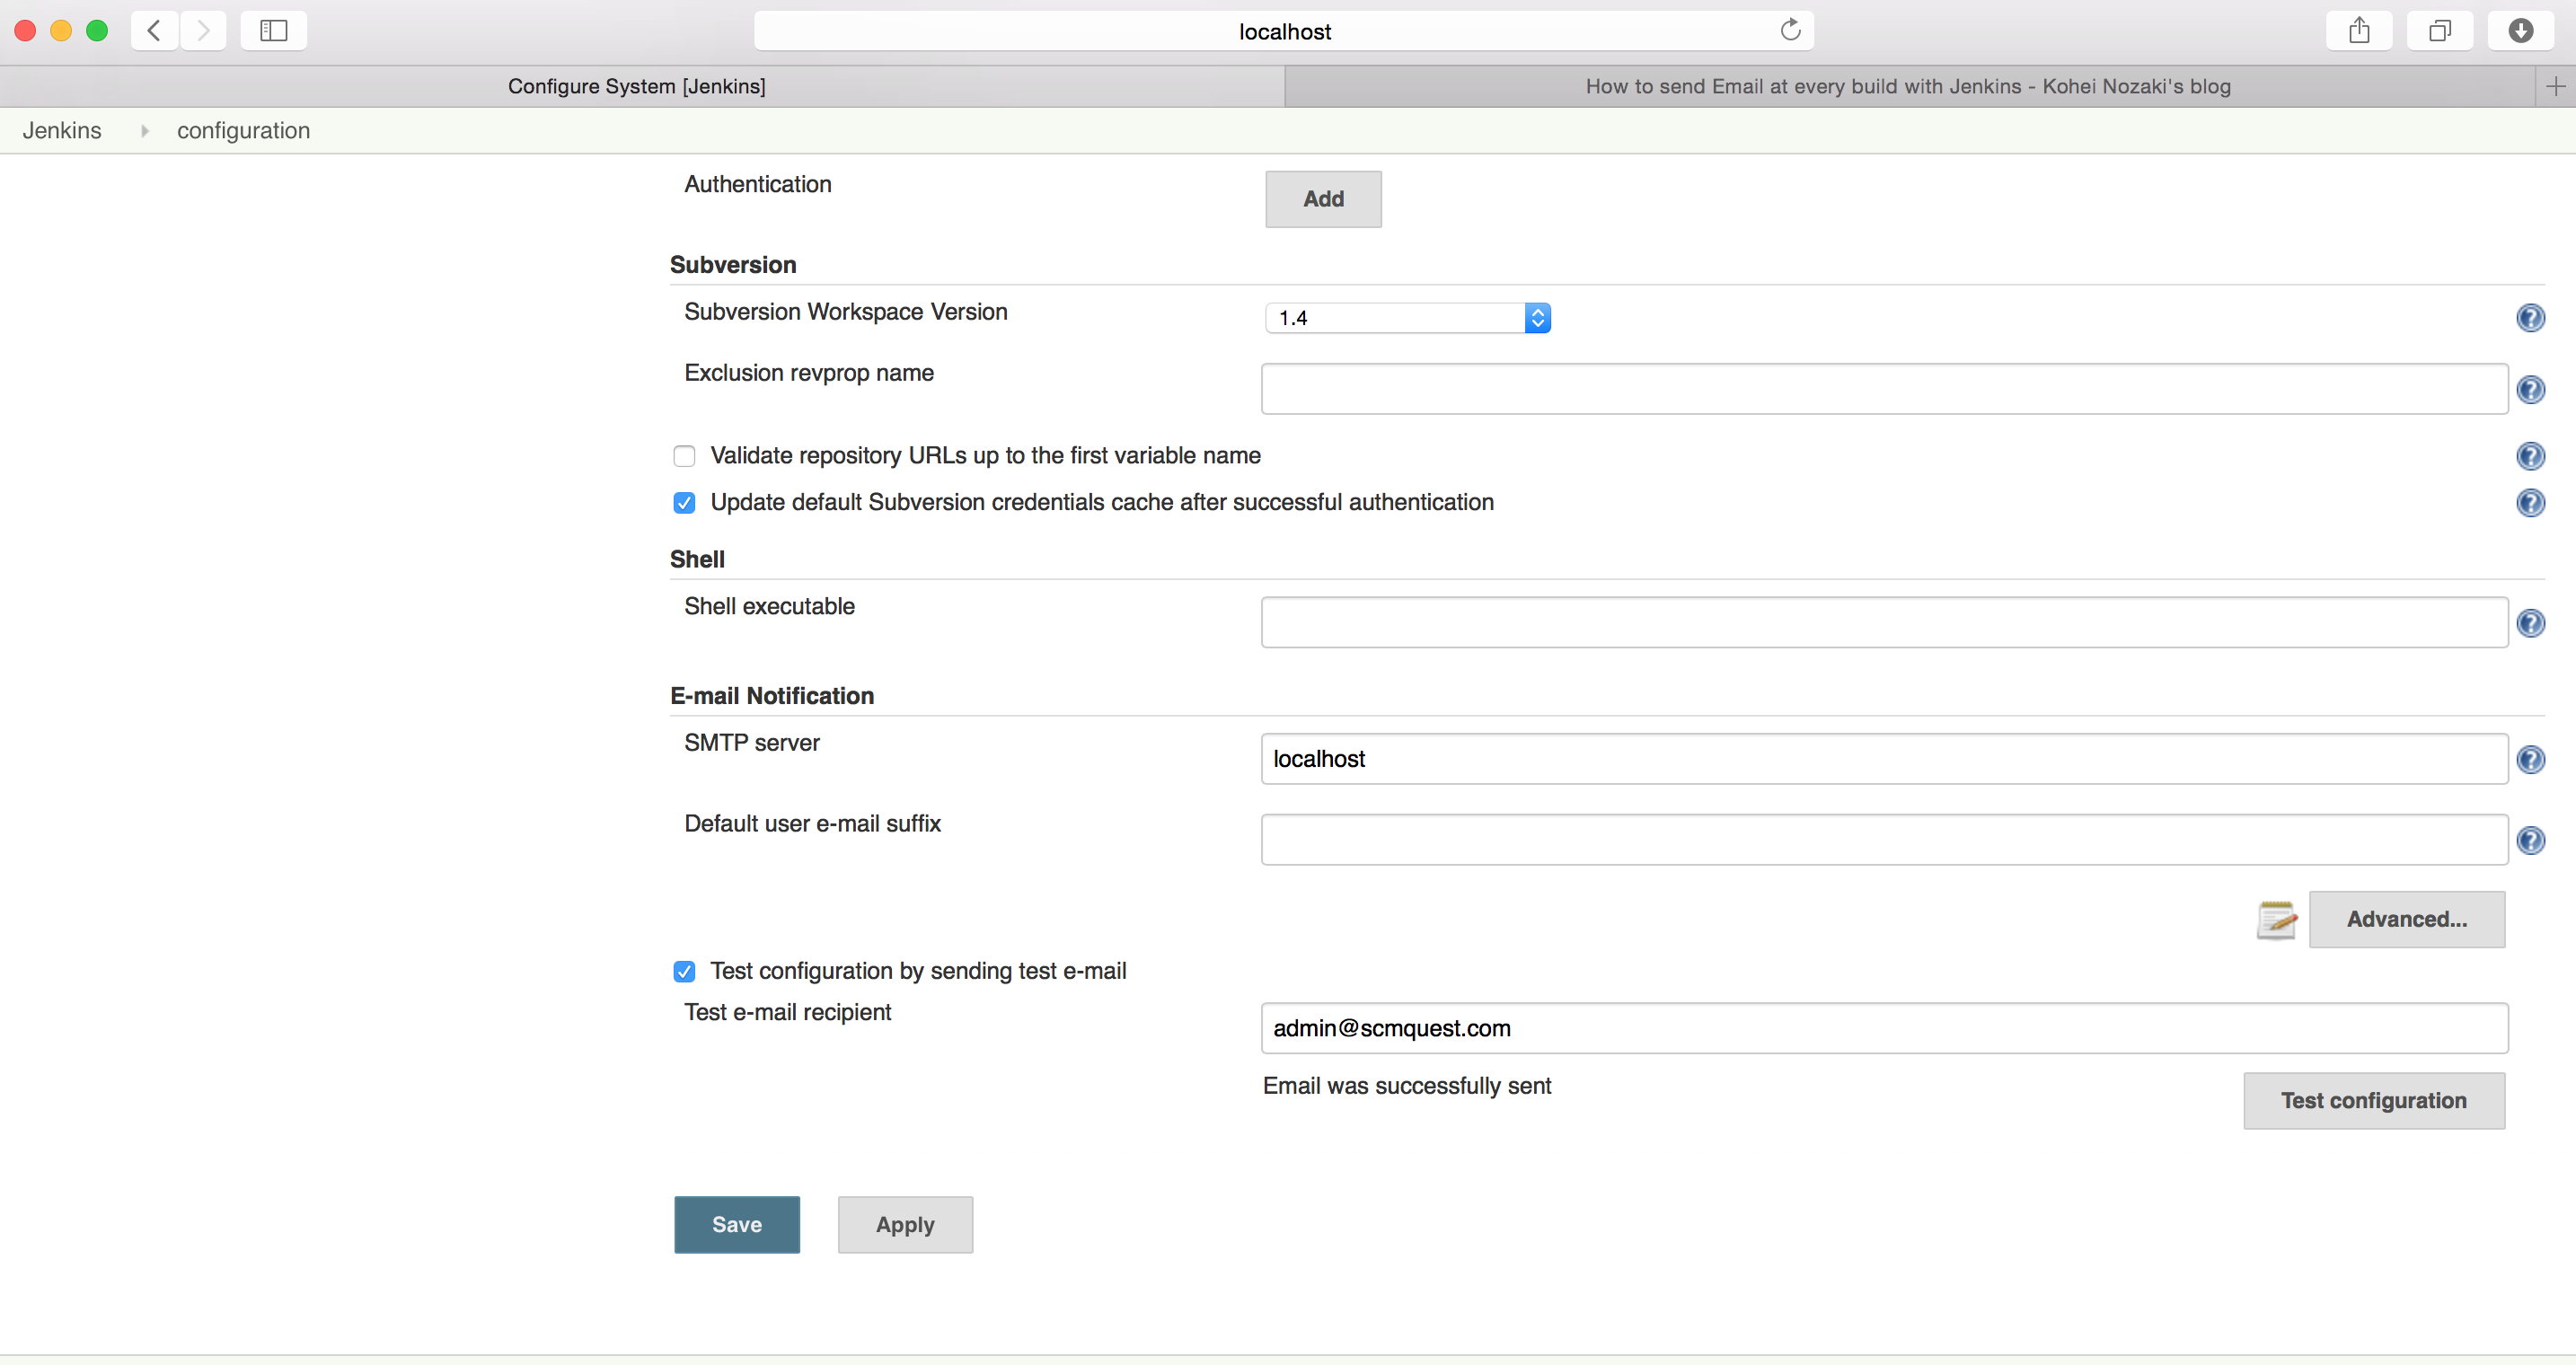
You can also configure the mail server and then Jenkins will send out the mails to the user as per your configuration.
Its an useful and essential step to configure mail notification in case of passed or failed builds to notify the user so that they can fix it promptly.
I’ve used the basic server’s mail server, but you can define the whole SMTP settings through Advanced tab.
You can test the configuration by providing an email address and check your mail box, you will receive an email from Jenkins
Once done, just Save your changes.
Now, lets proceed and configure our project.
Go to Jenkins home page where you can see your project and click on “Configure” link on left hand side bar
This will open the same configuration page which we saved and left due to missing version control system.
Now, this time you can see a new “Source Code Management” tool has been added which is “Git”
Click on it.
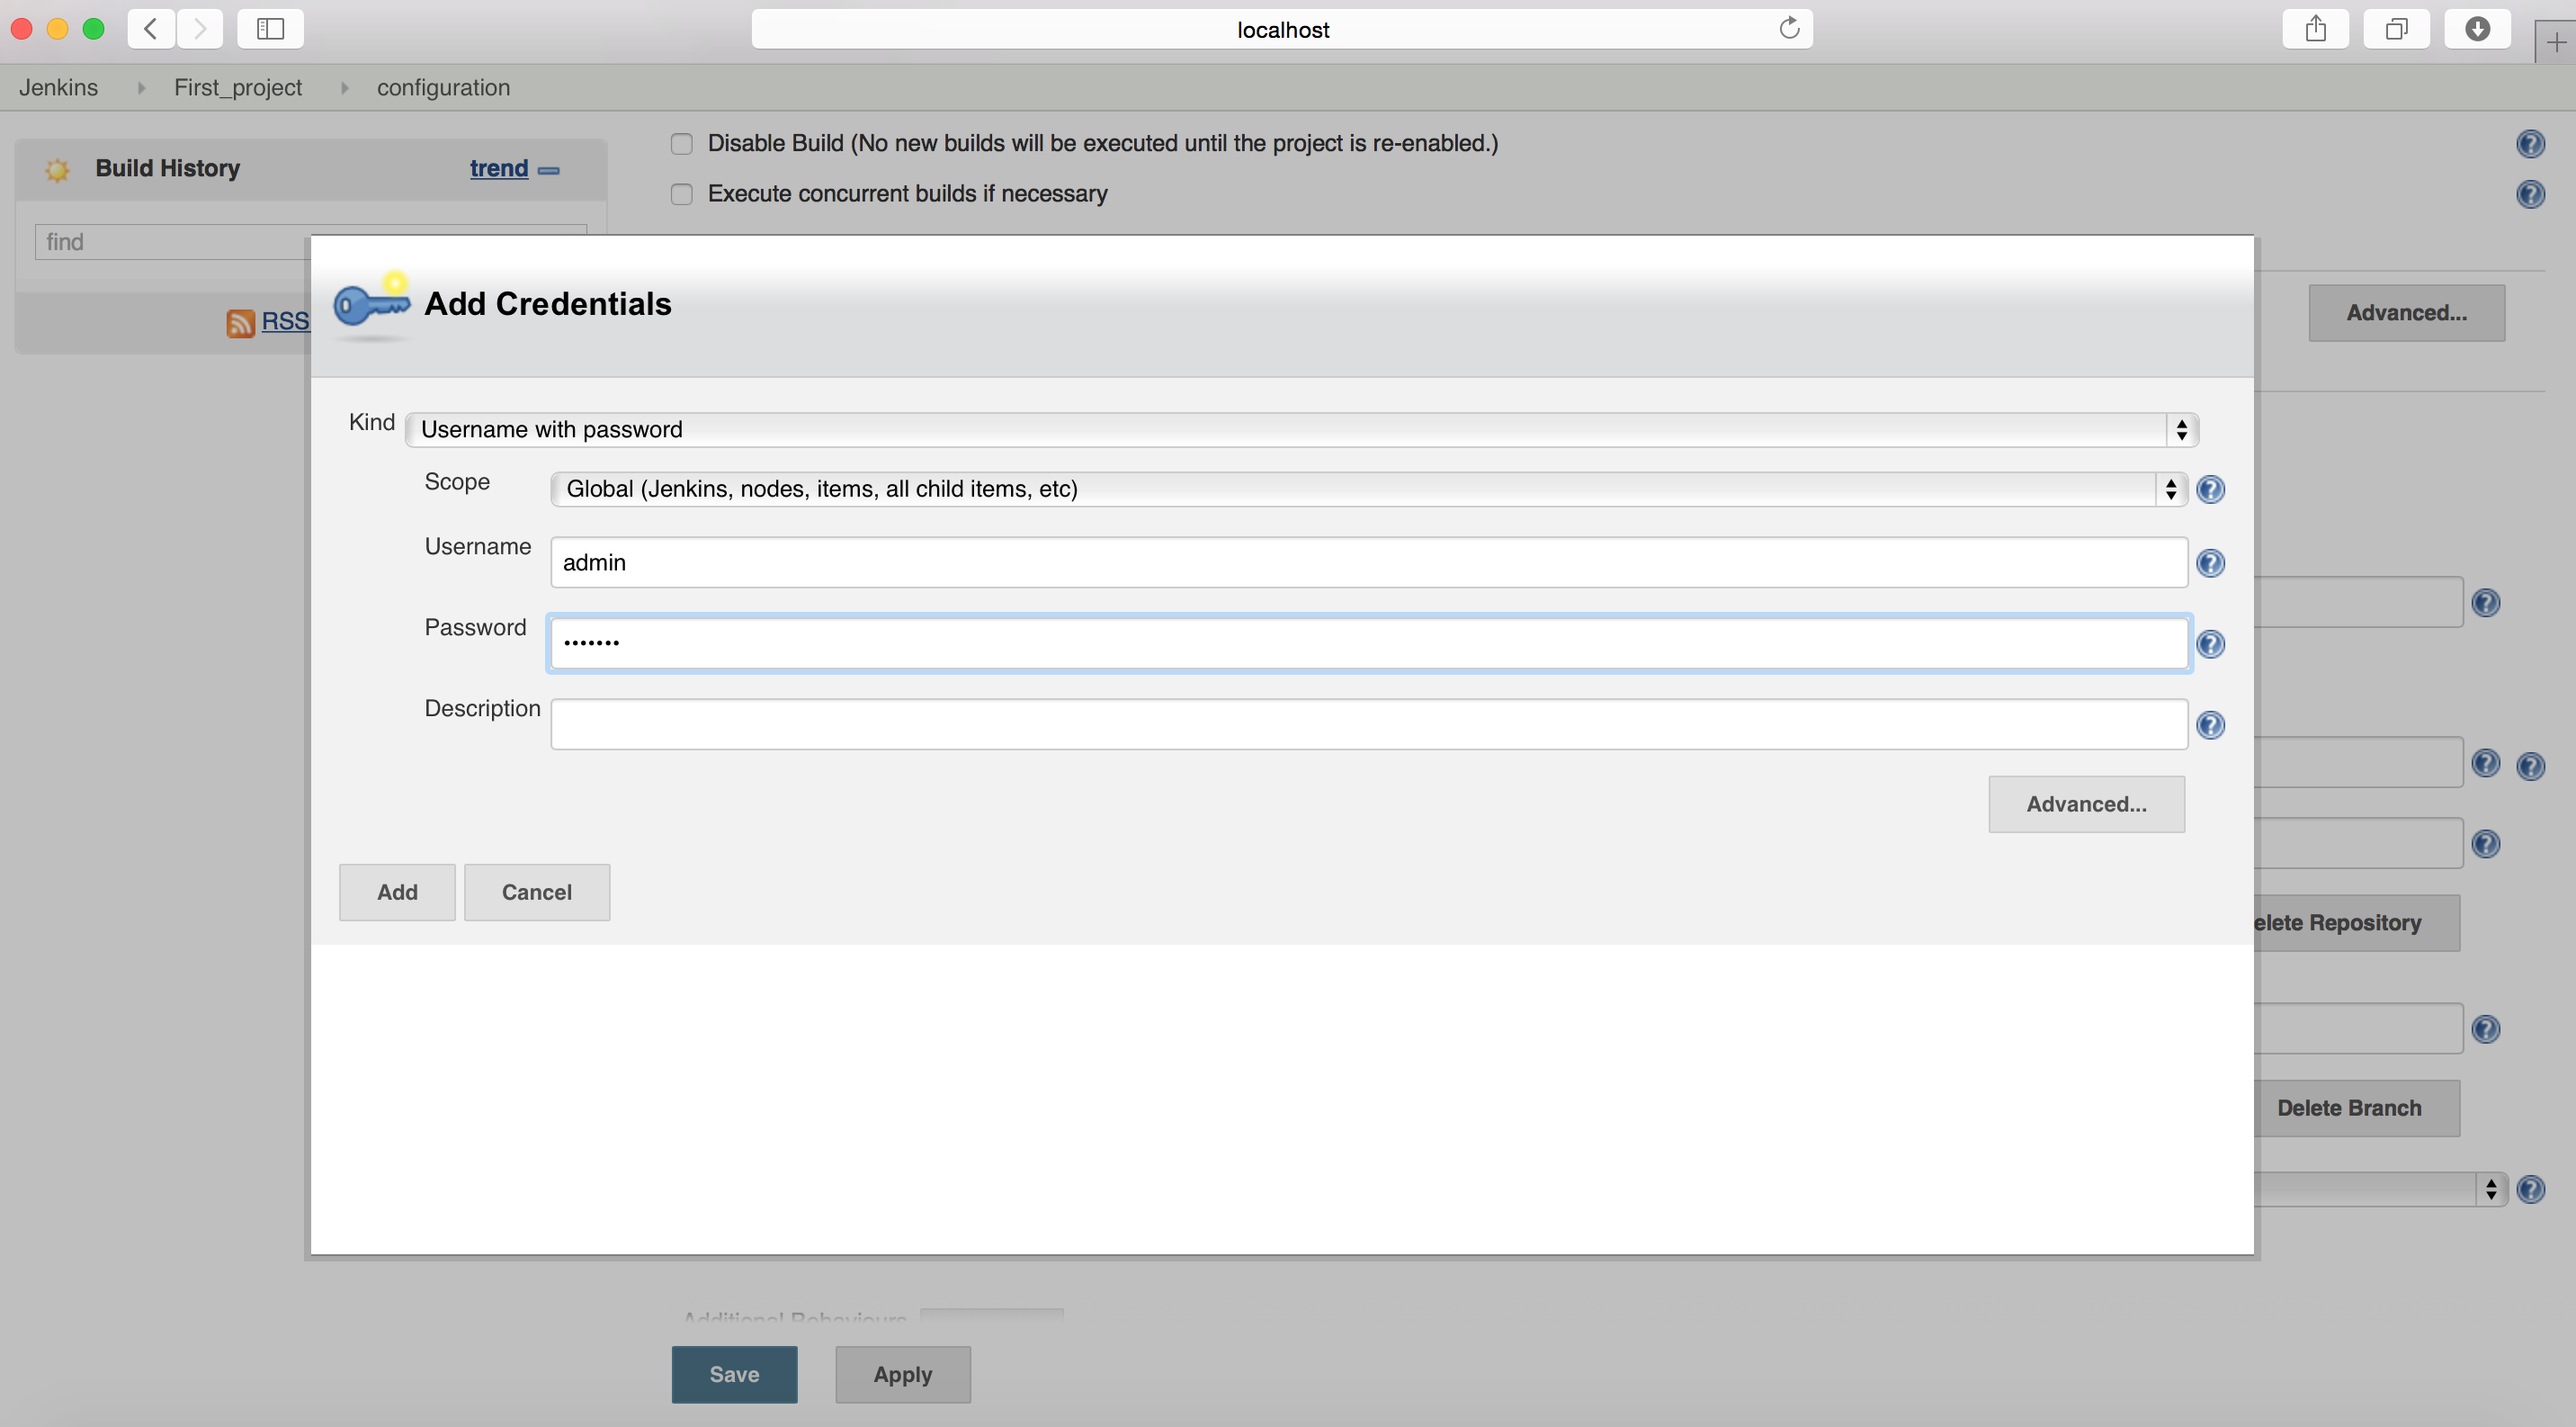
It will allow you to add Git URL and the credentials if needed.
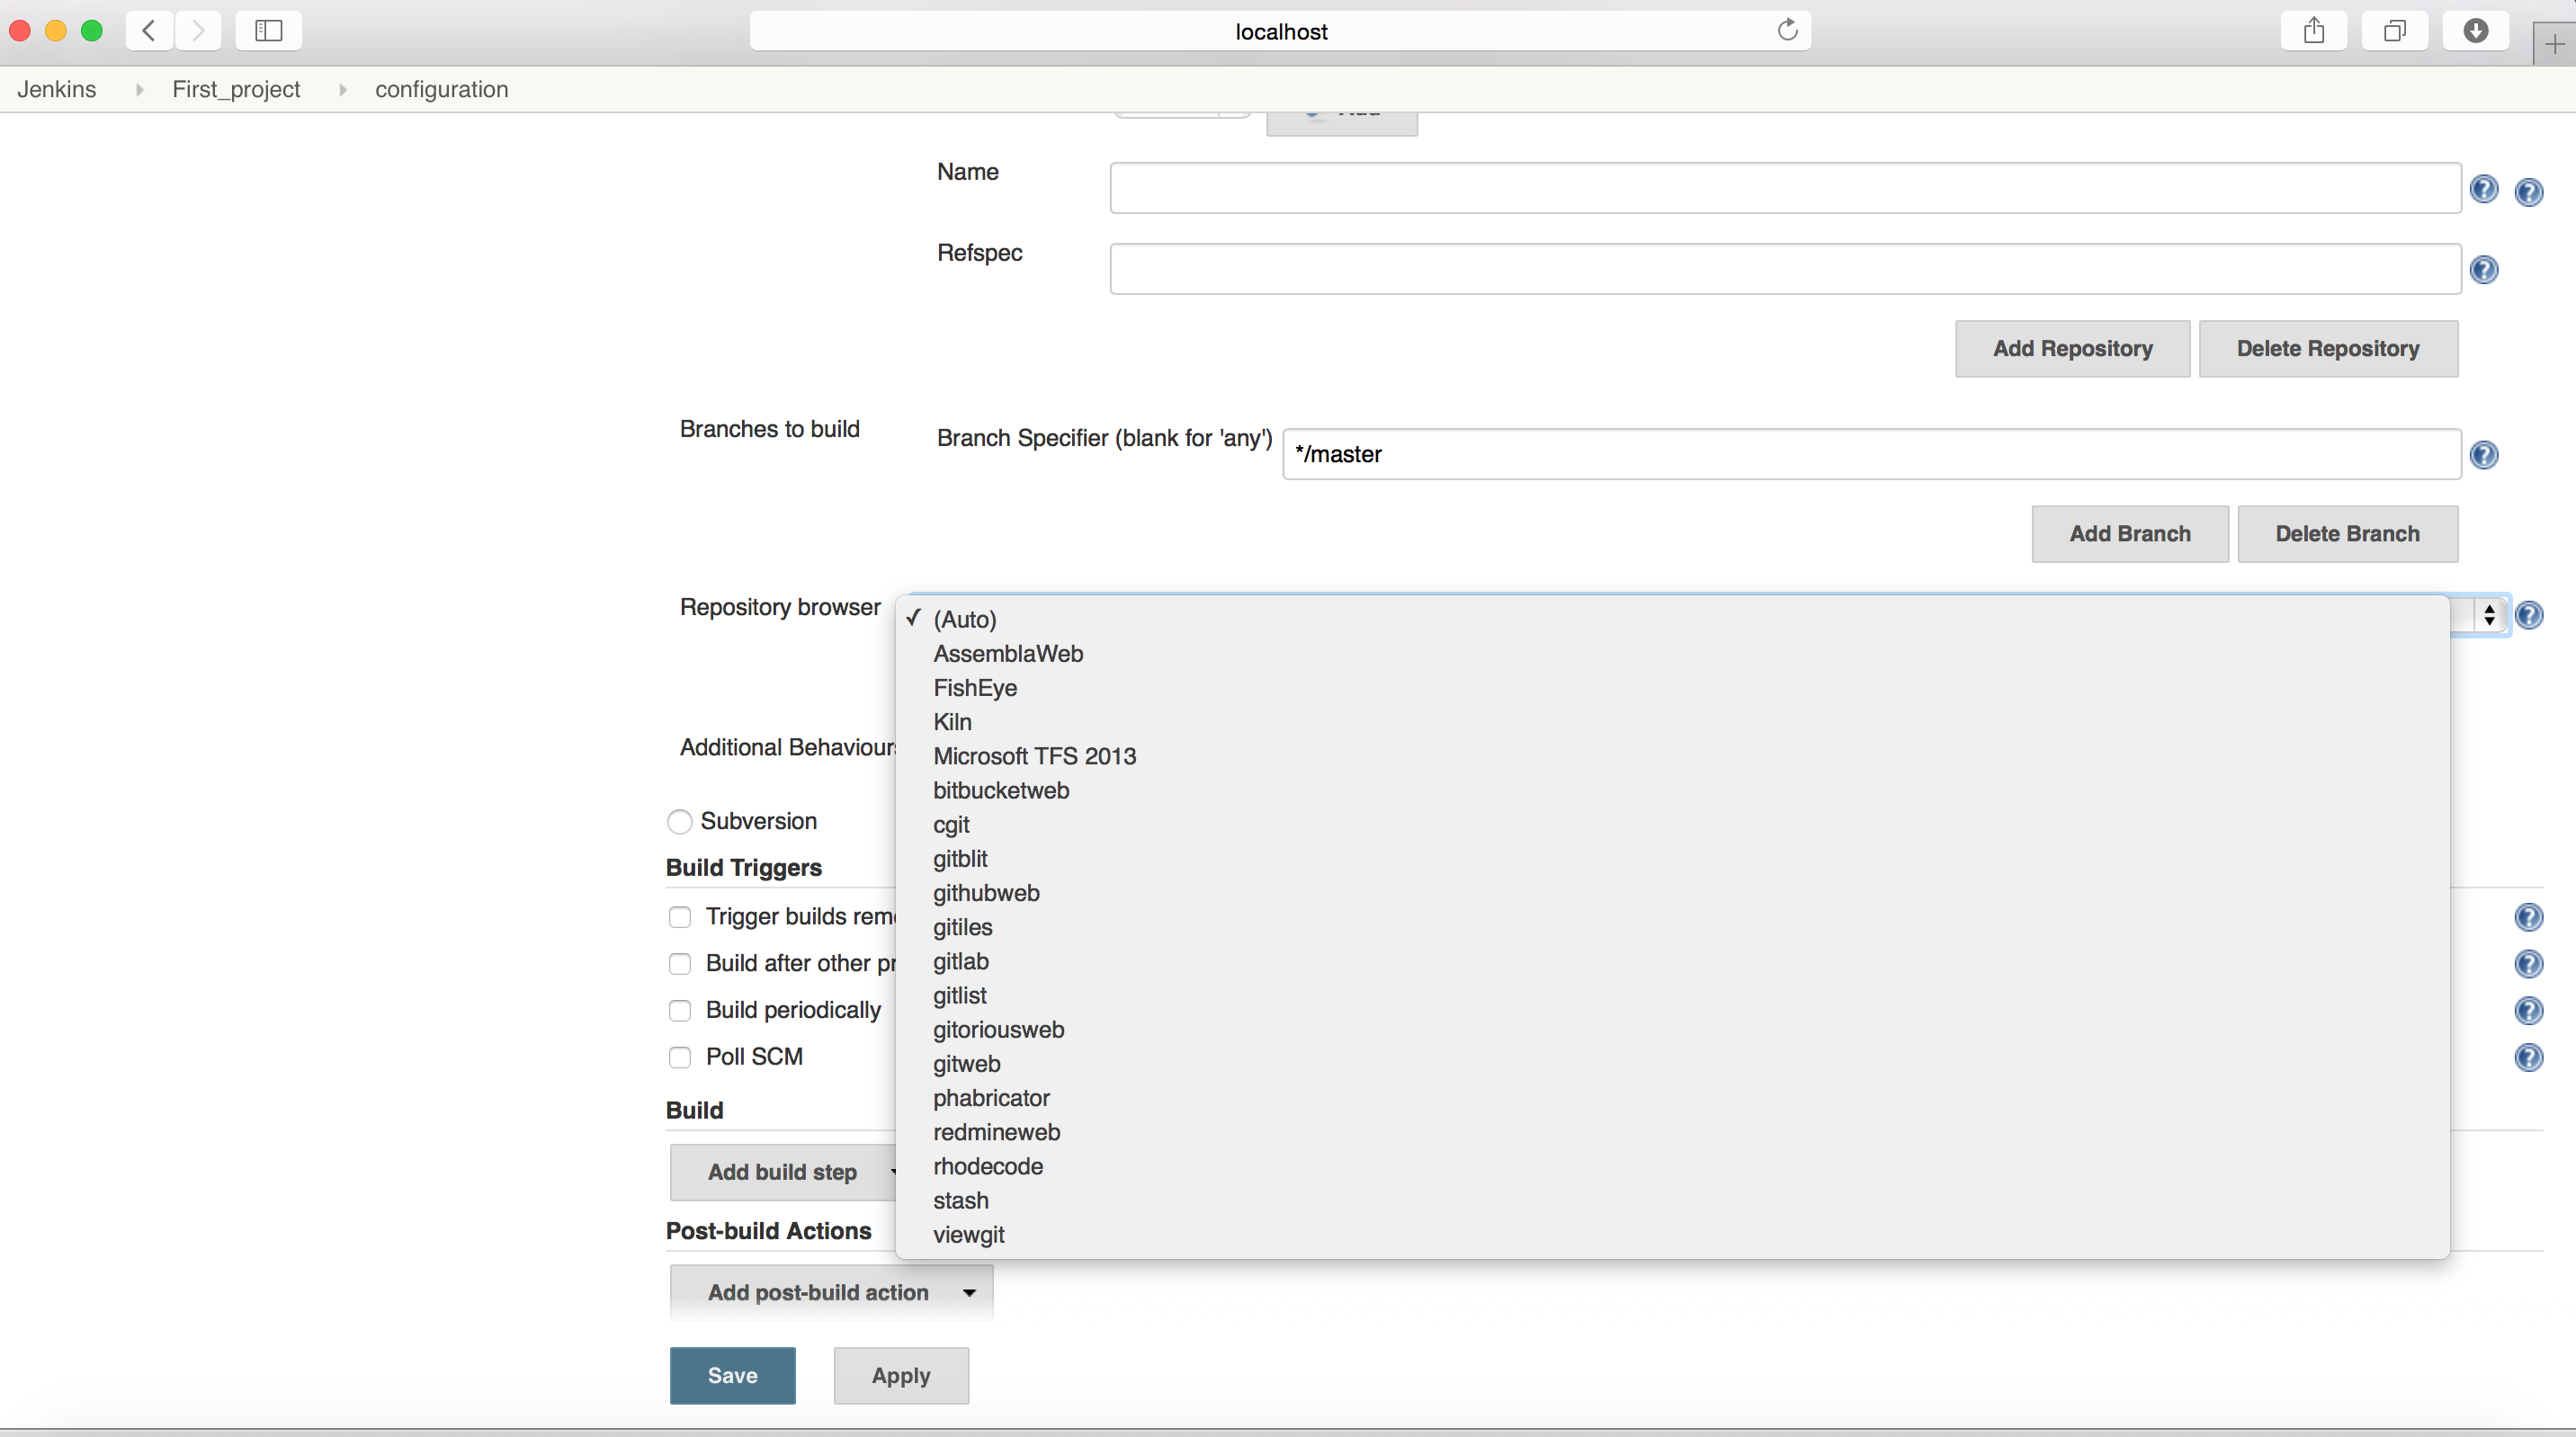
Once done, you can see Jenkins has fetched out the Repository from the given URL
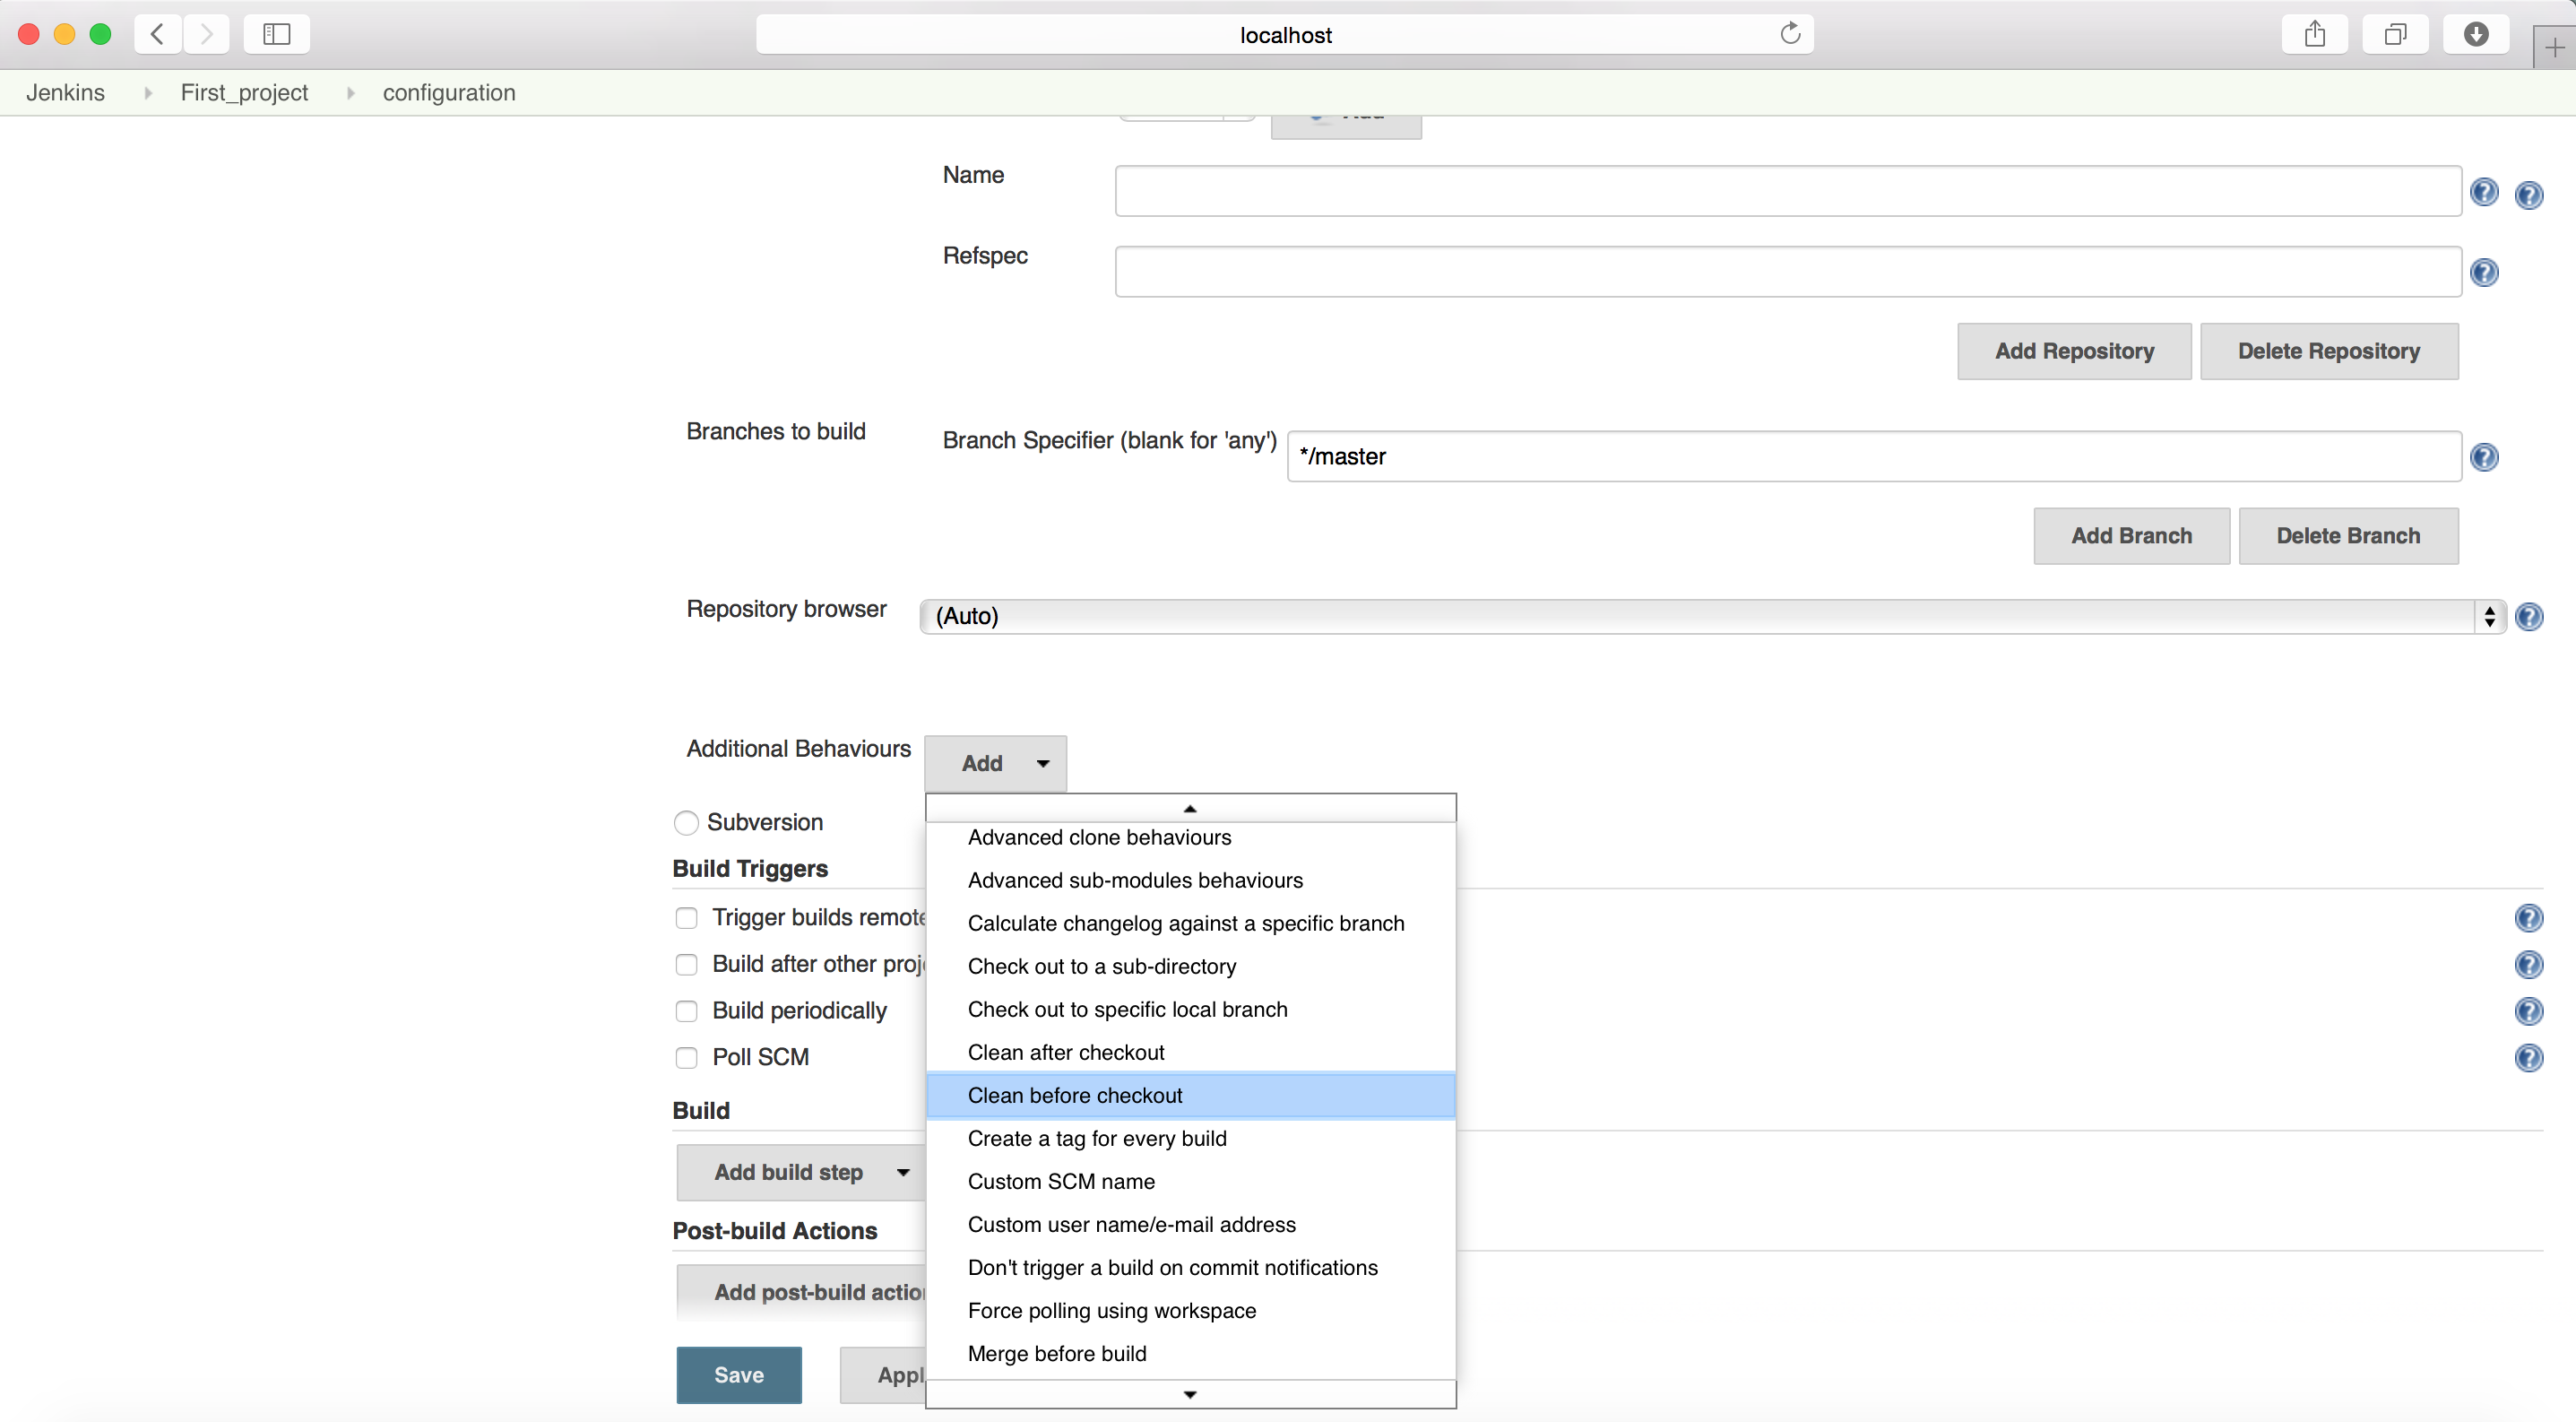
You can define other repository related options which you may need during build, i selected to Clean the Jenkins area before doing a fresh checkout overtime.
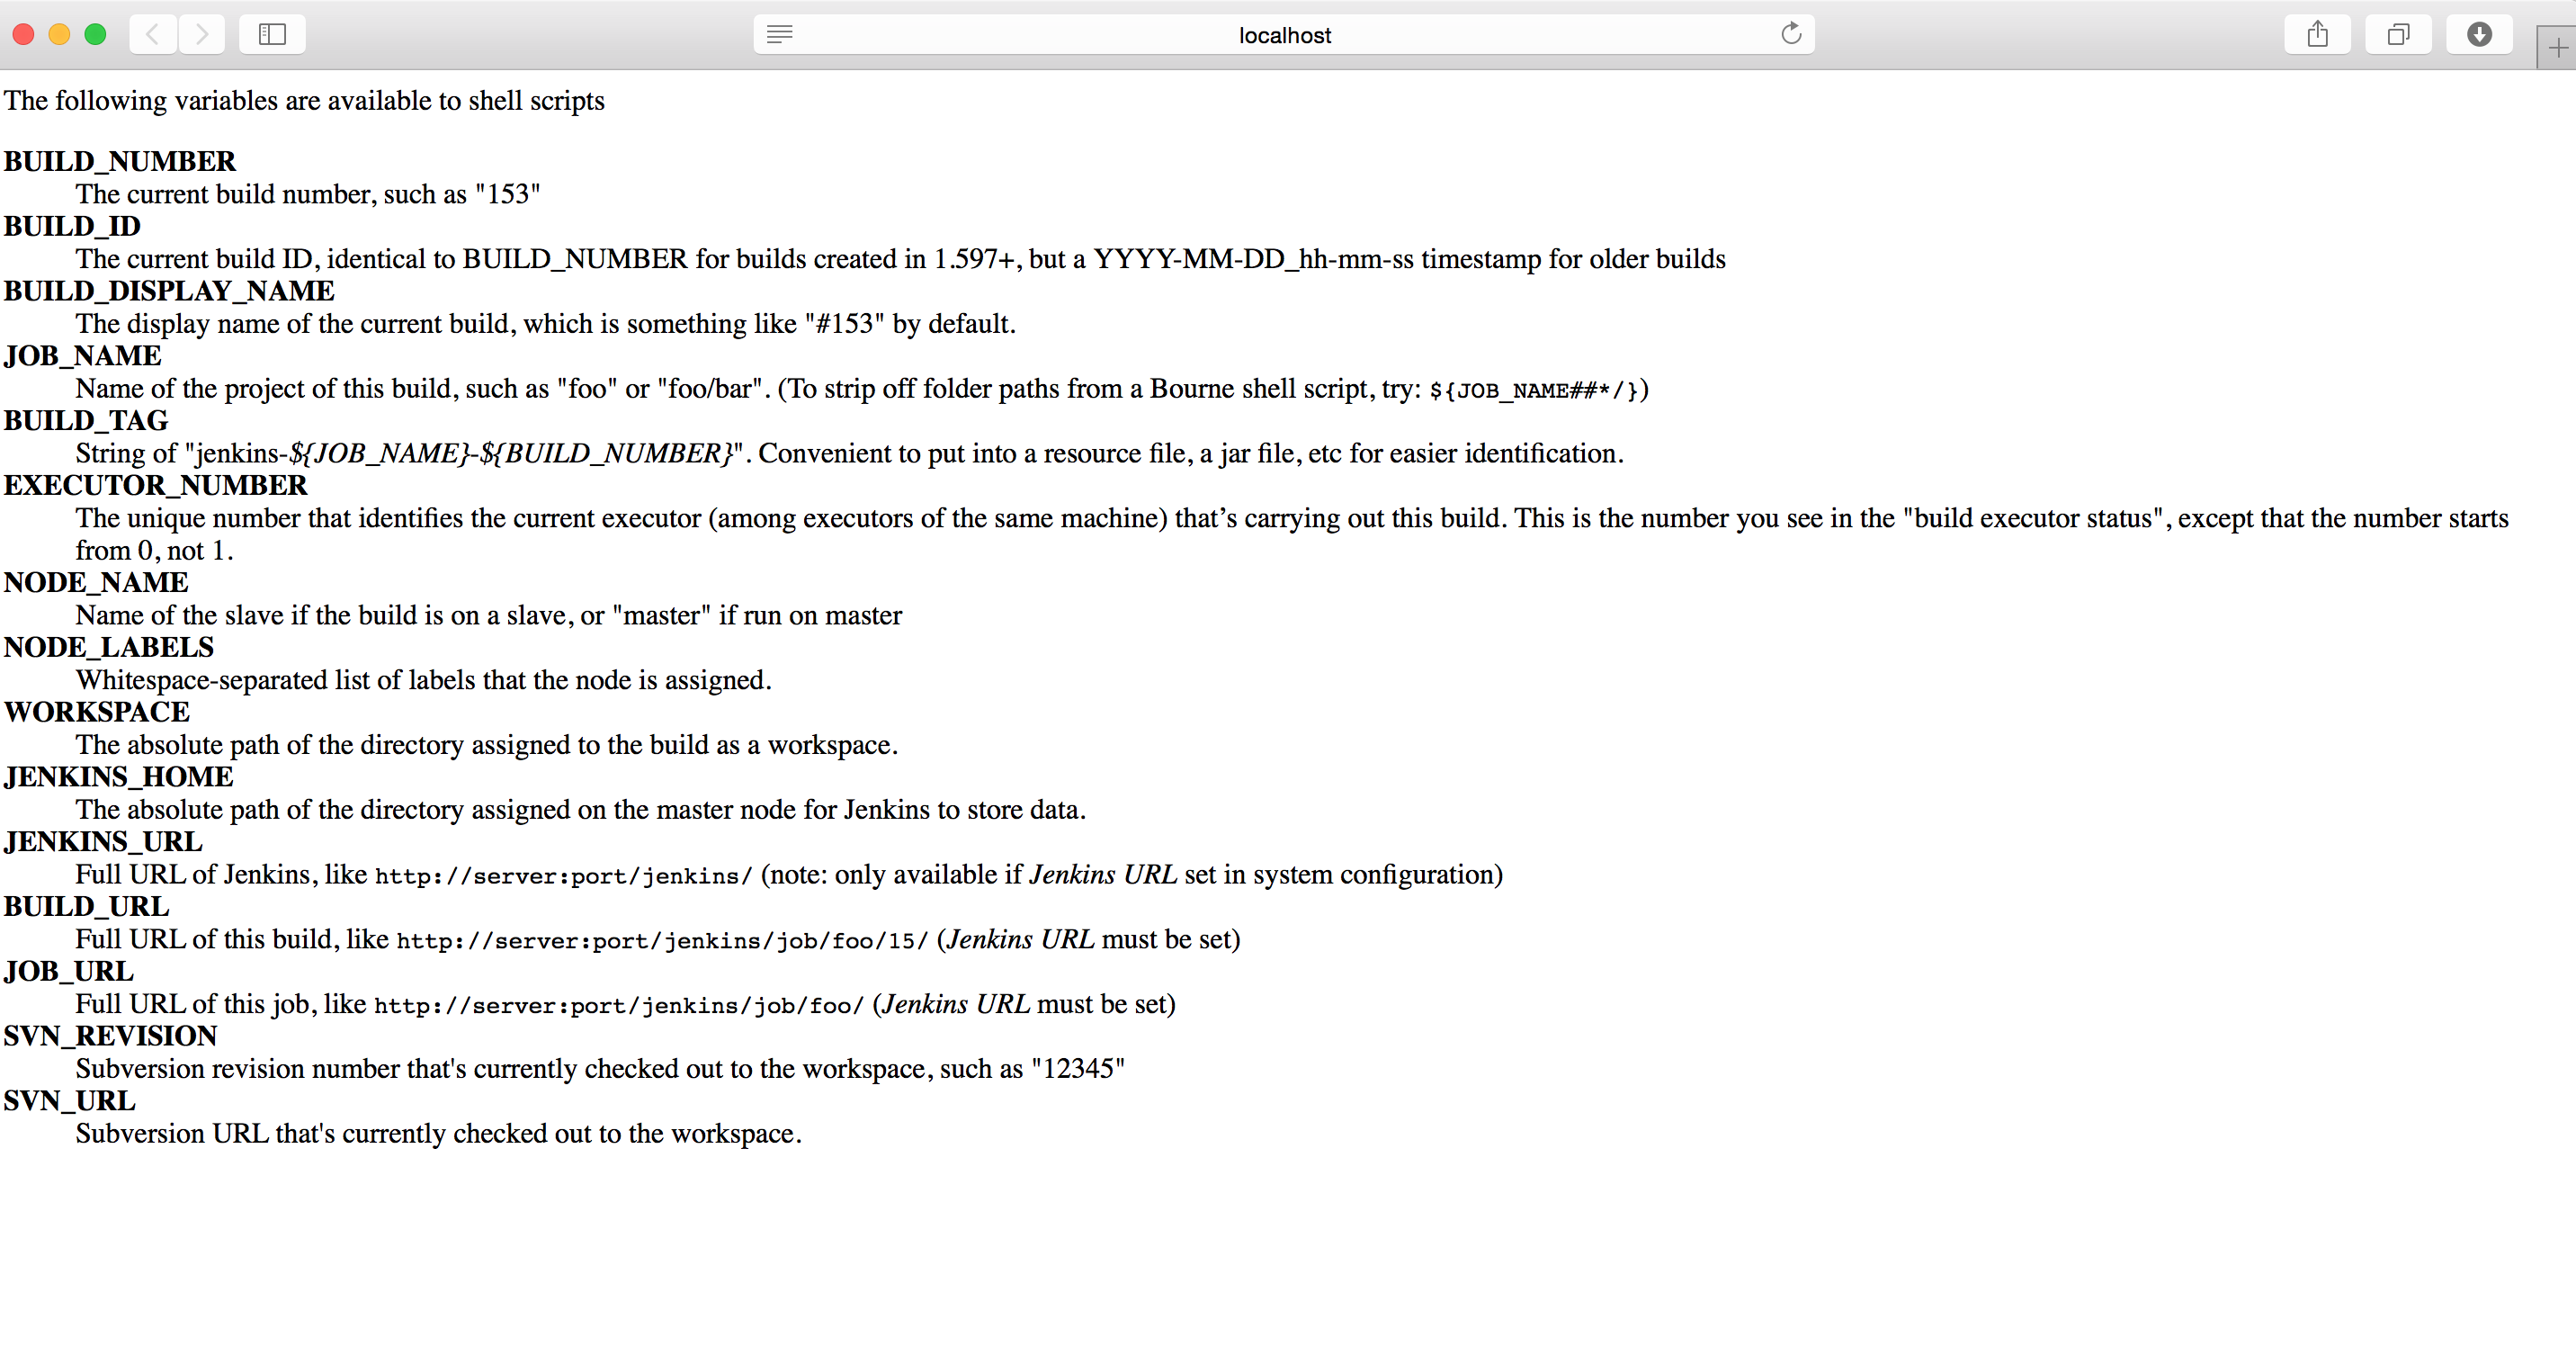
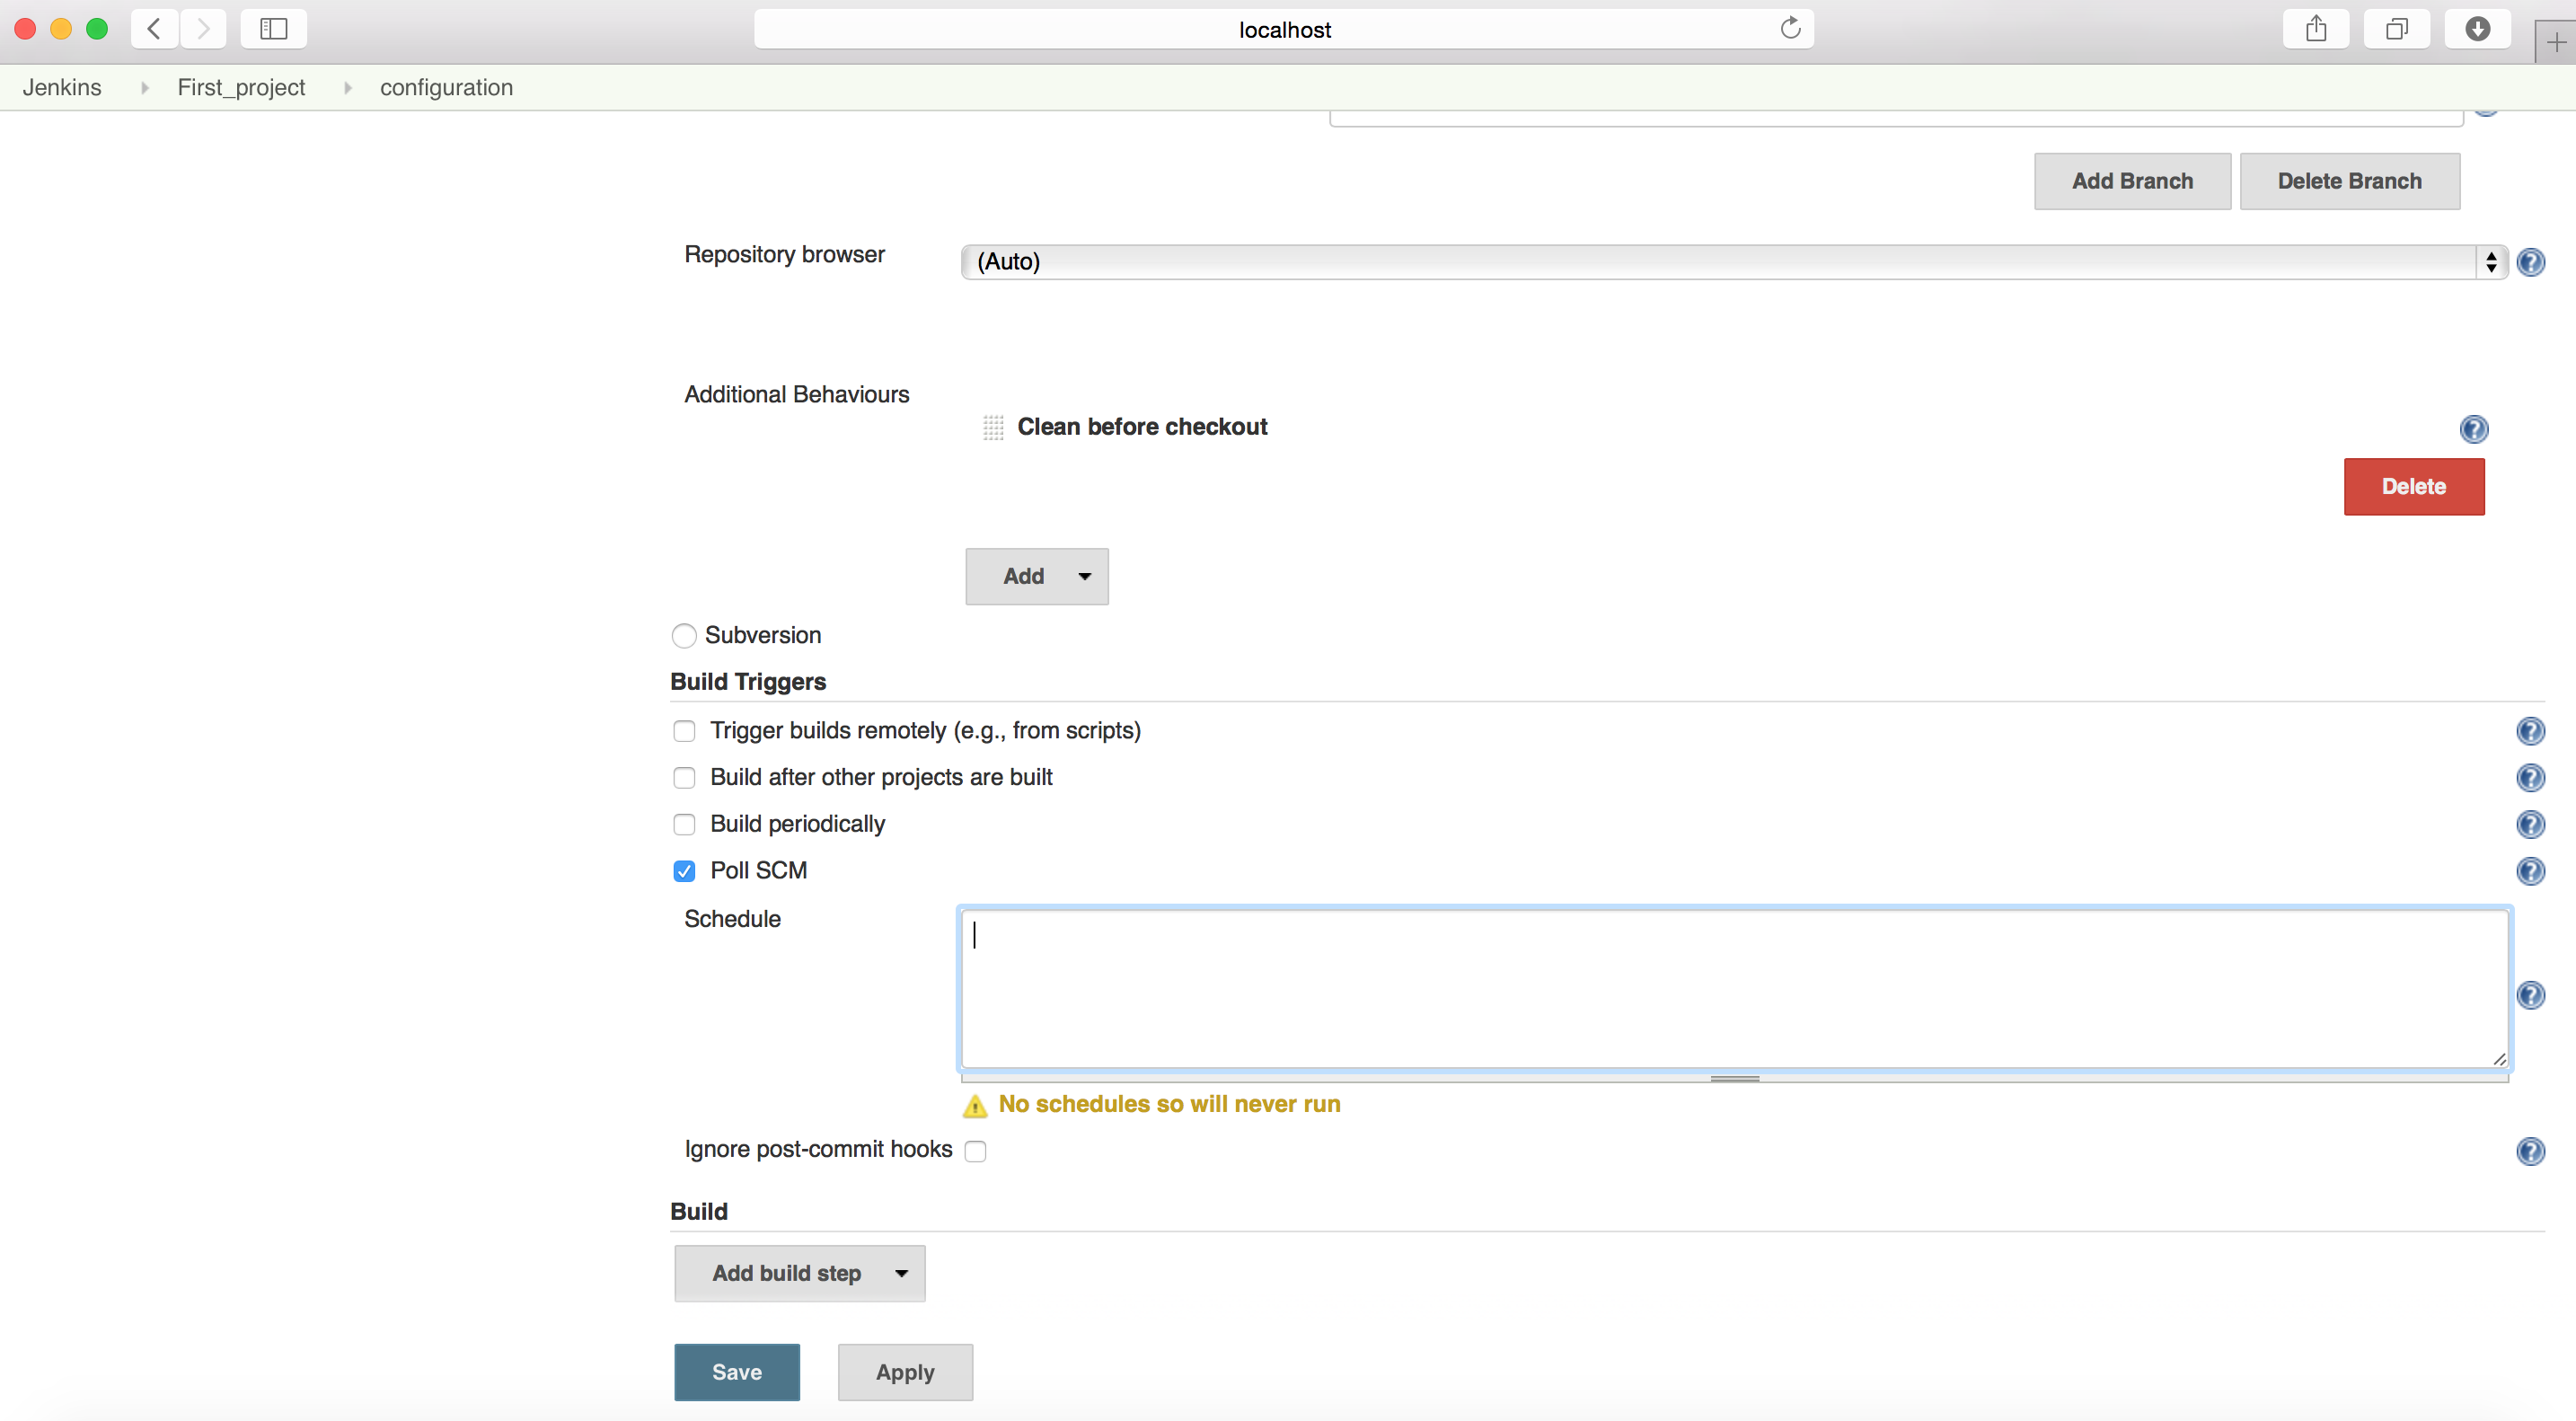
You can also define when you want Jenkins to Poll the Source code management (the frequency of fetching/checking changes in provided VCS).
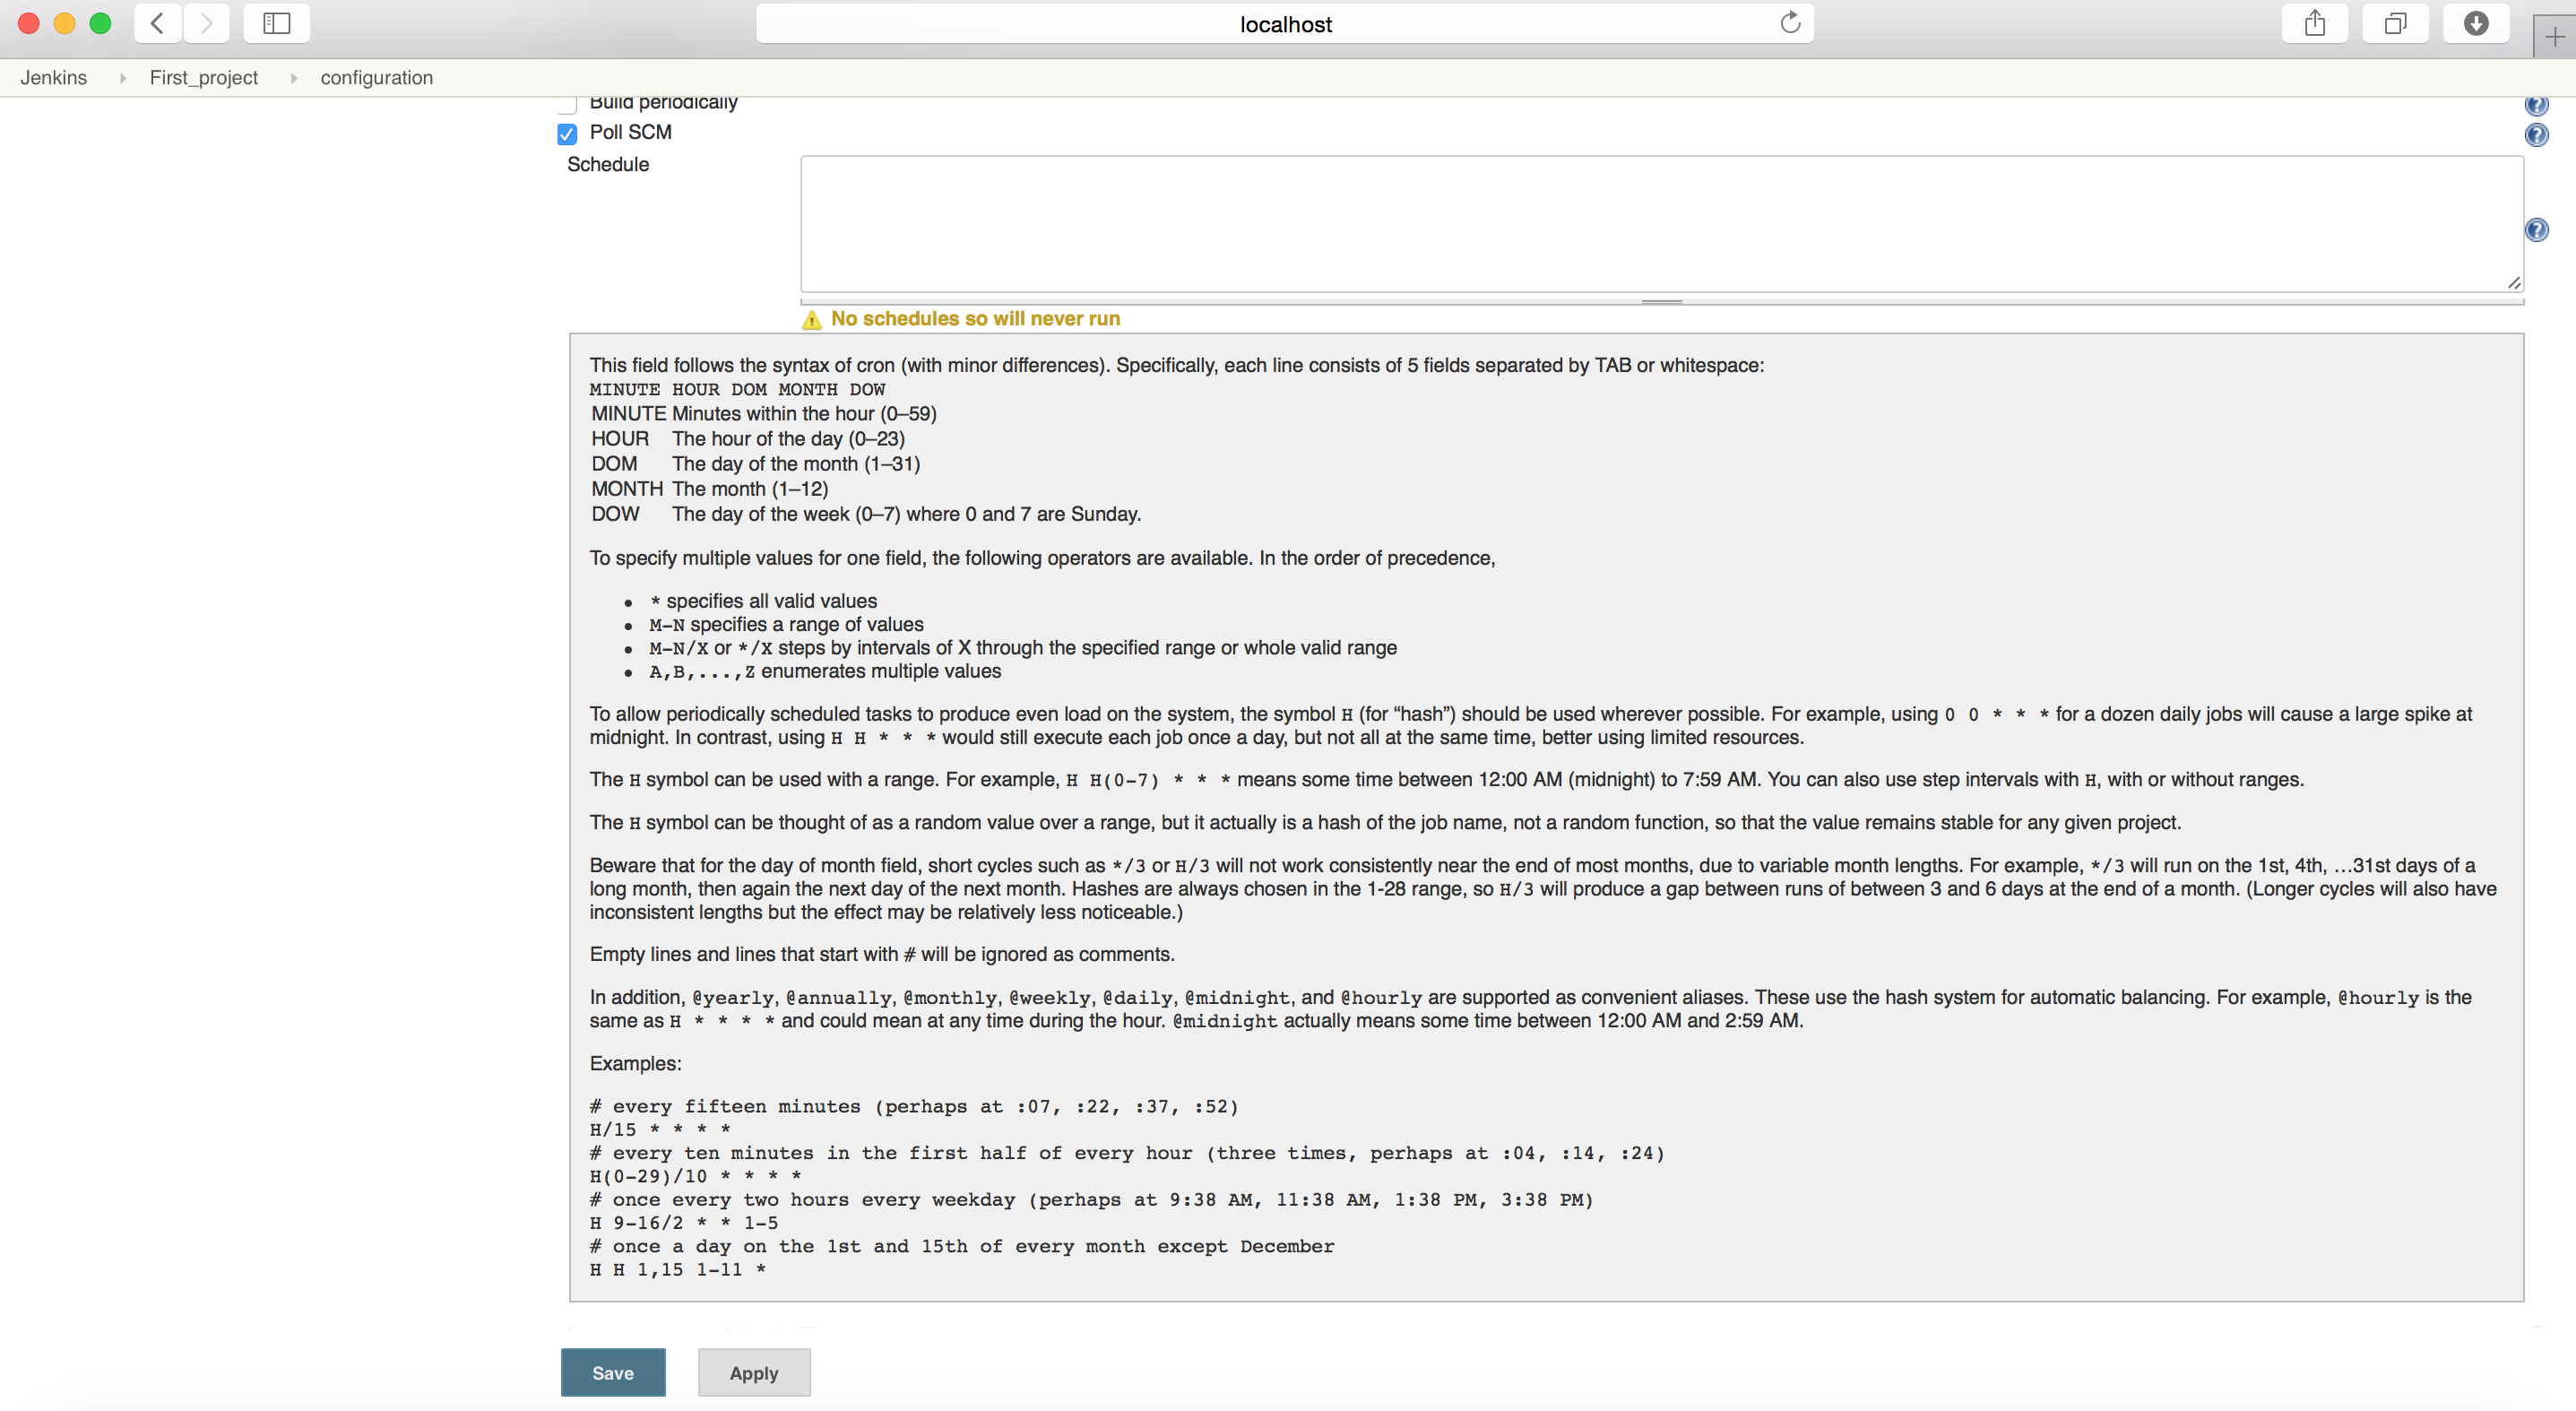
To get the full idea about the syntax, click on ‘?’ symbol (help page).
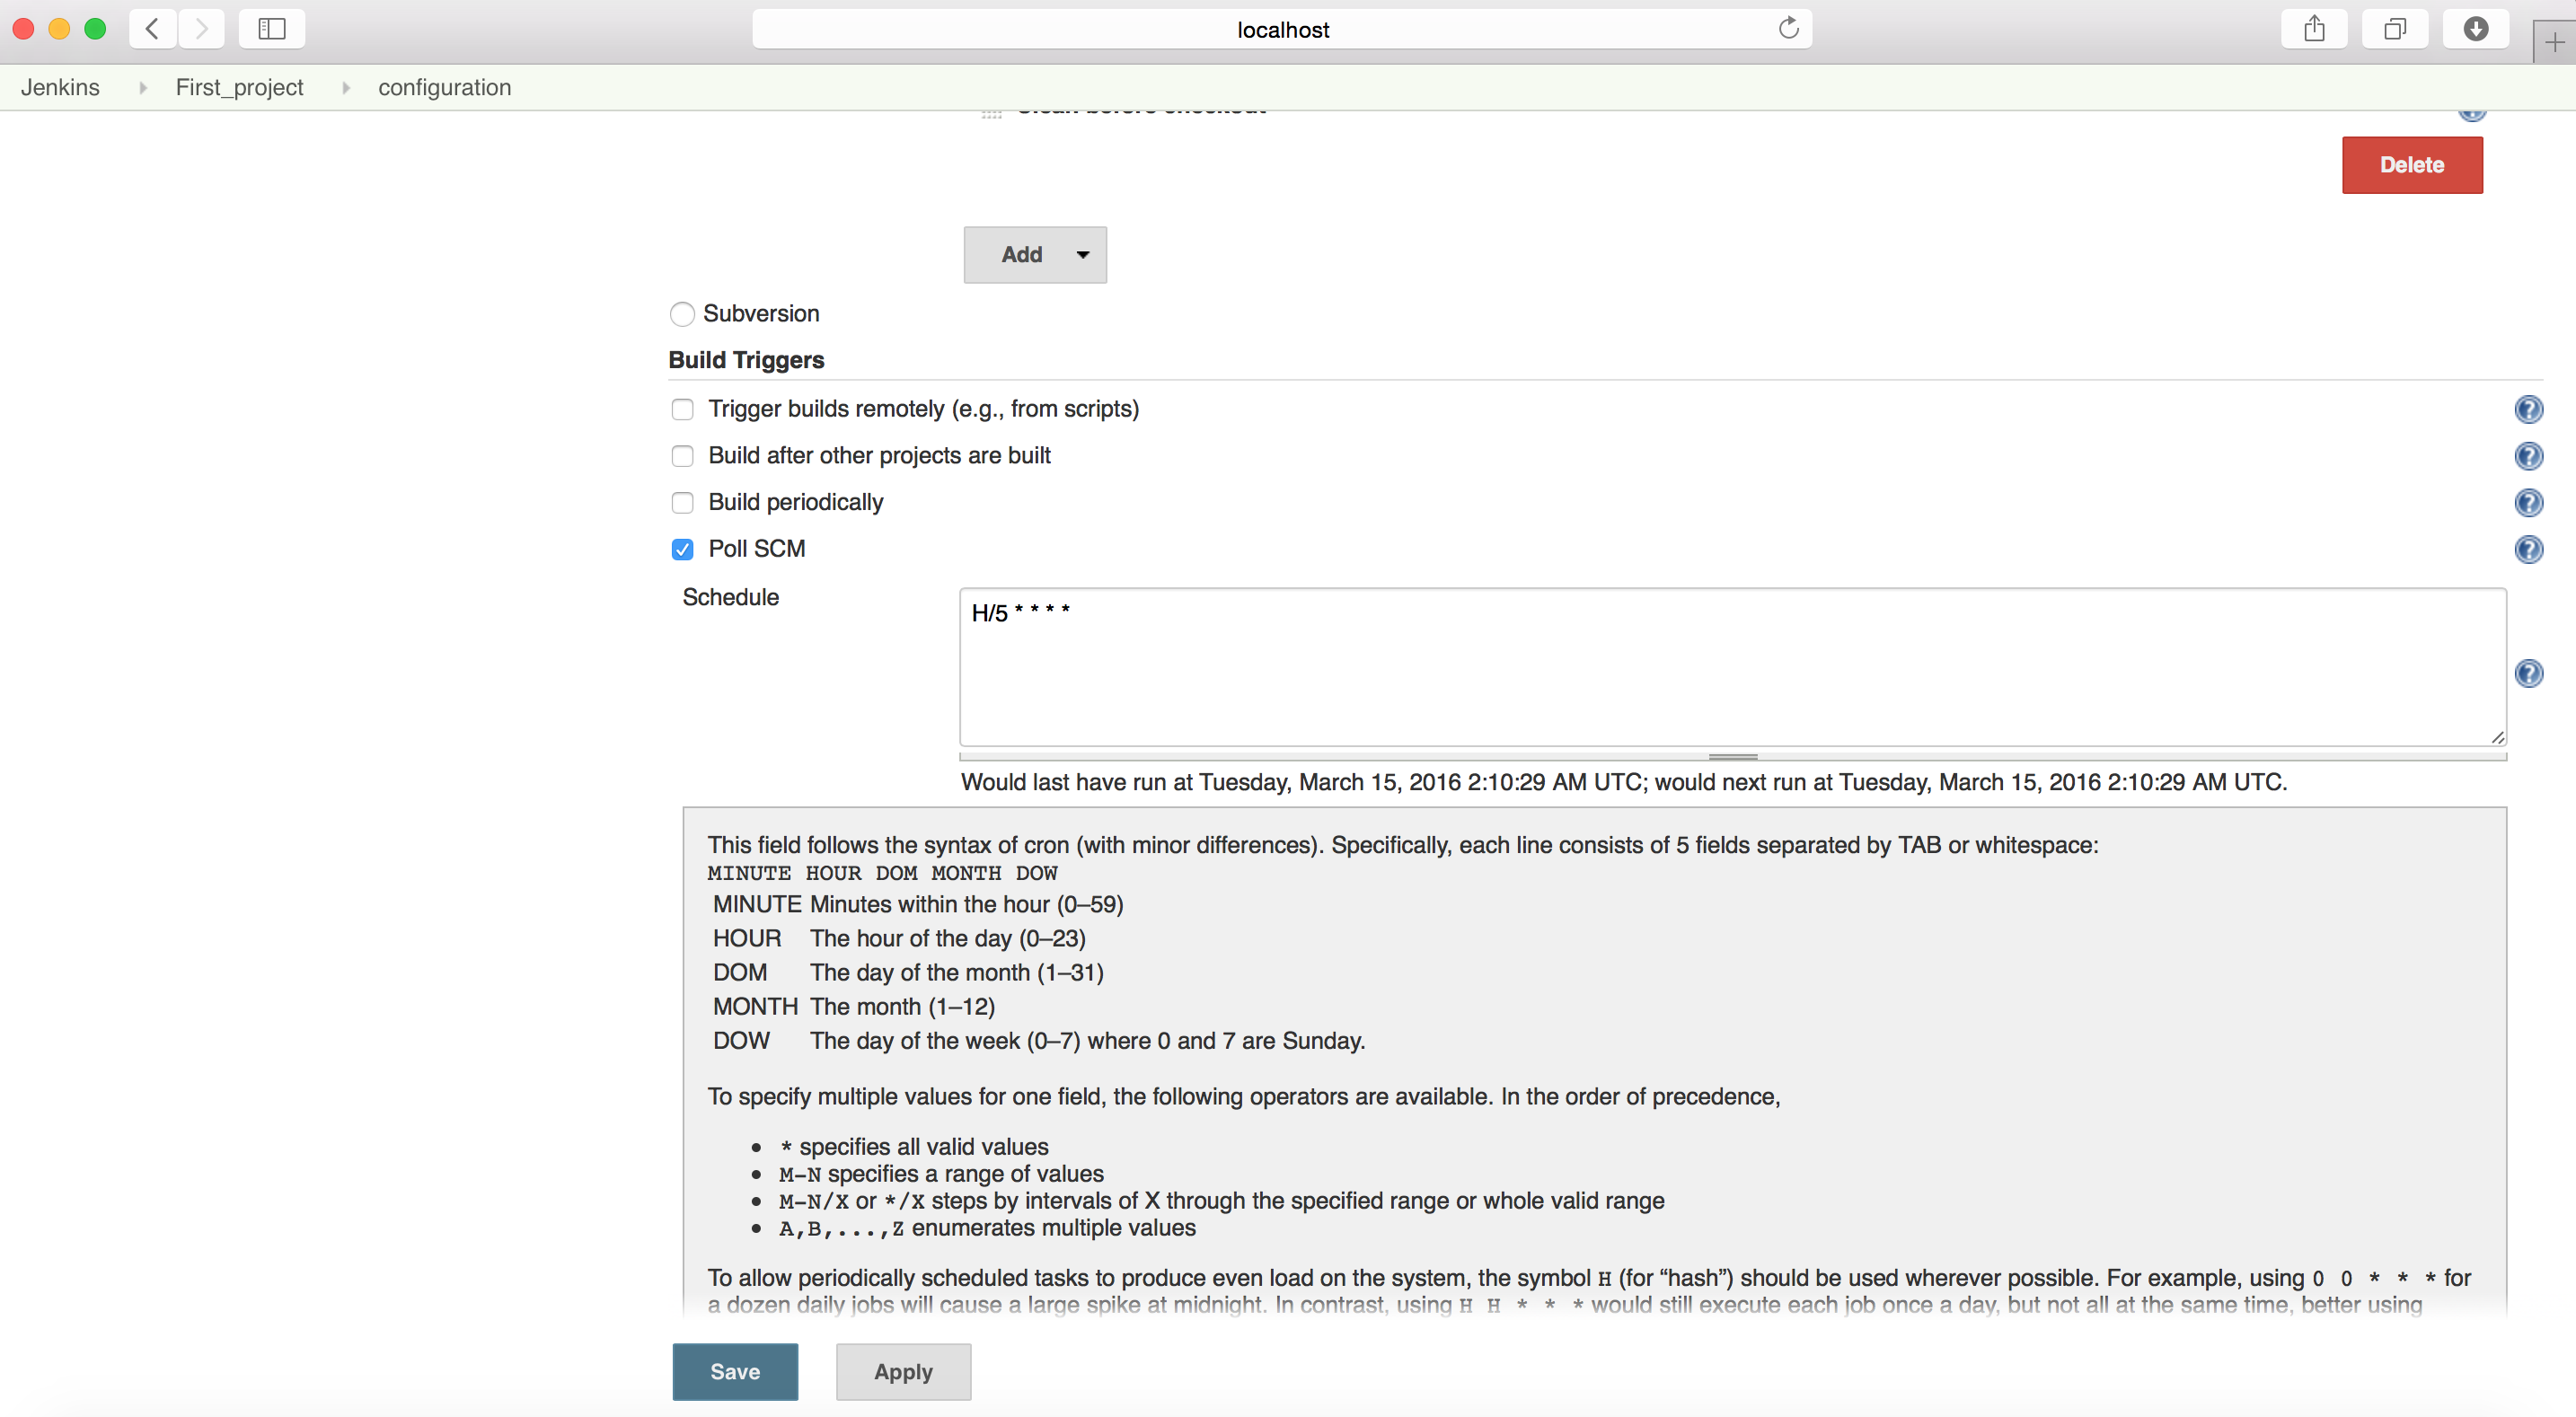
I have configured Jenkins to check the changes in every 5 mins, that means after every five minutes Jenkins will check and verify the Version control system and fetch out the new changes (if any)
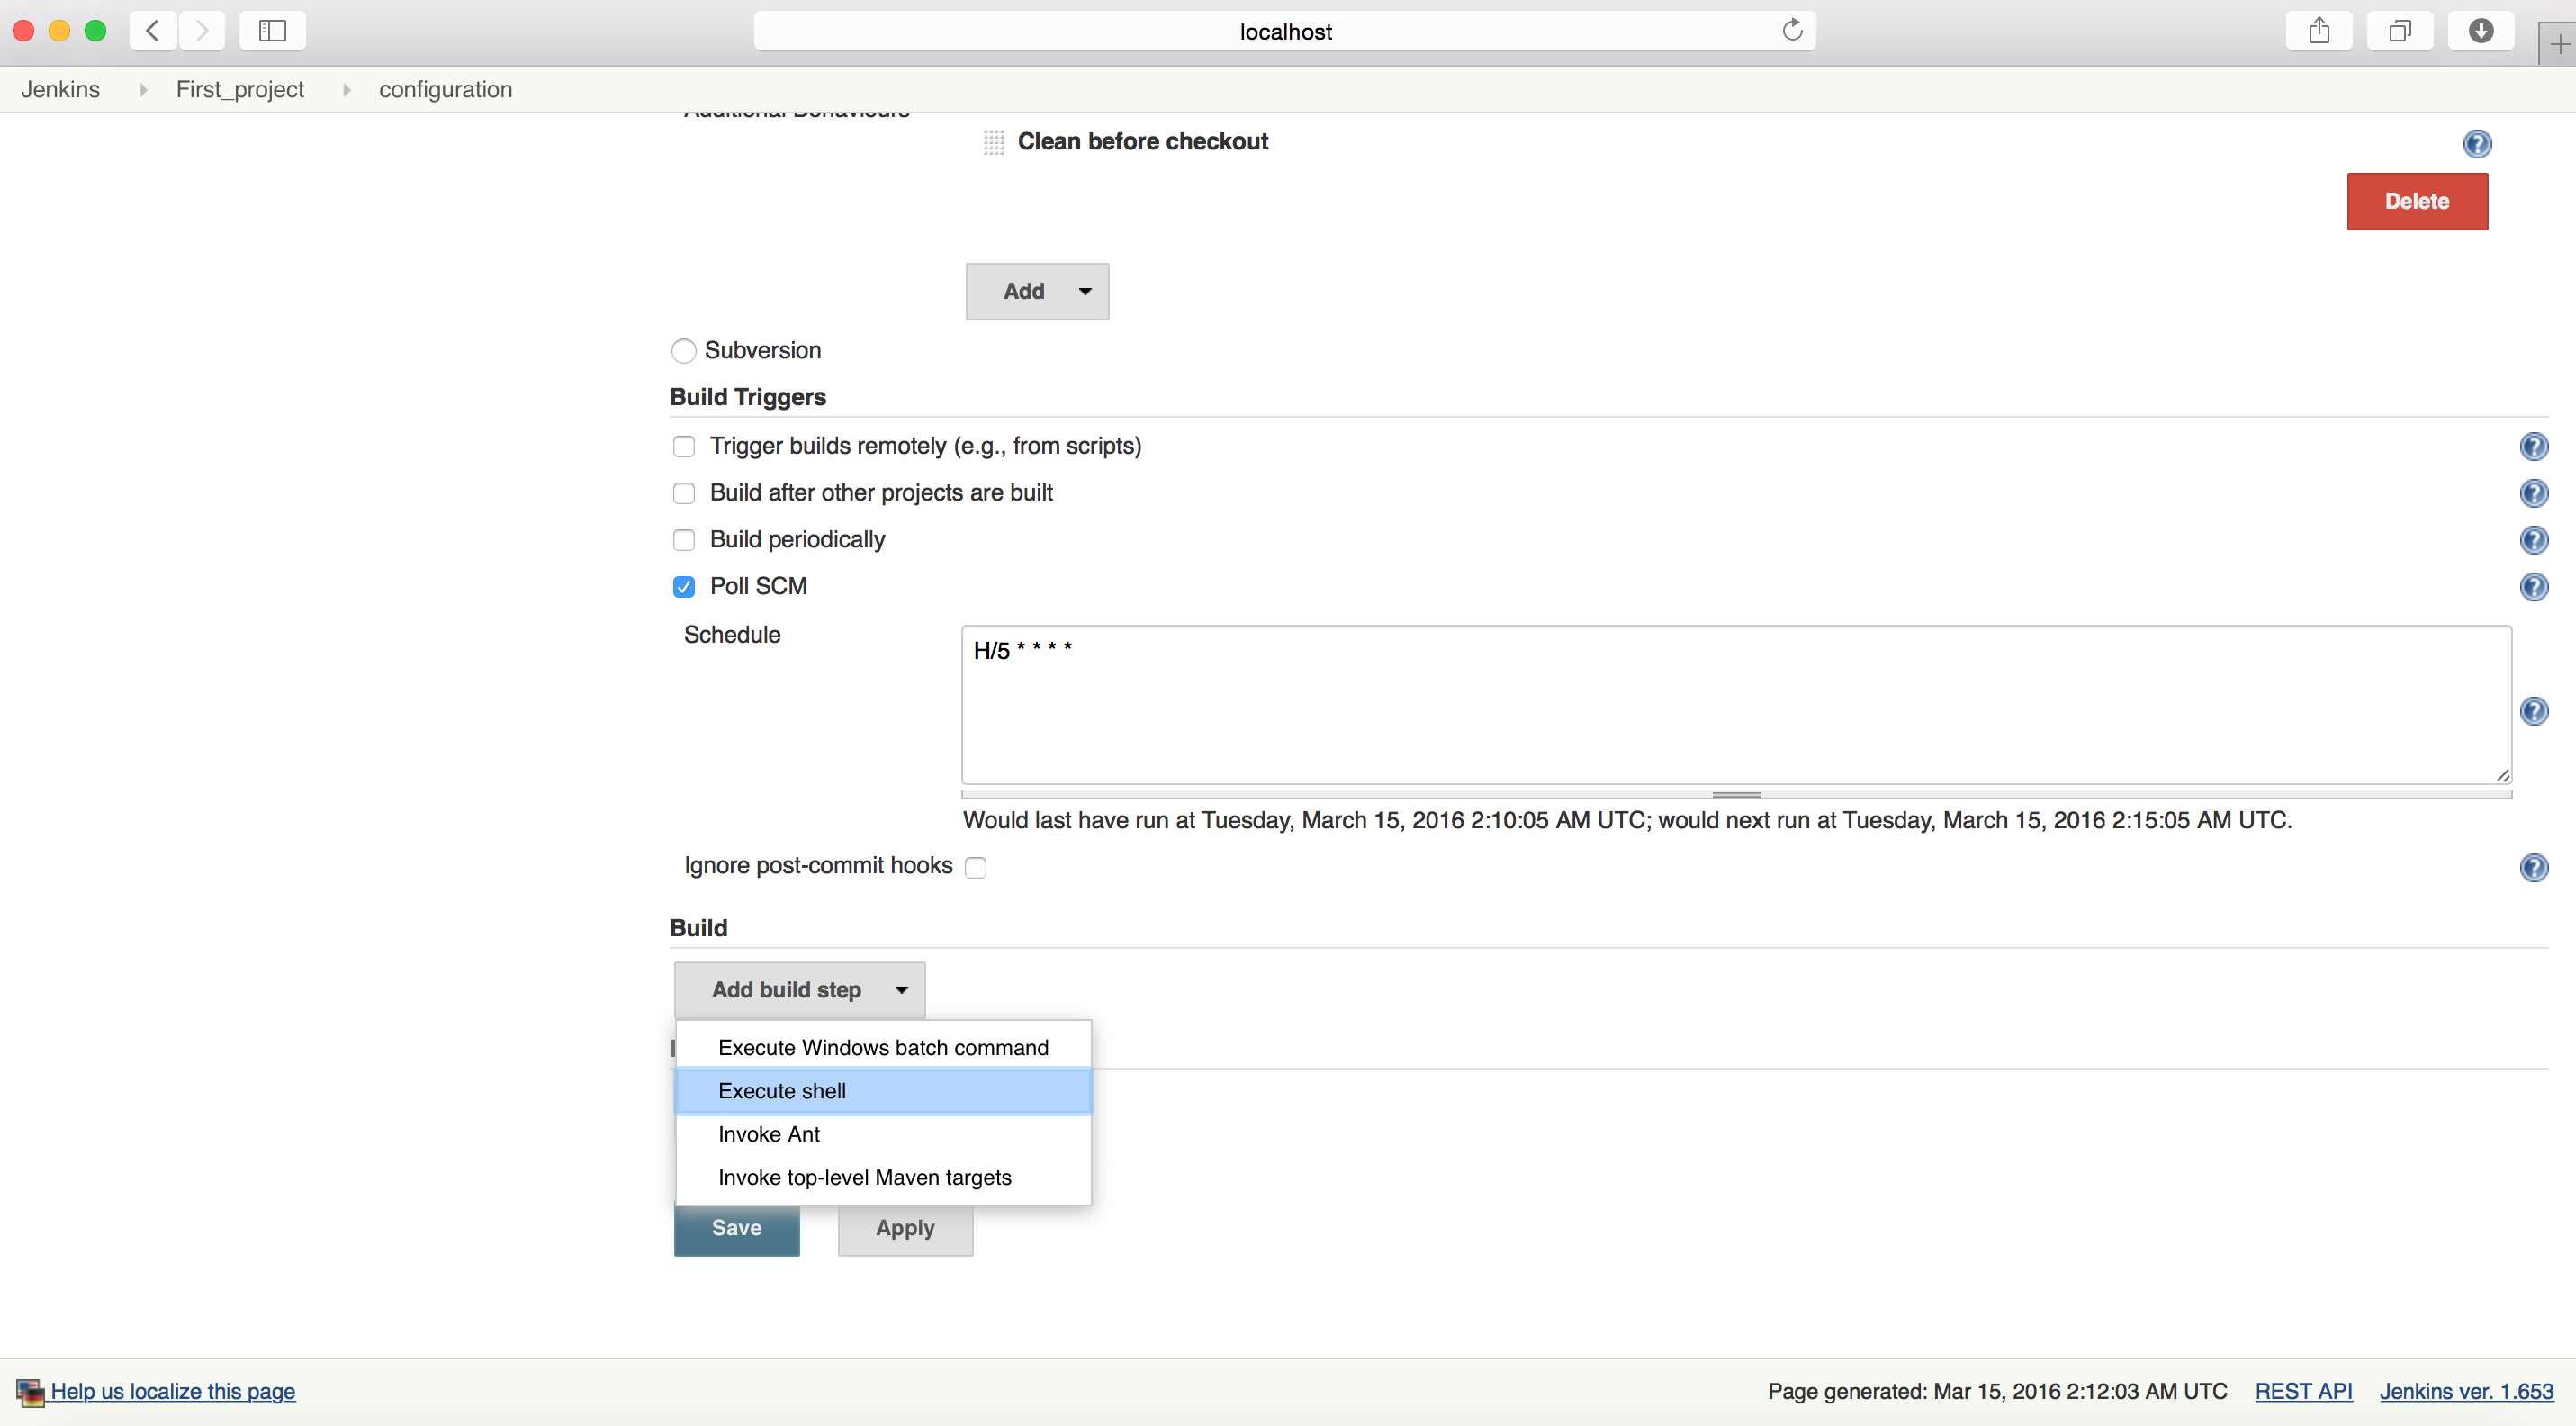
Once SCM is configured, you need to tell Jenkins about the build step, how you want Jenkins to build this project
I selected to execute Shell scripts. Jenkins will now ask you to mention the script name along with the path to execute during build
Note that, you need to change the user to “jenkins” for both script directory path and script, so that Jenkins can find and execute the script when needed
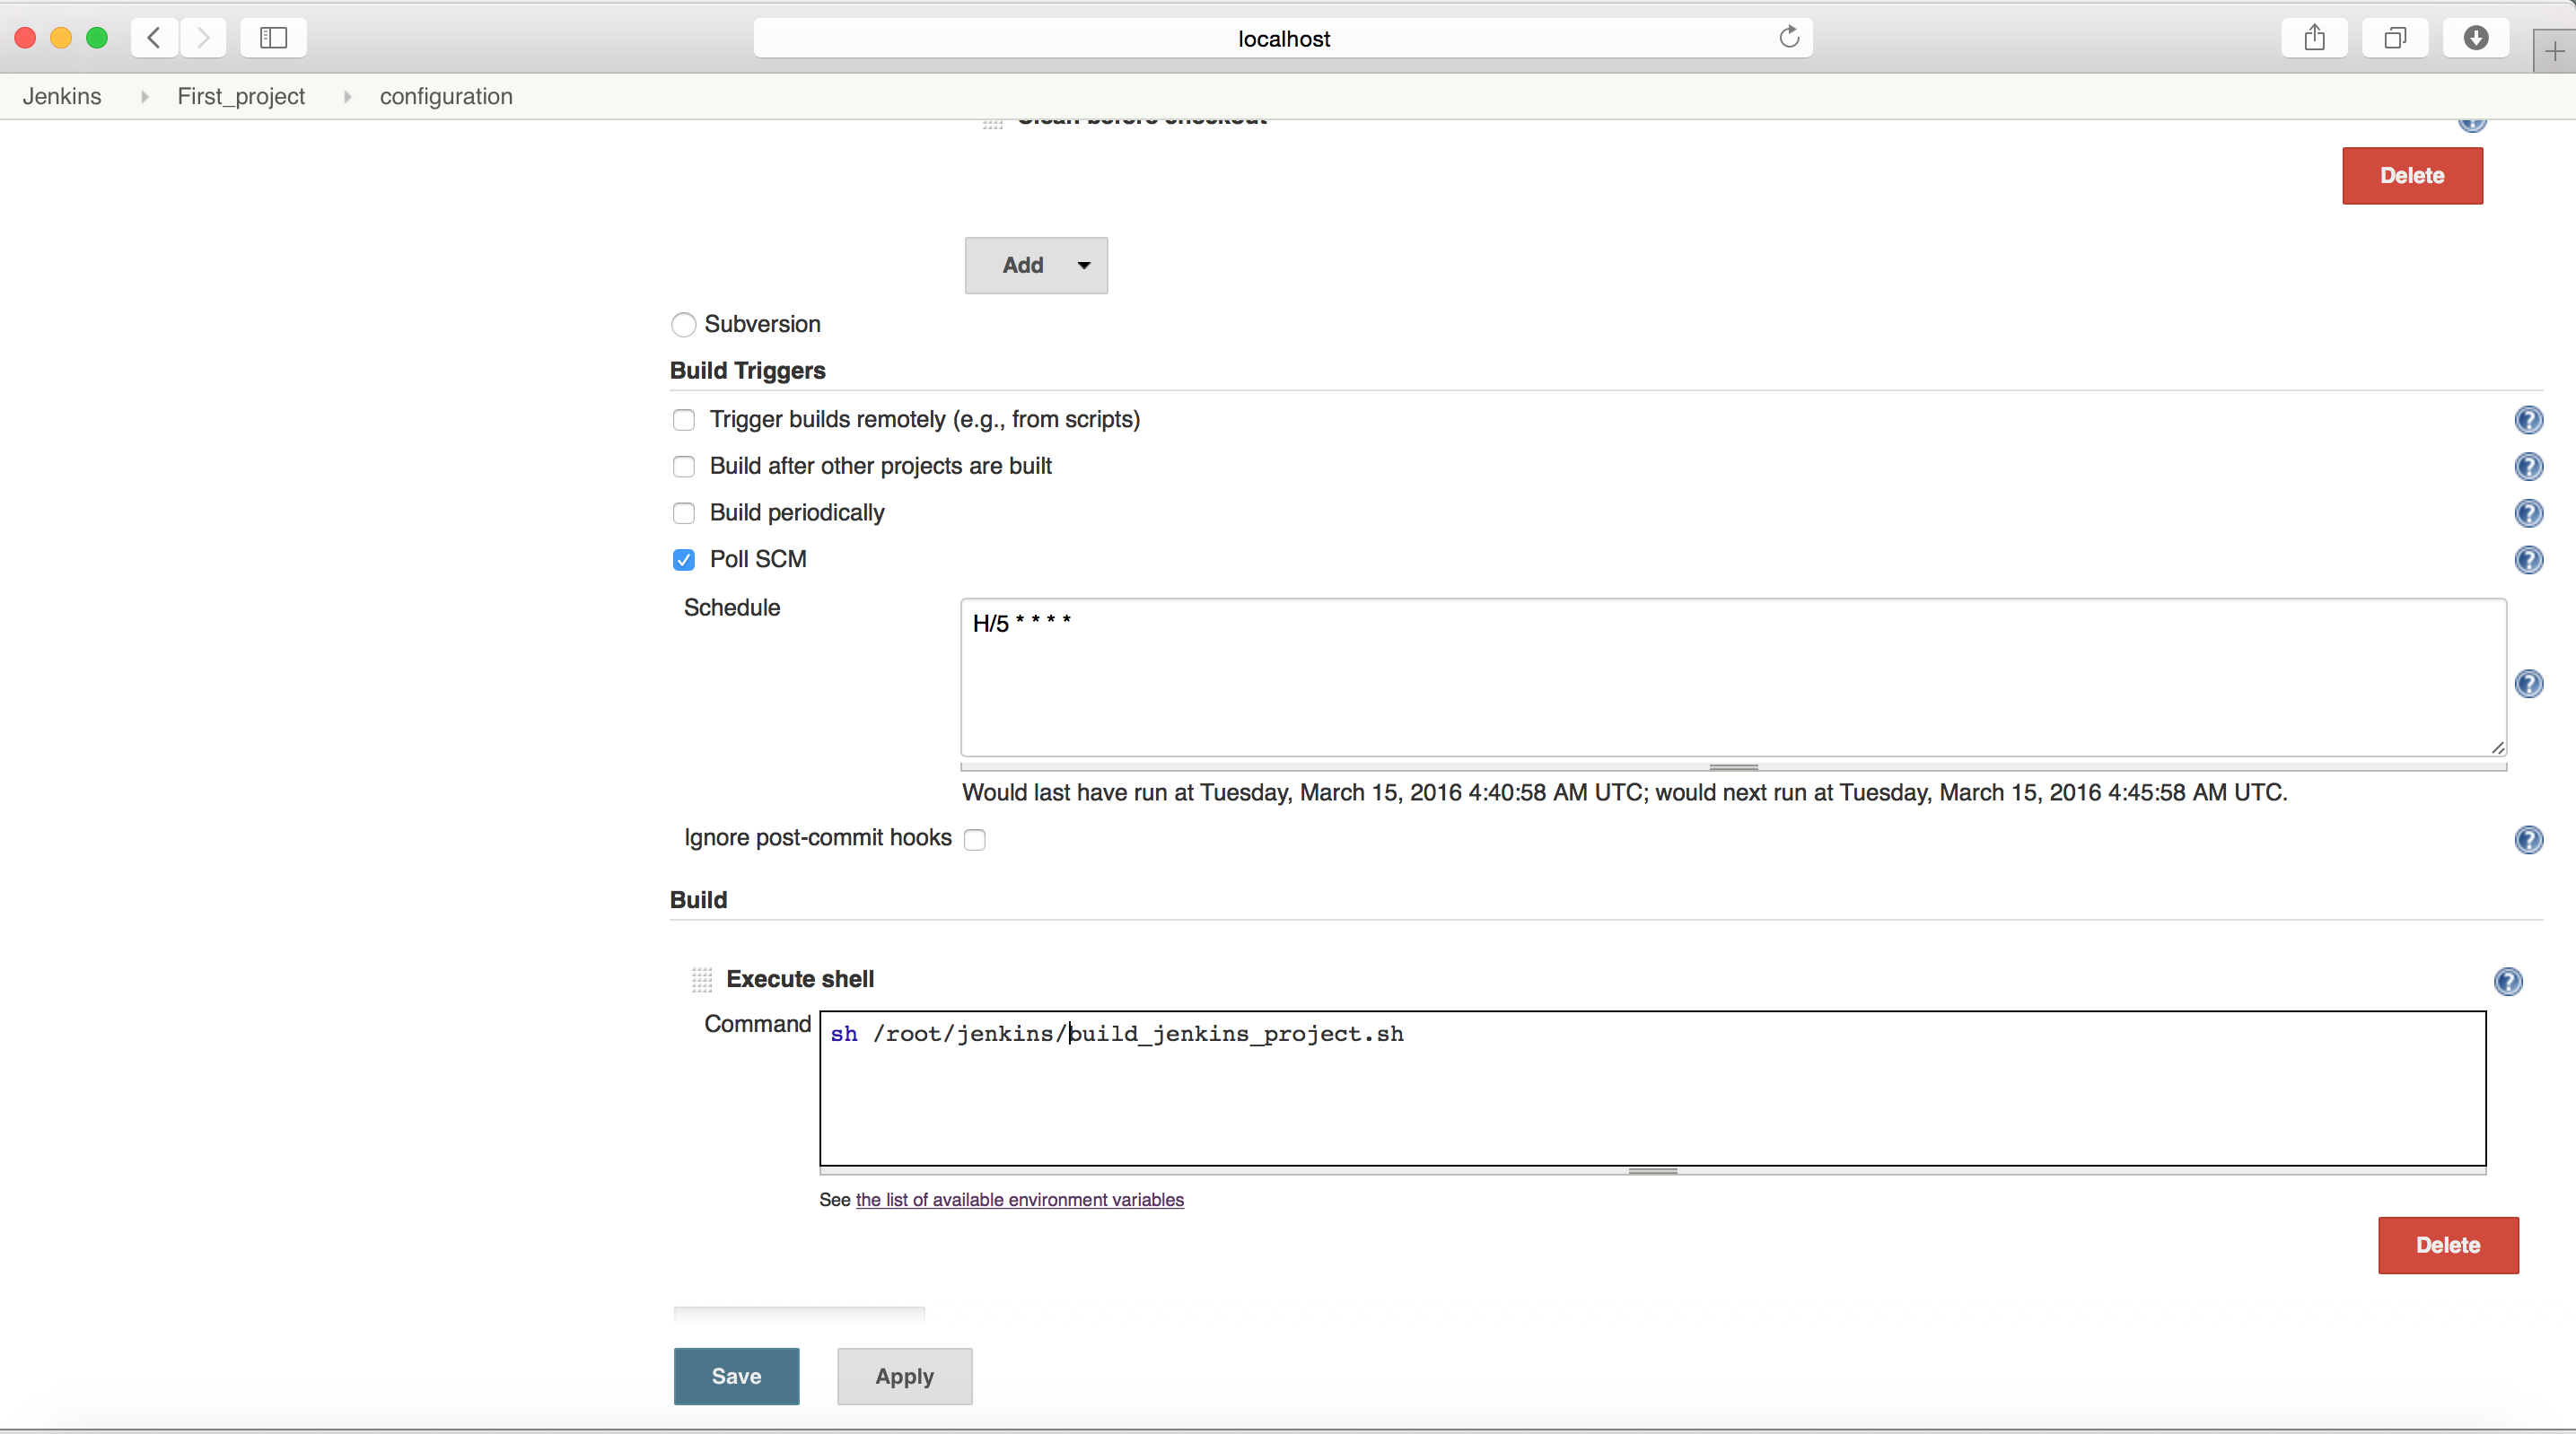
You can find several inbuilt variables which you can use as a parameter to your script through the help page
Once done, you can also define any post build activities which you might require on build completion
I selected to achieve a file.
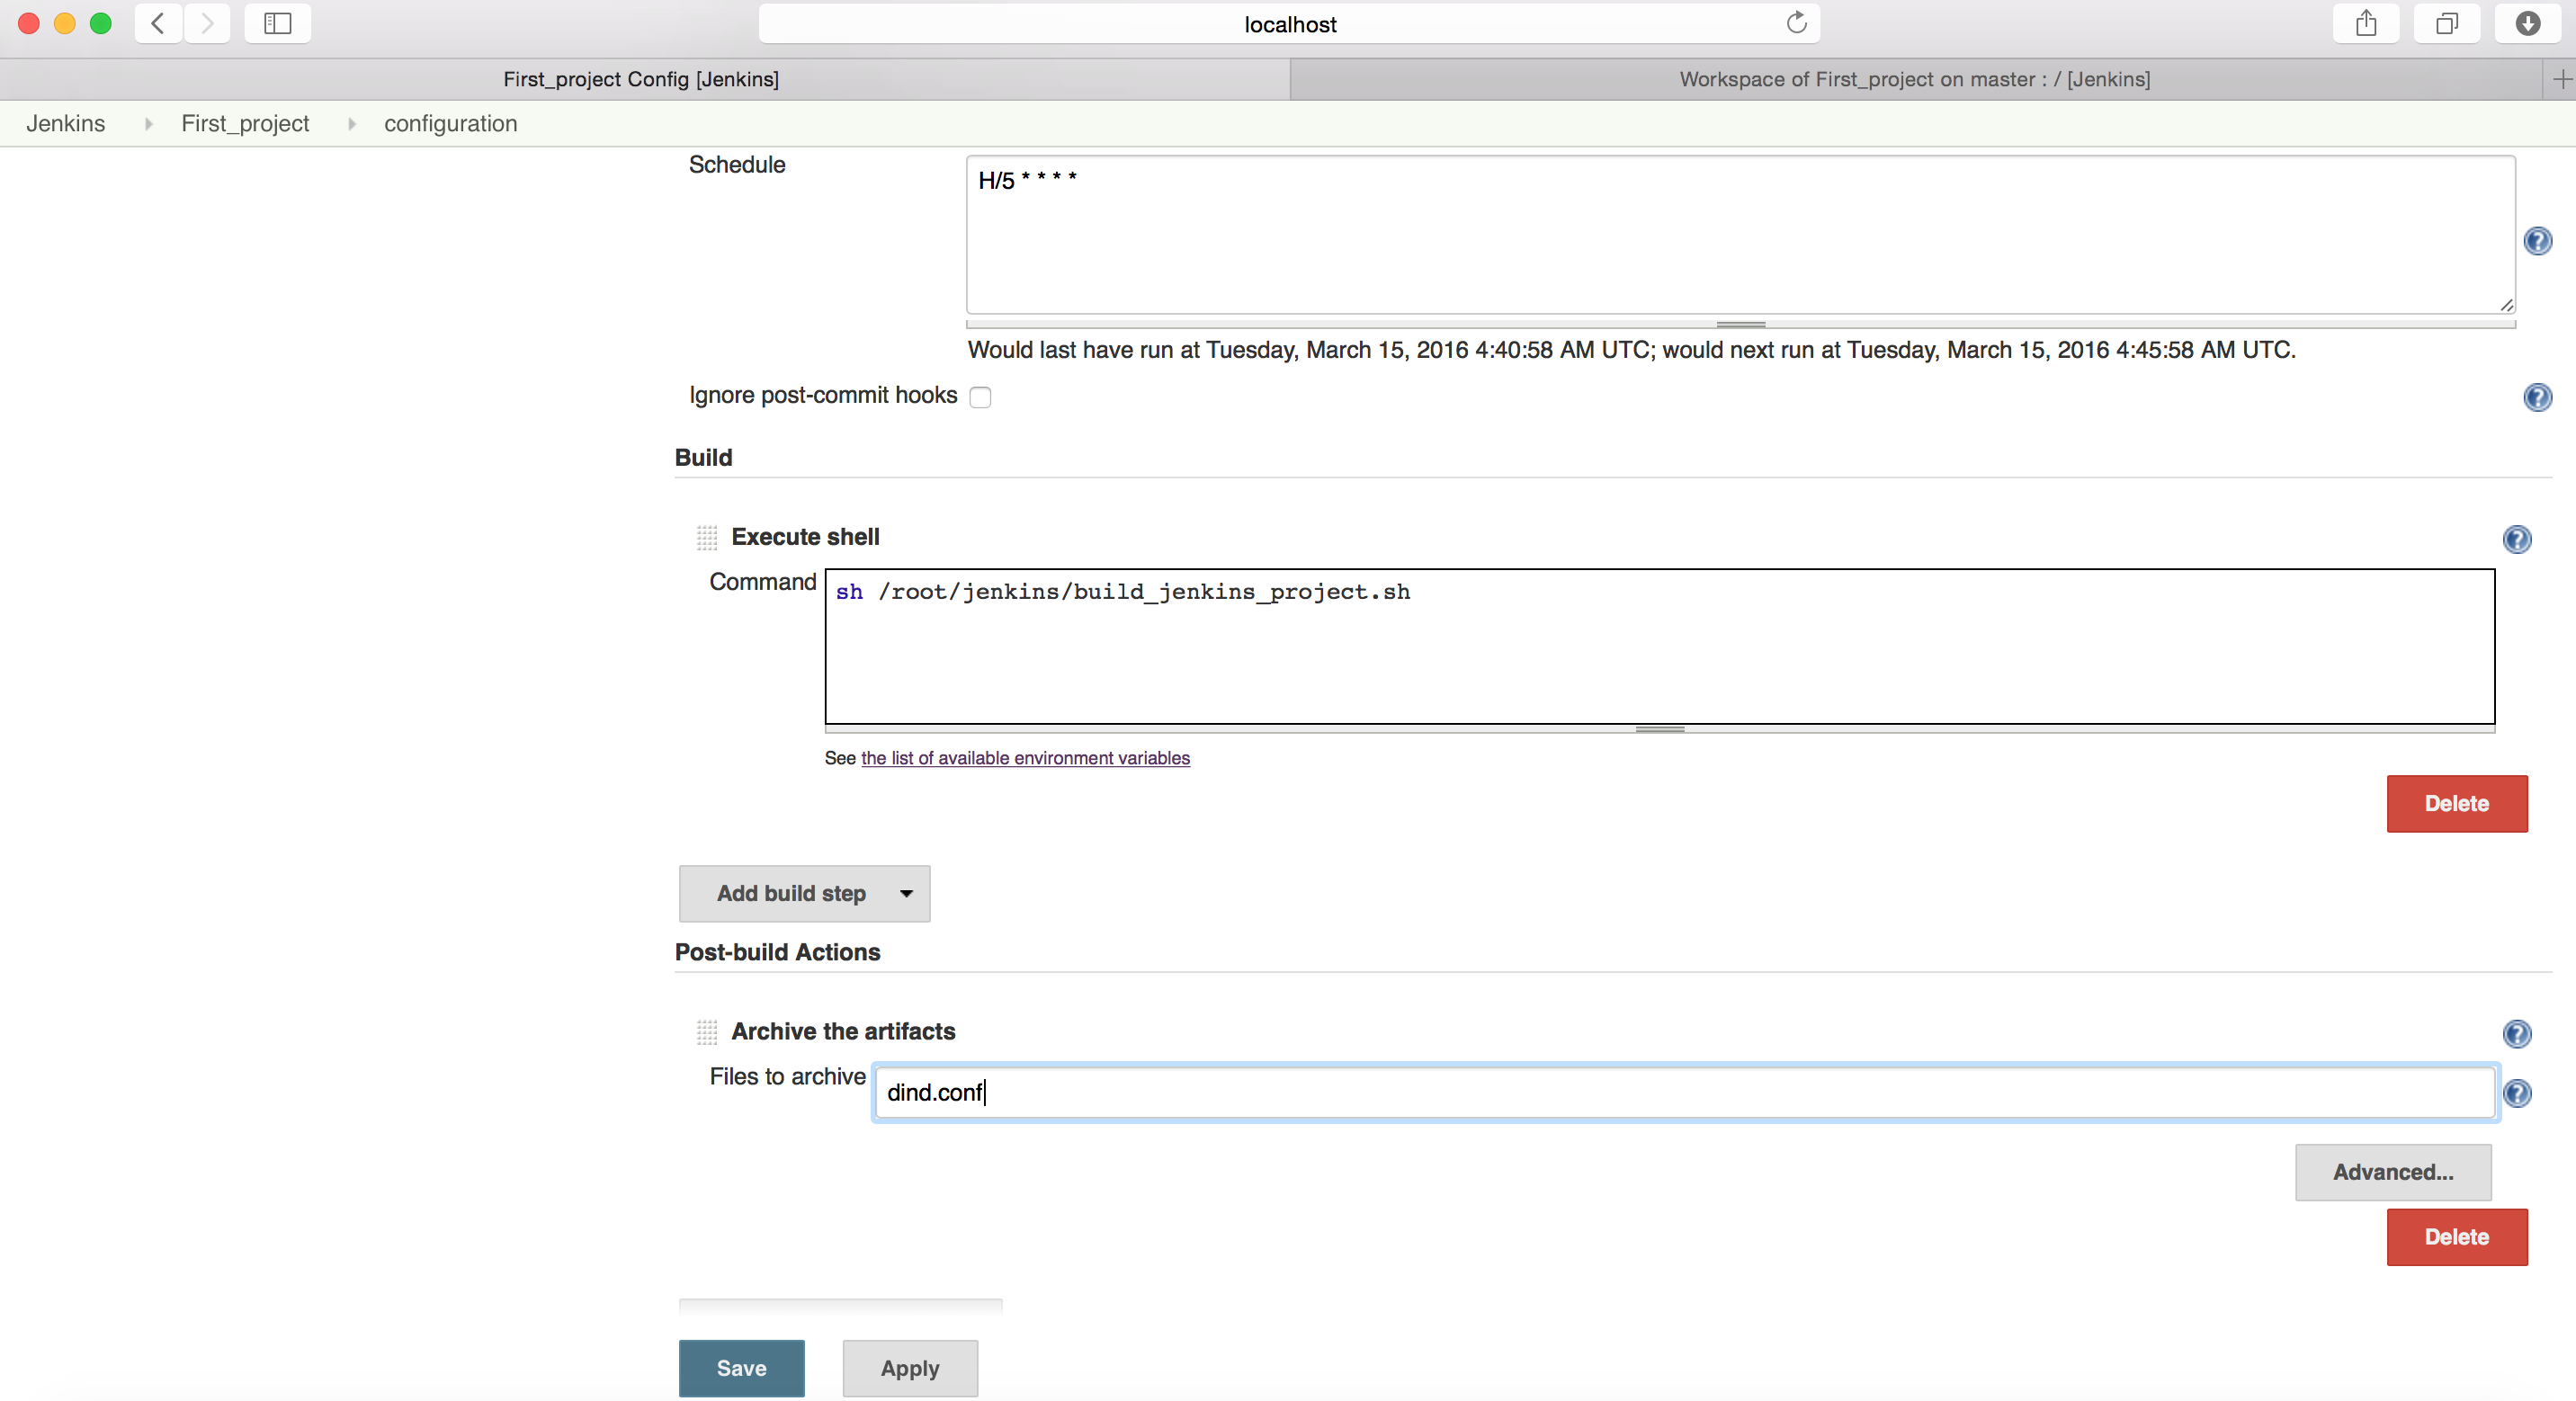
You can find more relevant options inside Advanced tab
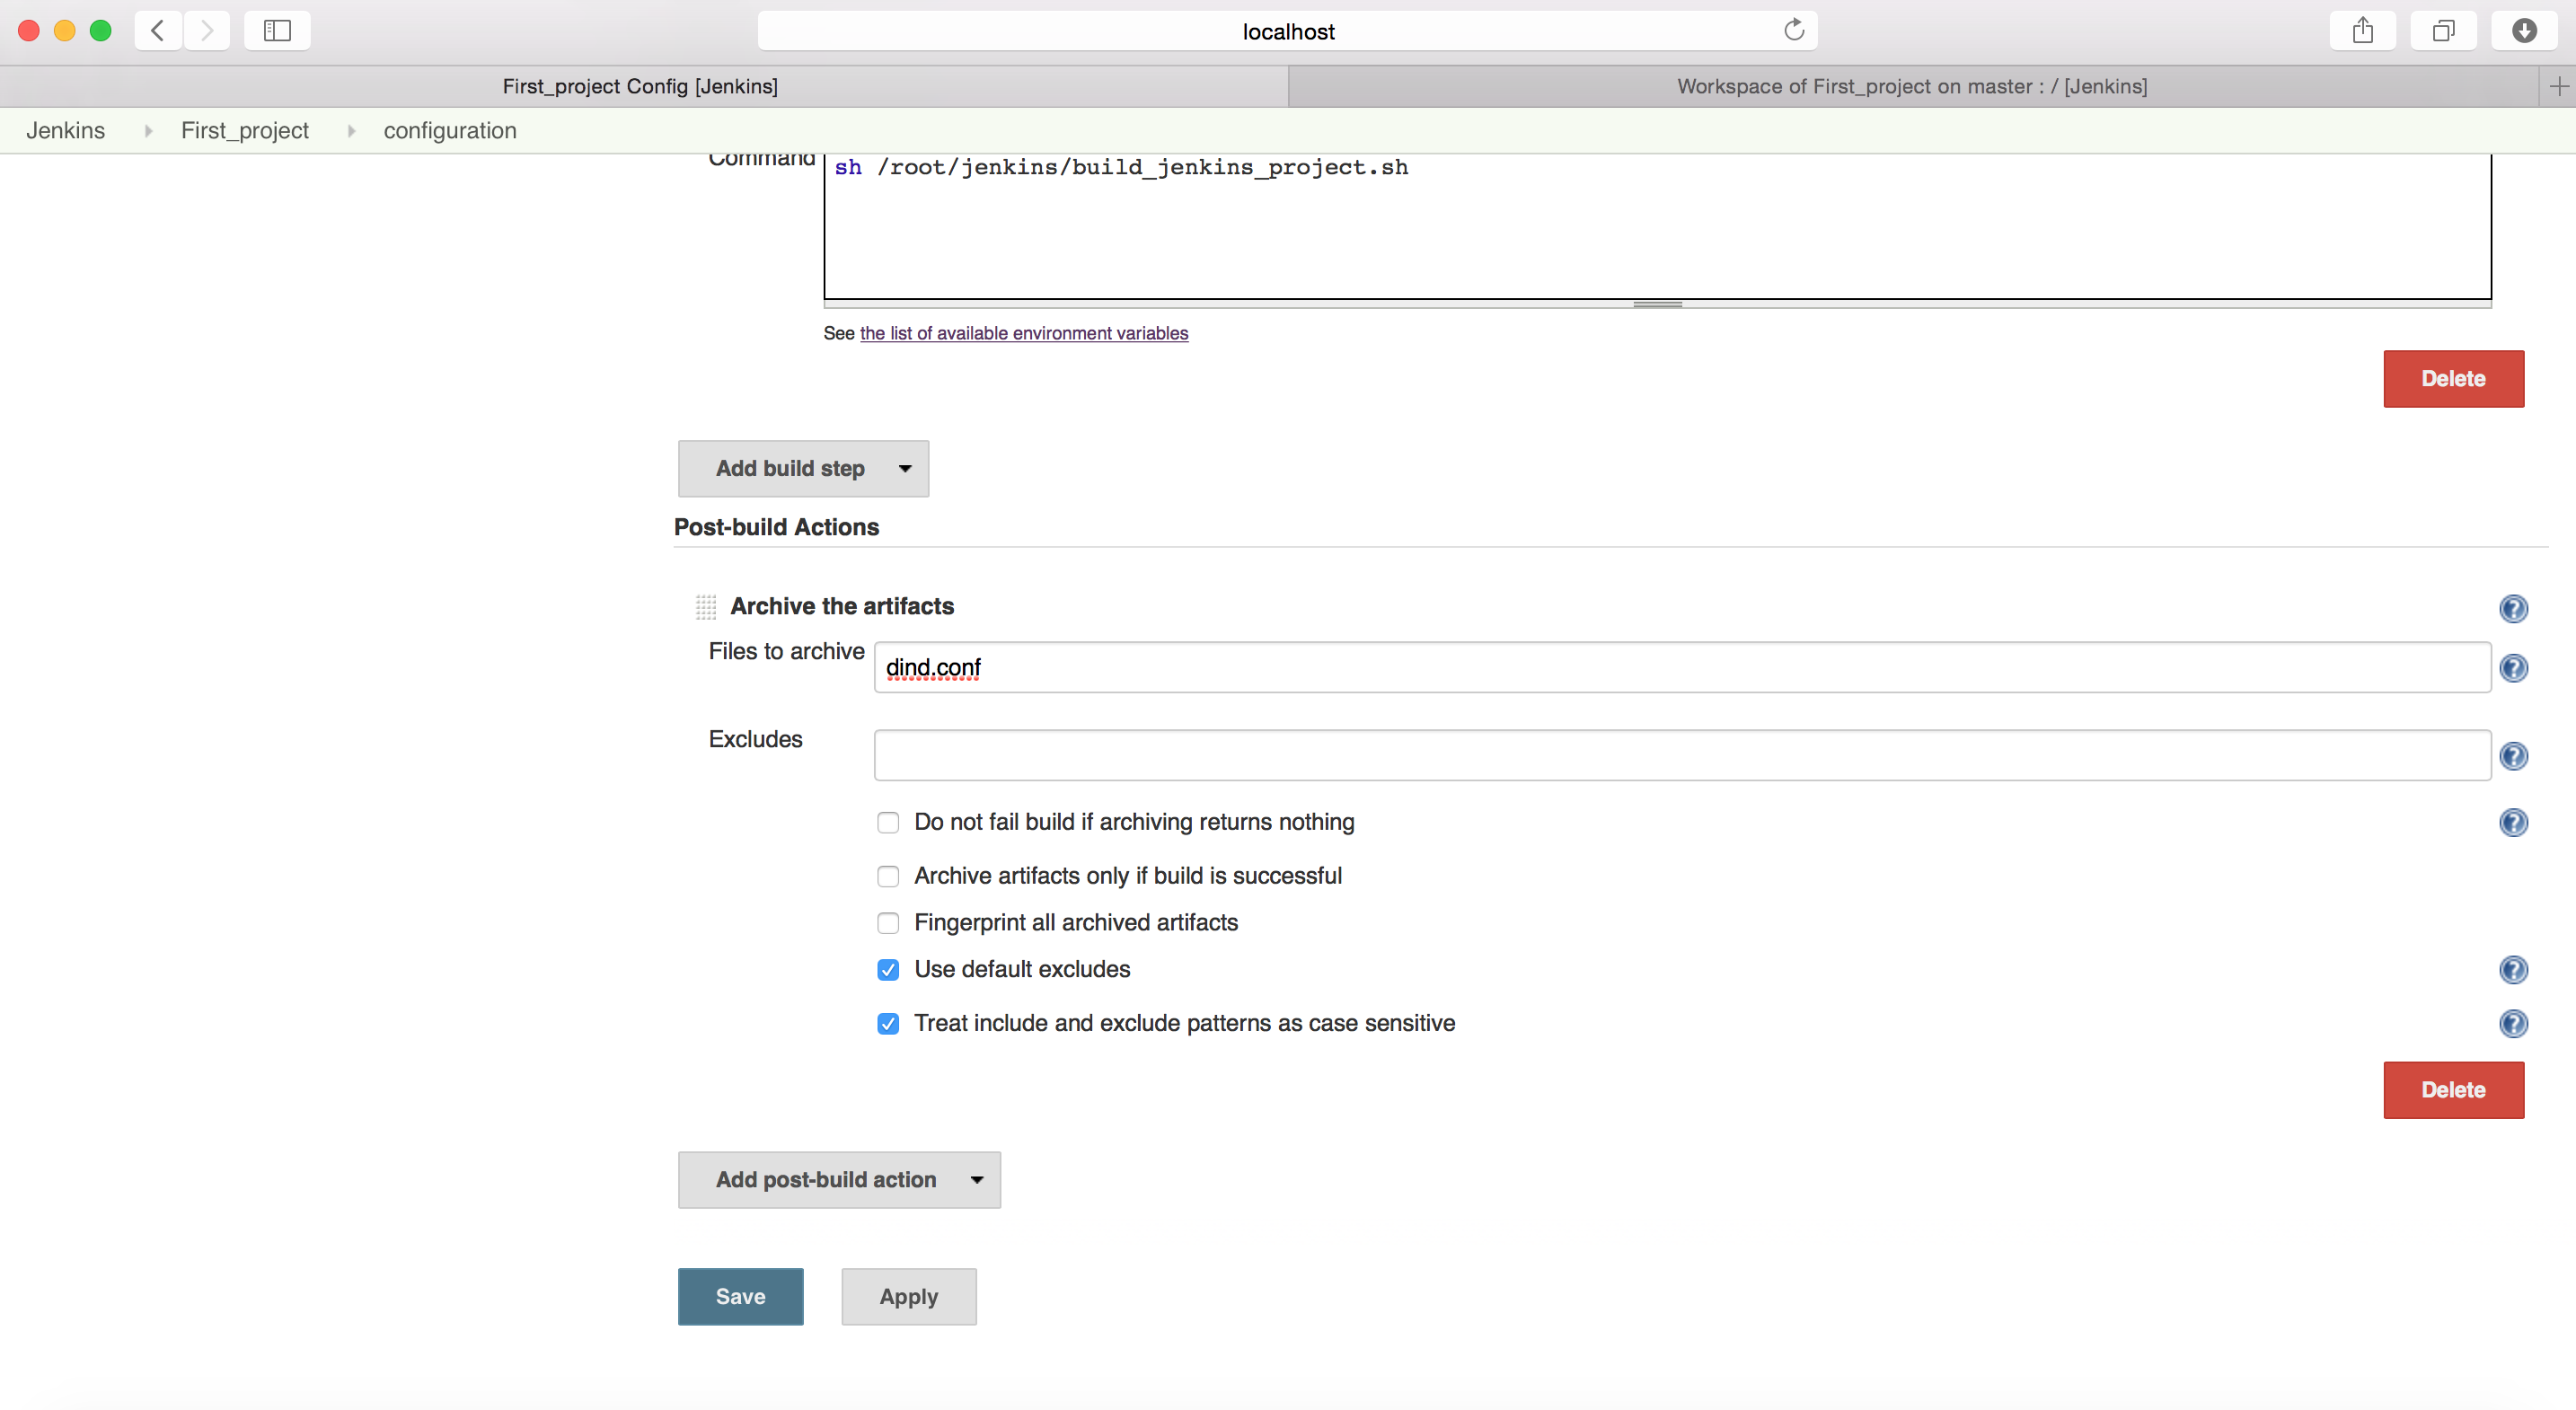
I selected an option to “Archive the artifacts only if build is successful”
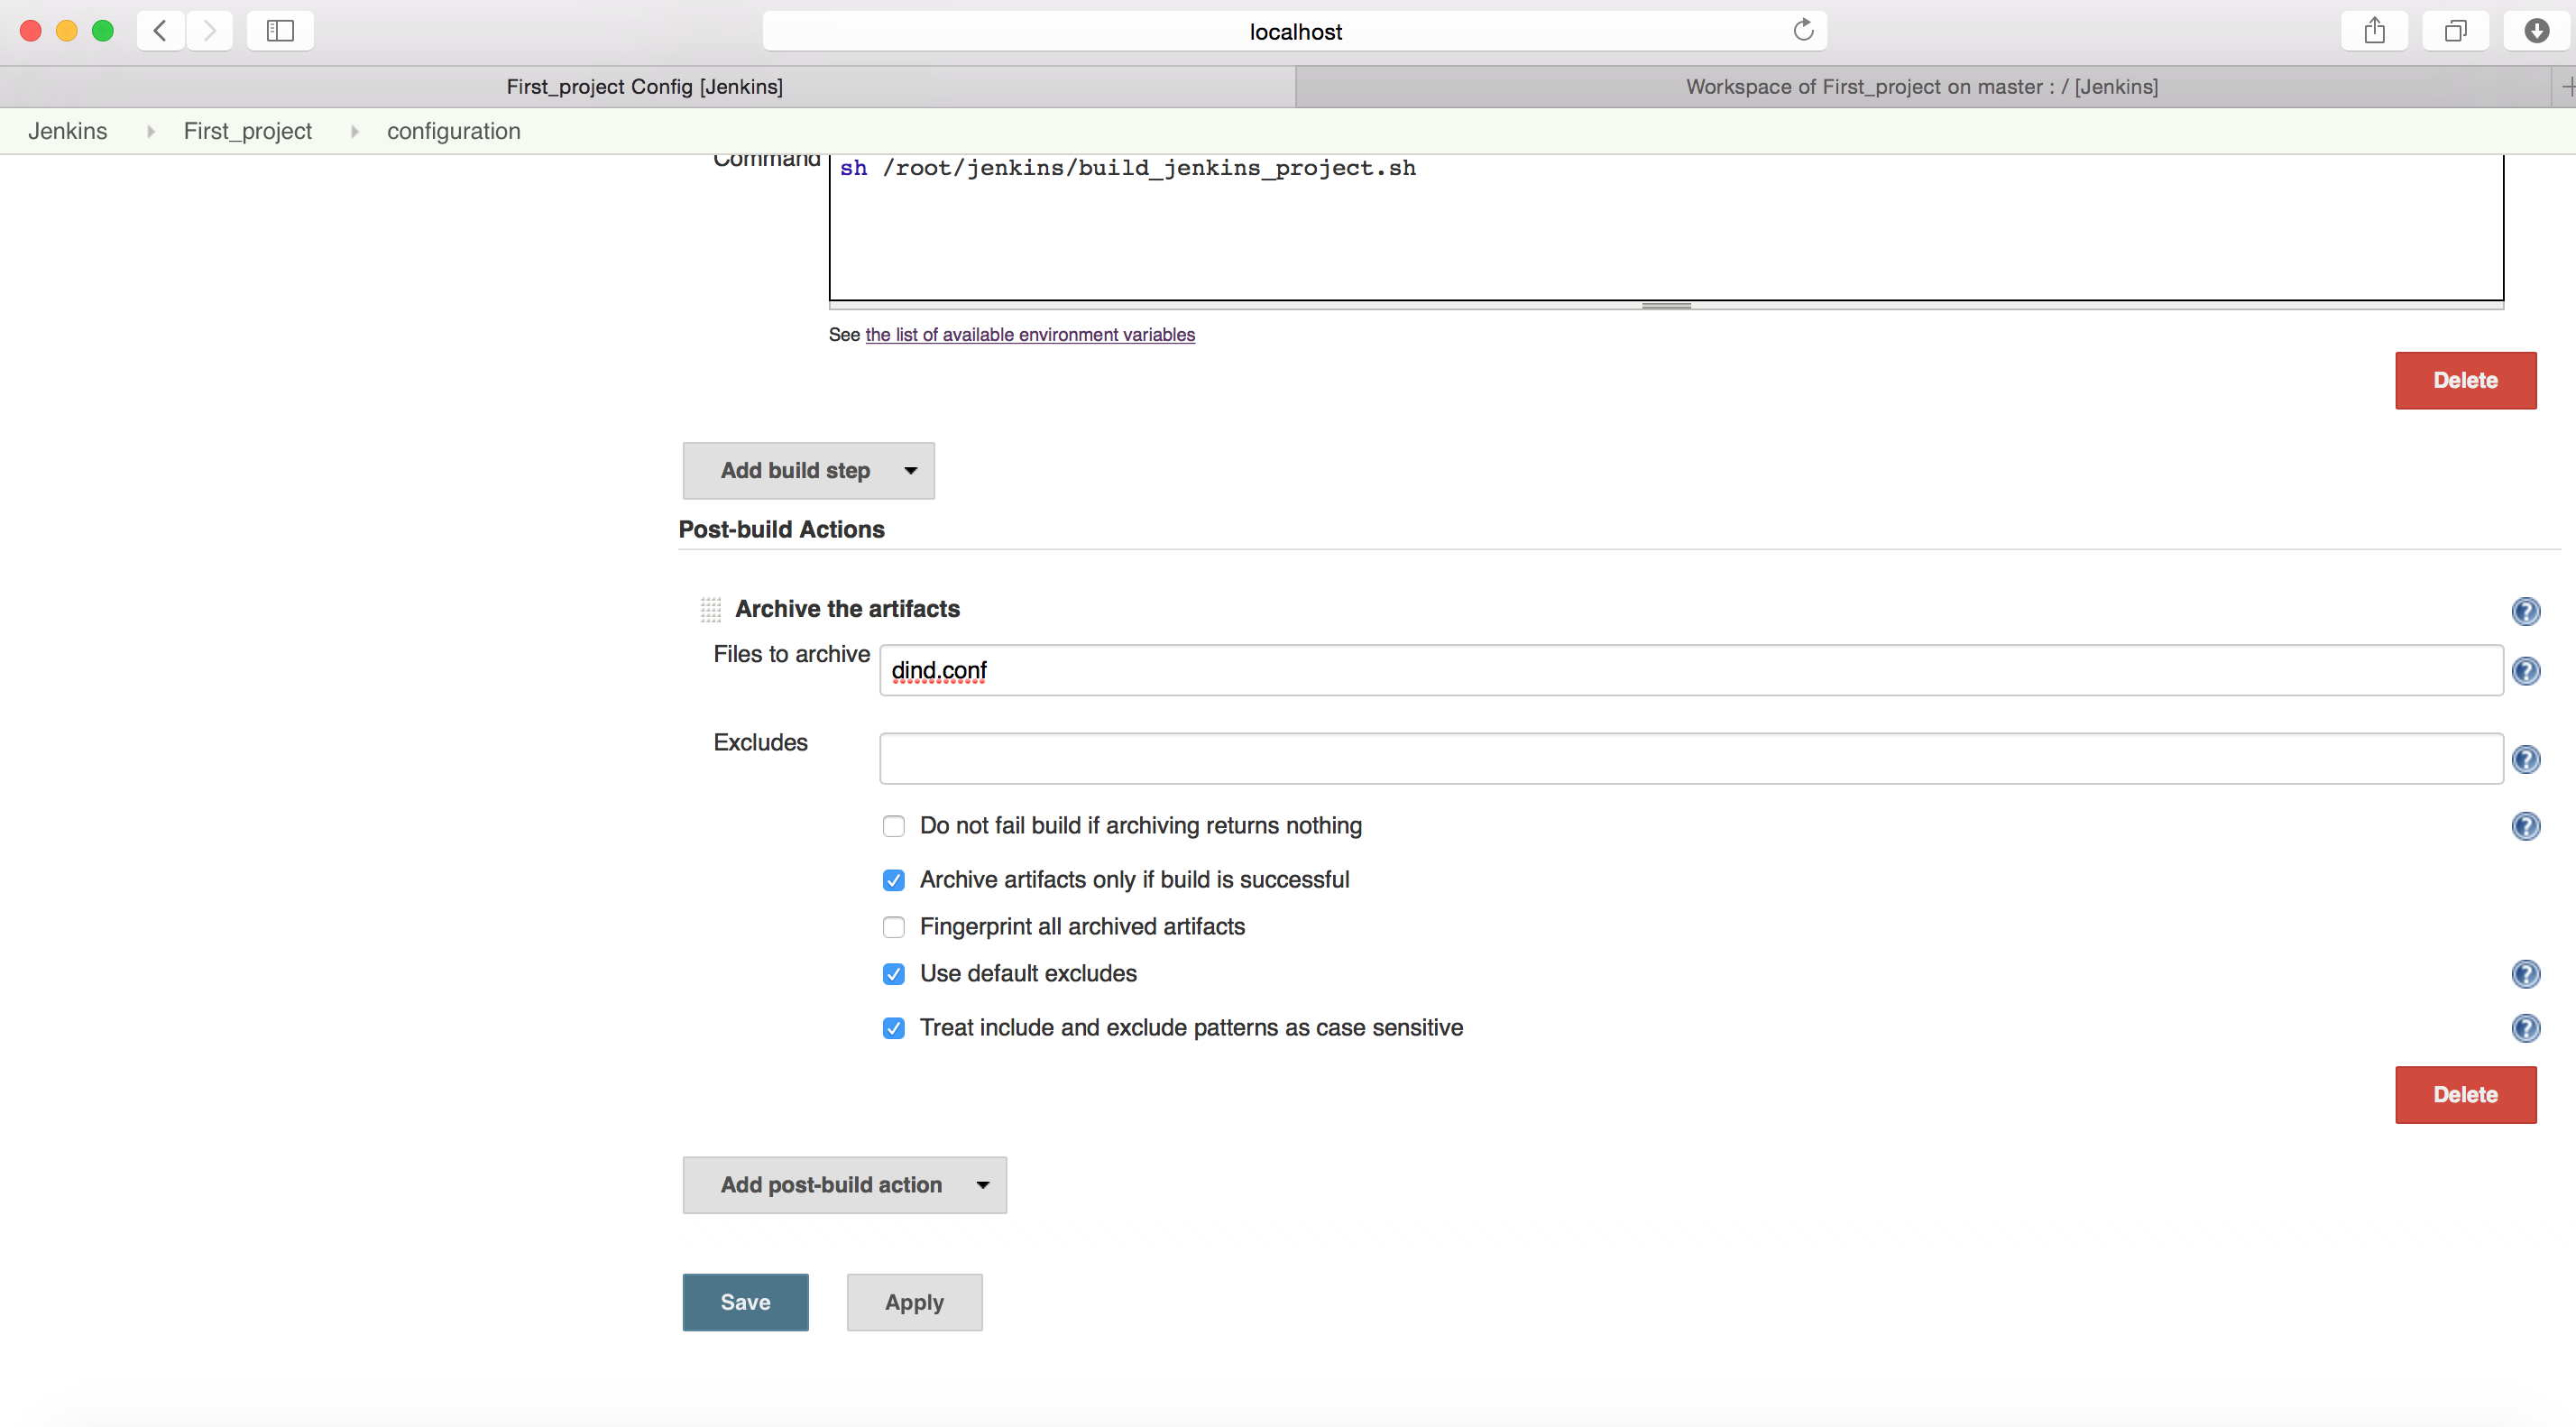
Once done save all your changes. Jenkins will automatically triggers the first build for you.
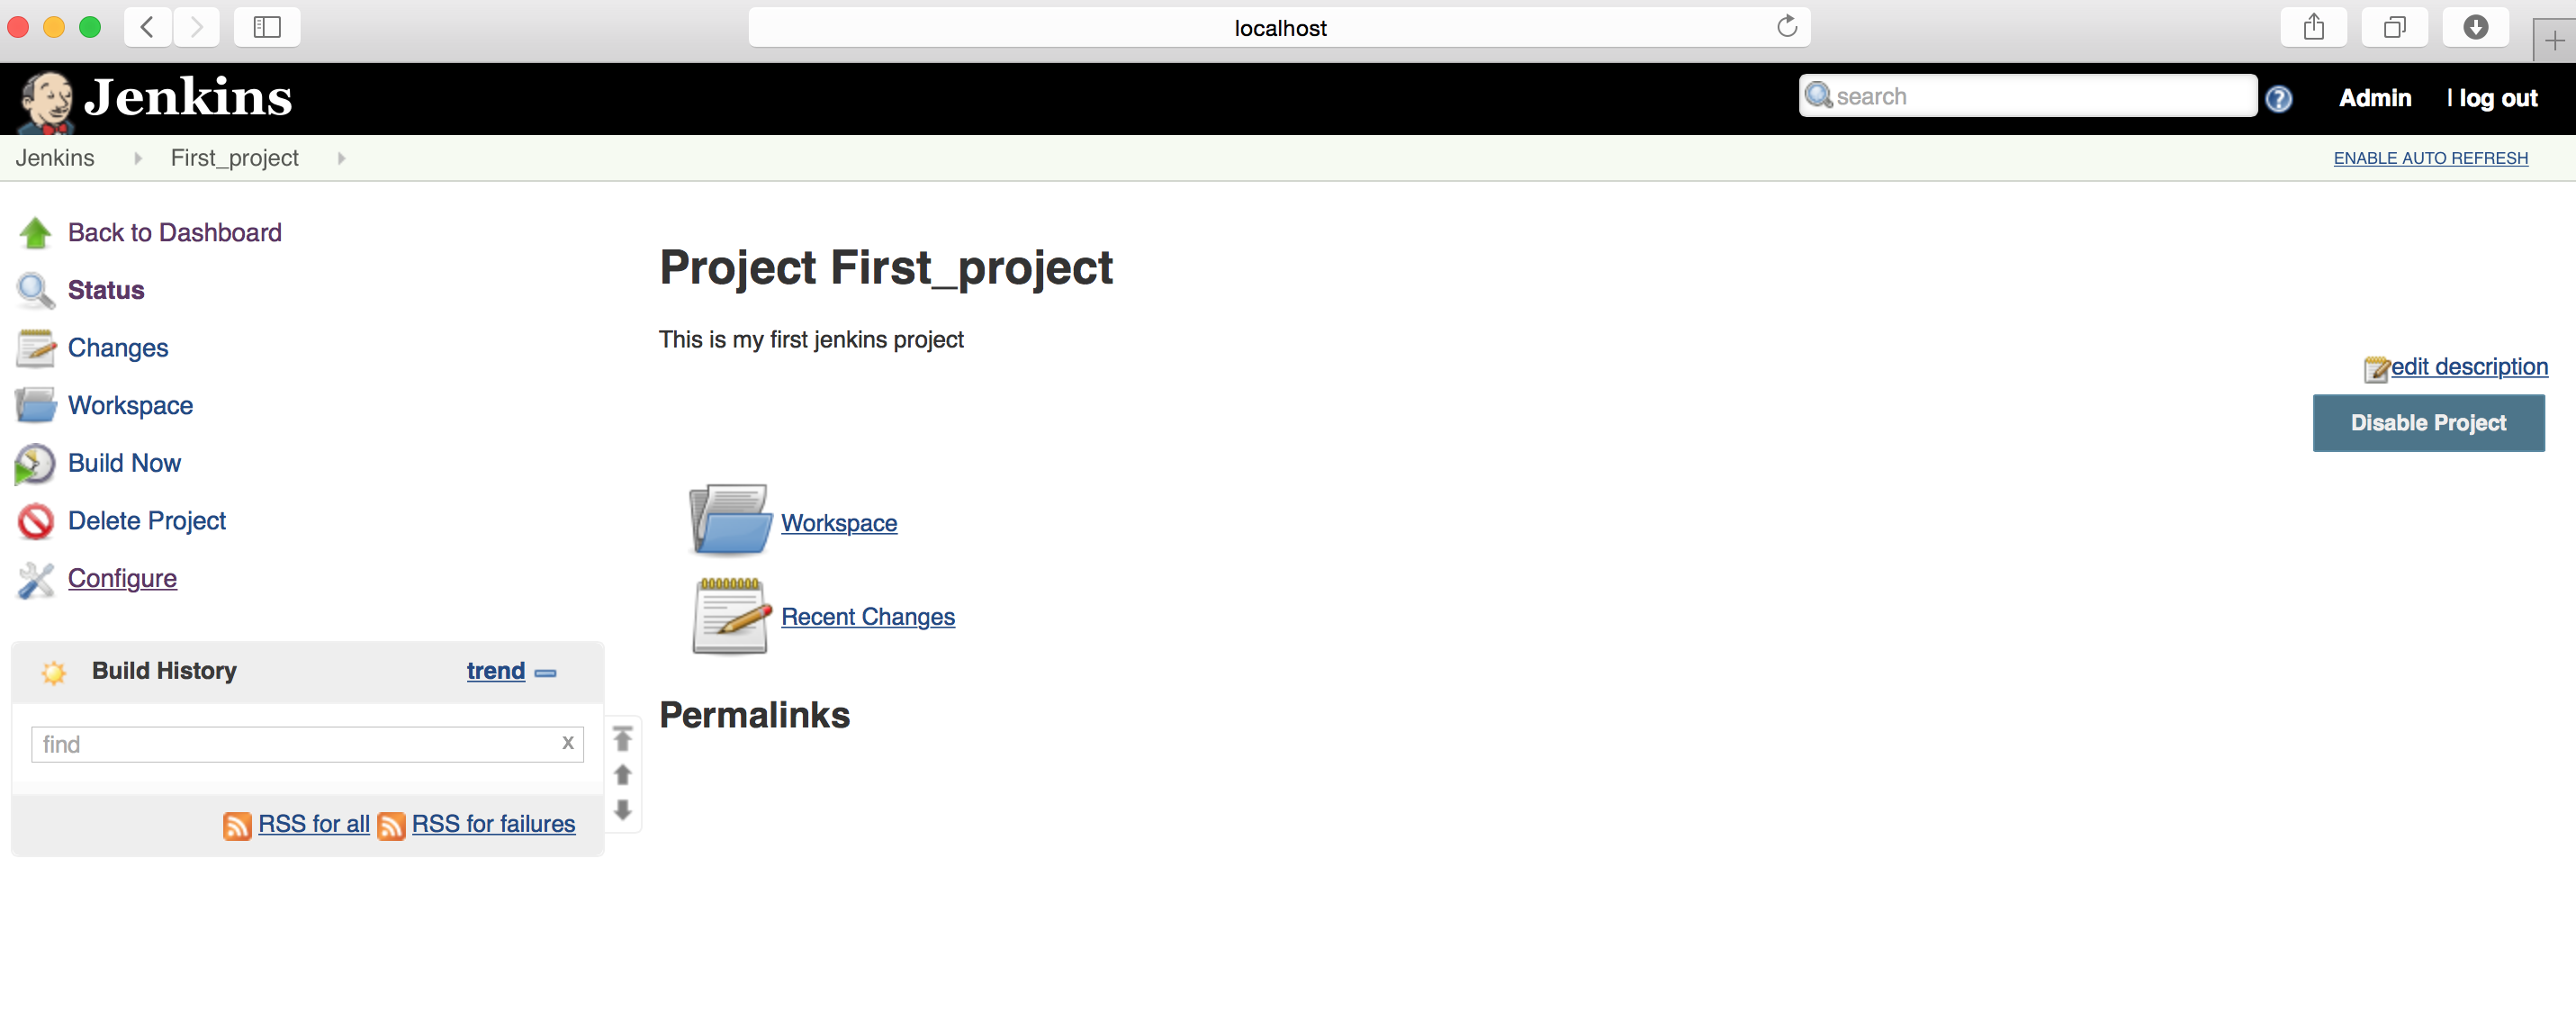
In case you need to trigger, just open your project and click on “Build Now” link located at left bar.
Now go to the dashboard.
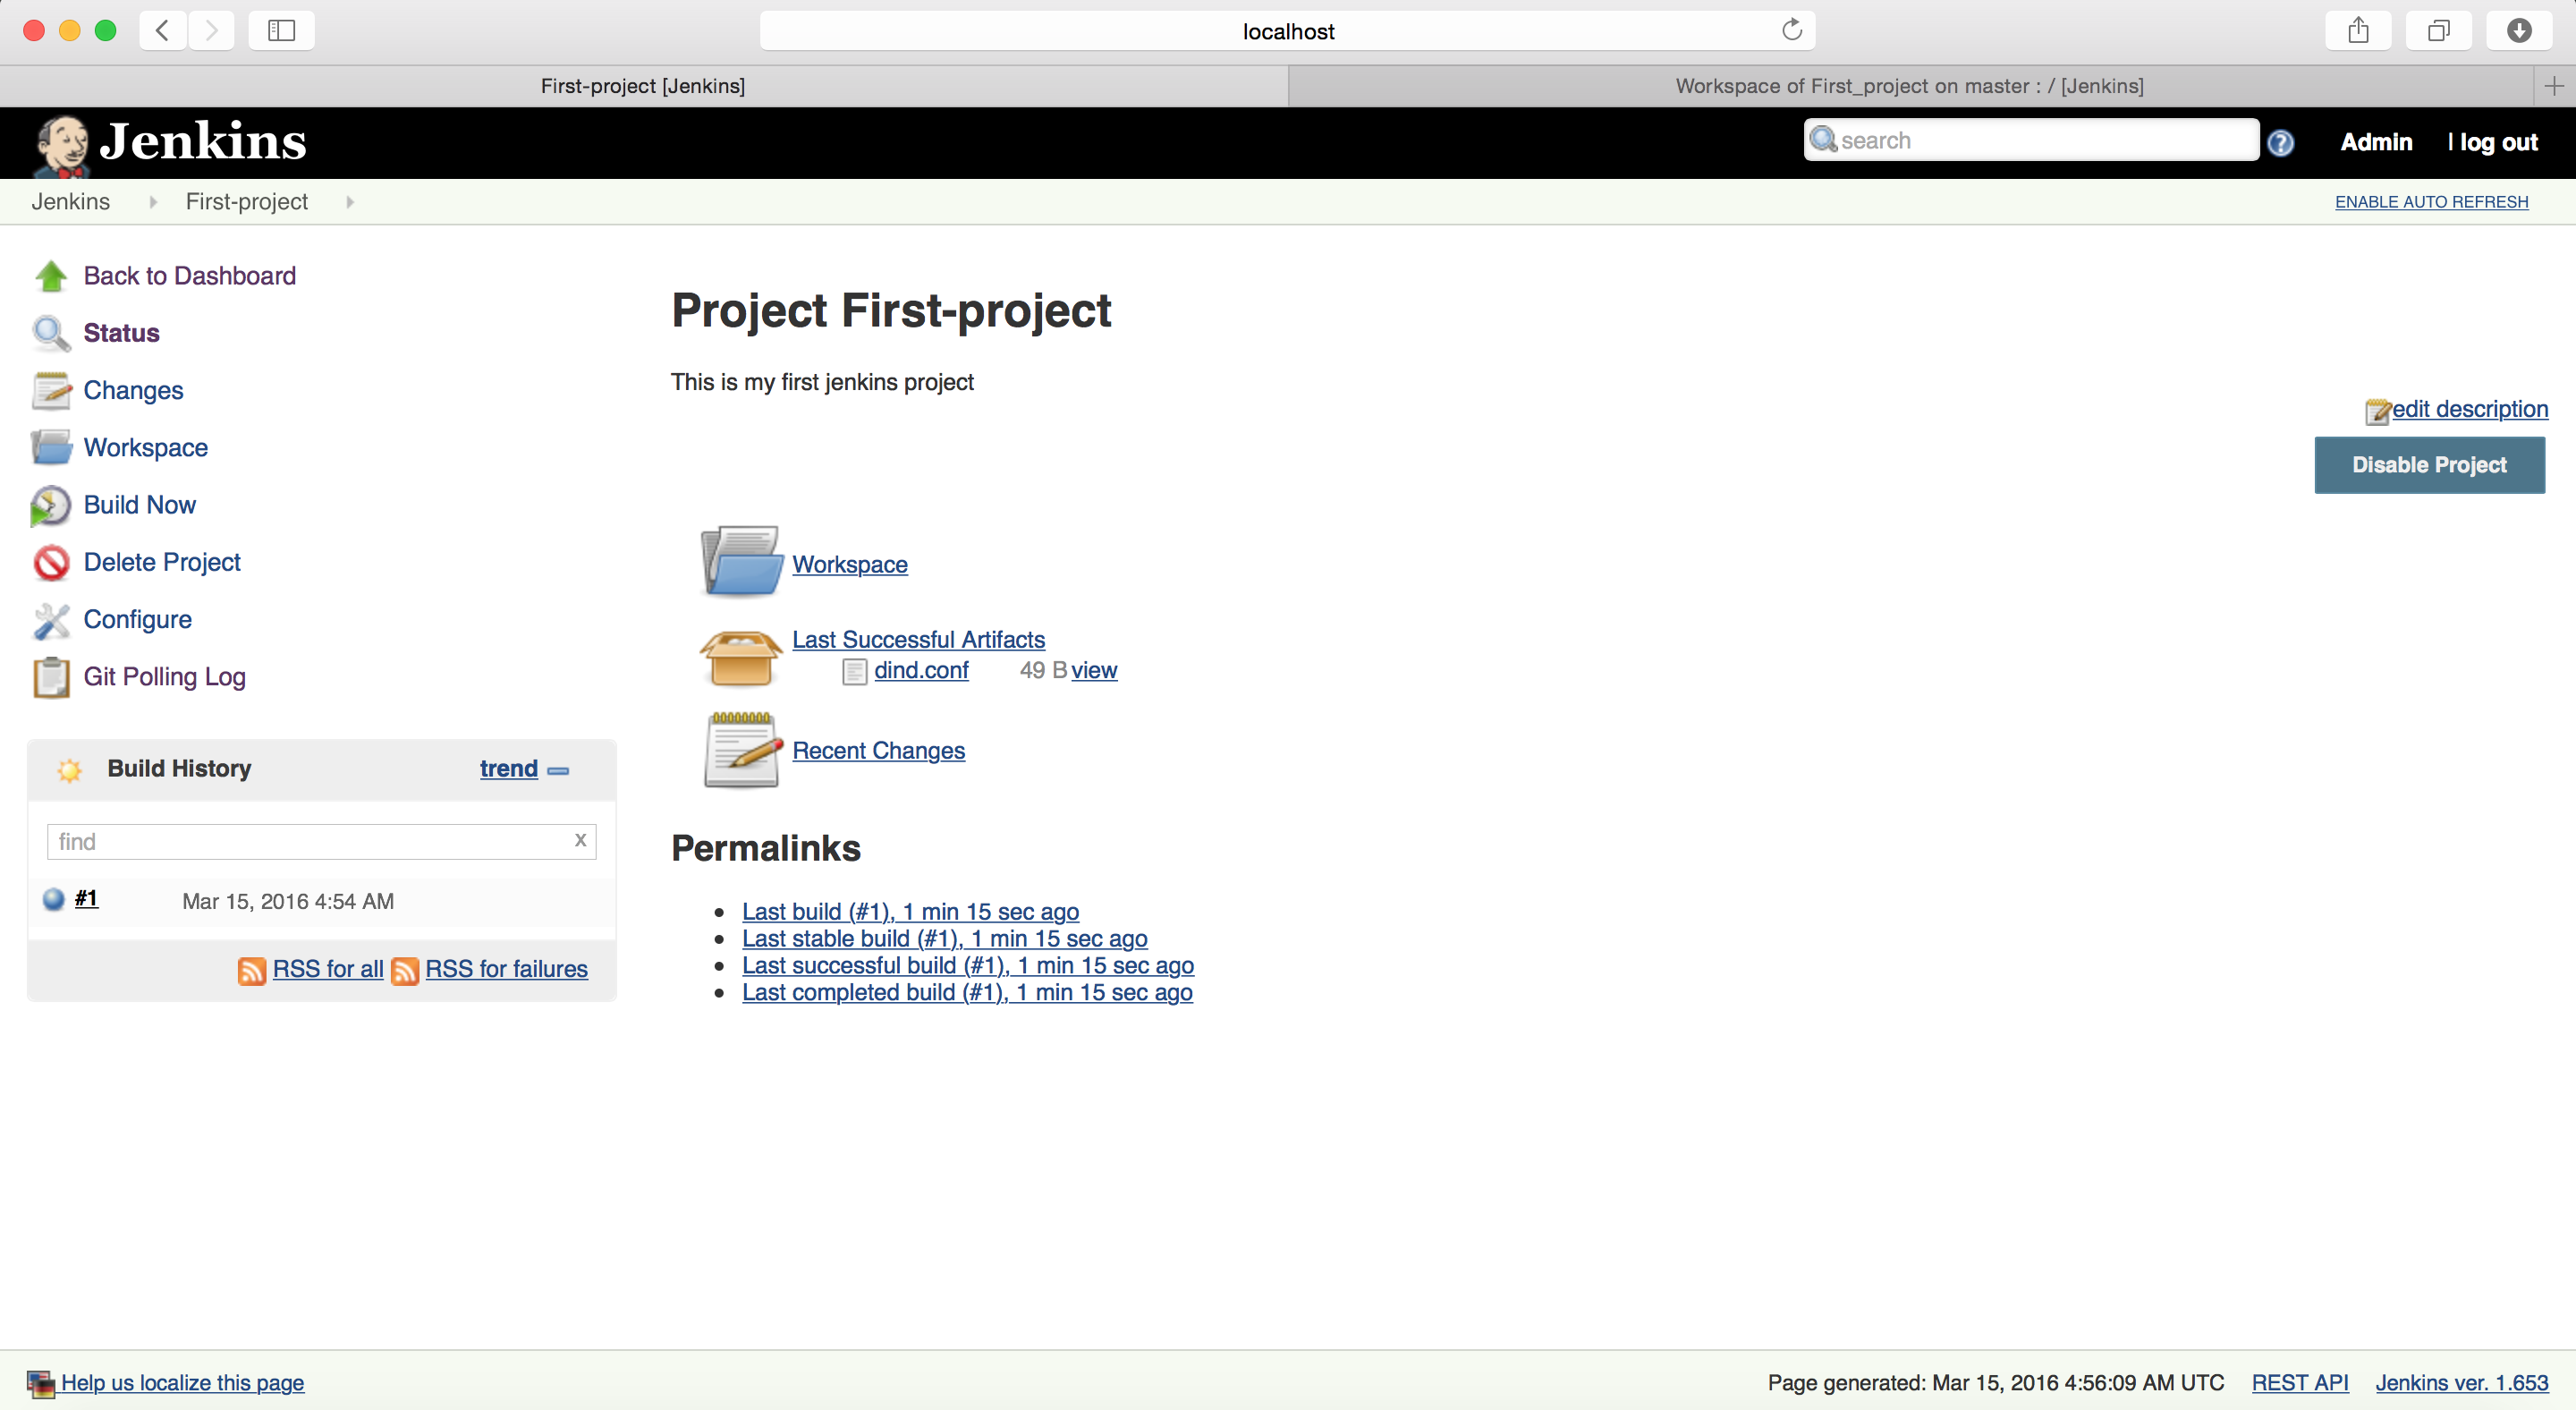
Click on Build number located at left bar under “Build History”, in my case #1.
It will open the Build page which will gives you the stats of your build.
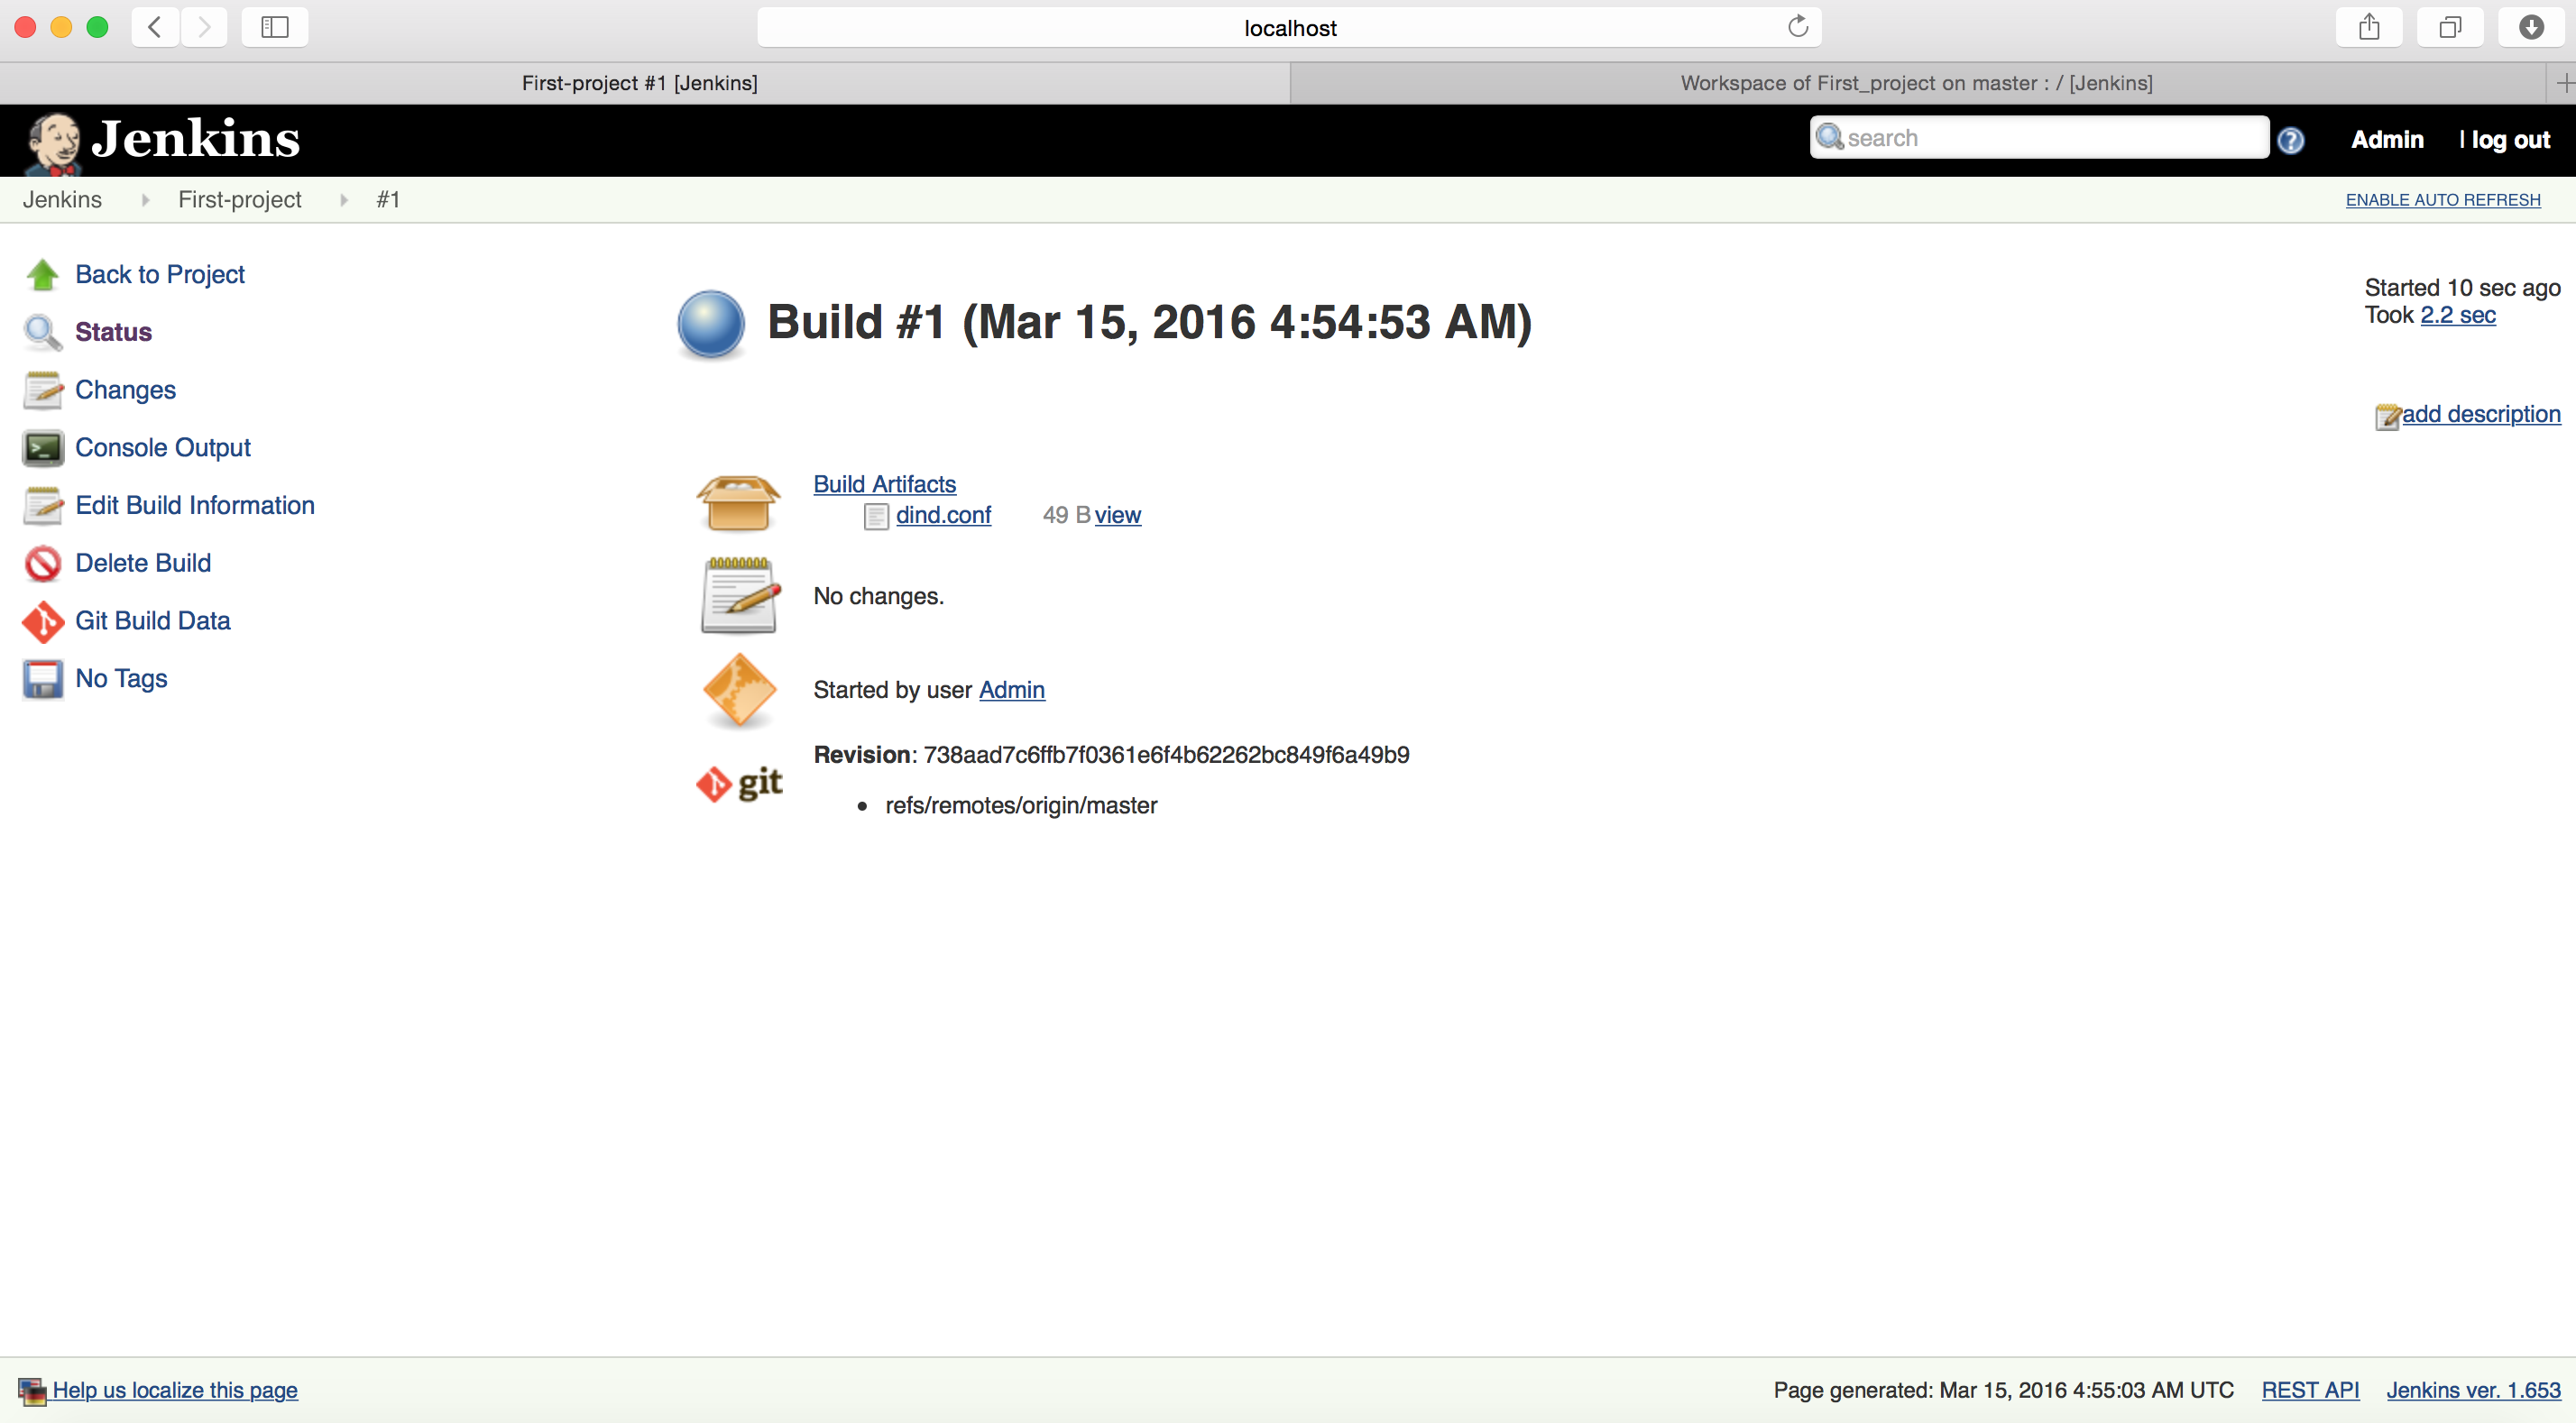
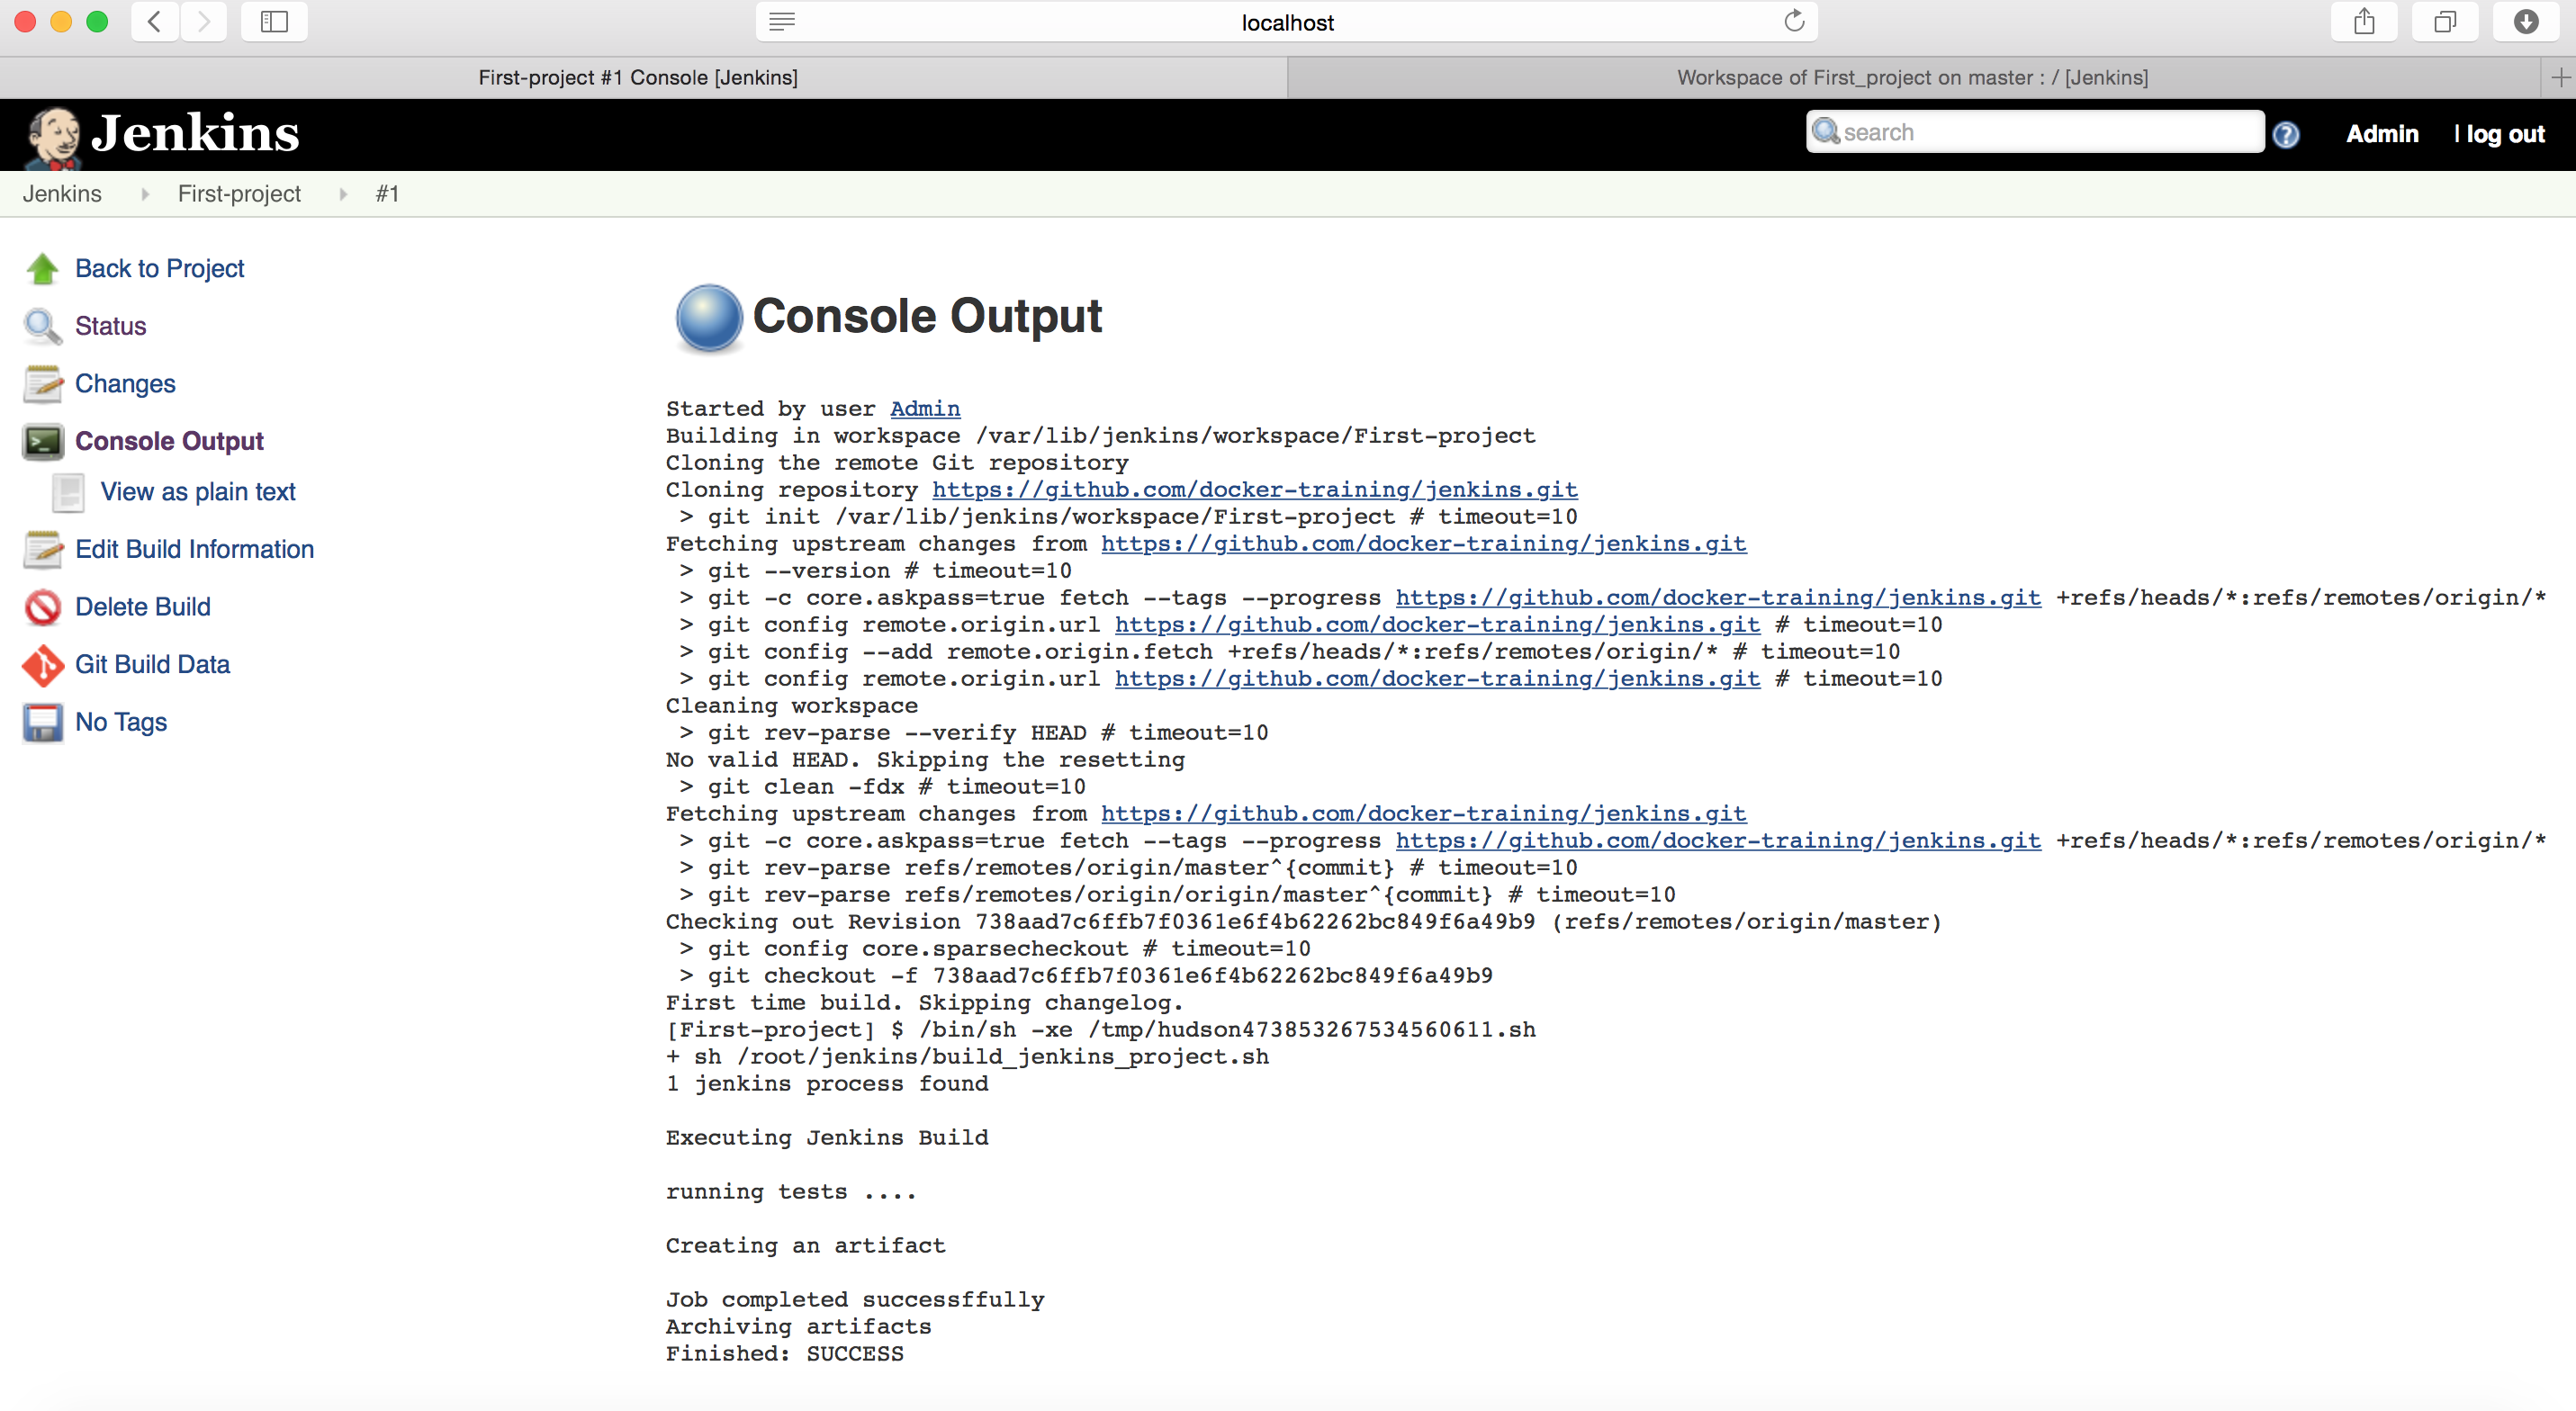
Click on Console Output to see the build log.
Congratulations !! You have successfully done the basic Jenkins configuration and built your first project.
In today’s article we have covered:
- Jenkins installation
- User creation
- Jenkins Project creation
- Managing Jenkins Plugins
- Adding new VCS to Jenkins through plugin
- Jenkins system basic configuration
- E-mail notification configuration
- Build creation
In Next article, we will configure Jenkins Master-Slave architecture.





Awesome !! I was looking for such kind of article and found yours.
Waiting for your next article ..
I don’t even know the way I finished up here, but I believed this put up used to be great.
I don’t recognize who you are but certainly you’re going to a famous blogger if you aren’t already.
Cheers!
Nice Article. It will definetly help our developers.
Great to see all the details at one place 👍
Thanks for finally talking about this, Liked it!
Great work Thanks for your helping nature
Appreciate the recommendation. Will try it out.
excellent submit, very informative. I wonder why other experts on this sector don’t notice this. You must continue your writing. I am just sure, you’ve a massive readers’ base already!
Hi to every body, it’s my first go to see of this webpage; this web site carries awesome and genuinely excellent stuff for readers.
Very good blog article. Really thank you! Awesome.
Very good information. Lucky me I came across your site by accident (stumbleupon).
I’ve book marked it for later!
Great post. I was checking continuously this blog and I’m impressed!
Extremely helpful information specially the last part 🙂 I care for such information a lot.
I was seeking this certain information for a long time.
Thank you and best of luck.