We have already seen Jenkins Installation , Jenkins Master-Slave configuration and Jenkins Windows Slave configuration in our previous articles.

So lets move further and discuss about Jenkins upgrade to new version.
If you are using Jenkins for production or for multiple tasks, it is very important that you keep your Jenkins up-to-date with the latest version.
Whenever a latest stable version is available, your Jenkins server will prompt you to “Upgrade to the new version”
You can either use the downloadable file and upgrade the Jenkins server or you can use Yum to upgrade in similar fashion how we installed on Linux server which we discussed in Jenkins Installation
To demonstrate this upgrade, we are going to upgrade our Jenkins instance to version 2.52
Just open the Jenkins server with root user and type “yum update jenkins”
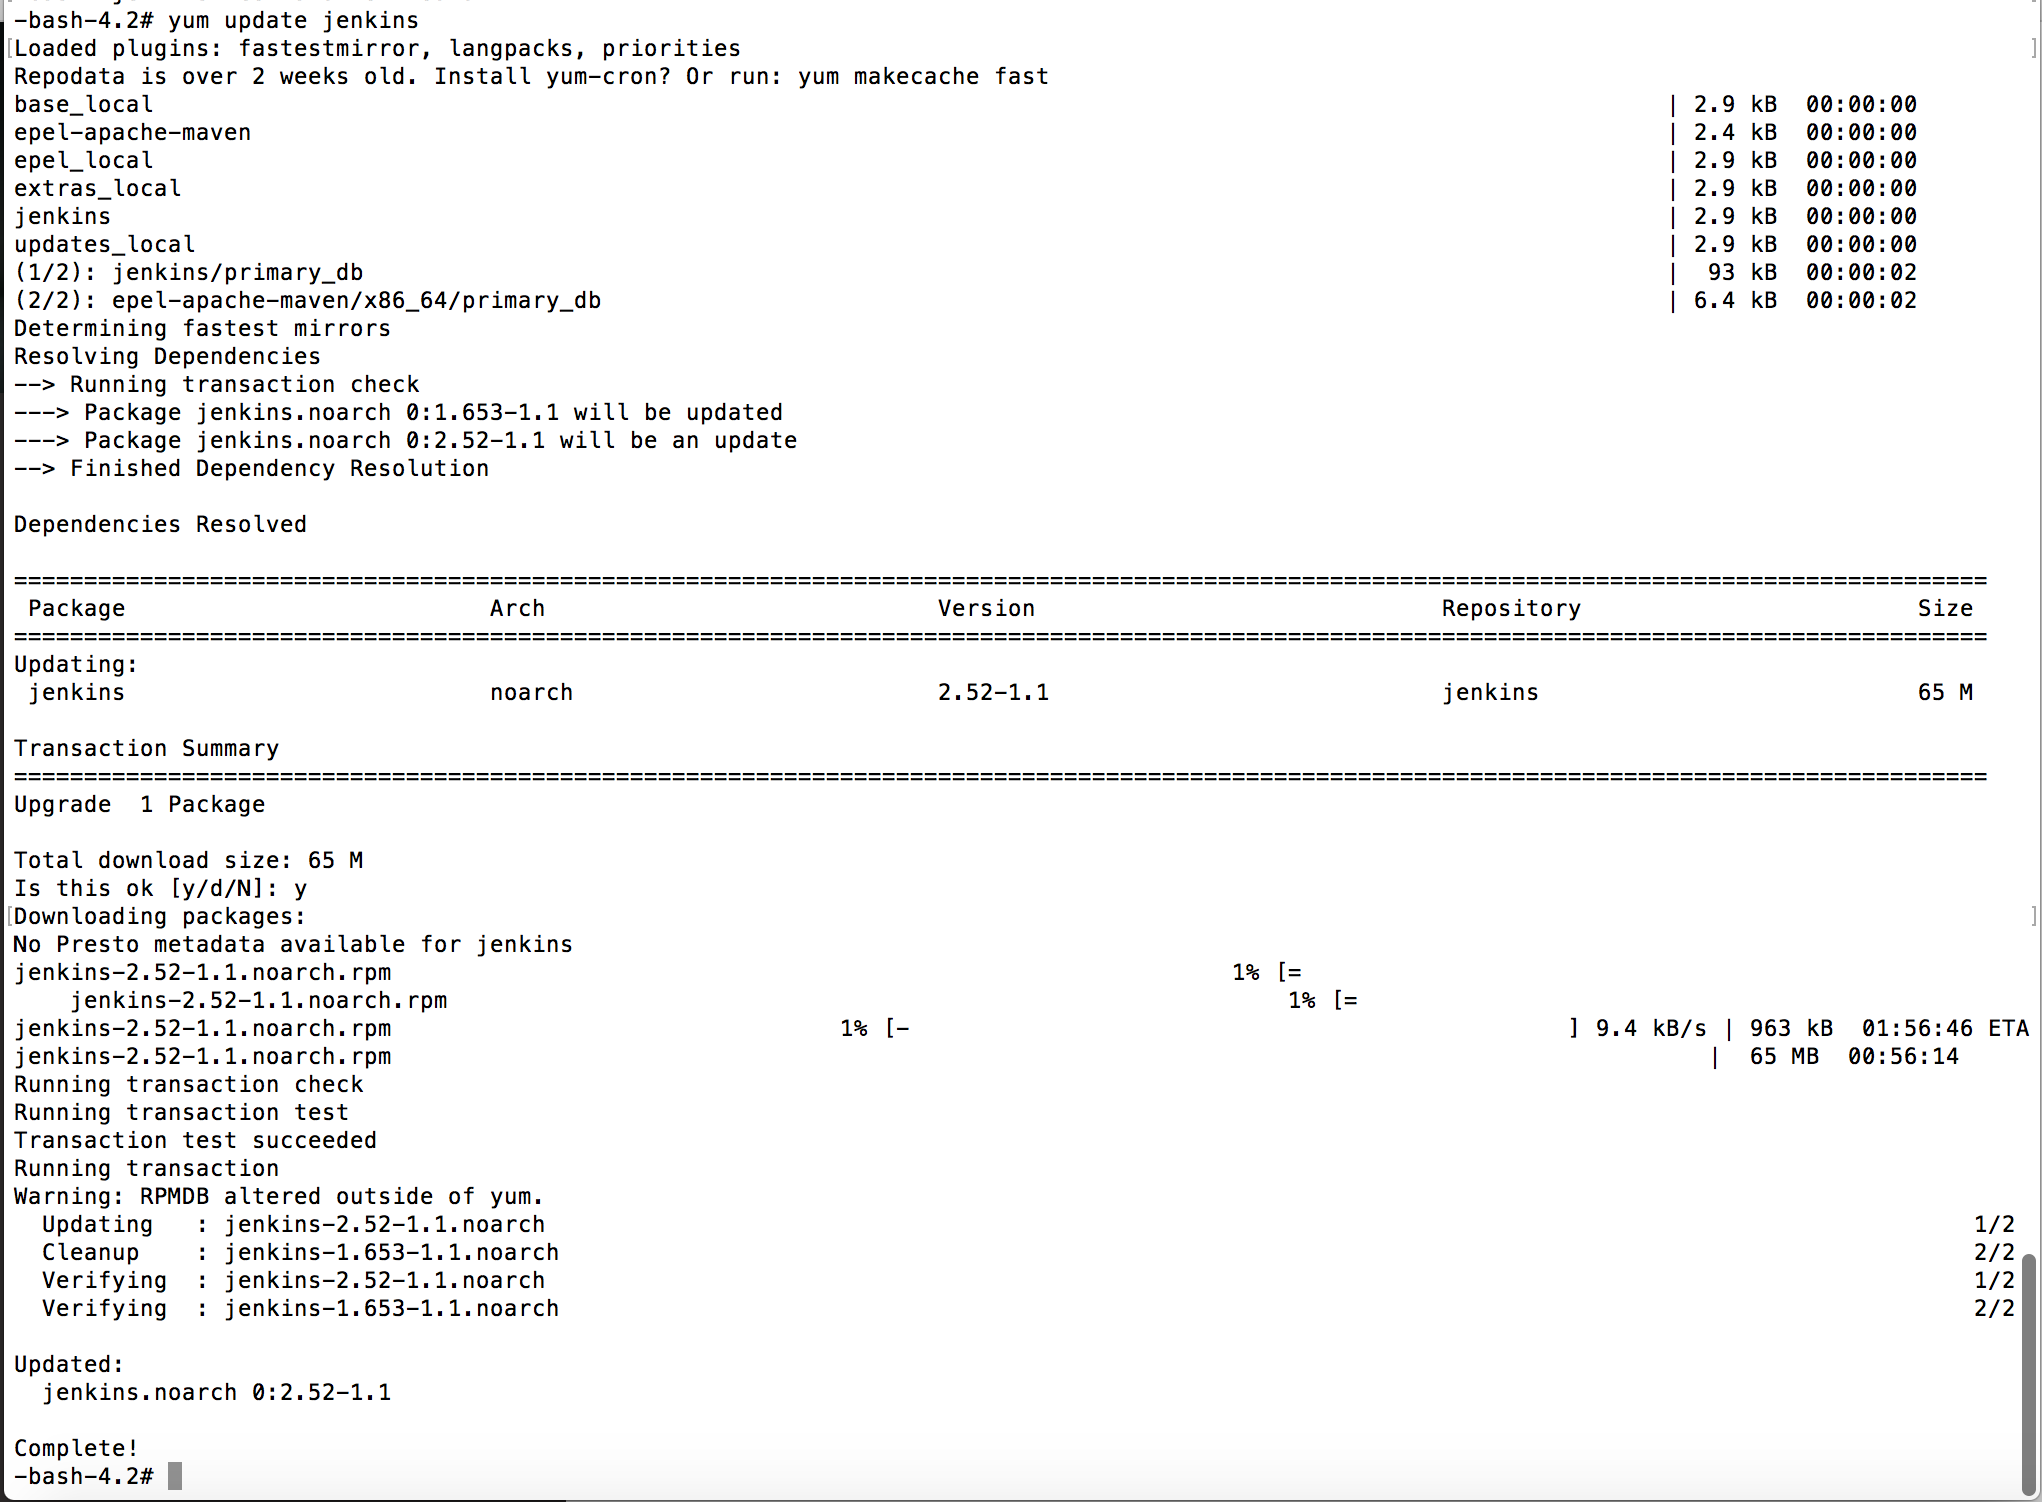
Once the update complete, Go to your Jenkins URL and login …
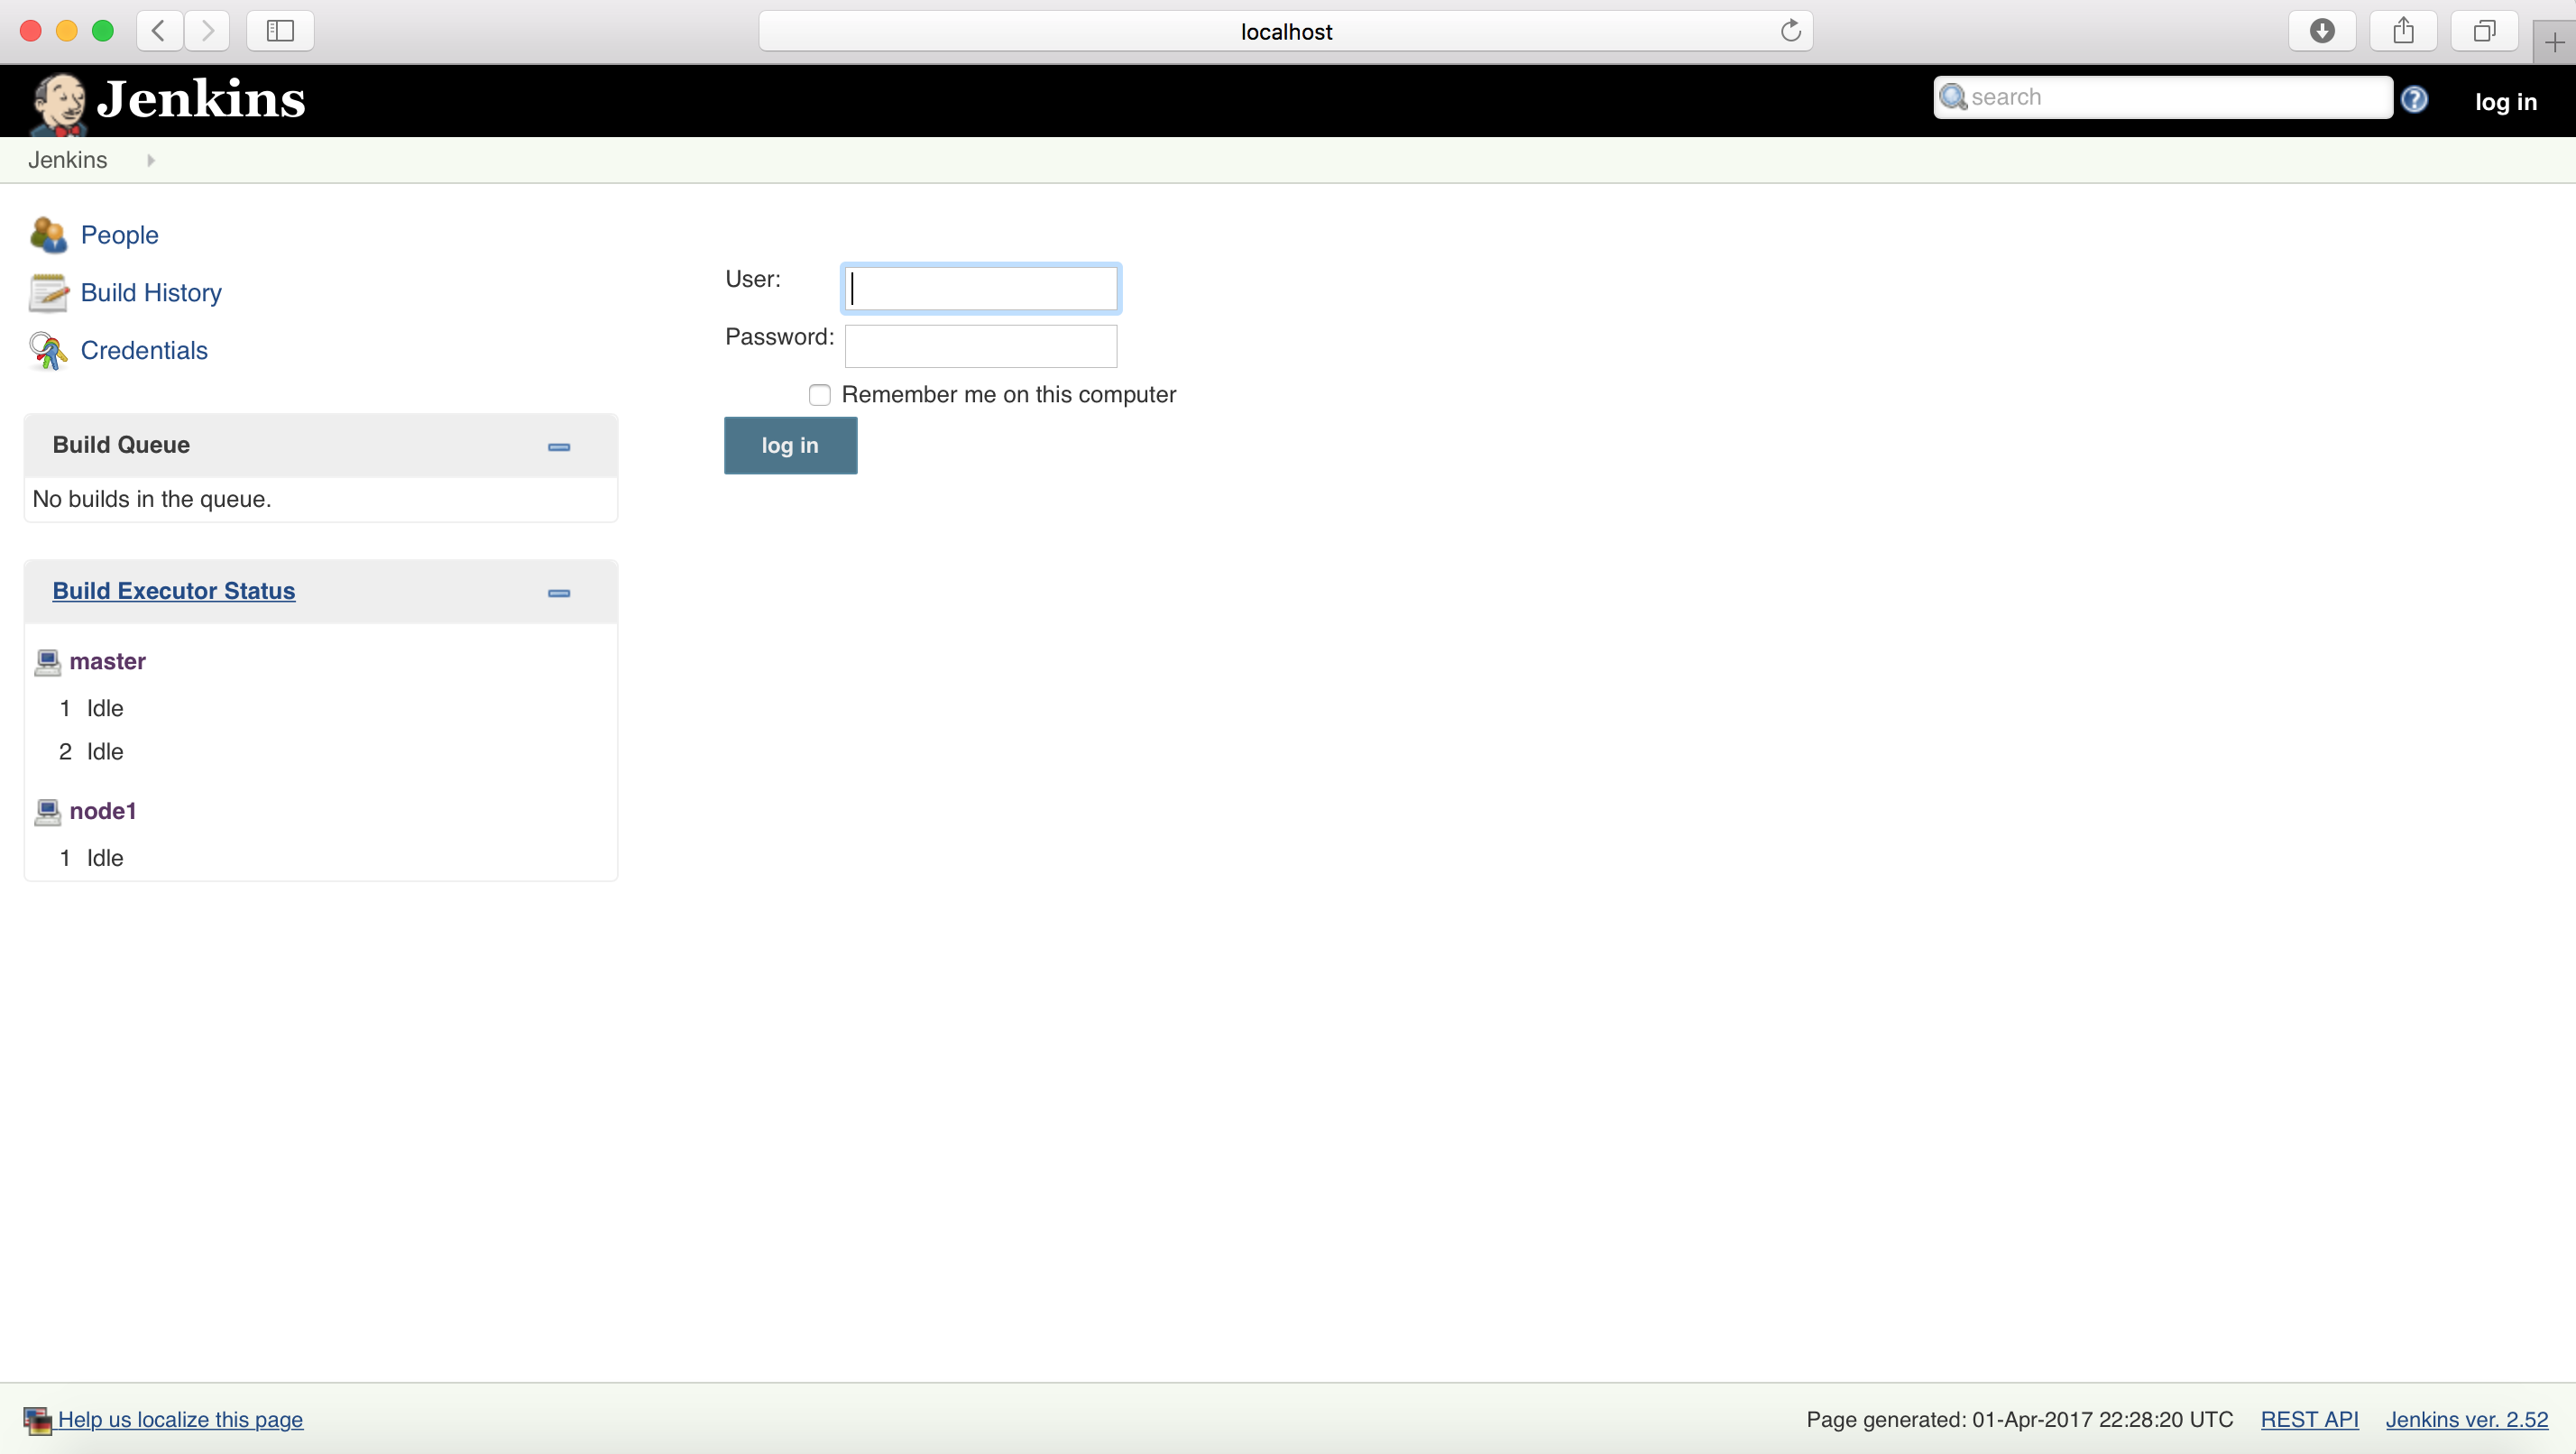
After a successful upgrade, Jenkins will prompt you to upgrade/install the new features as well which are part of new version.
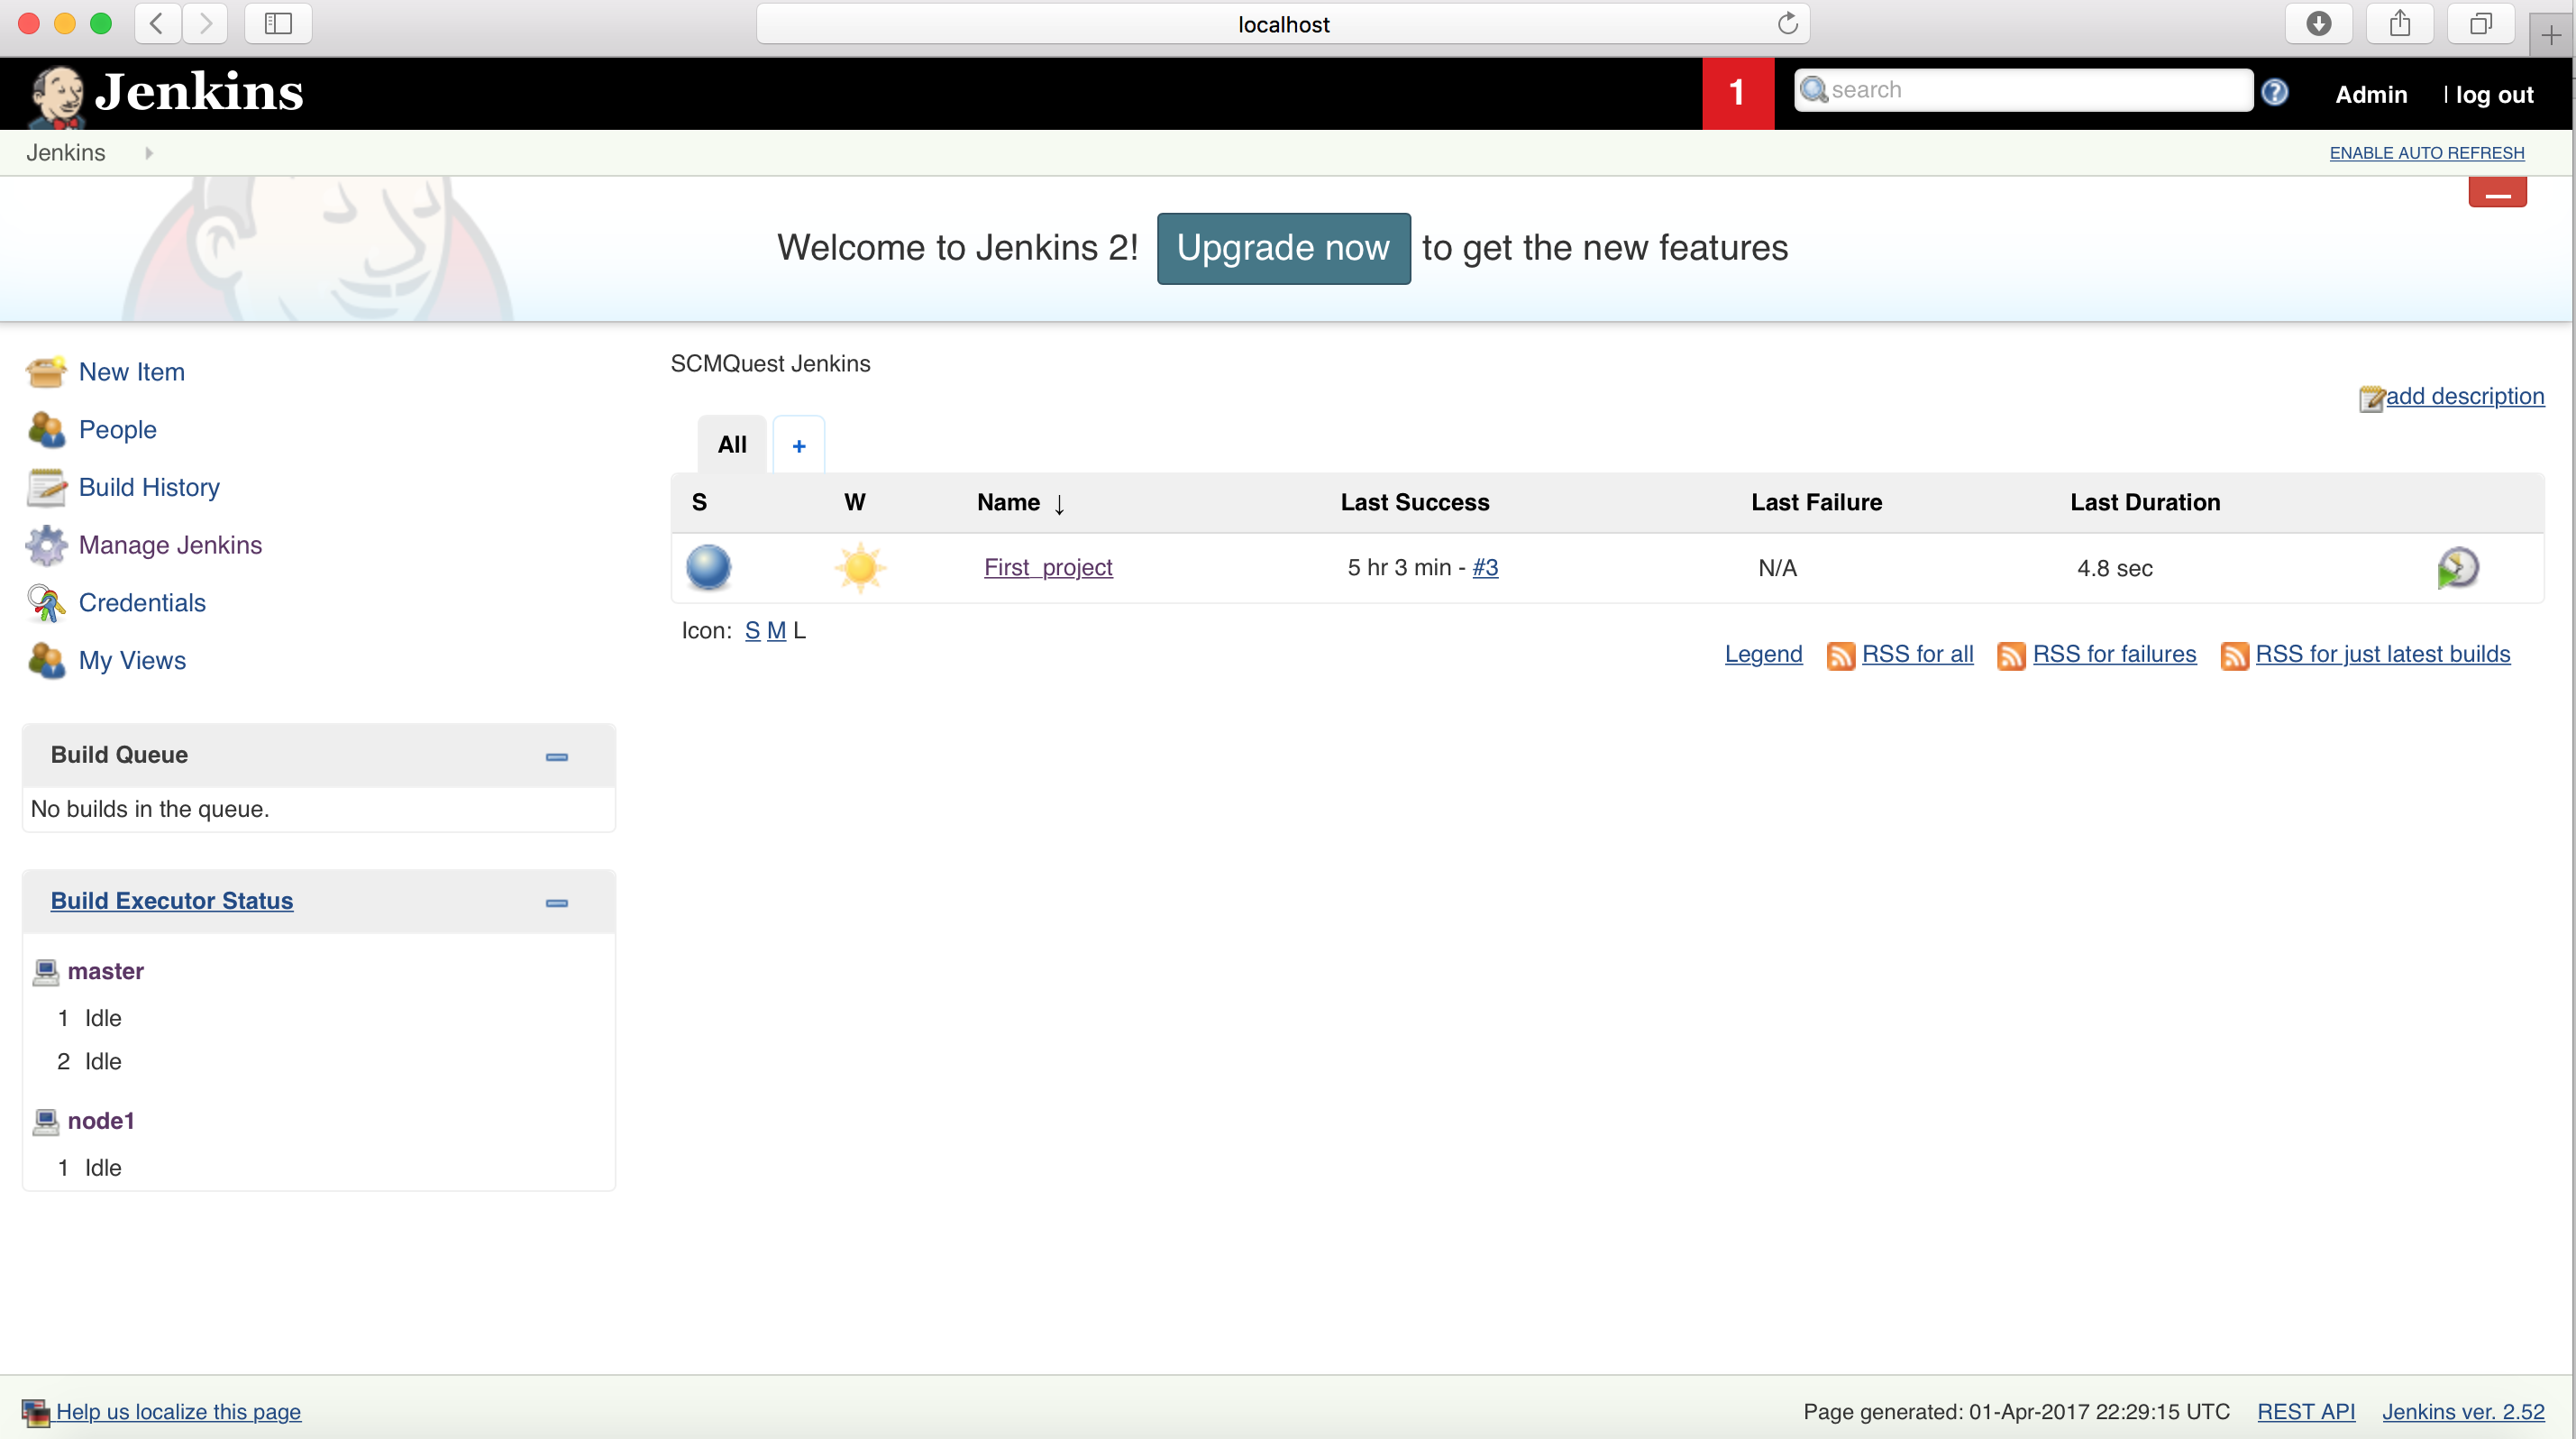
Once you click on “Upgrade Now”, it will ask your permission to install/upgrade the new features.
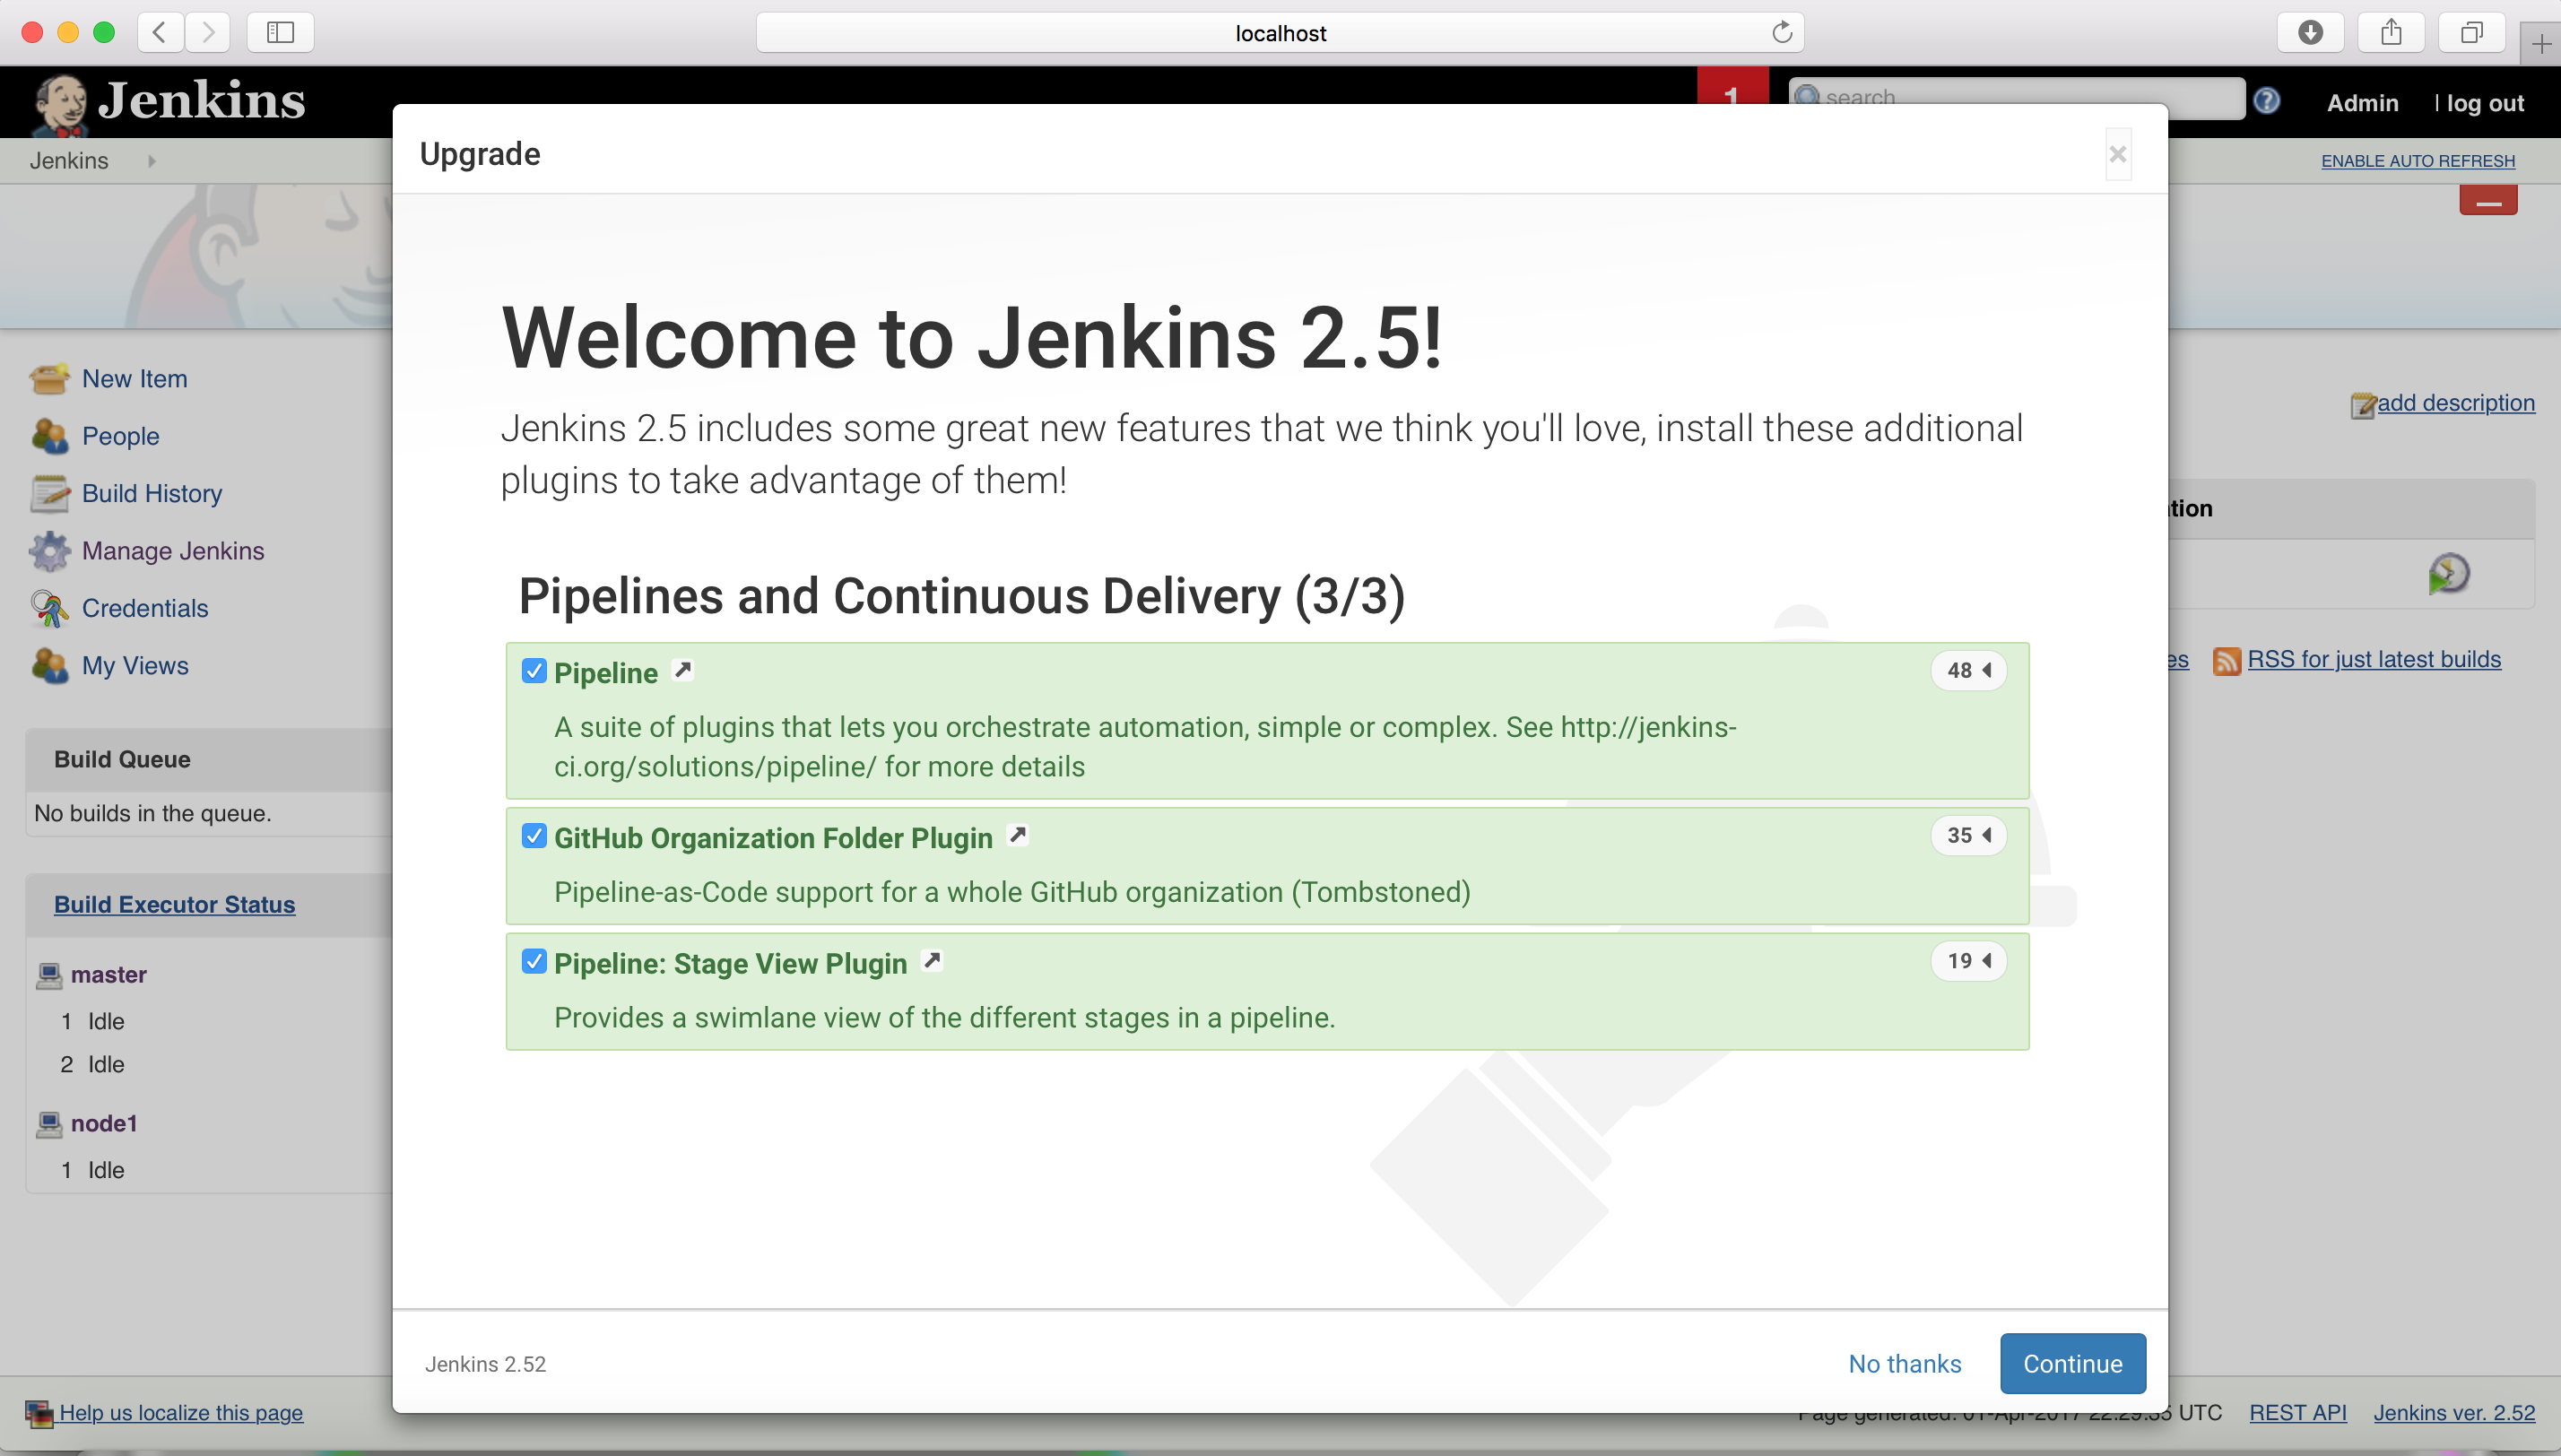
Once you click on “Continue” – It will start installing plugins ….
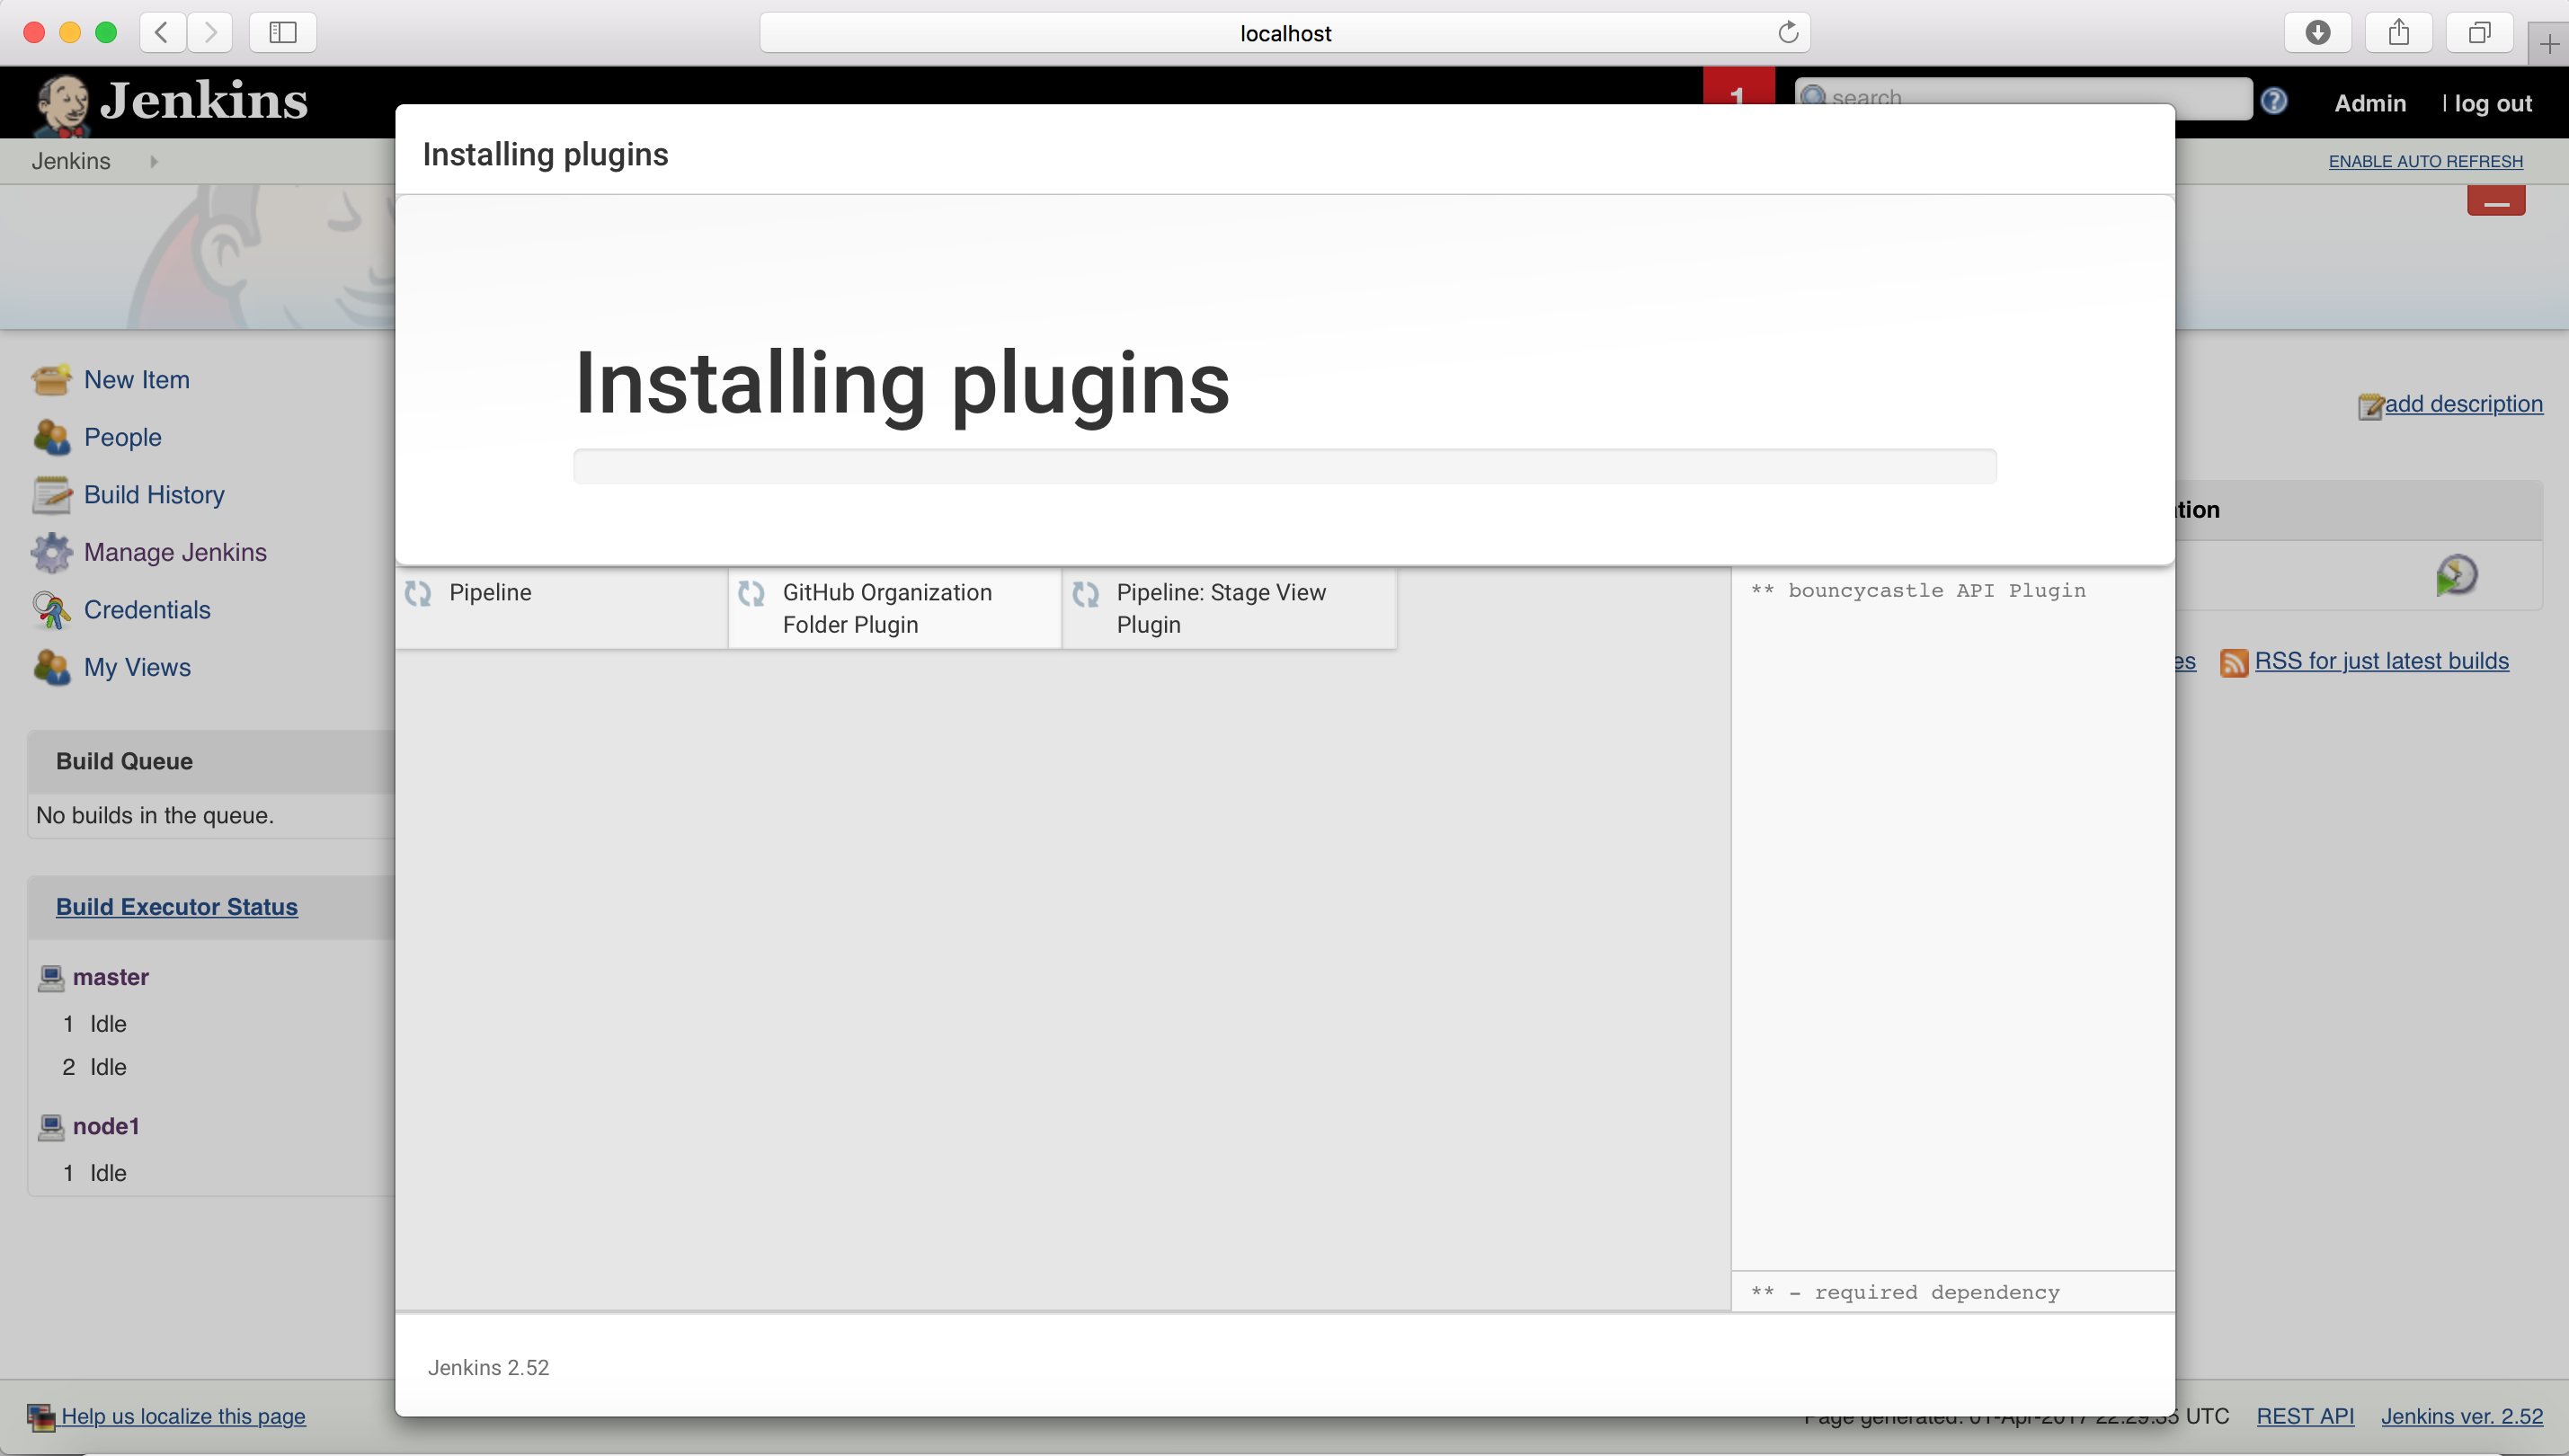
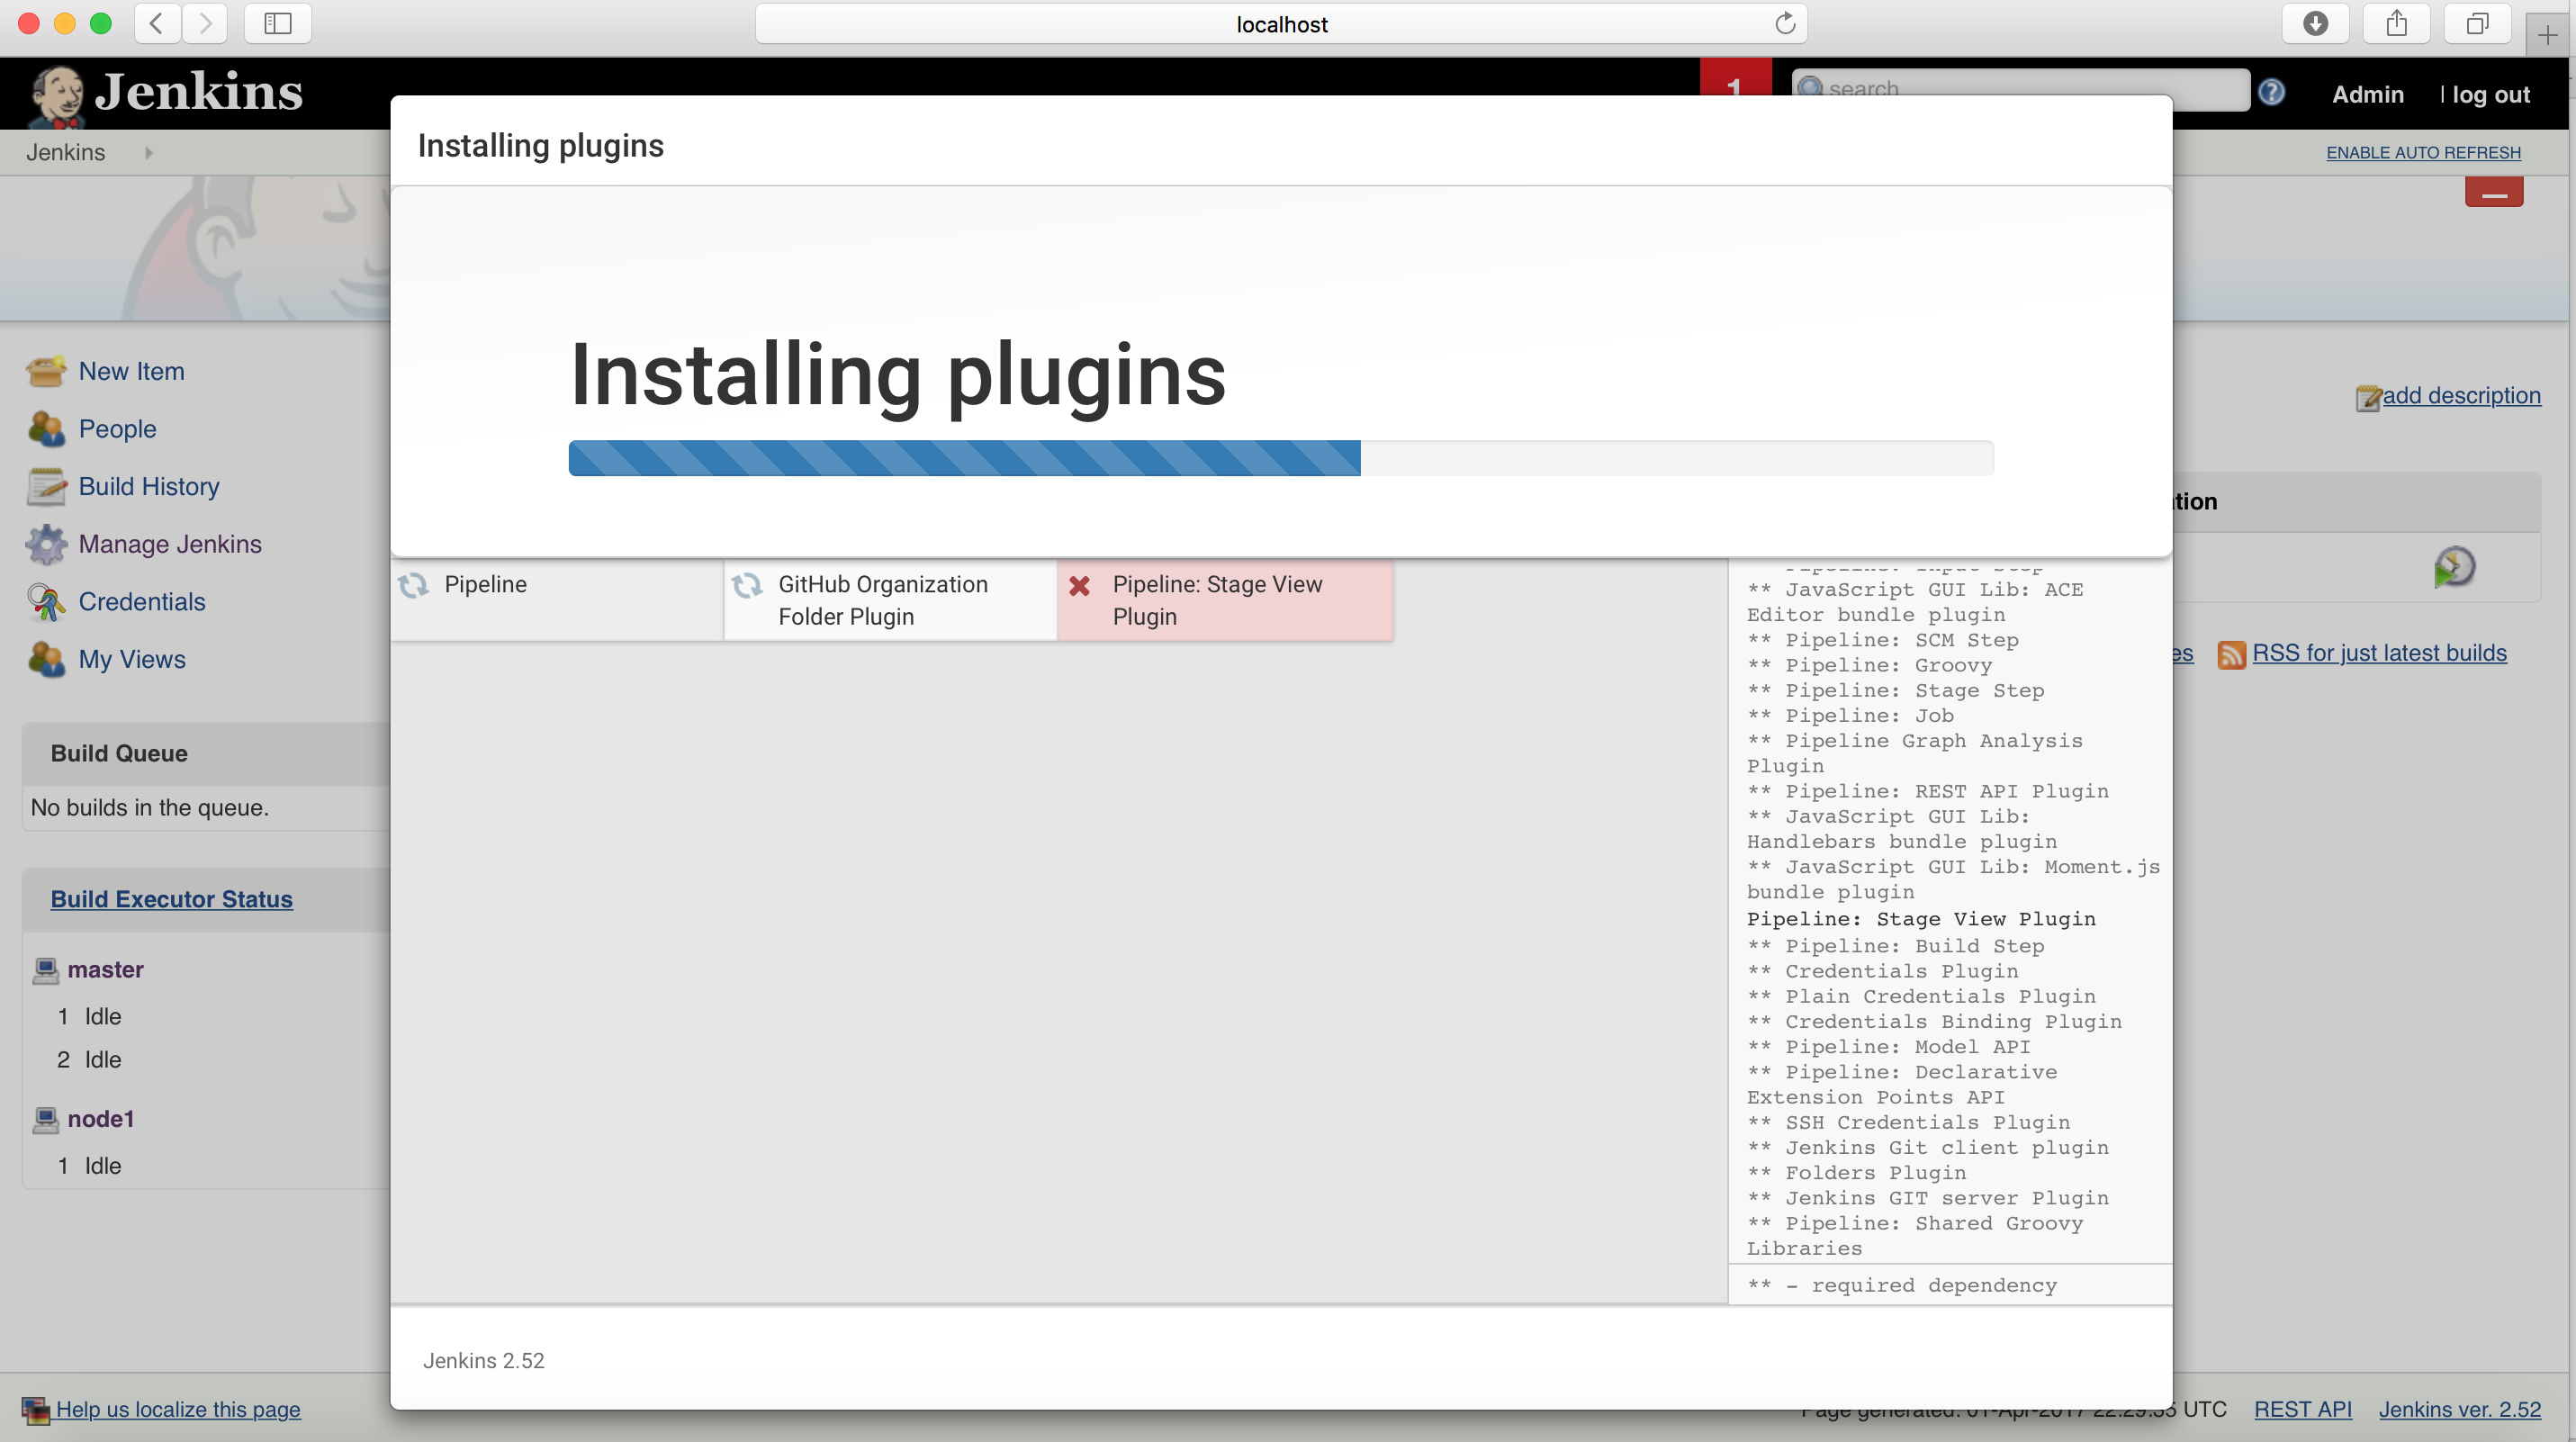
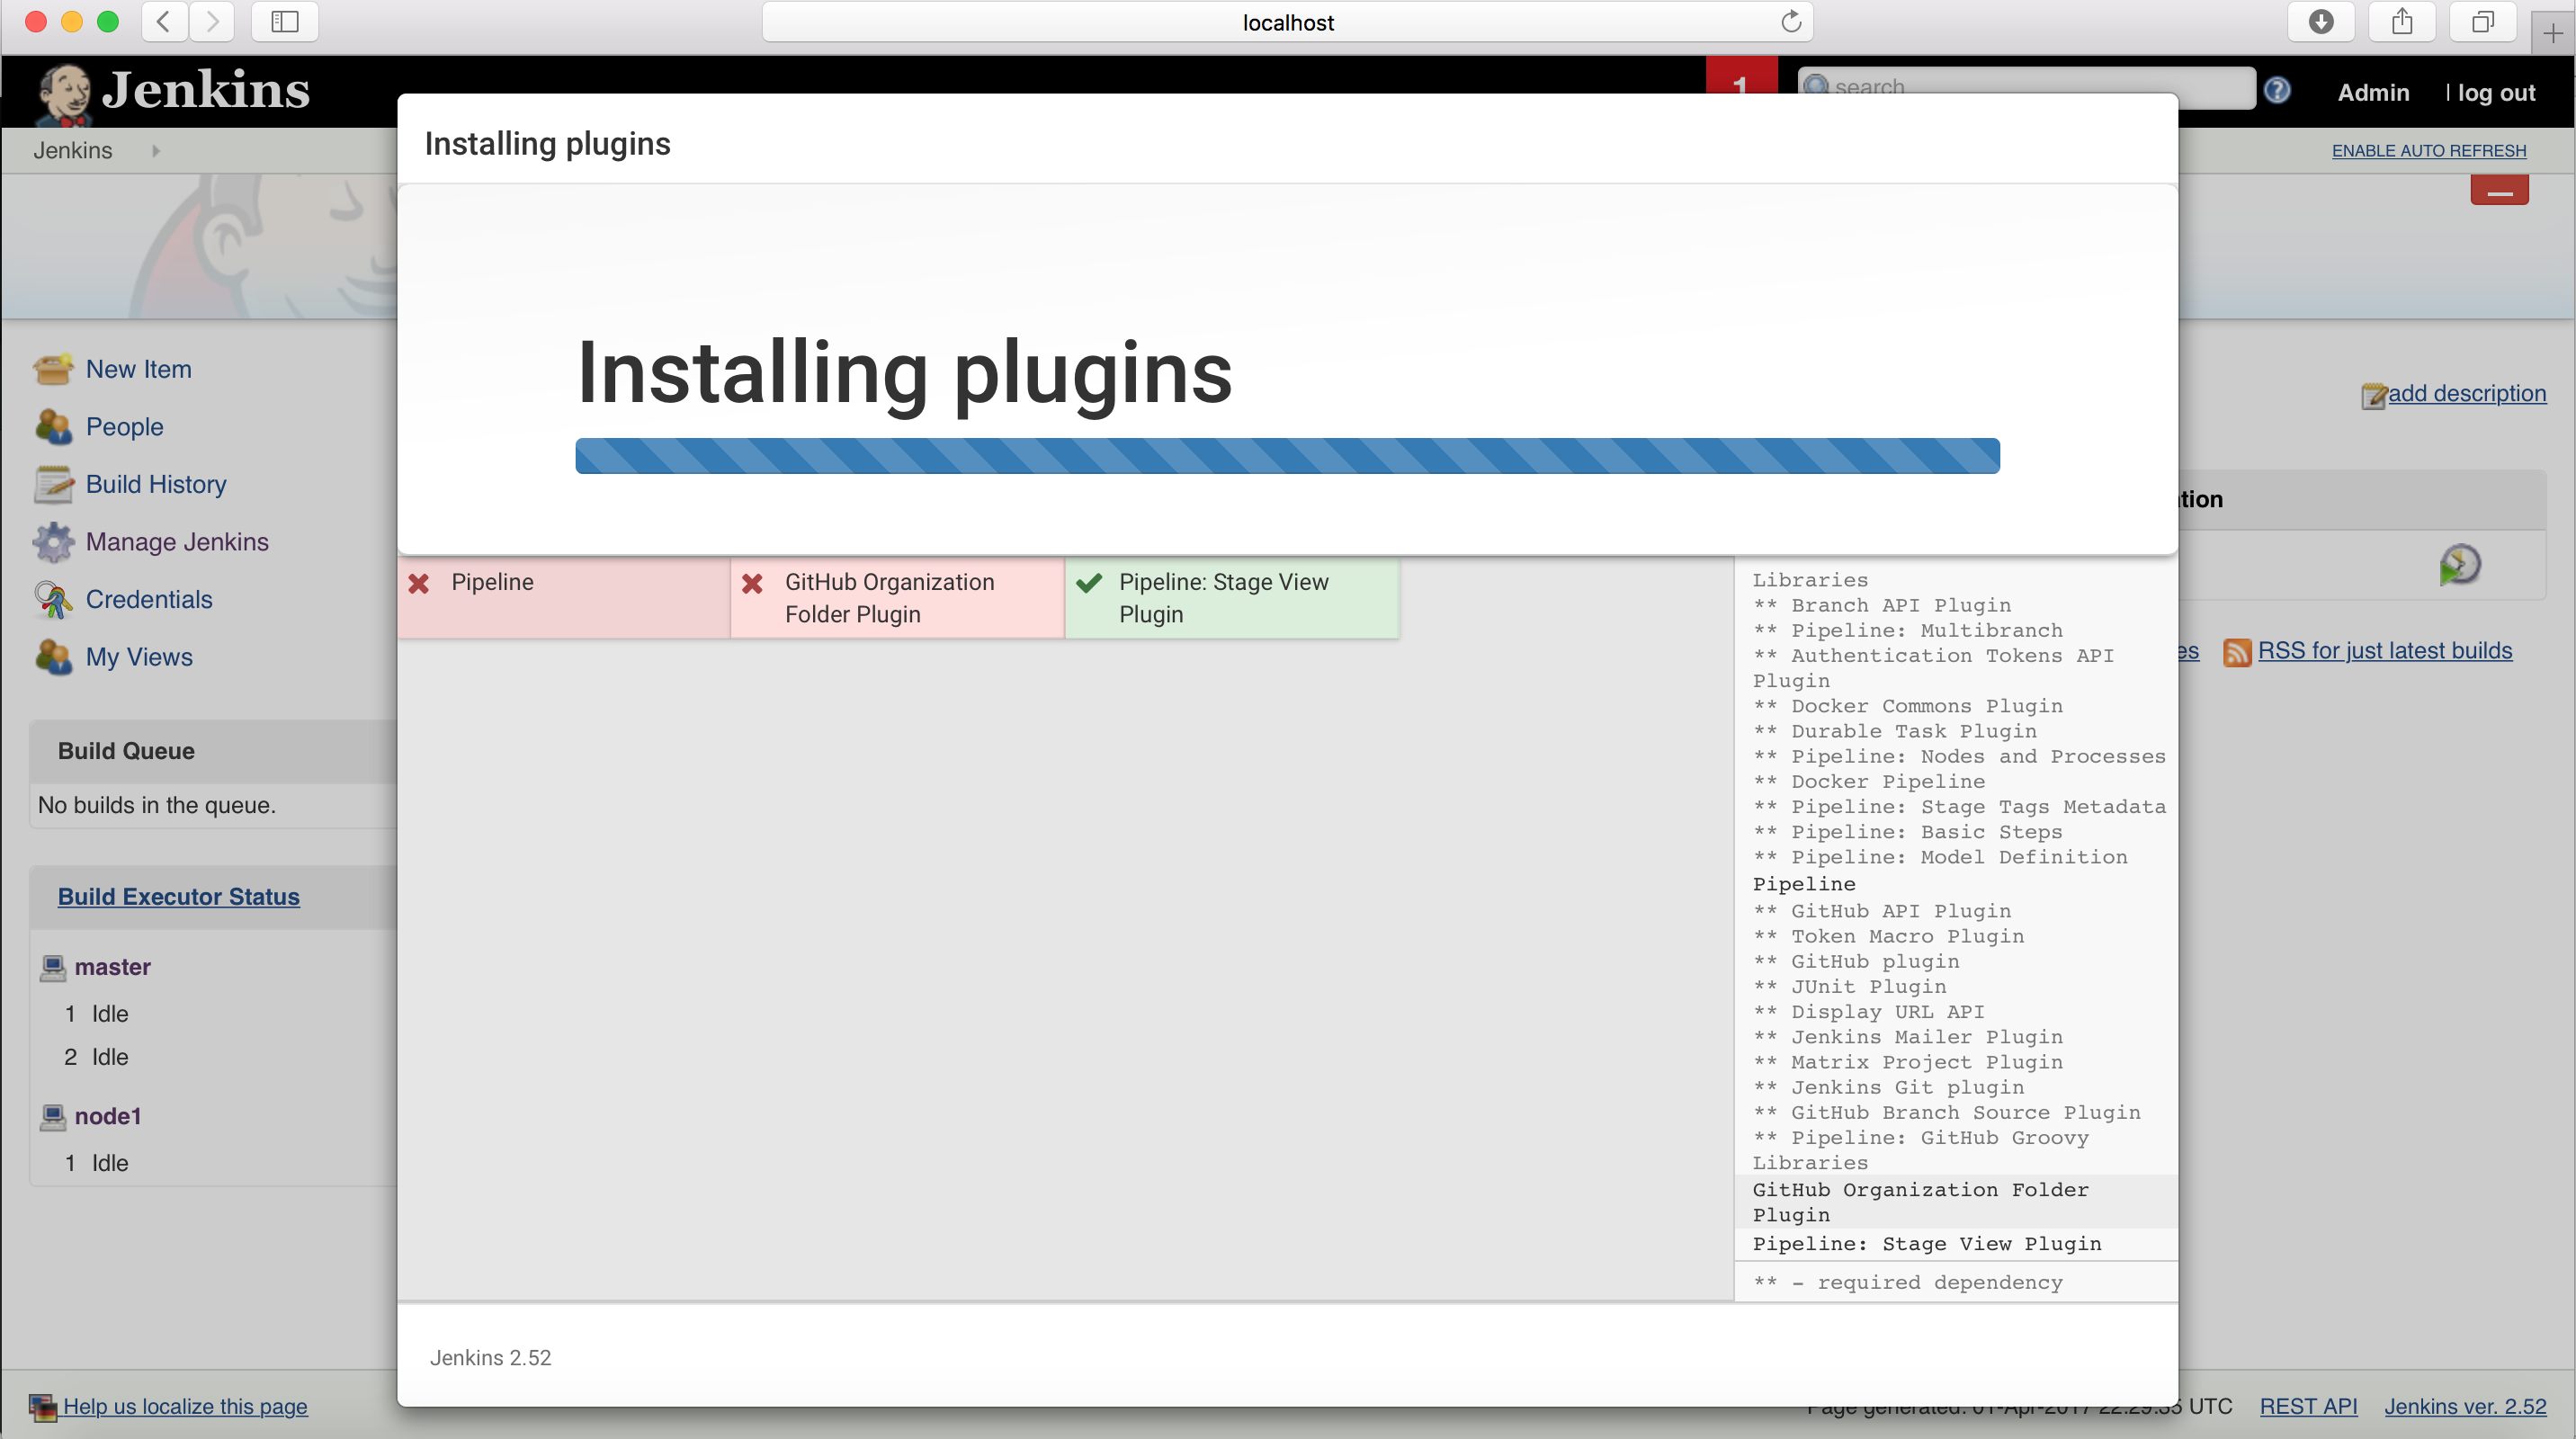
It will install all the plugins ….
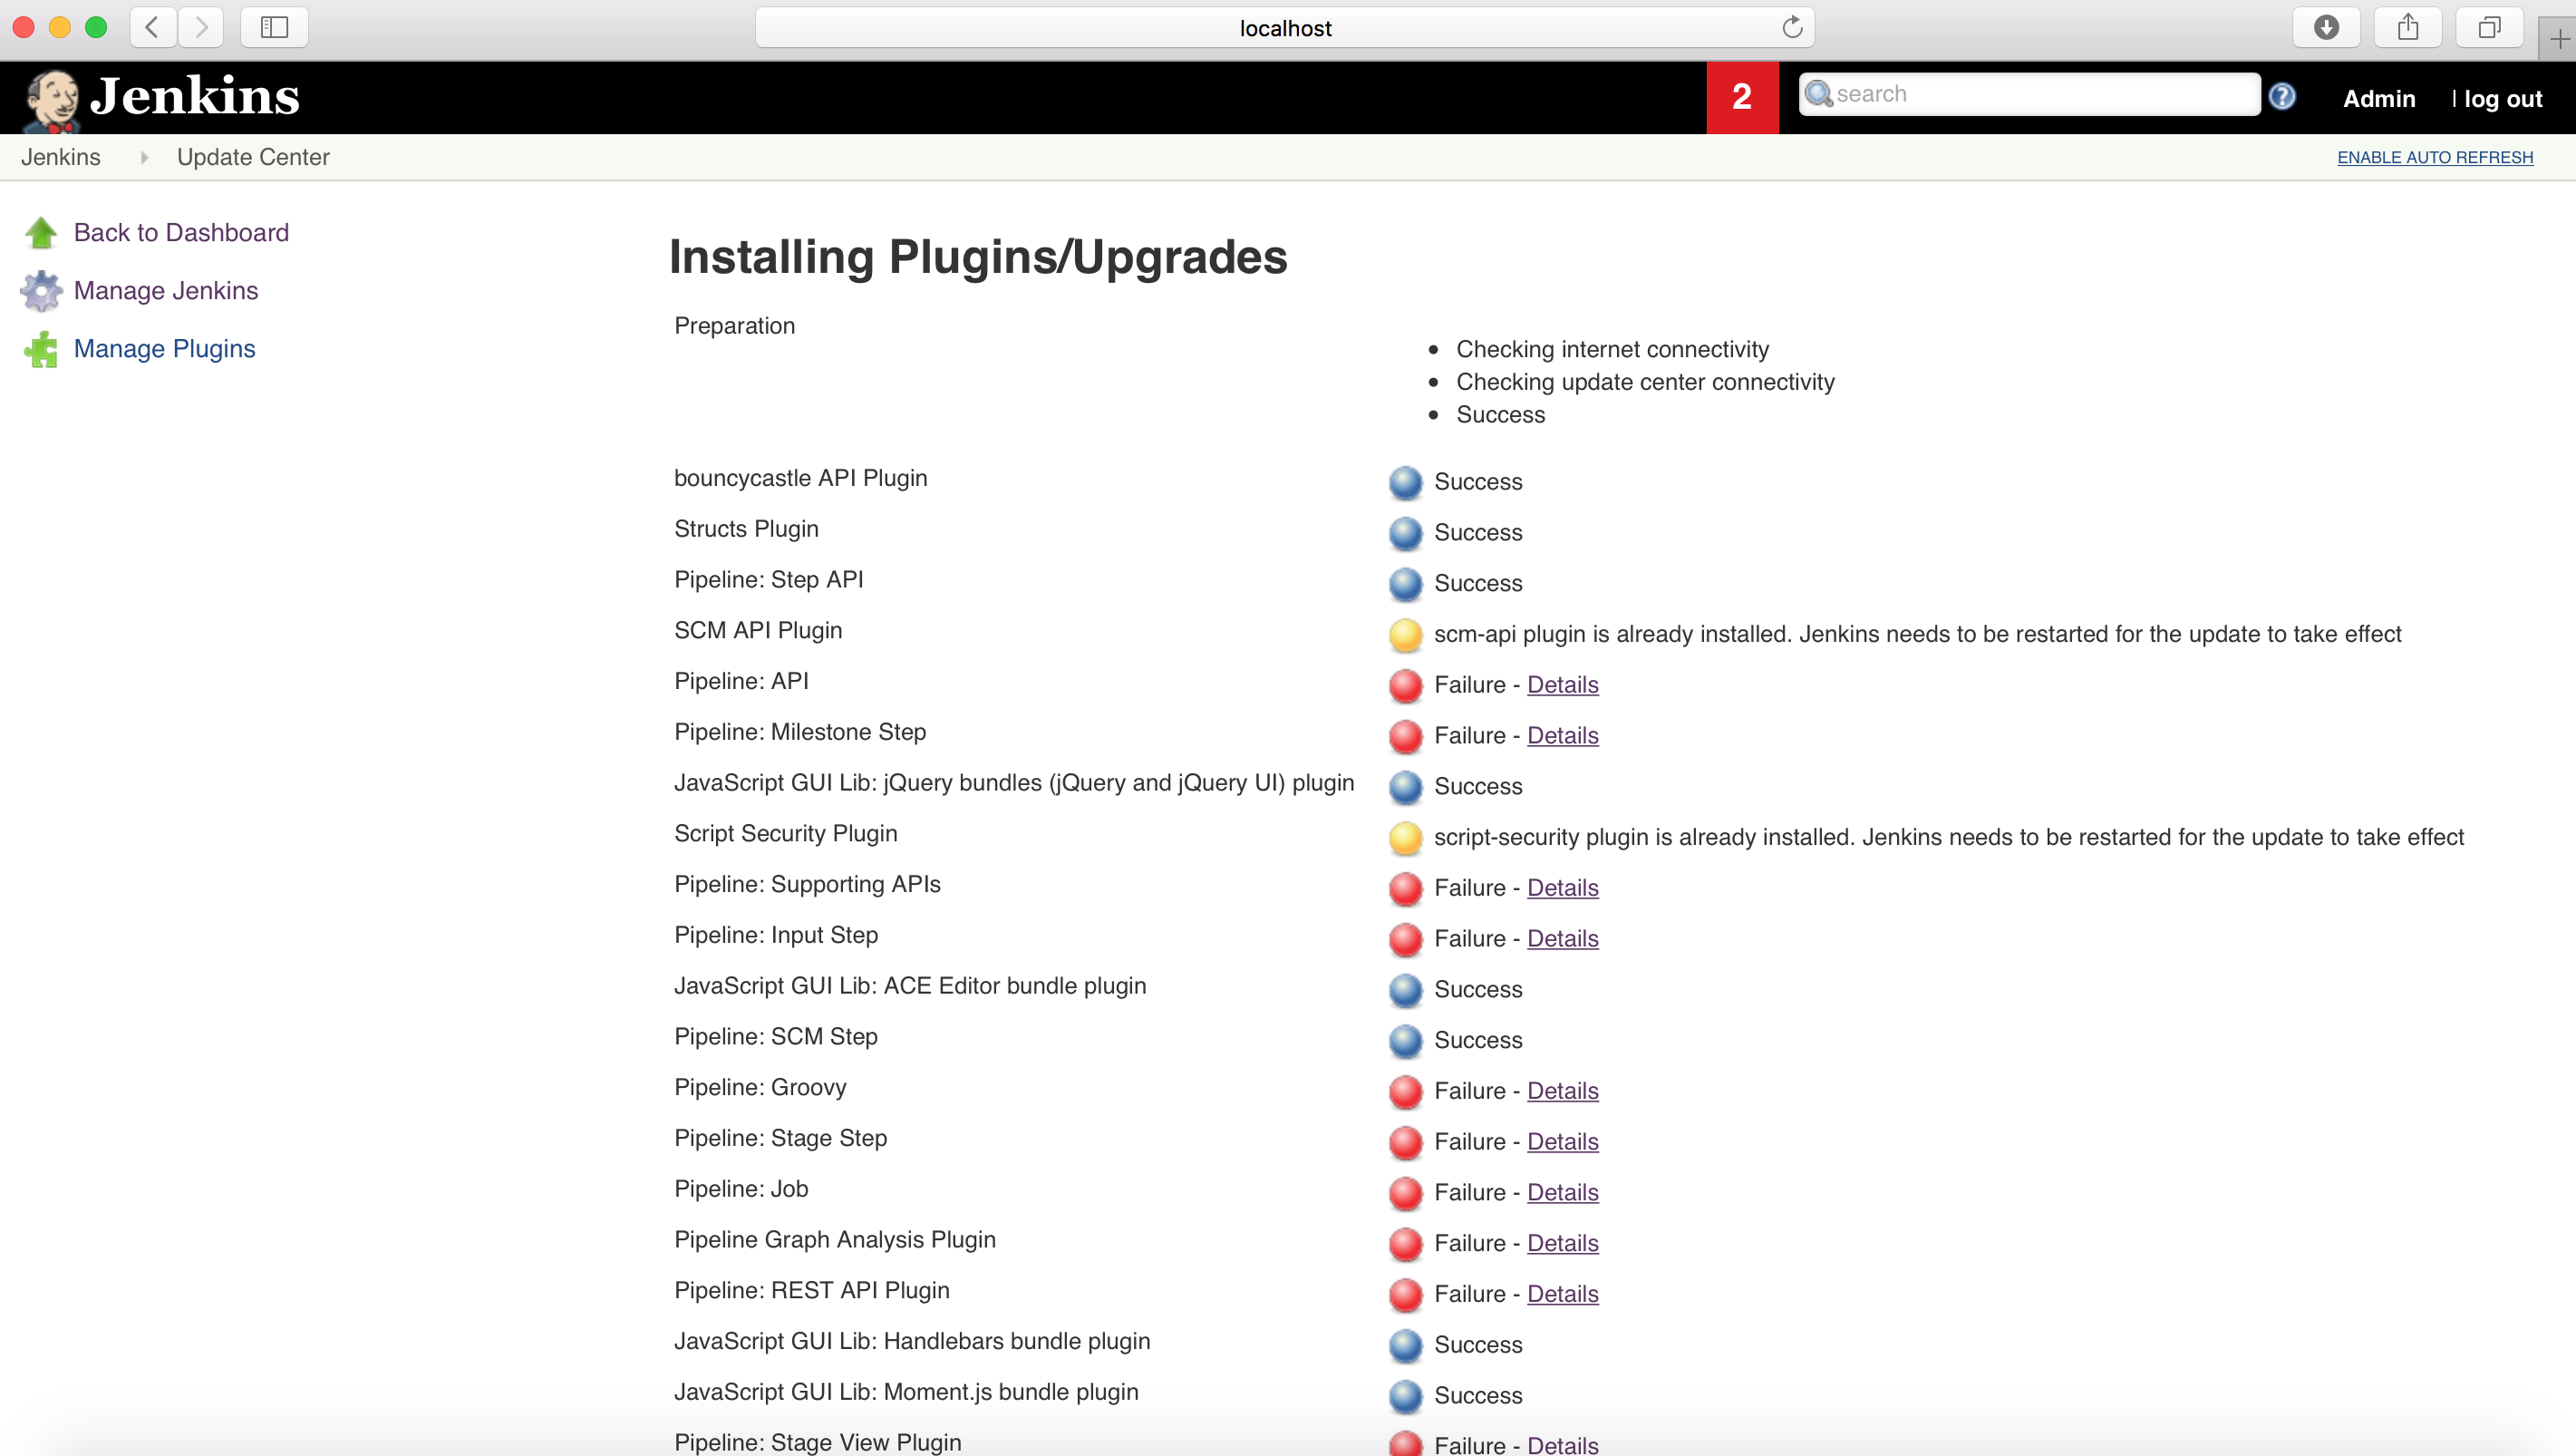
If something is failing, give a try again and Jenkins will automatically fix the failures (usually it happens due to Network disruption)
Once all the plugins are installed, it will prompt you to restart the Jenkins to fetch the new changes.
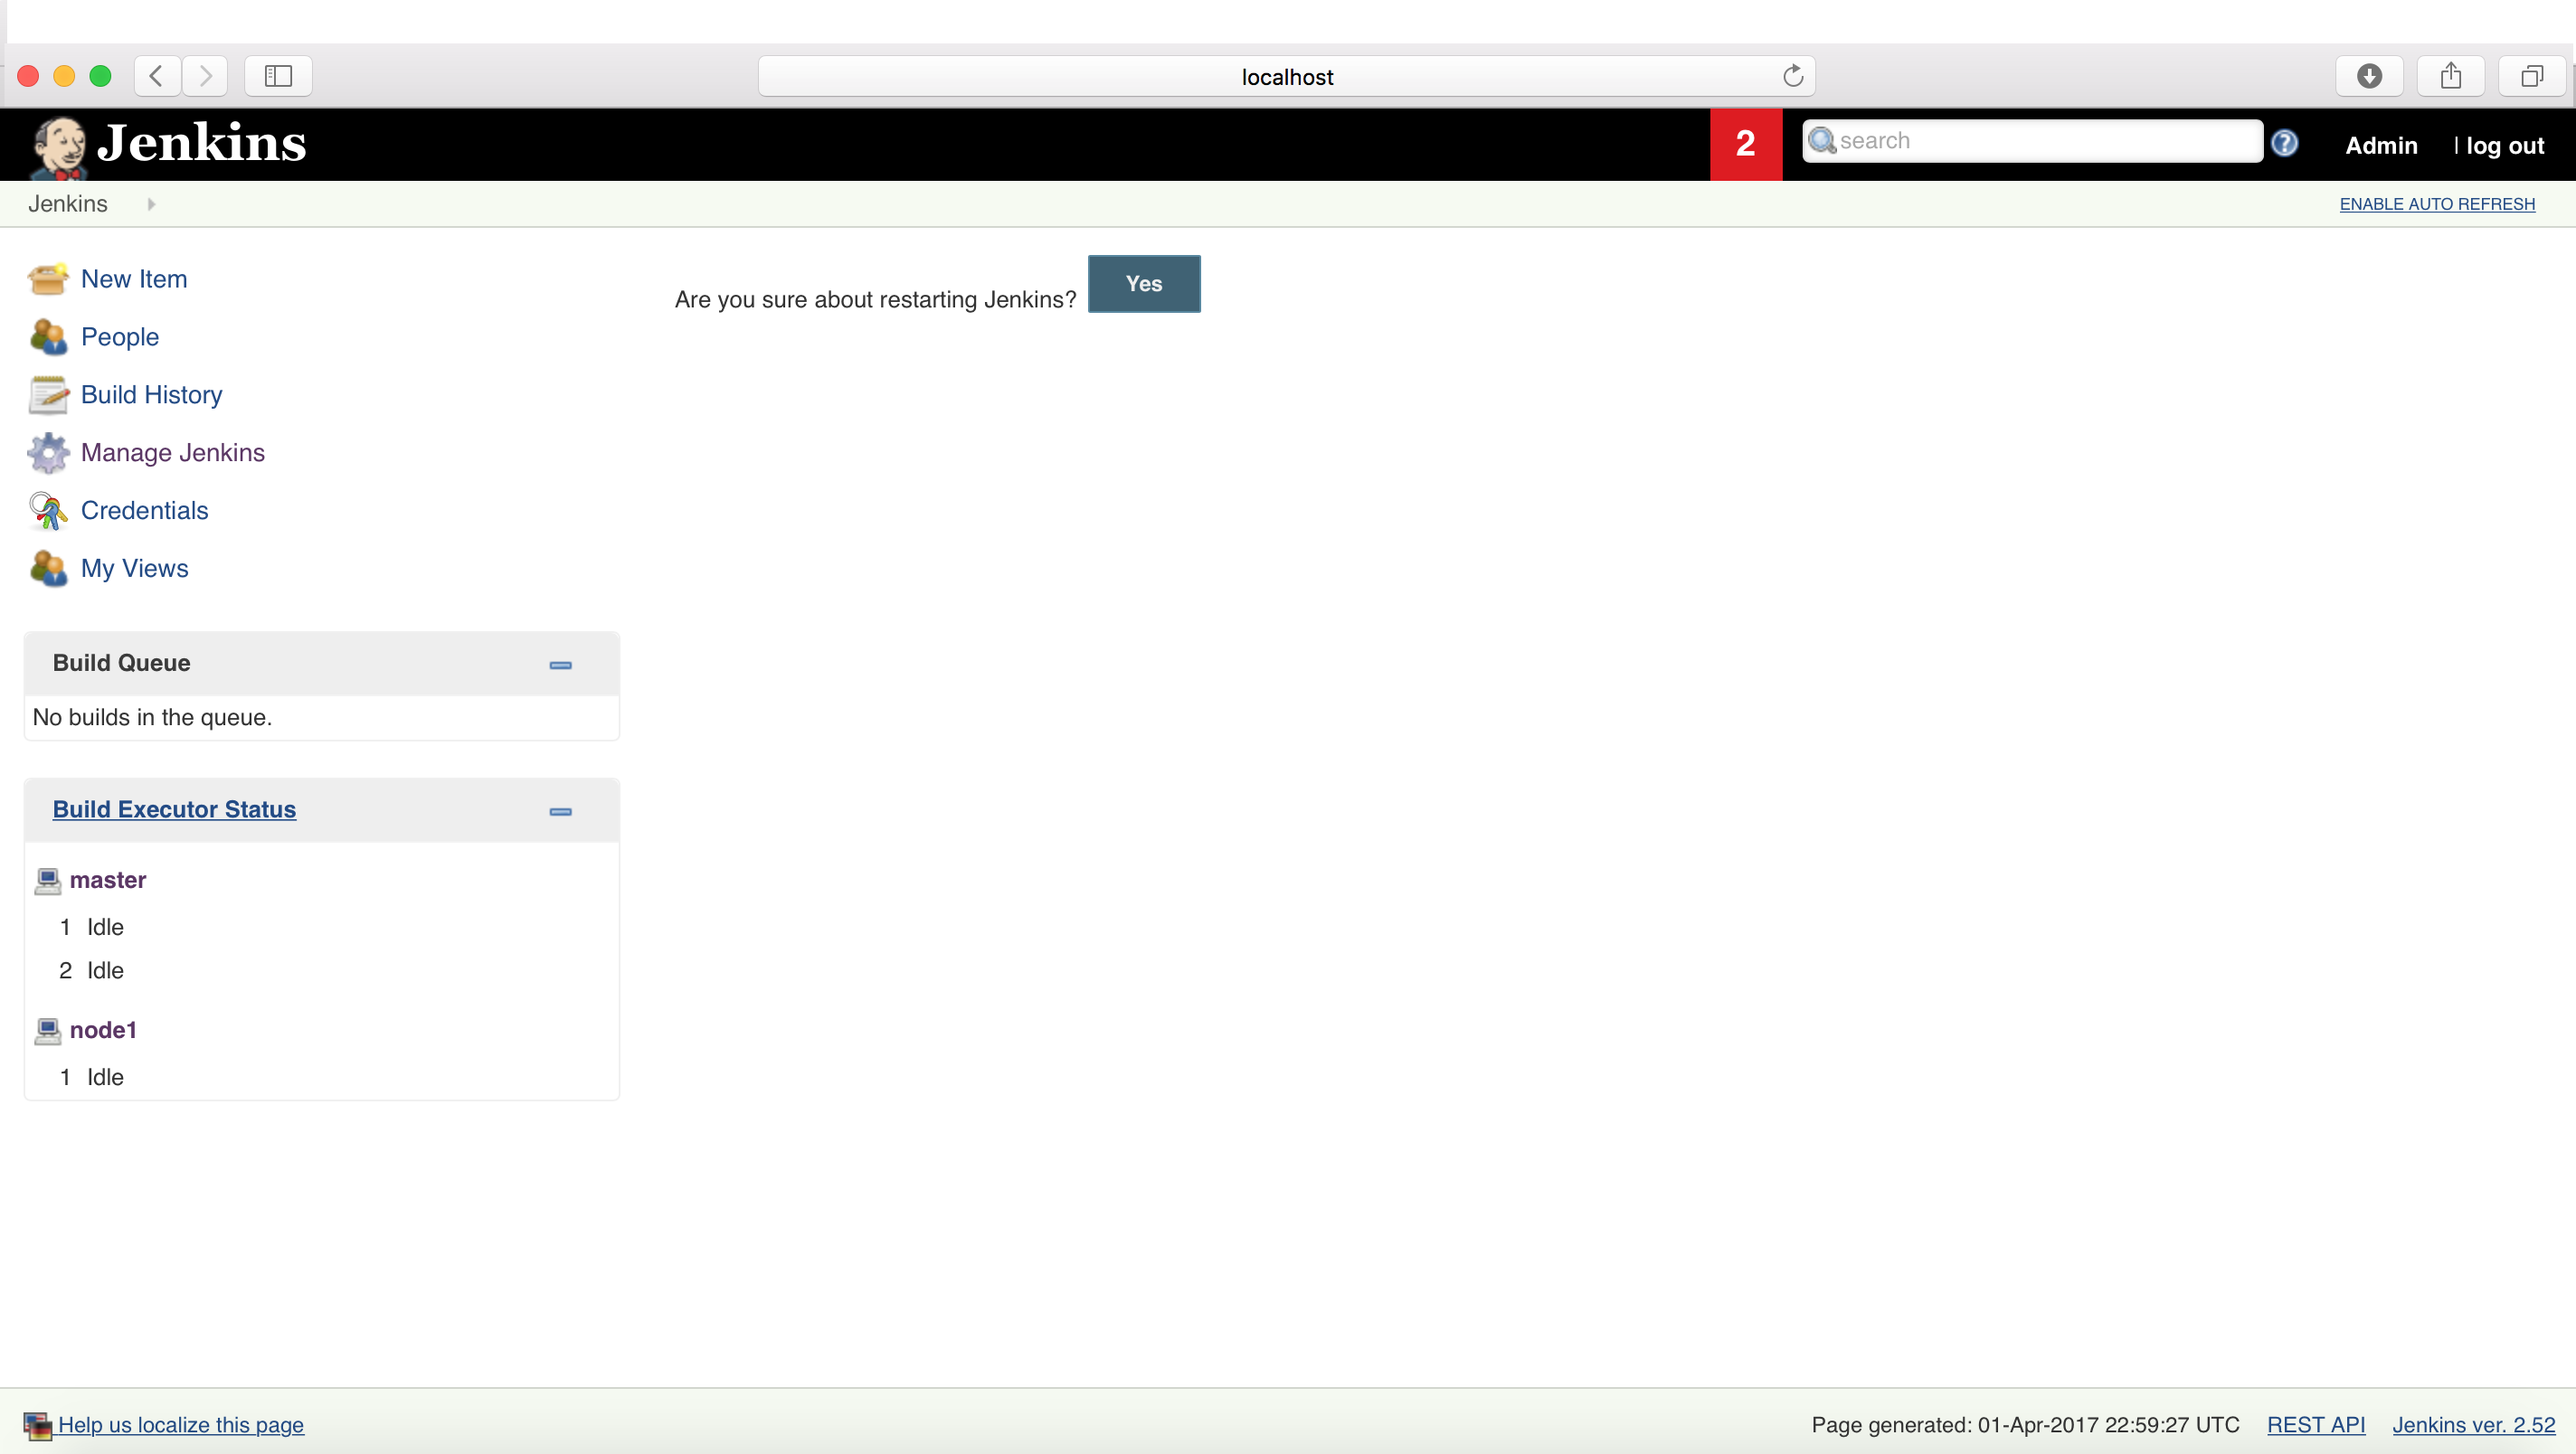
Once you click on Yes – It will restart Jenkins and refresh the Jenkins instance for you
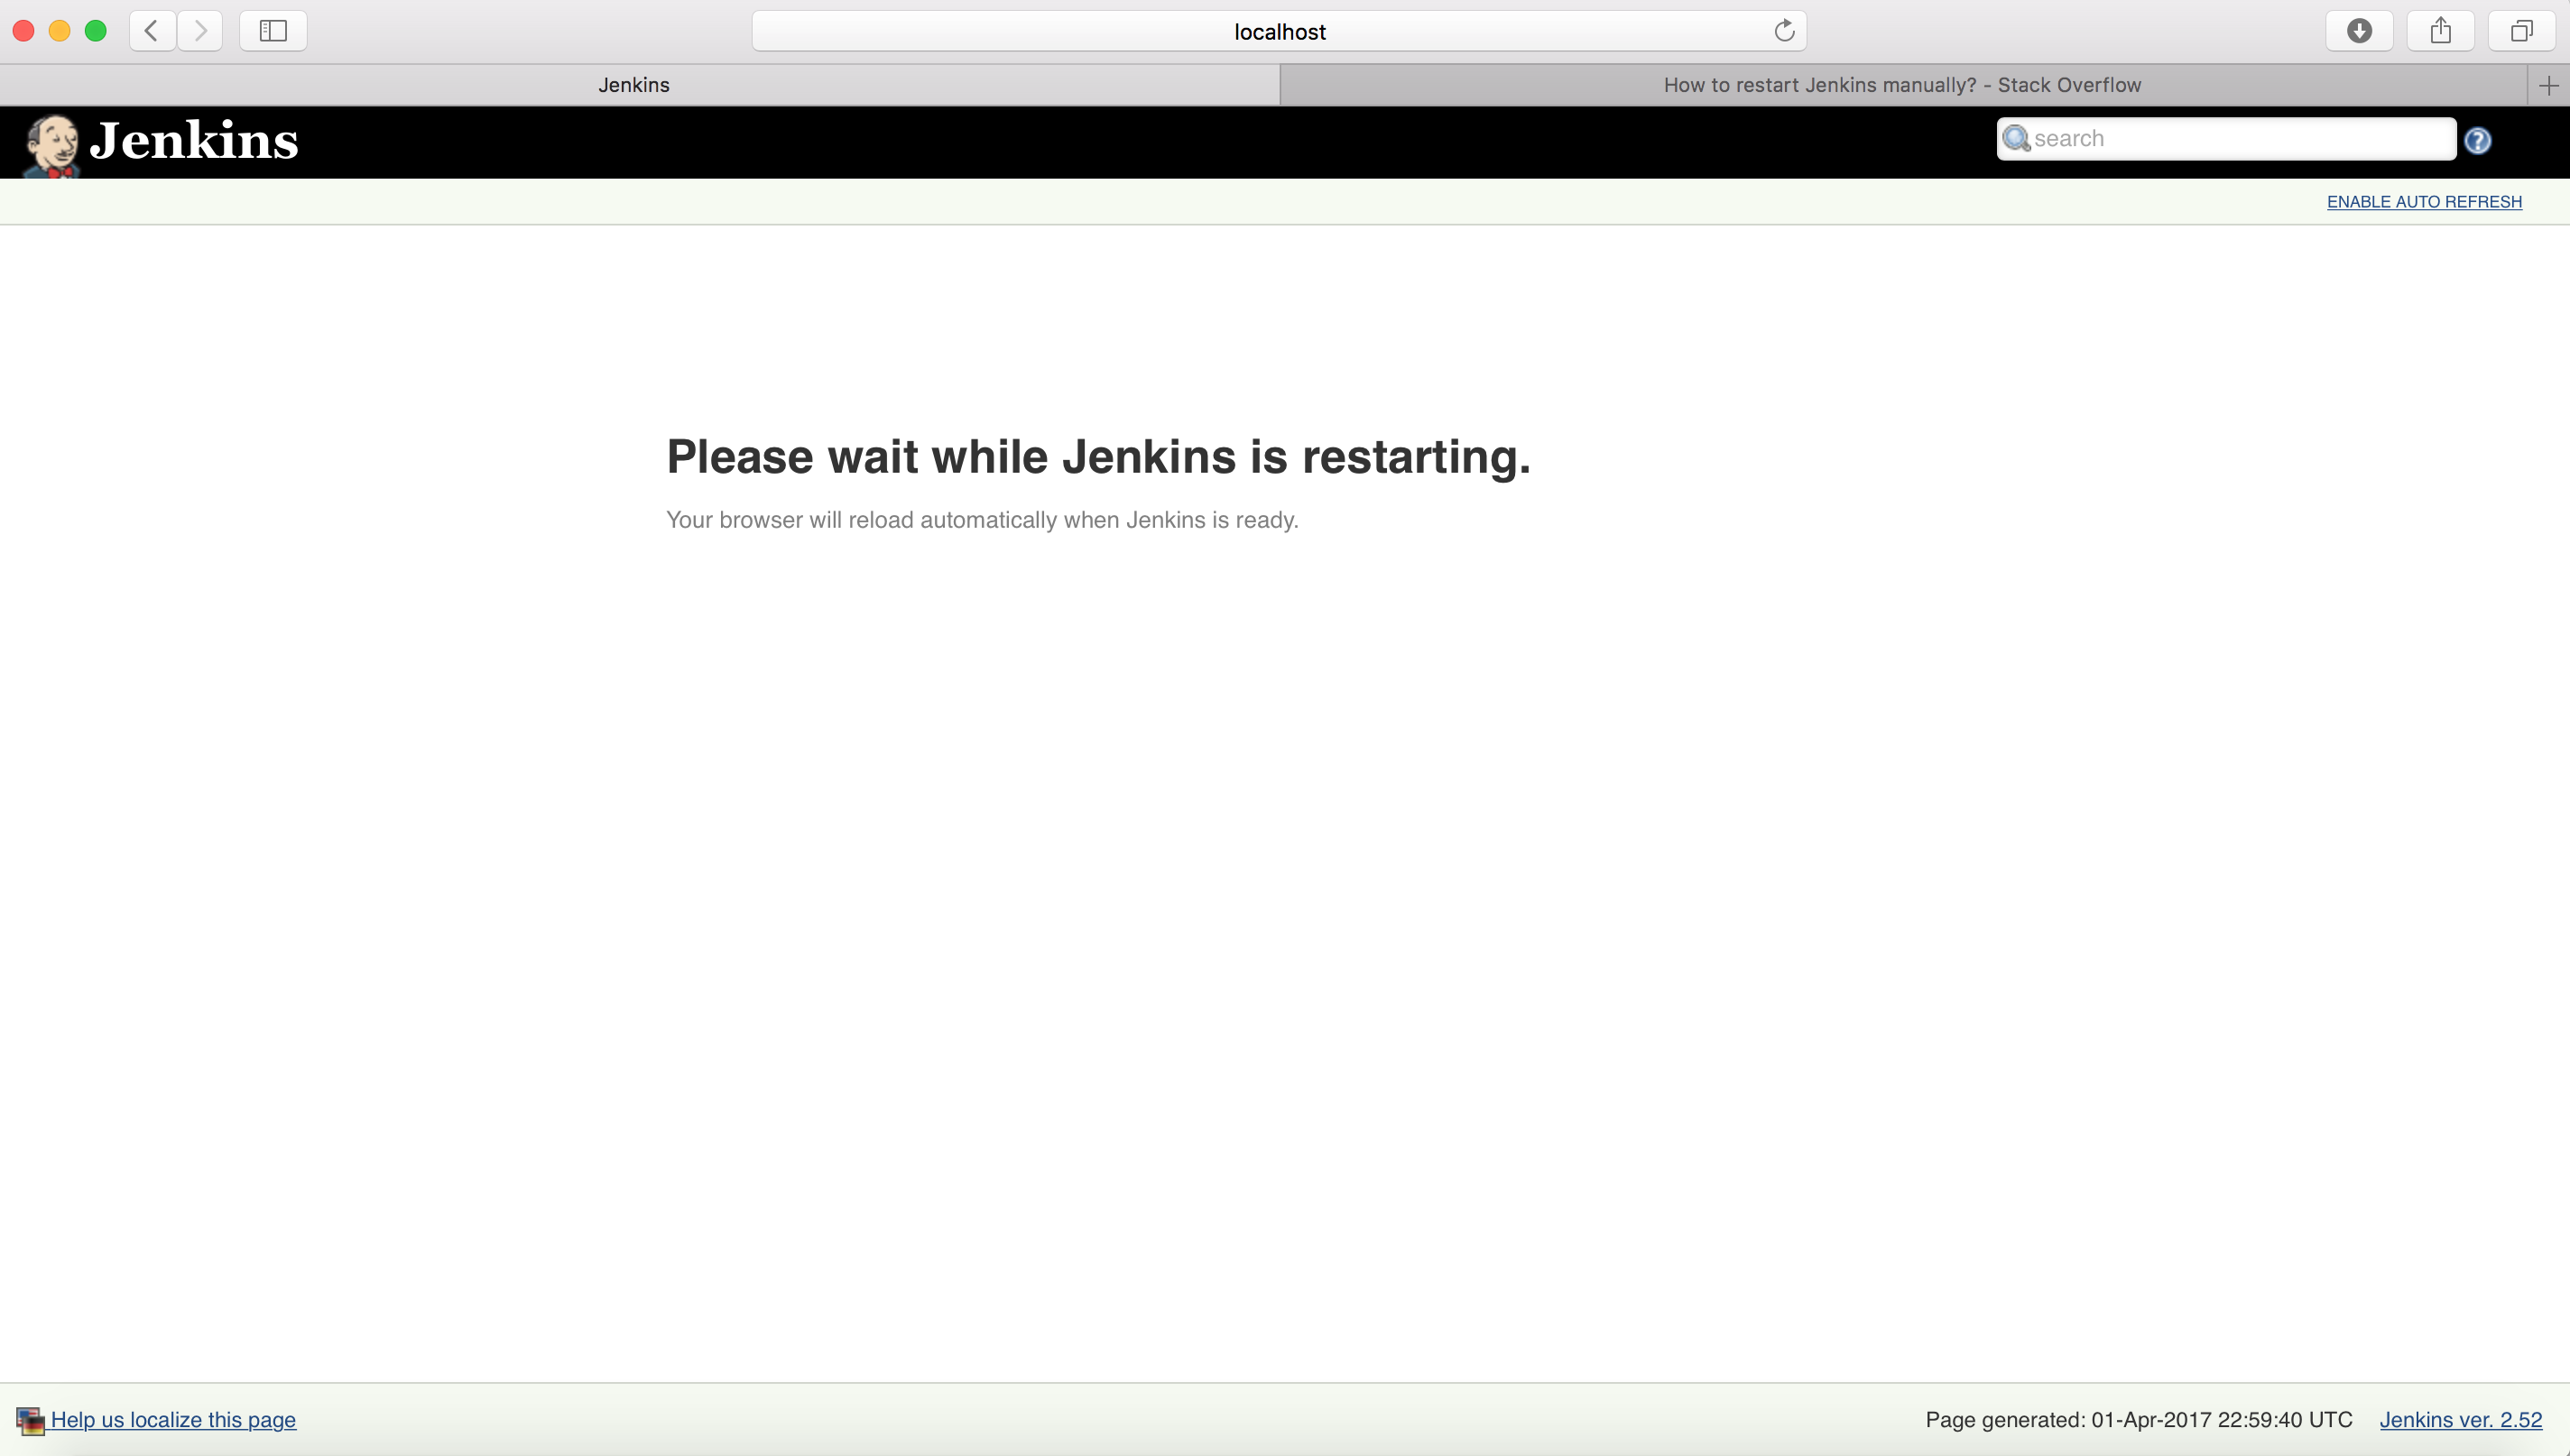
Your Jenkins server is now successfully upgraded to the new version 🙂
Happy Learning …..

Such a post. Simple and informative