Many times you need to test a functionality on https website and you are searching the working image of docker container.
There are many images available in docker hub but you need to configure them accordingly.
However if you already working with very basic Nginx docker container, you might find this article useful which will help you to configure https on basic Nginx docker container.
So here we go ….
Let start with generating a single Self-Signed Certificate first.
These kind of certificates do not verify the identity of a server like commercially-signed certificates, so you will get the https prompt but without genuine certificate.
Open your terminal and type the command as below :
Once you fire the command it will ask for certain predefined inputs but the most important is :
Common Name (e.g. server FQDN or YOUR name). You need to enter the domain name associated with your server or your server’s public IP address.
root@scmquest nginx-ssl$ openssl req -x509 -nodes -days 365 -newkey rsa:2048 -keyout nginx.key -out nginx.crt
Generating a 2048 bit RSA private key
...................................+++
....................+++
writing new private key to 'nginx.key'
-----
You are about to be asked to enter information that will be incorporated
into your certificate request.
What you are about to enter is what is called a Distinguished Name or a DN.
There are quite a few fields but you can leave some blank
For some fields there will be a default value,
If you enter '.', the field will be left blank.
-----
Country Name (2 letter code) [AU]:AU
State or Province Name (full name) [Some-State]:VIC
Locality Name (eg, city) []:Melbourne
Organization Name (eg, company) [Internet Widgits Pty Ltd]:SCM
Organizational Unit Name (eg, section) []:DevOps
Common Name (e.g. server FQDN or YOUR name) []:scmquest
Email Address []:

root@scmquest nginx-ssl$ ls
Dockerfile default.conf	nginx.crt nginx.key

root@scmquest nginx-ssl$ more nginx.crt
-----BEGIN CERTIFICATE-----
MIIEHjCCAwagAwIBAgIJAMquNpTDFvZcMA0GCSqGSIb3DQEBBQUAMGcxCzAJBgNV
BAYTAkFVMQwwCgYDVQQIEwNWSUMxEjAQBgNVBAcTCU1lbGJvdXJuZTEMMAoGA1UE
ChMDQU5aMQwwCgYDVQQLEwNDU1AxGjAYBgNVBAMTEWRjc3BhMTJsLnVuaXguYW56
MB4XDTE4MDEwODA1MDEyNFoXDTE5MDEwODA1MDEyNFowZzELMAkGA1UEBhMCQVUx
DDAKBgNVBAgTA1ZJQzESMBAGA1UEBxMJTWVsYm91cm5lMQwwCgYDVQQKEwNBTlox
DDAKBgNVBAsTA0NTUDEaMBgGA1UEAxMRZGNzcGExMmwudW5peC5hbnowggEiMA0G
CSqGSIb3DQEBAQUAA4IBDwAwggEKAoIBAQCopTYNyUwNDsrSA48XyFqmpxpcBnE6
8NxFJzT9bfvPwQ93NTnrQwz7bWXcfSjb3j9UA4yMlfiozK9HIggpREfGMuAr8ij2
N9LYriK4CImymhEFaeHIlqjY+XQCUf0JXvEm1kcsk7ZkDThuqONzGTVGOr+Wmp74
qdWI7n0oqbdCv3f3LinGRqntC2ouDuJB78aEDKGADtc9Had+QnHE2kGjH4NJsrxr
WLpOvXqscB0eZ/mYPmGxA750IF/8tXcbmYQriY7dKLvGJn1Lc4pYdCwIxpqMvb5W
1PfXpljsIJ8I5hz+ed2U+ekxgWkpp44Lu6wUbD4W/rYOVxvHaHfSy6mtAgMBAAGj
gcwwgckwHQYDVR0OBBYEFKqb1kCg79Da1nxBuPH2B8Nsf0nzMIGZBgNVHSMEgZEw
gY6AFKqb1kCg79Da1nxBuPH2B8Nsf0nzoWukaTBnMQswCQYDVQQGEwJBVTEMMAoG
A1UECBMDVklDMRIwEAYDVQQHEwlNZWxib3VybmUxDDAKBgNVBAoTA0FOWjEMMAoG
A1UECxMDQ1NQMRowGAYDVQQDExFkY3NwYTEybC51bml4LmFueoIJAMquNpTDFvZc
MAwGA1UdEwQFMAMBAf8wDQYJKoZIhvcNAQEFBQADggEBAAO56wdpanYPb2H6MQYE
03wEOJytctmNA8KNm/BFgtogOO7GOPtXLN/dIMgqpr7lKEBGFBltWF0jHFfxFLJY
nOviT3wdzPbhffxOwHrCfqt98Rja7QIDn6gXkaZDPhwyt3zXmXSYELjSy0oF+KIt
sZ5a4WGjiWxNevojcDAk+hbC1R2UQWWqfjhKzUI/gVWSmPt/b3Q1ZtcuGbrJSAyE
v1KSrYDXYqK9AjxrOVWWJ4At8d5a2+urw6ECvIgualPJ/u/bLCFAp1NUJ1eqVir3
iD61GdjNKg/UDCplDADd+fIv573Uk/zTSrAf5kNE2tr+mcP+zhfD4b3yHOjyXKfw
jAY=
-----END CERTIFICATE-----
root@scmquest nginx-ssl$
Here you can see the command has different arguments, so let me brief them one by one :
openssl: This is a command line tool for creating and managing OpenSSL certificates, keys, and other files.
req -x509: It specifies to use X.509 certificate signing request (CSR) management. The “X.509” is a public key infrastructure standard that SSL and TLS adheres to for its key and certificate management.
nodes: With this opetion openssl skip the option to secure our certificate with a passphrase. We just need Nginx to be able to read the file, without user intervention, when the server starts up. A passphrase become hurdle since it would need the passphrase after every restart.
days 365: This option will make the certificate generated valid for a full year
newkey rsa:2048: It specifies the openssl to make an RSA key that is 2048 bits long.
keyout: This line tells openssl where to place the generated private key file that we are creating.
out: This tells openssl where to place the certificate that we are creating.
Once you get the certificate and verified, proceed for next step.
Create a Nginx default.conf file in your local which will specify the certificate name and locations and turn on the ssl flag.
root@scmquest nginx-ssl$ more default.conf
server {
    listen       80;
    server_name  localhost;

    #charset koi8-r;
    #access_log  /var/log/nginx/host.access.log  main;

    location / {
        root   /usr/share/nginx/html;
        index  index.html index.htm;
    }
    # redirect server error pages to the static page /50x.html
    #
    error_page   500 502 503 504  /50x.html;
    location = /50x.html {
        root   /usr/share/nginx/html;
    }

    # proxy the PHP scripts to Apache listening on 127.0.0.1:80
    #
    #location ~ \.php$ {
    #    proxy_pass   http://127.0.0.1;
    #}

    # pass the PHP scripts to FastCGI server listening on 127.0.0.1:9000
    #
    #location ~ \.php$ {
    #    root           html;
    #    fastcgi_pass   127.0.0.1:9000;
    #    fastcgi_index  index.php;
    #    fastcgi_param  SCRIPT_FILENAME  /scripts$fastcgi_script_name;
    #    include        fastcgi_params;
    #}

    # deny access to .htaccess files, if Apache's document root
    # concurs with nginx's one
    #
    #location ~ /\.ht {
    #    deny  all;
    #}
}
# Change the default configuration to enable ssl
server {
    listen 443;
    ssl on;
    ssl_certificate /etc/ssl/nginx.crt;
    ssl_certificate_key /etc/ssl/nginx.key;
    server_name localhost;
    server_tokens off;

    location / {
        root   /usr/share/nginx/html;
        index  index.html index.htm;
    }
    # redirect server error pages to the static page /50x.html
    #
    error_page   500 502 503 504  /50x.html;
    location = /50x.html {
        root   /usr/share/nginx/html;
    }
}
Now create a Dockerfile and point the certificates and default.conf.
I have used the basic nginx image from dockerhub. I have also created one html file to load over sample page.
root@scmquest nginx-ssl$ more Dockerfile
FROM nginx:latest

COPY default.conf /etc/nginx/conf.d/
COPY nginx.crt /etc/ssl/
COPY nginx.key /etc/ssl
COPY sample.html /usr/share/nginx/html
Now lets run the docker file to build the container
root@scmquest nginx-ssl$ docker build -t nginx:latest .

Sending build context to Docker daemon  275.5kB
Step 1/5 : FROM nginx:latest
 ---> 1e5ab59102ce
Step 2/5 : COPY default.conf /etc/nginx/conf.d/
 ---> 6192b54824a4
Step 3/5 : COPY nginx.crt /etc/ssl/
 ---> c7ddc99970ac
Step 4/5 : COPY nginx.key /etc/ssl
 ---> 2f4e5a2a0d2b
Step 5/5 : COPY sample.html /usr/share/nginx/html
 ---> 9c571db0ab4e
Successfully built 9c571db0ab4e
Successfully tagged nginx-ssl:latest
Once the container is built you can start/run the container
root@scmquest nginx-ssl$ docker run -p 8123:80 -p 8124:443 --name nginx-ssl -tid nginx-ssl

cd6b0c678d2808917bf1e9a6c438cd23f07e79fdab93b3406394fa86eee674eb
You can verify the running docker container with ‘docker ps’
root@scmquest nginx-ssl$ docker ps
CONTAINER ID        IMAGE                                                      COMMAND                  CREATED             STATUS              PORTS                                         NAMES
cd6b0c678d28        nginx-ssl  "nginx -g 'daemon ..."   About an hour ago   Up About an hour    0.0.0.0:8123->80/tcp, 0.0.0.0:8124->443/tcp  nginx-ssl
You can also try to check if there is any error with ‘docker logs <container-id>‘
If you need to enter into the container and use bash shell, you can use :
root@scmquest nginx-ssl$ docker exec -it<container-id> bash

root@cd6b0c678d28:/# pwd
/
Now lets browse the website on Port 80 (we have redirected it to Port 8123 as my machine’s port is already in use)
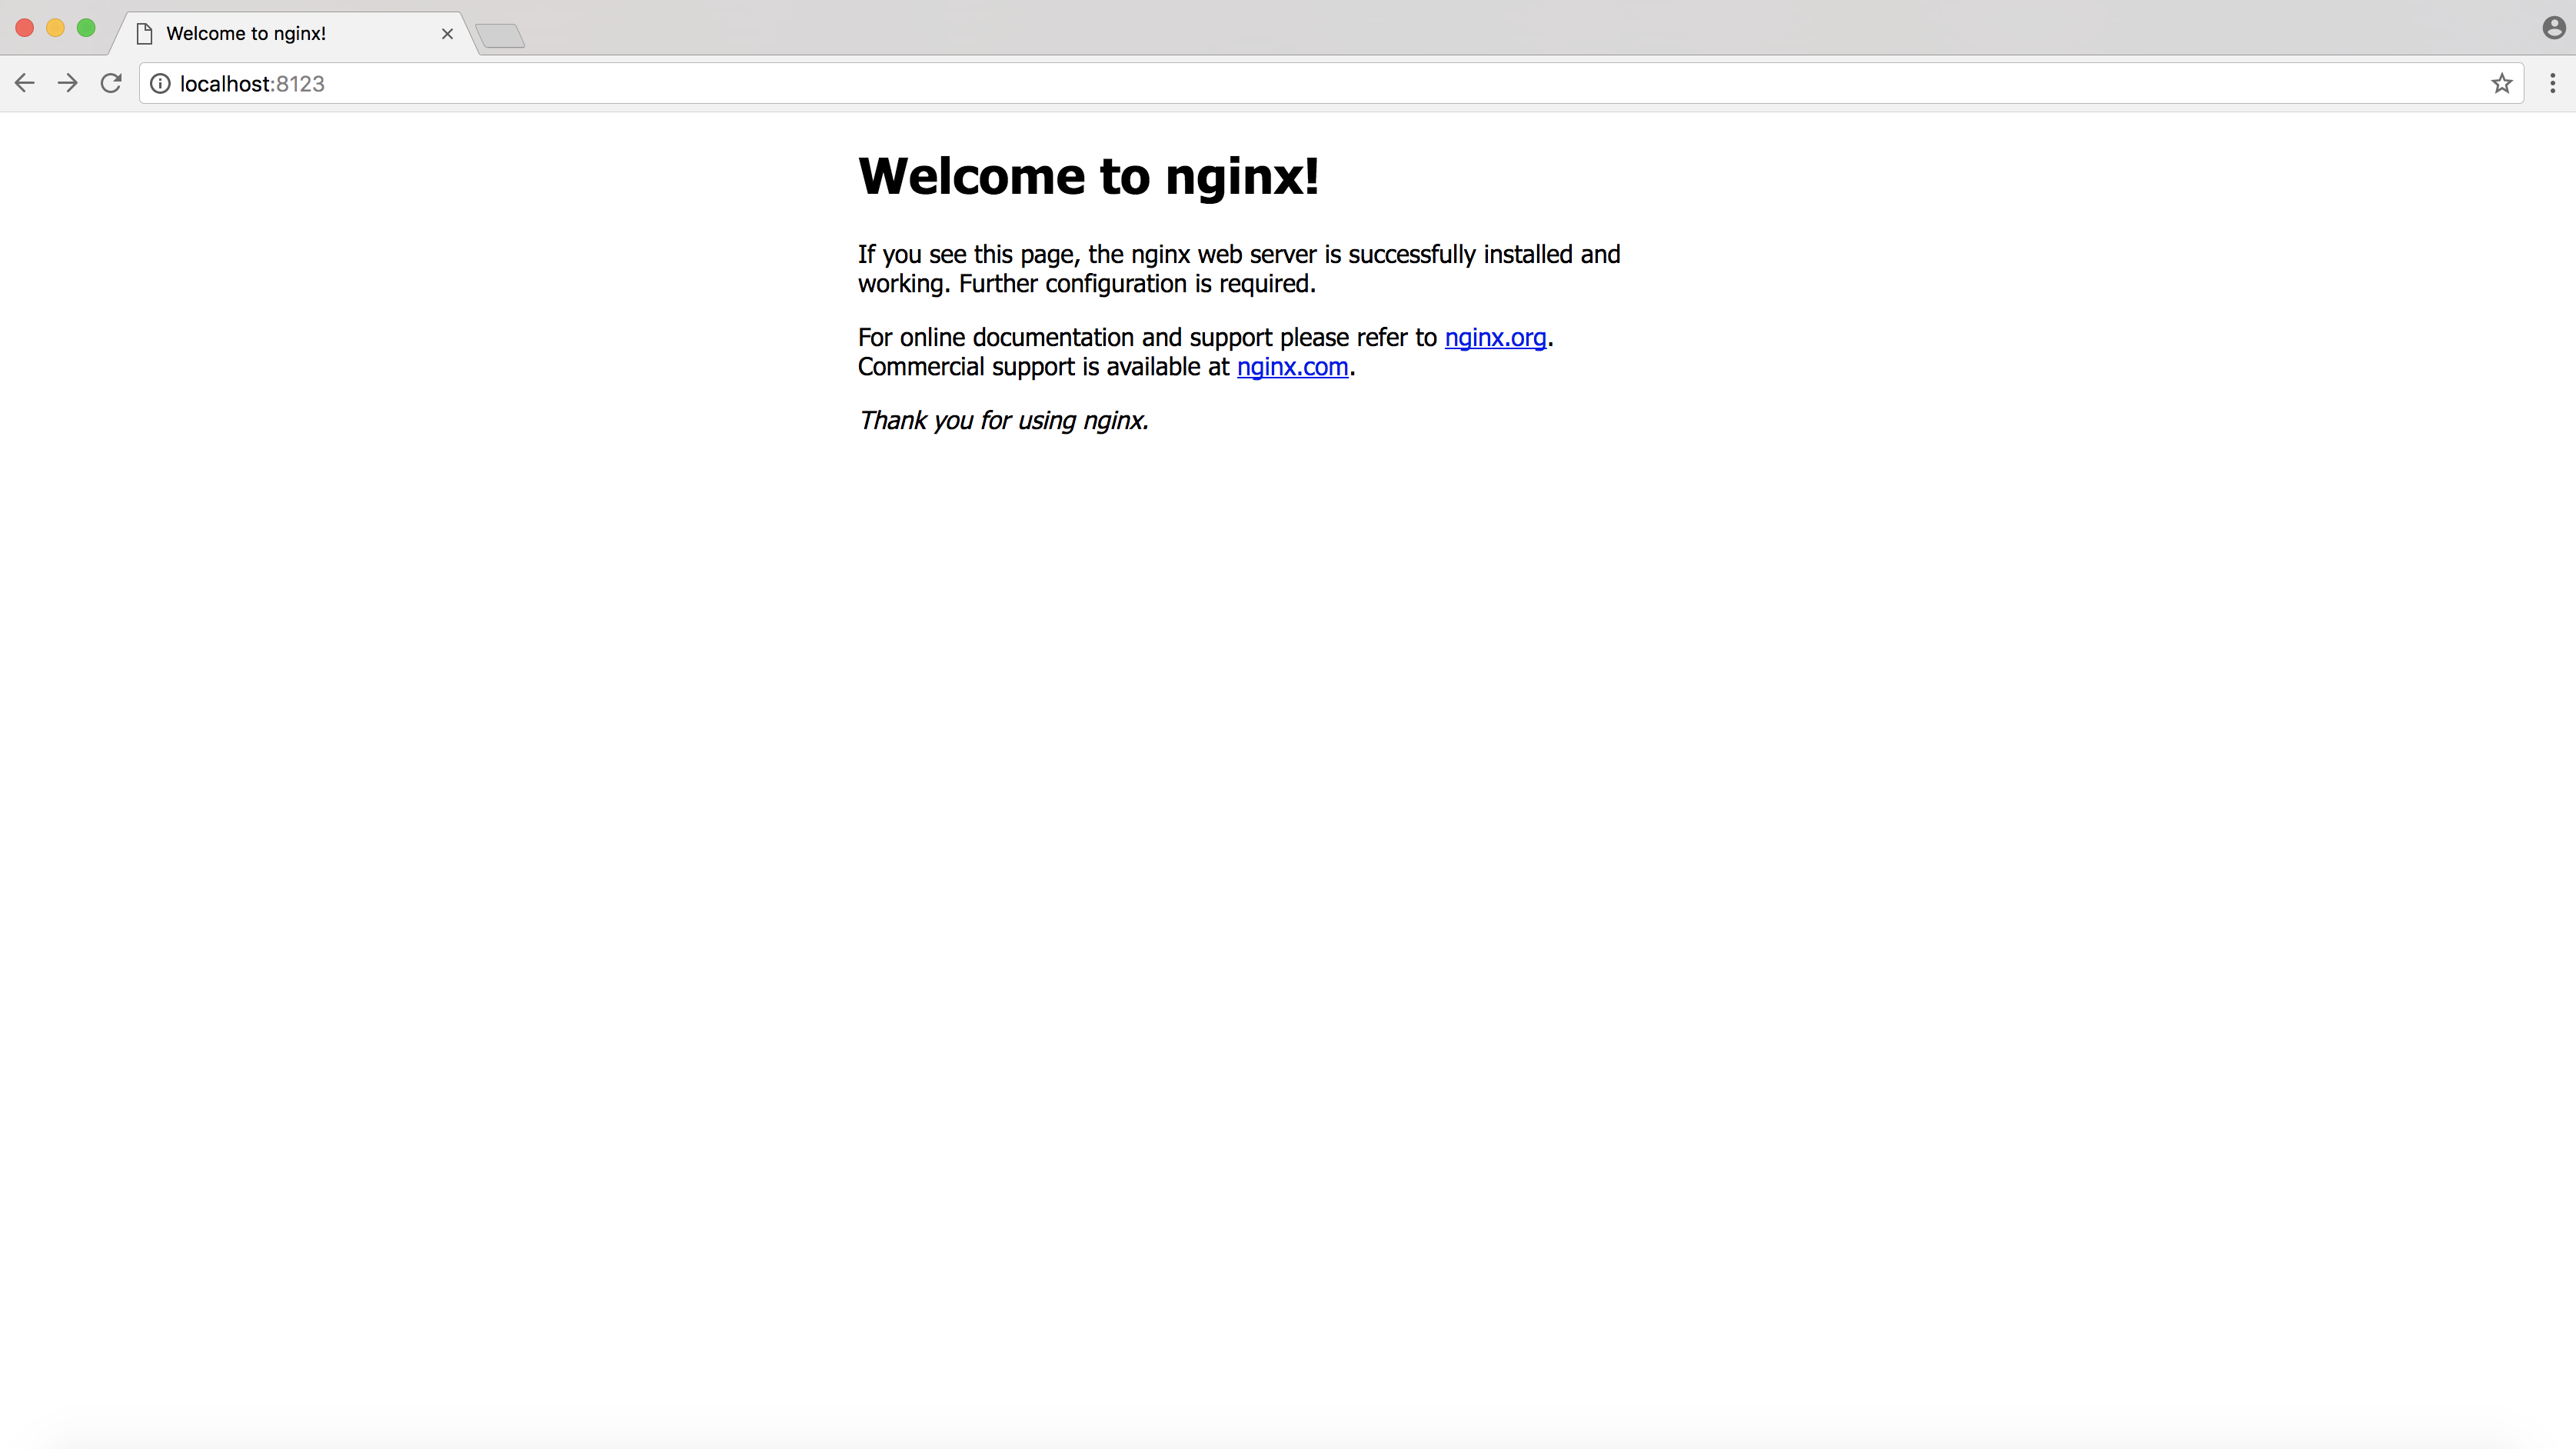
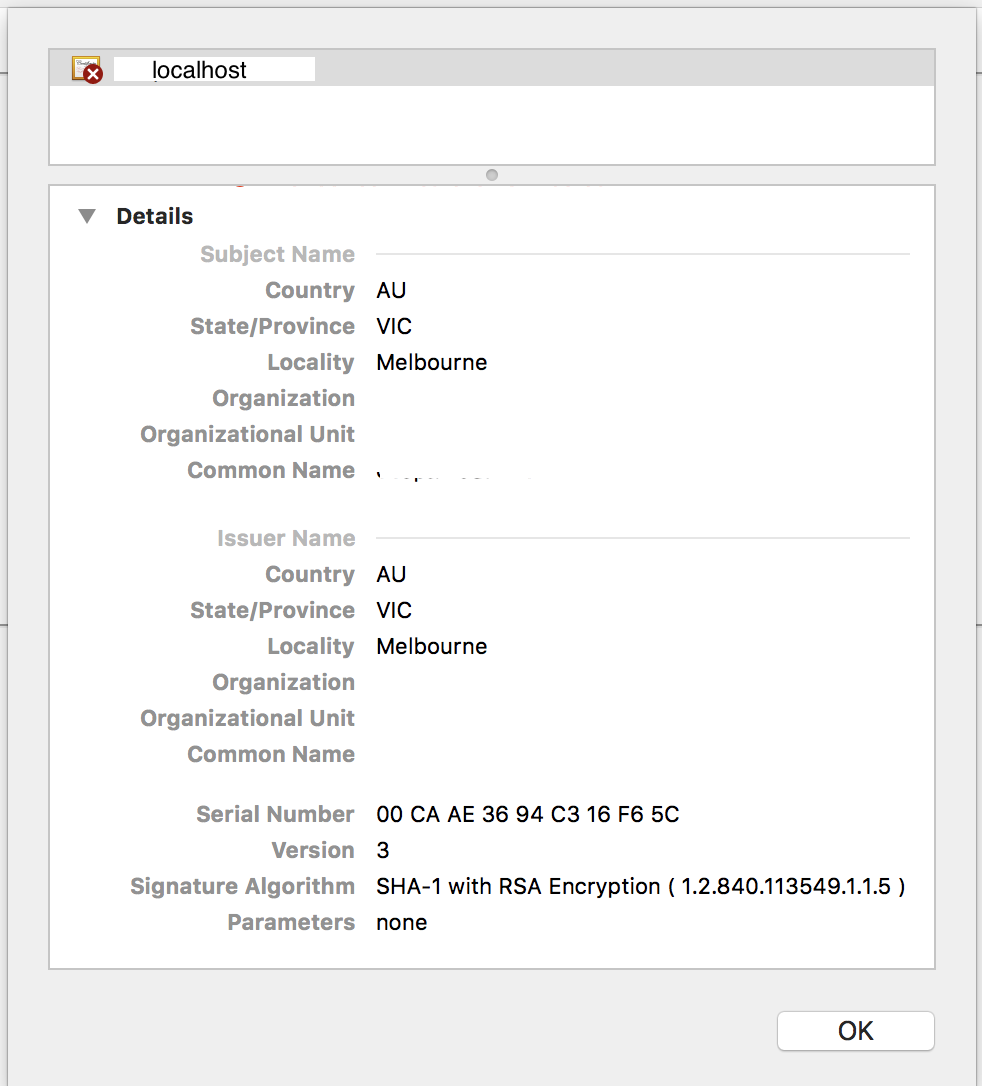
We have not used the verified certificate and that’s why its showing certificate error – You can get the certified one from your Certificate Authority or used Verisign one to avoid these errors, but since this is just for our testing purpose I have used the basic one.
You can verify the certificate details through the browser by clicking on https symbol.
Now browse the website on Port 443 (we have redirected it to Port 8124 as my machine’s port 443 is already in use)
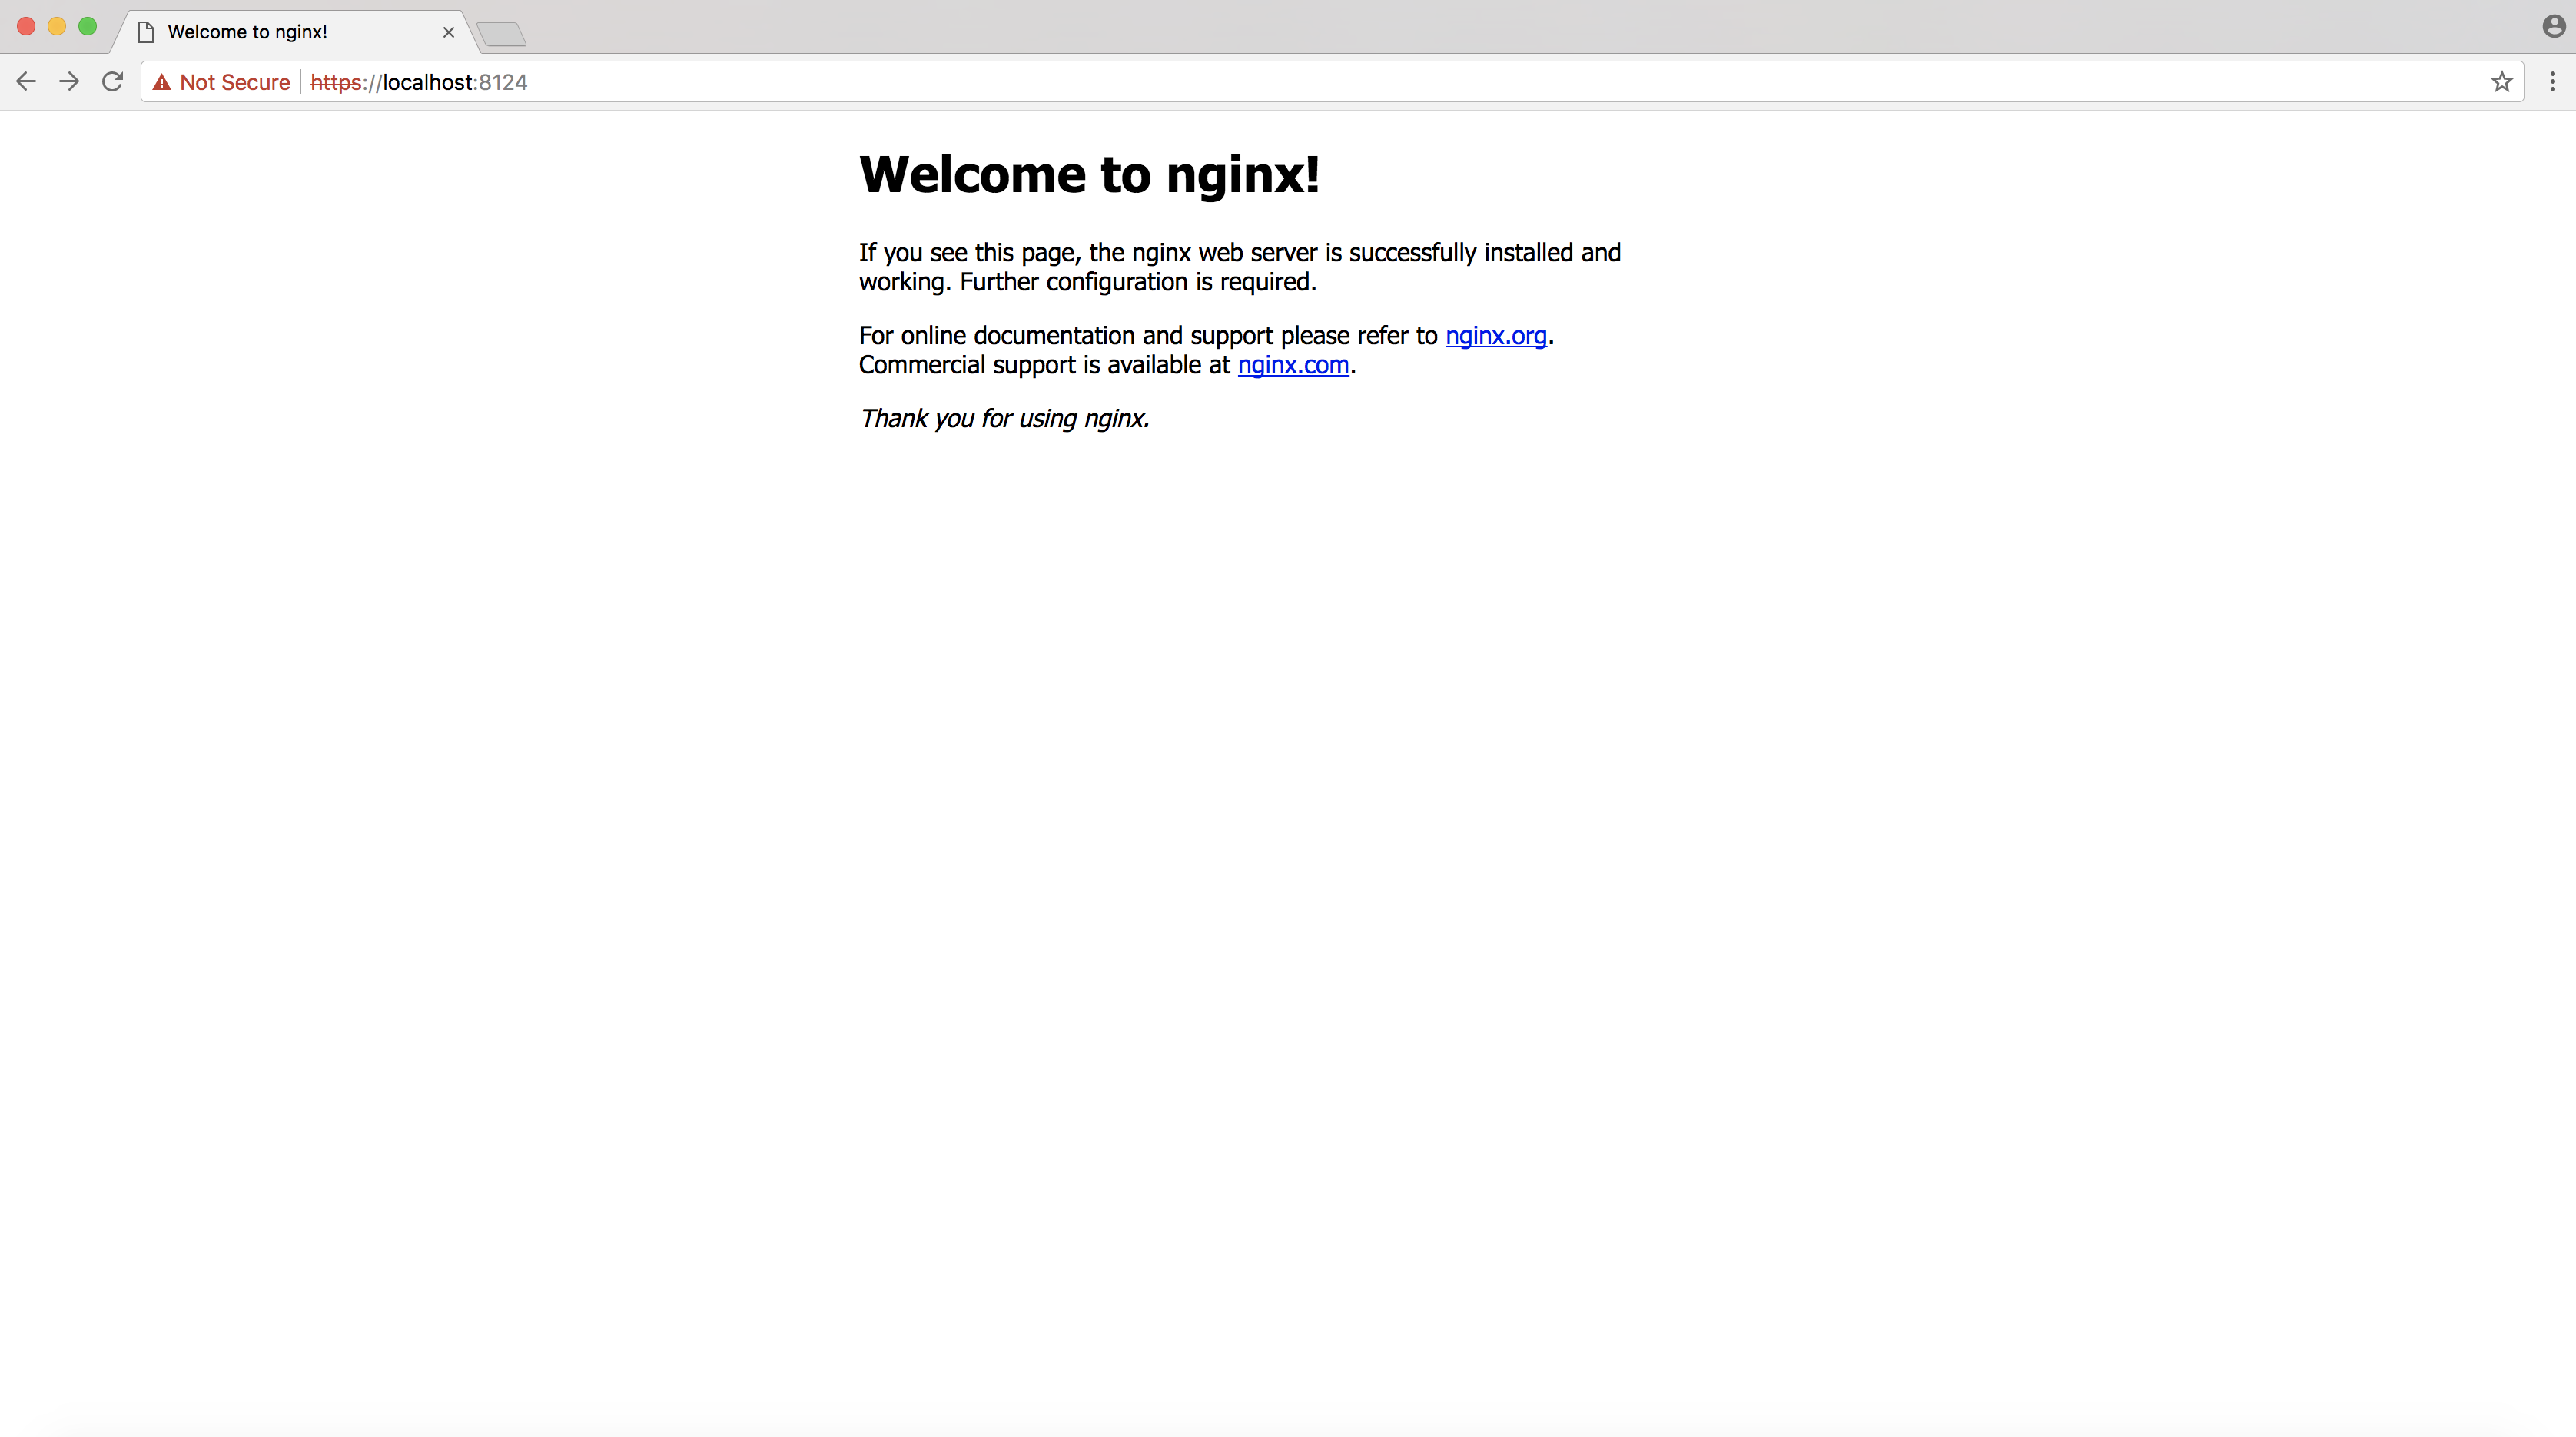
Let me go to my sample html page on https
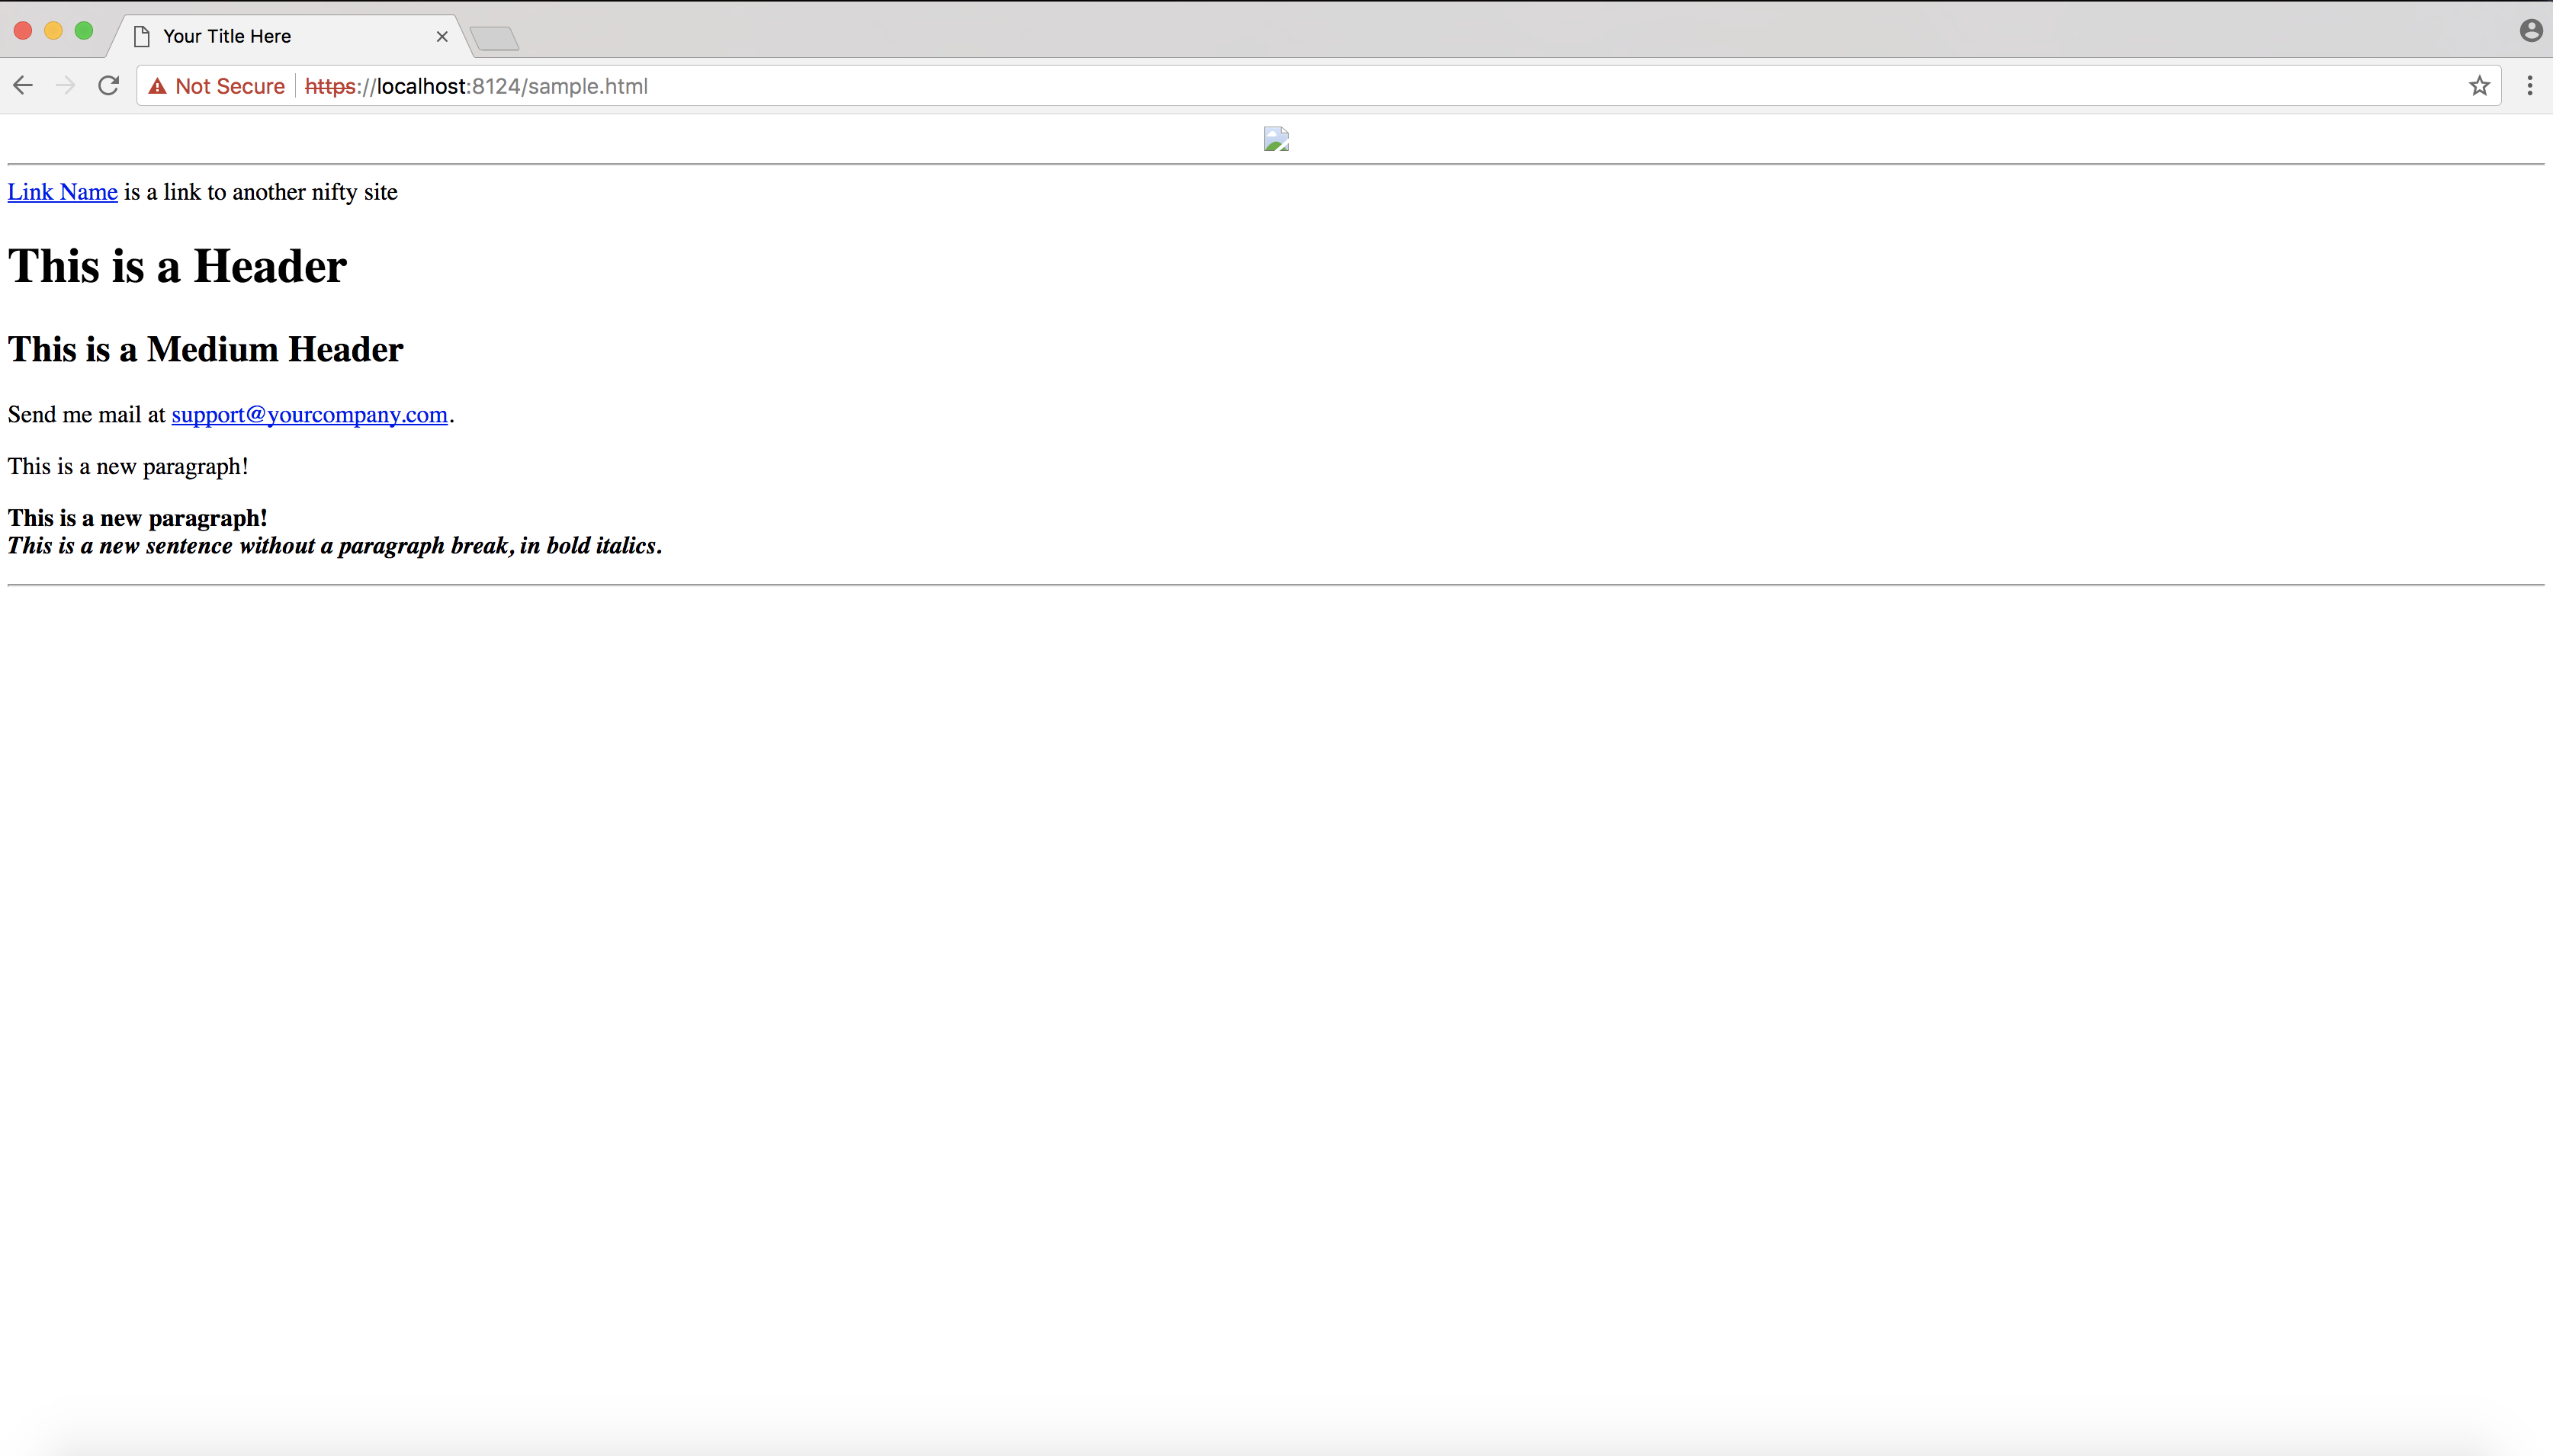
That’s it – You have successfully tested the SSL enabled Ngnix Docker Container.
Happy learning !!

Excellent article.
Perfect for me, thanks.
Great post!
Worked like a charm. Thanks for the great explanation
Thanks Shaiju for sharing your feedback
Very helpful article
Thanks & great article. So many articles about nginx & Docker don’t cut it. This one got me up and running – just one thing “ssl on;” is now deprecated. Removed that line and changed listen 443; to listen 443 ssl;
I am stuck, I am getting 404 when I enable SSL! Usually it works fine over http.
Hi Vedran,
Thanks for your query and apologies for delayed response (I was on leave)
Please could you share more details about the error:
– what steps you followed ?
– any error in the log ?
– did you verify the config file for any missing info ?
Thanks in advance