Are you looking to make your application more secure and compliant?
Are you thinking to go one step further from SSL/TLS authentication? For example, are you running your services in AWS and would like to implement Mutual TLS?
If yes, you’ve come to the right place!
This detailed guide will demonstrate how to implement mTLS (Mutual TLS) for Web servers behind AWS ELB.
By the end of this guide, you will know:
- Difference between different crytographic protocols (SSL, TLS, mTLS)
- Understand the complexities of different AWS Elastic Load Balancers, i.e. ALB vs NLB
- Implement Mutual TLS (mTLS) for webservers running behind AWS ELB
Before we jump into the mTLS implementation, lets first understand the difference between SSL vs TLS vs mTLS
Difference between SSL and TLS (SSL vs TLS)
Secure Sockets Layer (SSL) and Transport Layer Security (TLS) are cryptographic protocols that provide authentication and encryption between servers, systems, applications and users, and enables secure communications over the Internet.
However, both use different ways to secure the communication, i.e. the SSL handshake uses a port to make connections, known as an explicit connection. On the other hand, TLS facilitates its connections via the protocol, known as an implicit connection.
SSL was the first cryptographic protocol, whereas TLS is an upgraded SSL version. TLS is a successor of SSL 3.0, developed and released by the Internet Engineering Taskforce (IETF) in 1999.
There are three versions of SSL released: SSL 1.0, 2.0, and 3.0. All versions of SSL have been found vulnerable, and all have been deprecated.
TLS has four versions: TLS 1.0, 1.1, 1.2, and 1.3. TLS 1.0 and 1.1 are deprecated.
Today, all SSL Certificates use the TLS protocol.
When everyone uses TLS, why is it called an SSL certificate and not the TLS certificate?
The short and sweet answer is a Marketing strategy.
Most people are familiar with the older “SSL” acronym and still refer to them as an SSL certificate. Again, it’s a branding issue. The leading Certificate Authorities have decided to keep the SSL in their products, so the naming convention persists.
Now that you know what TLS and SSL are, the next question that comes to mind is “what’s the difference between TLS and mTLS” (TLS vs mTLS)
What is Mutual TLS authentication?
Mutual TLS (mTLS) is a feature of TLS for mutual authentication that enables the server to authenticate the client’s identity. Mutual TLS authentication is a standard security practice that uses client TLS certificates to provide an additional layer of protection, verifying the client information cryptographically.
TLS and MTLS help prevent both eavesdropping and man-in-the-middle attacks.
It’s an excellent standard with many features. For example, TLS guarantees the server’s identity to the client and provides a two-way encrypted channel between the server and the client. It is an optional feature for TLS and enables the server to authenticate the client’s identity.
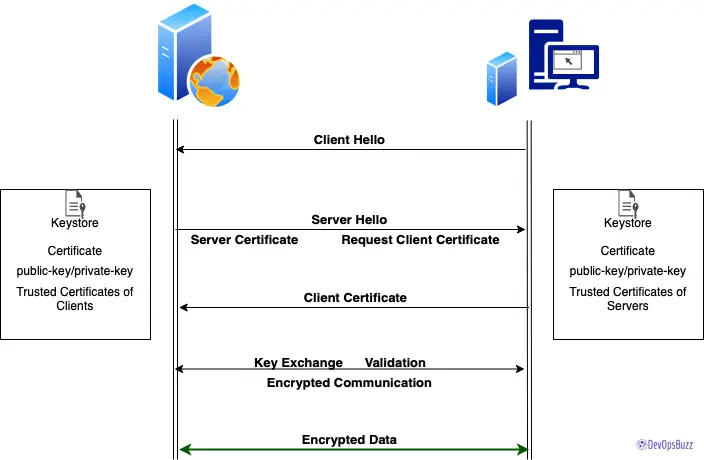
How does mTLS work?
mTLS authentication ensures that traffic is secure and trusted between a client and server in both directions.
With a root certificate authority (CA) in place, Access only allows requests from devices (instance, browsers, services) with a corresponding client certificate. When a request reaches the application, Access responds with a request for the client to present a certificate. If the device fails to present the certificate, the request is not allowed to proceed.
If the client does have a certificate, Access completes a key exchange to verify.
Issues with existing AWS ELB: Application Load Balancer(ALB)
We started implementing the POC by configuring mTLS on Tomcat servers. This POC environment consists of one web application, a valid CA-signed certificate for ALB. Unfortunately, we had imported the LB certificate and configured Tomcat to use the same certificate – which didn’t work.
We then tried a different approach, created a new certificate for the server, imported the same on the Tomcat server, and modified the tomcat config to use a server certificate – again, it didn’t work! 😐
Then, we made several changes to resolve the issues, but they didn’t work on the ALB level. Finally, however, we were able to get the desired mTLS authentication from the server level, i.e. when we access the server directly through its FQDN, for example, https://mytomcatserver.devopsbuzz.com//myapp.
While mTLS didn’t work on ALB, we could achieve single/plain TLS, and it worked well on ALB, i.e. when we changed the tomcat config to make the client certificate either optional or not necessary (clientAuth= “false” / SSLVerifyClient= “optional”). It allows ALB to interact with tomcat server and vice-versa without any issue.
AWS doesn’t support Mutual authentication yet. It is not feasible to configure mTLS with AWS ALB since the ALB’s main functionality is to terminate the SSL on ALB itself and route the messages in the decrypted form to web servers.
We tried to check all the possibilities, but it didn’t work!!
AWS does support mTLS authentication for their API gateways but not for ELB. However, they are working on this feature to support it in the future.
I also raised a Service Request with AWS to confirm this; here’s what they had to say:
Unfortunately as of now ELB does not support mTLS authentication. We have received requests from multiple customers and we do have an Under Processing Feature Request to support this in the future.
Why Network Load Balancer (NLB) is needed?
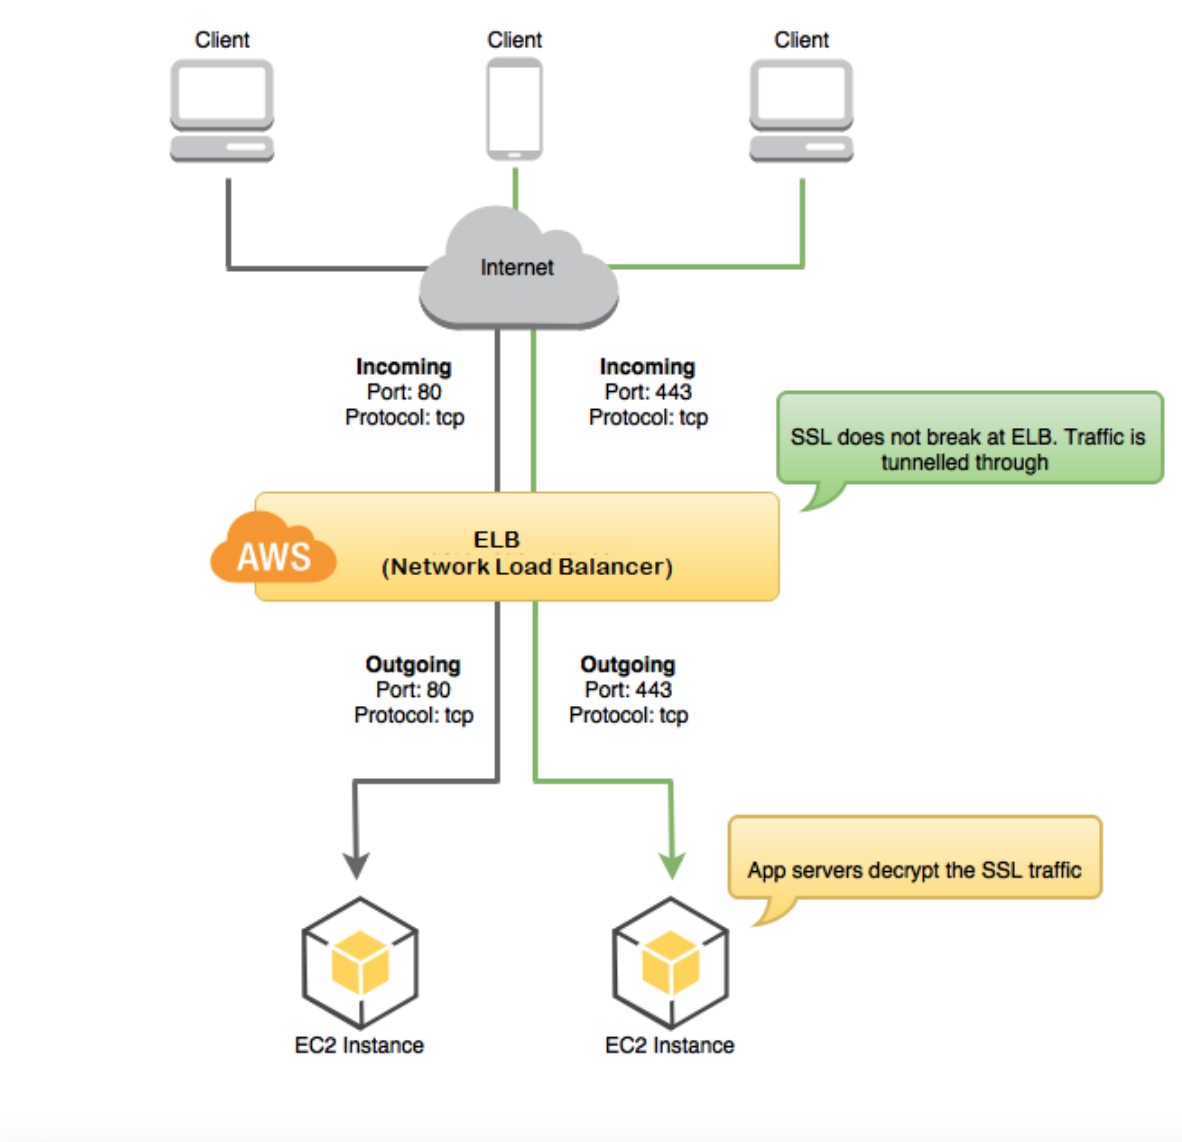
We need a Load Balancer for the environment as the Application Load Balancer (ALB) doesn’t work with mTLS. The only workaround is to use TCP listeners on a Classic Load Balancer or a Network Load Balancer. The idea is to configure TCP pass-through listeners like:
So, in this case, the load balancer will pass through all requests to the backend for SSL/TLS to be negotiated and terminated there.
No SSL/TLS termination will be offloaded to the load balancer, and the SSL/TLS negotiation will occur directly between the client and the backend instance.
In this way, you can configure your backend instance to handle the mutual authentication and eliminate the need to use intermediary services to terminate SSL. As the authentication is performed at the backend, the security implication will depend directly on the configuration at the backend.
ALB vs NLB
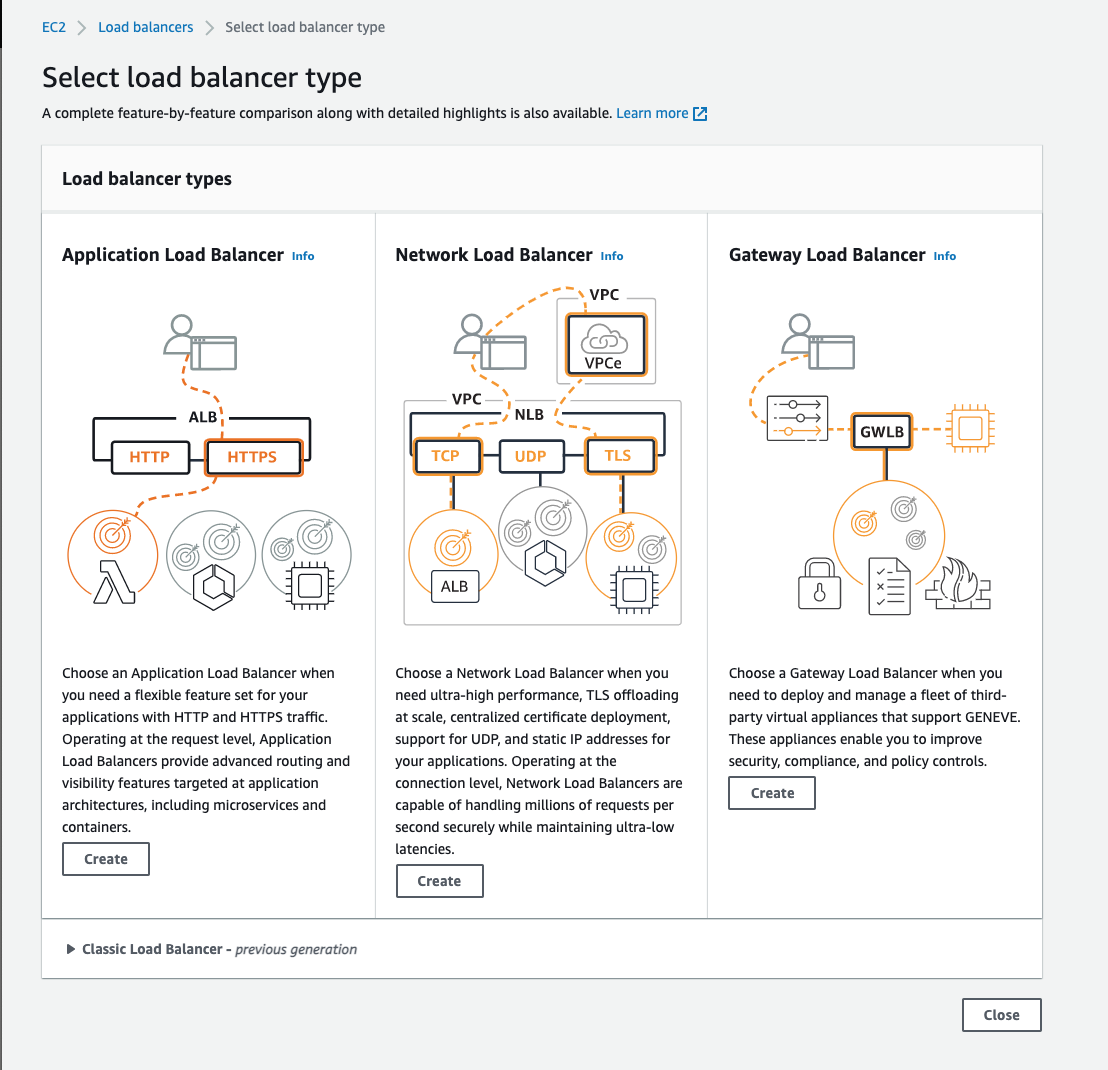
Application Load Balancer operates at the request level (layer 7), routing traffic to targets – EC2 instances, containers, IP addresses based on the content of the request. Ideal for advanced load balancing of HTTP and HTTPS traffic, ALB provides advanced request routing to deliver modern application architectures.
Network Load Balancer operates at the connection level (Layer 4), routing connections to targets – Amazon EC2 instances, containers – within Amazon Virtual Private Cloud (Amazon VPC) based on IP protocol data. Ideal for load balancing of both TCP and UDP traffic. NLB can handle millions of requests per second while maintaining ultra-low latencies. It is optimized to handle sudden and volatile traffic patterns while using a single static IP address per Availability Zone.
How to implement mTLS for Tomcat application running behind AWS ELB?
We will use NLB and configure Tomcat (backend) servers so that the SSL gets terminated on Web/App servers.
How to configure mTLS (step by step)
The complete mTLS configuration can be split into two parts:
- #1. AWS ELB configuration
- #2. Tomcat Server Level Configuration
I have provisioned one EC2 Instance, NLB with TCP Listener, and a TCP Target Group for this demo. For certified/trusted certificates, we used ZeroSSL.
We used the Route53 record and pointed to NLB instead of ALB, so let’s get started.
#1. AWS ELB configuration
We need to go with NLB (Network Load Balancer).
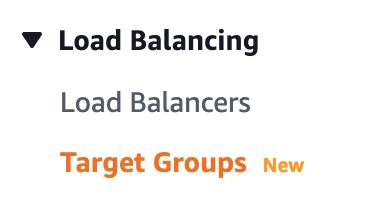
Step 1: Log in to AWS Console and navigate to ‘Target Groups’ – We need to create Target groups as per Application architecture.
Step 2: Click on ‘Create Target Group‘

Step 3: Provide the necessary details and make sure to TCP Protocol. Provide the Port number for which your tomcat connector is configured.

Step 4: Click on create to see the success message.
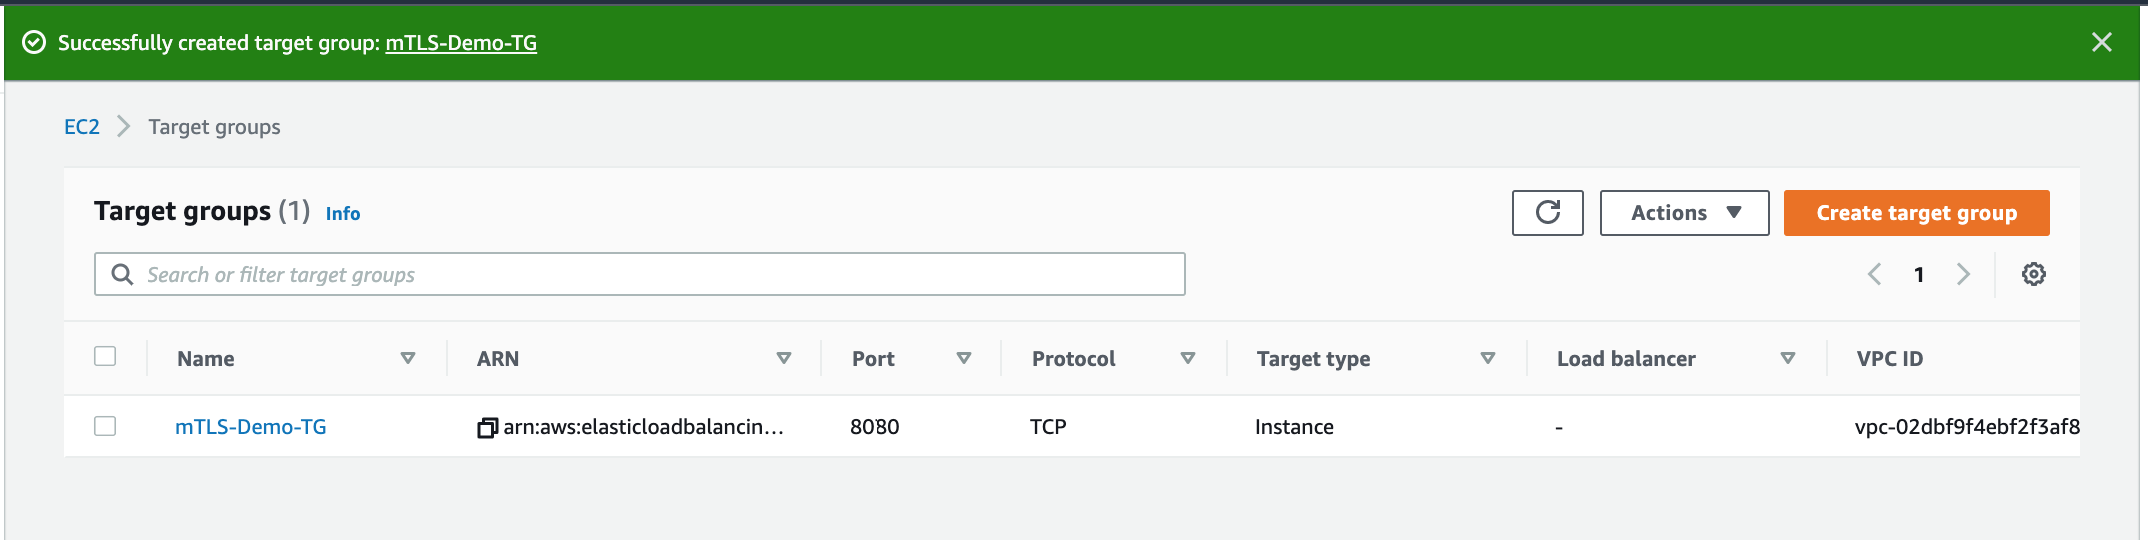
Create all the required Target Groups. Once created, you will see all of them inside Target groups by searching the relevant name. It will not show any ‘Load Balancer’ tagged to it. In our demo, we are using just on Target Group.
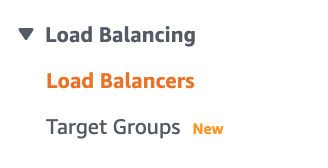
Step 5: Now navigate to ‘Load Balancer‘
Step 6: Click on ‘Create Load Balancer’

Step 7: Choose’ Network Load Balancer‘
Step 8: Provide all the necessary details for the NLB, i.e. NLB name, Scheme, Availability zone, Tags, Listeners and Routing to the previously created Target Group.
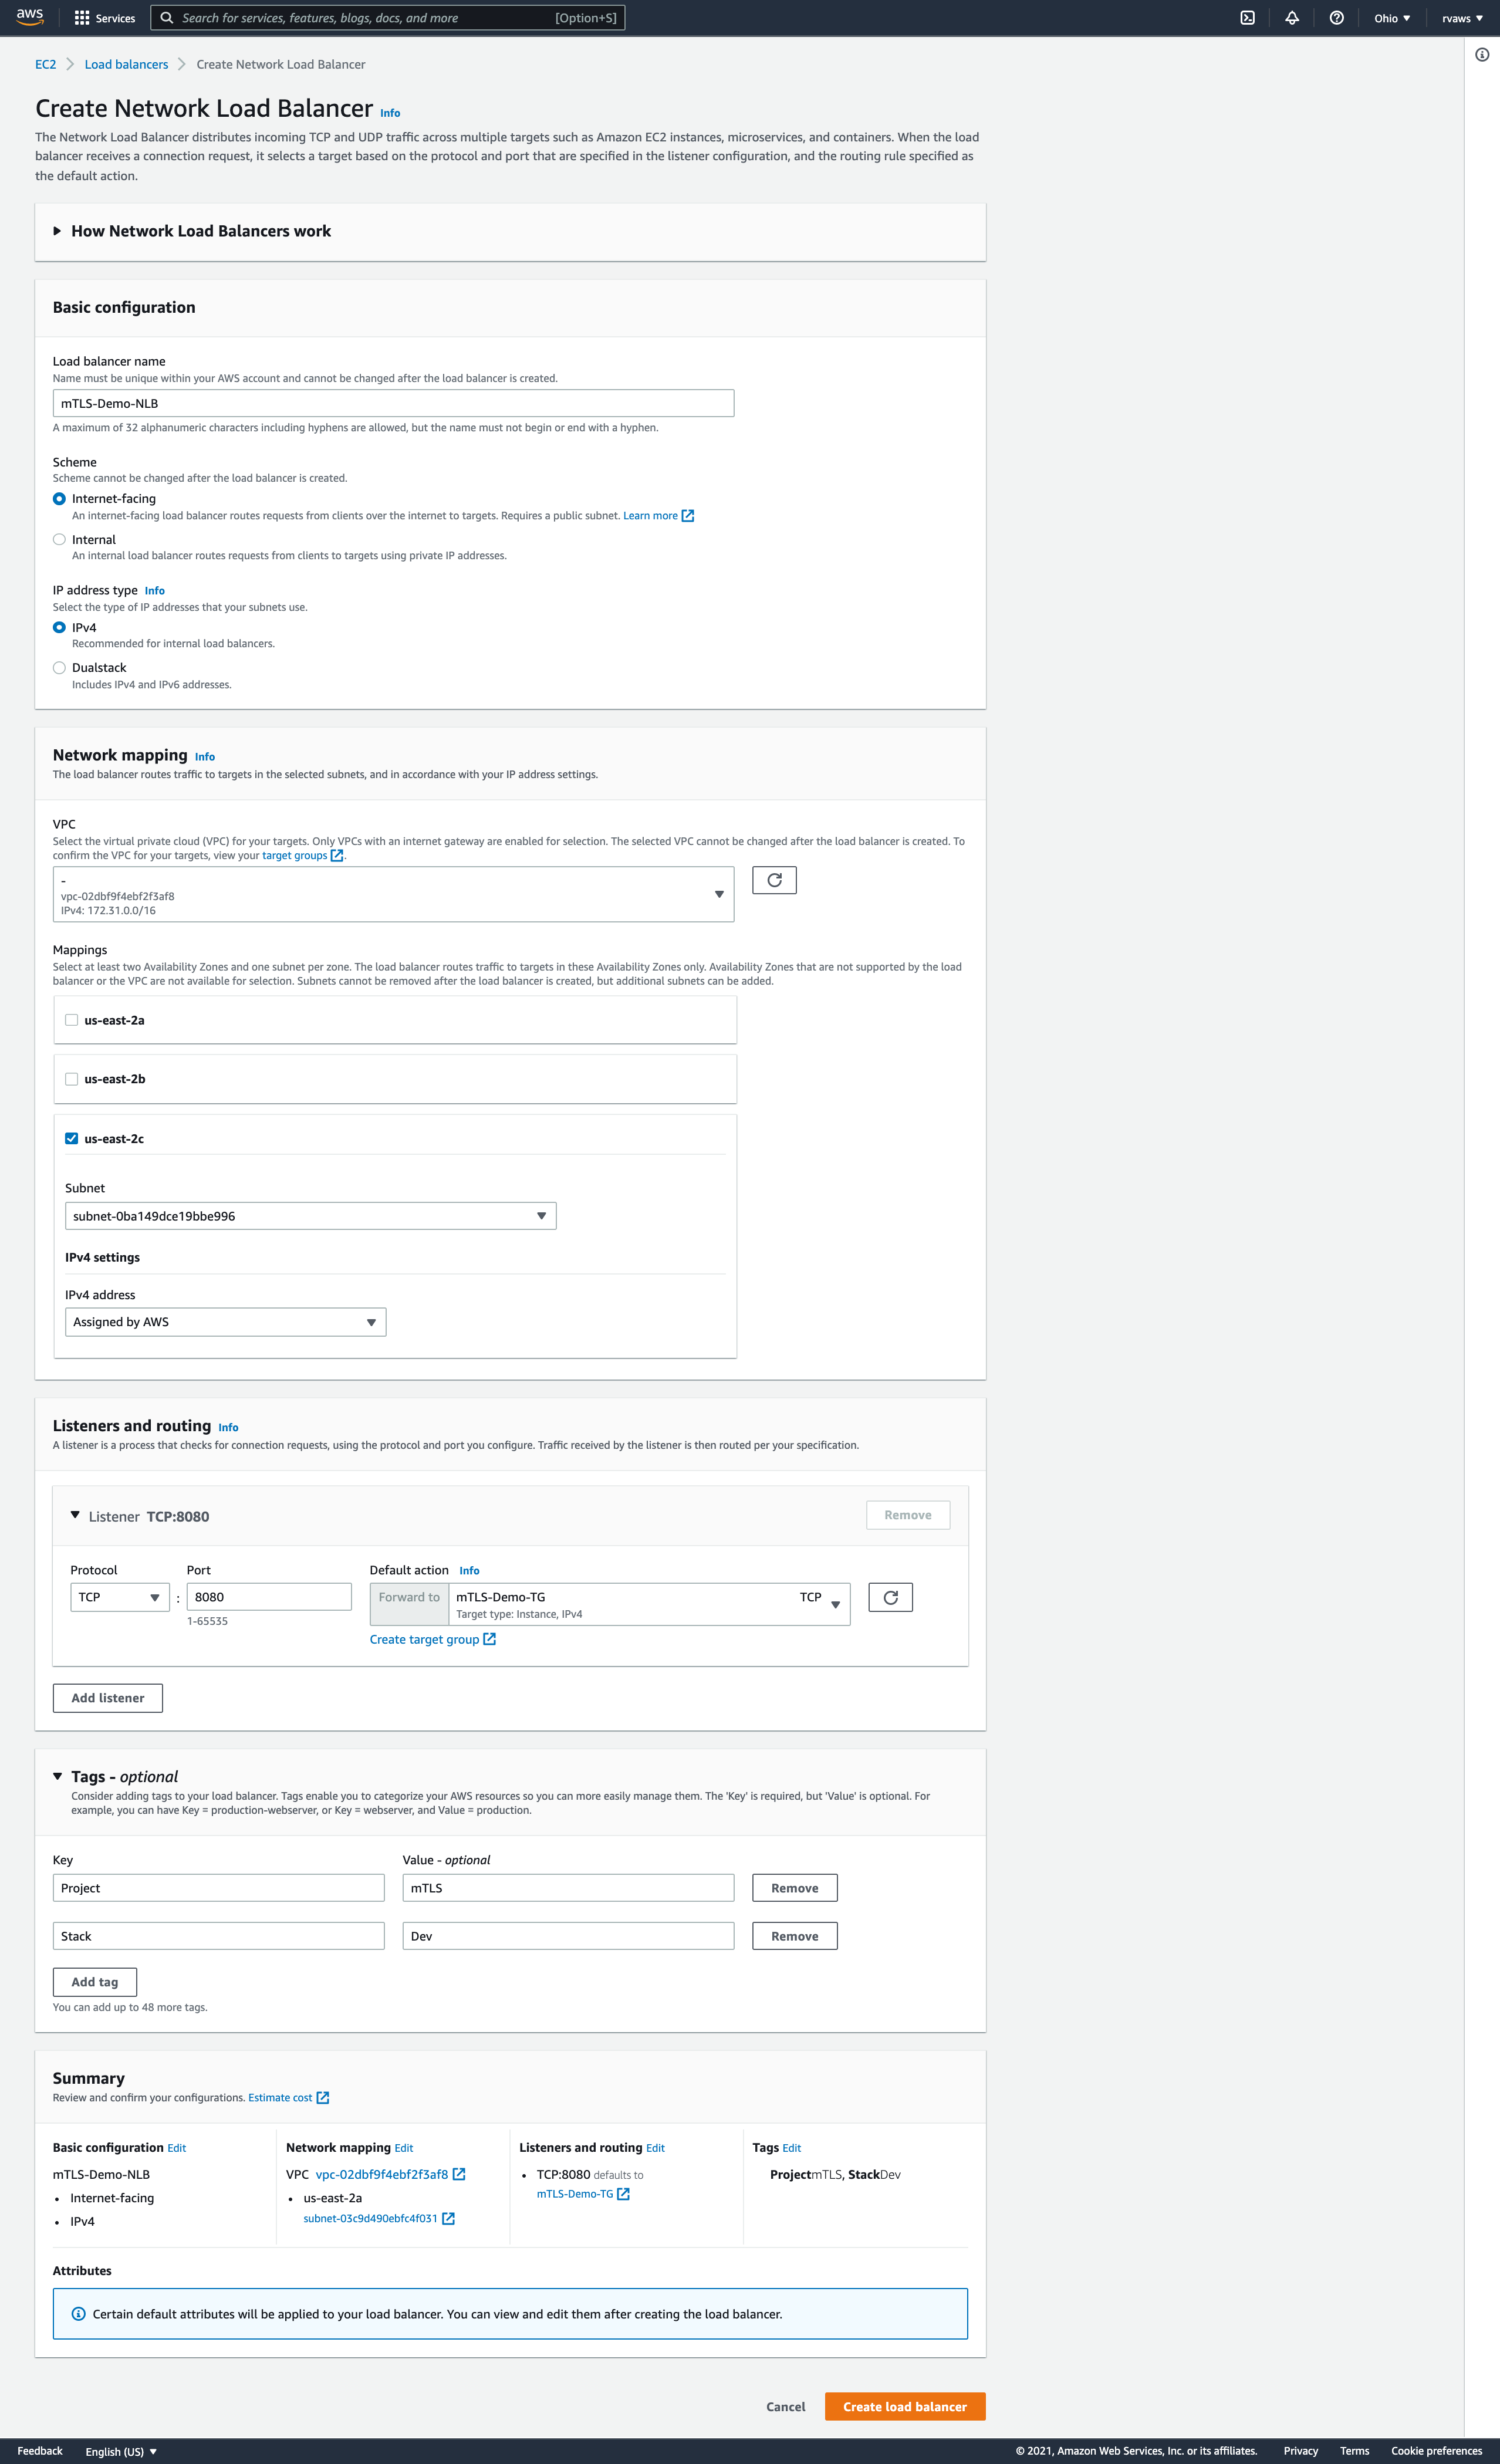
Step 9: Verify the details and click on ‘Create Load Balancer’

Step 10: Now navigate to the newly created NLB and add required Listeners if required.

Step 11: Click on the ‘Listeners’ tab and verify it.
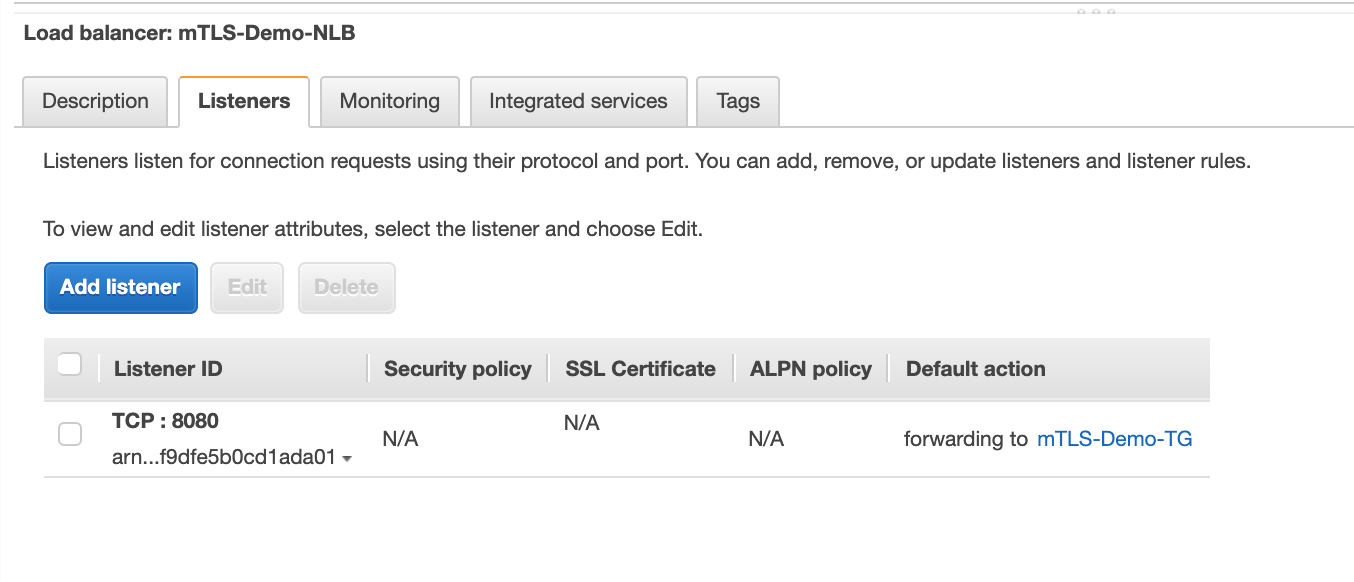
Step 12: Review the Listener details and verify the attached Target Group.

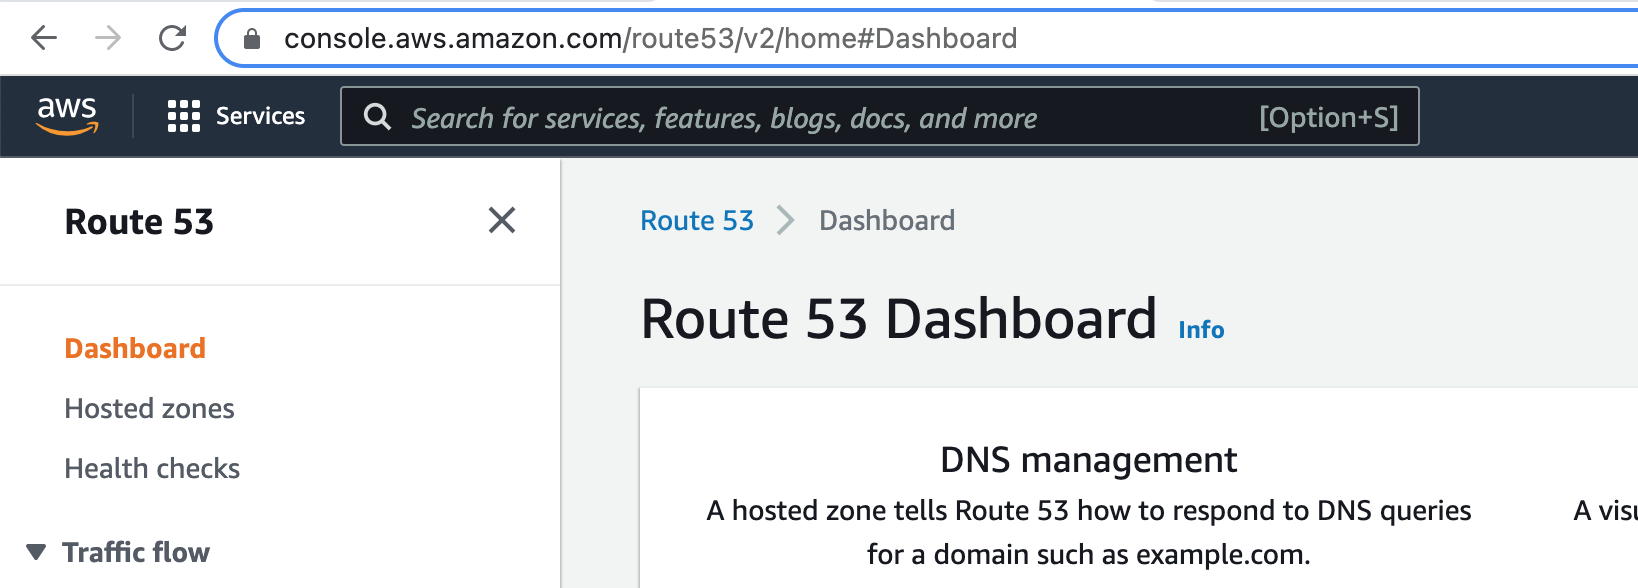
Step 13: Open Route53 Hosted zone and update the record to point to the newly created AWS Network Load Balancer.
This completes the ELB configuration activity.
#2. Tomcat Server Level Configuration
Before starting with the actual configuration, let’s talk about different Tomcat connectors.
The HTTP Connector element represents a Connector component that supports the HTTP/1.1 protocol. It enables Catalina to function as a stand-alone web server, in addition to its ability to execute servlets and JSP pages. A particular instance of this component listens for connections on a specific TCP port number on the server.
Several different HTTP connectors can be used with Tomcat:
- Blocking IO
- Non-blocking IO
- Apache Portable Runtime (APR)
The BIO and NIO connectors use the JSSE SSL, whereas the APR/native connector uses OpenSSL. Therefore, besides using different attributes to configure SSL, the APR/native connector requires keys and certificates to be provided in another format.
For more details, please refer to this guide.
Pre-requisites:
- Instances are provisioned and the Application is running
- AWS ELB (Network Load Balancer) is configured along with required Target Groups and Listeners
- CA approved certificate is created for the Route53 (DNS) and you have the certificate key, chain certificate and Private certificate key with you
- Have the appropriate access to EC2 instances
Mutual TLS (mTLS) Implementation (Steps)
Since we are running this demo with only one tomcat server, below is an example of configuring just one Tomcat server. If you have more than one server, then the same needs to be performed in all the Tomcat/Applications servers.
Step 1: Create the certs directory within the tomcat configuration folder.

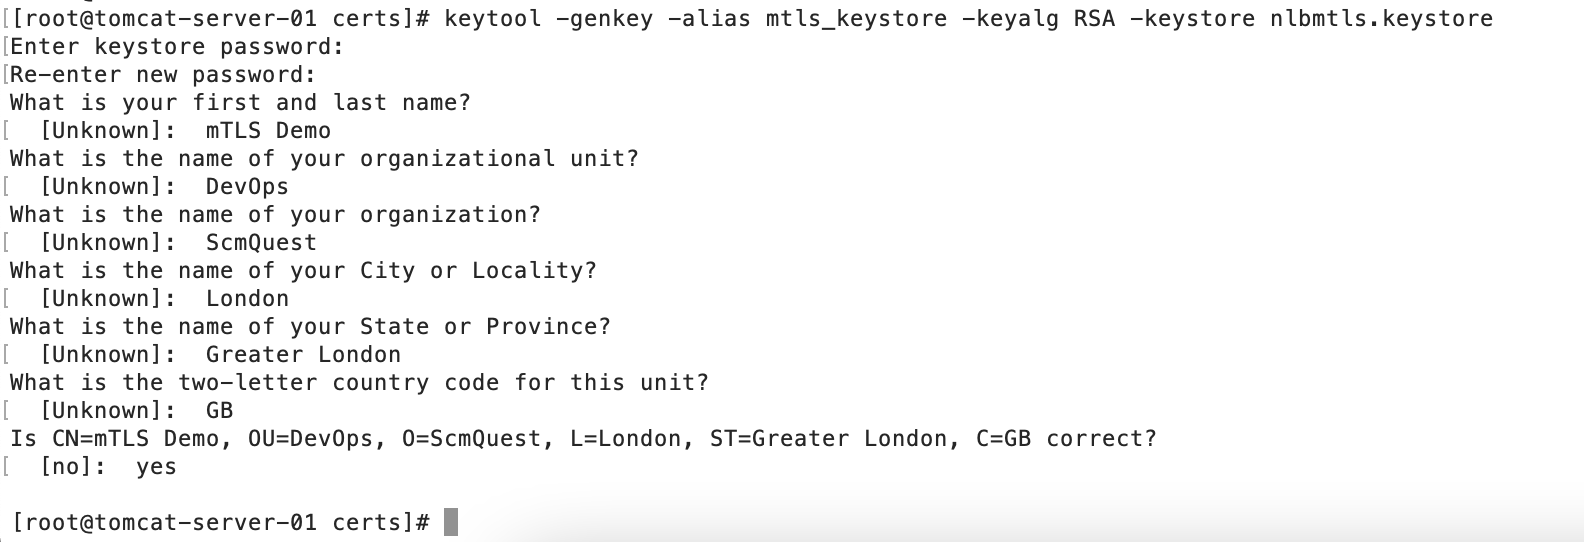
Step 2: Generate Keystore.
You can use the default system’s Keystore, but this will provide segregation among the services. So if you need to create the Keystore, please use the keytool command.
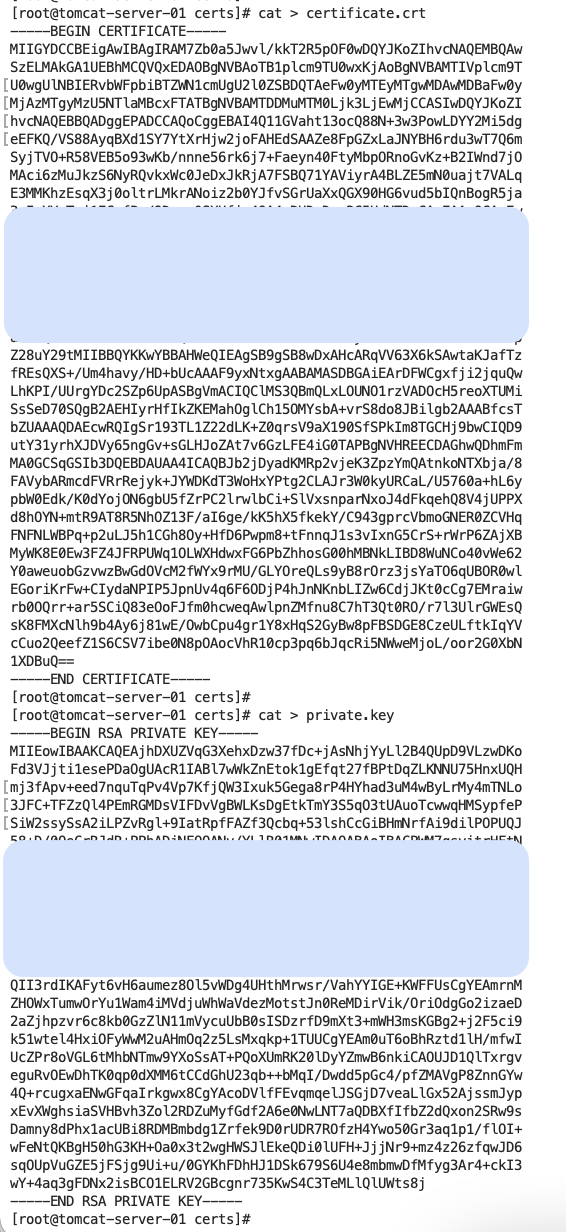
Step 3: Copy certificate(s) and private key into the files.
Step 4: Create a p12 file from the certificate and Private key.

Step 5: Import it into the newly created Keystore.

Step 6: Copy the root certificate bundle into the file.
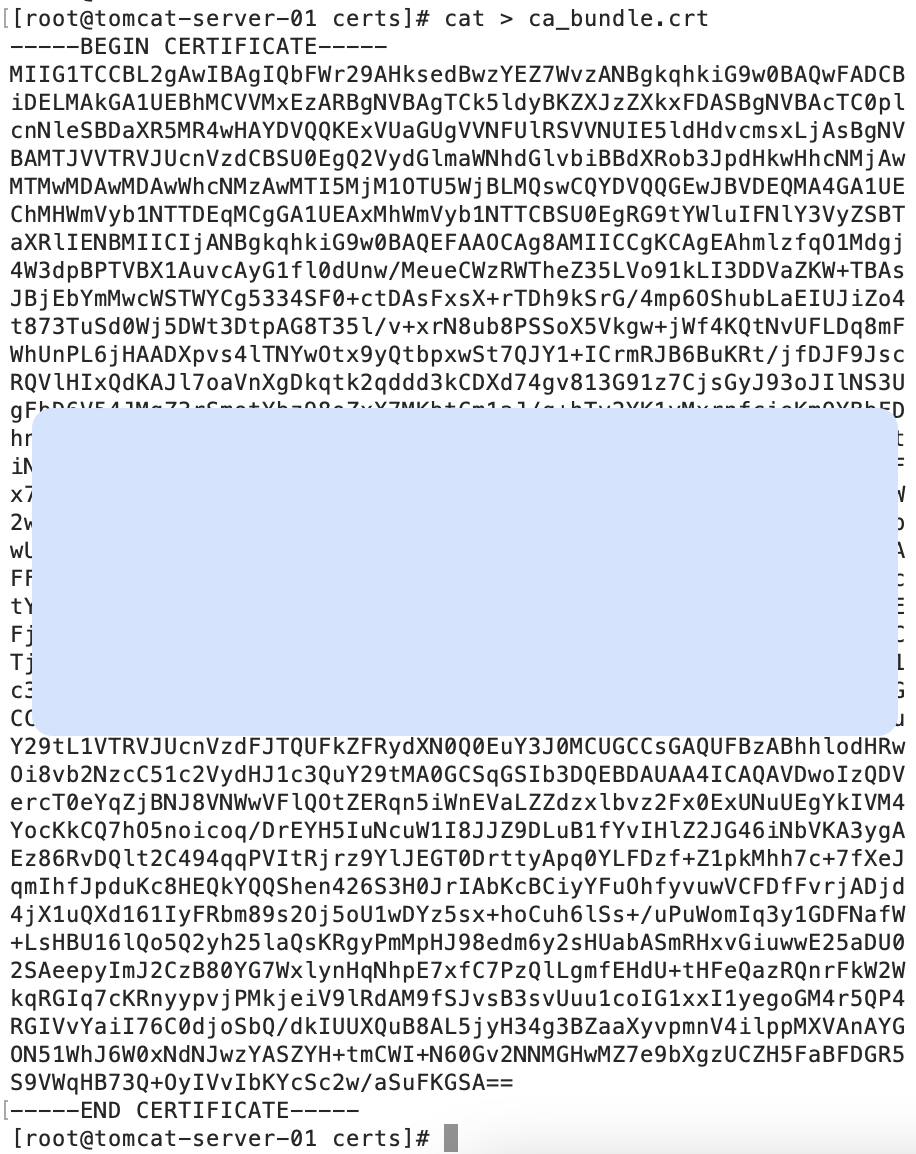
Step 7: Import the root certificate into the Keystore.

else, you will get this error
Caused by: java.lang.IllegalArgumentException: java.security.InvalidAlgorithmParameterException: the trustAnchors parameter must be non-empty
Step 8: Change the permissions of the certs folder for the tomcat user.

Step 9: We need to change the Connector settings in Tomcat’s conf/server.xml to let Tomcat know it should use SSL now – CTomcatConnector port accordingly. You can either provide the default password or provide a custom one.

clientAuth=”true” is the parameter which will enable the Mutual TLS for the tomcat server
Step 10: Make sure to comment on the below line in Tomcat’s conf/server.xml.
since APR connector using connection differently
<!--APR library loader. Documentation at /docs/apr.html -->
<!--
  <Listener className="org.apache.catalina.core.AprLifecycleListener" SSLEngine="on"/>
-->
Step 11: Tomcat’sthe tomcat service and check the server log.


This completes the Tomcat server configuration activity.
Using APR Connector as an alternative
If you decide to configure with APR connector, follow the above mentioned eight steps and skip Step numbers 9 and 10.
Instead, use below APR config as Step 9:

Now, restart the server as mentioned in Step 11, and You will see the APR connector in catalina.out after the successful restart.

Some Useful Openssl commands to check the connectivity and certs
-> openssl s_client -connect server-dns:port
-> openssl s_client -showcerts -servername server-dns -connect server-dns:port
-> openssl verify <cert file>
-> openssl x509 -in <cert file> -text
Test the mTLS thorugh Browser
Once changes are implemented, you can start the testing through a browser or the end services (application, curl, etc.).
To login to the application URL, we would require a Client certificate so that that server can authenticate; the request is coming from a valid source.
If you access the application without a valid certificate, it will throw errors.
Response codes:
Without certificate – Blocked
With Invalid certificates – 403
With Valid certificates – 200
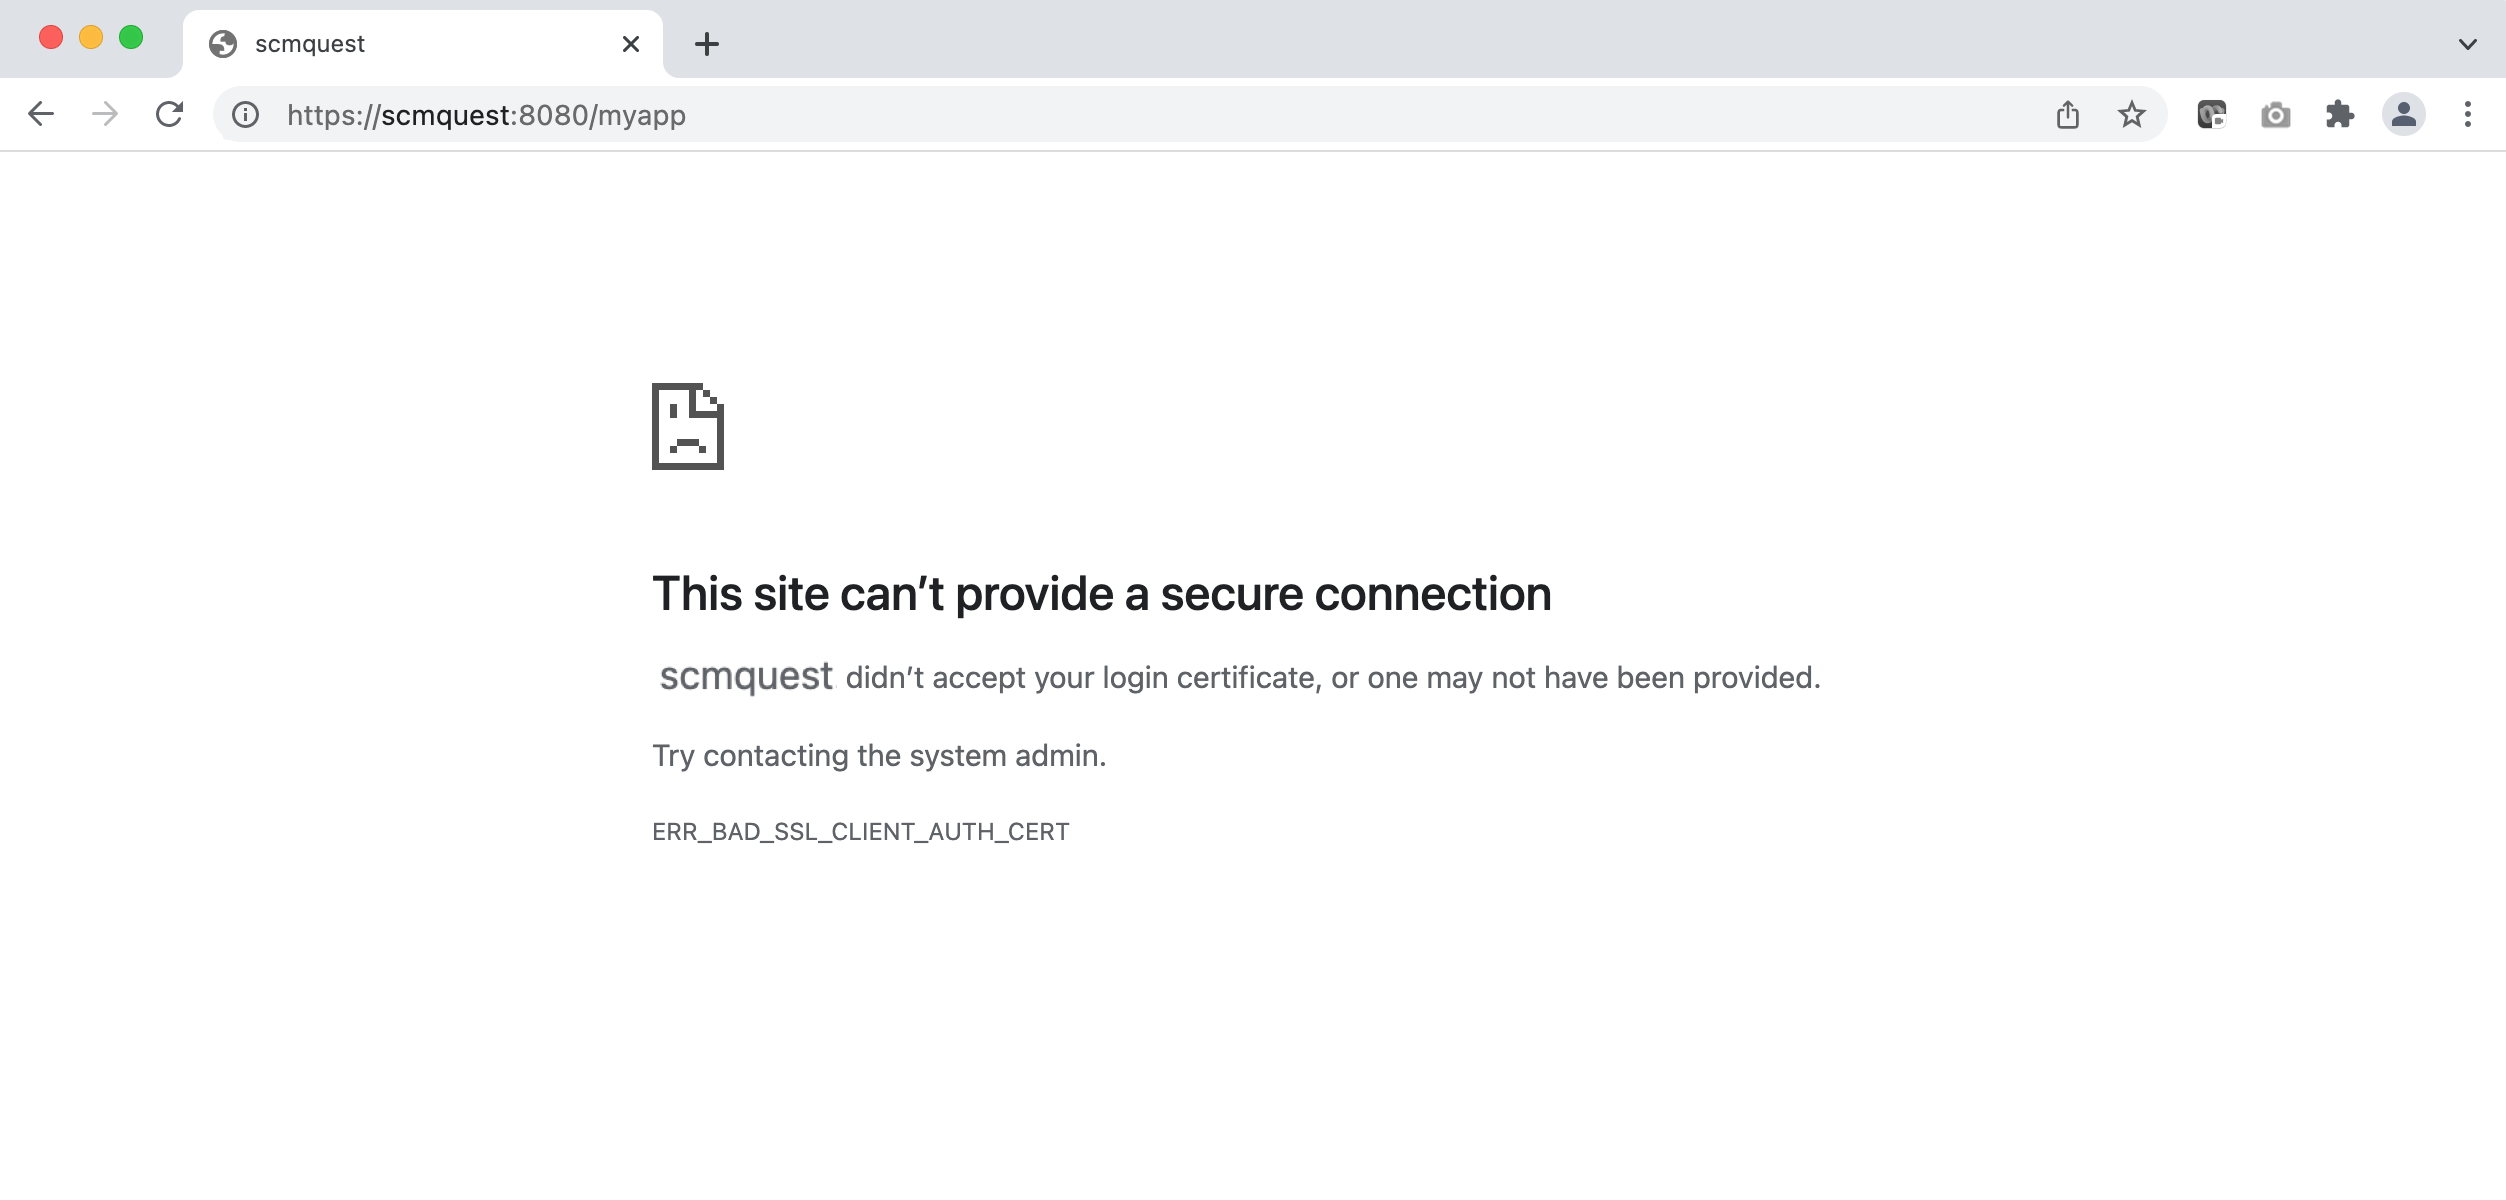
Let’s browse the Application URL without a valid certificate.
As you can see in the below screenshot, the request was rejected, and we could not get the webpage.
How to create Client certificate and use it for browser login?
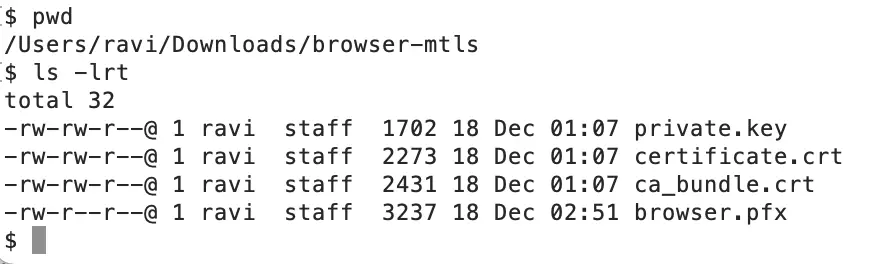
We created the certificate through the same CA (ZeroSSL) and a .pfx file through OpenSSL.
You can choose appropriate CA authority as per your project architecture

Open your favourite browser, for ex: Chrome and Go to Options, search for certificate – Click on ‘Manage certificates’
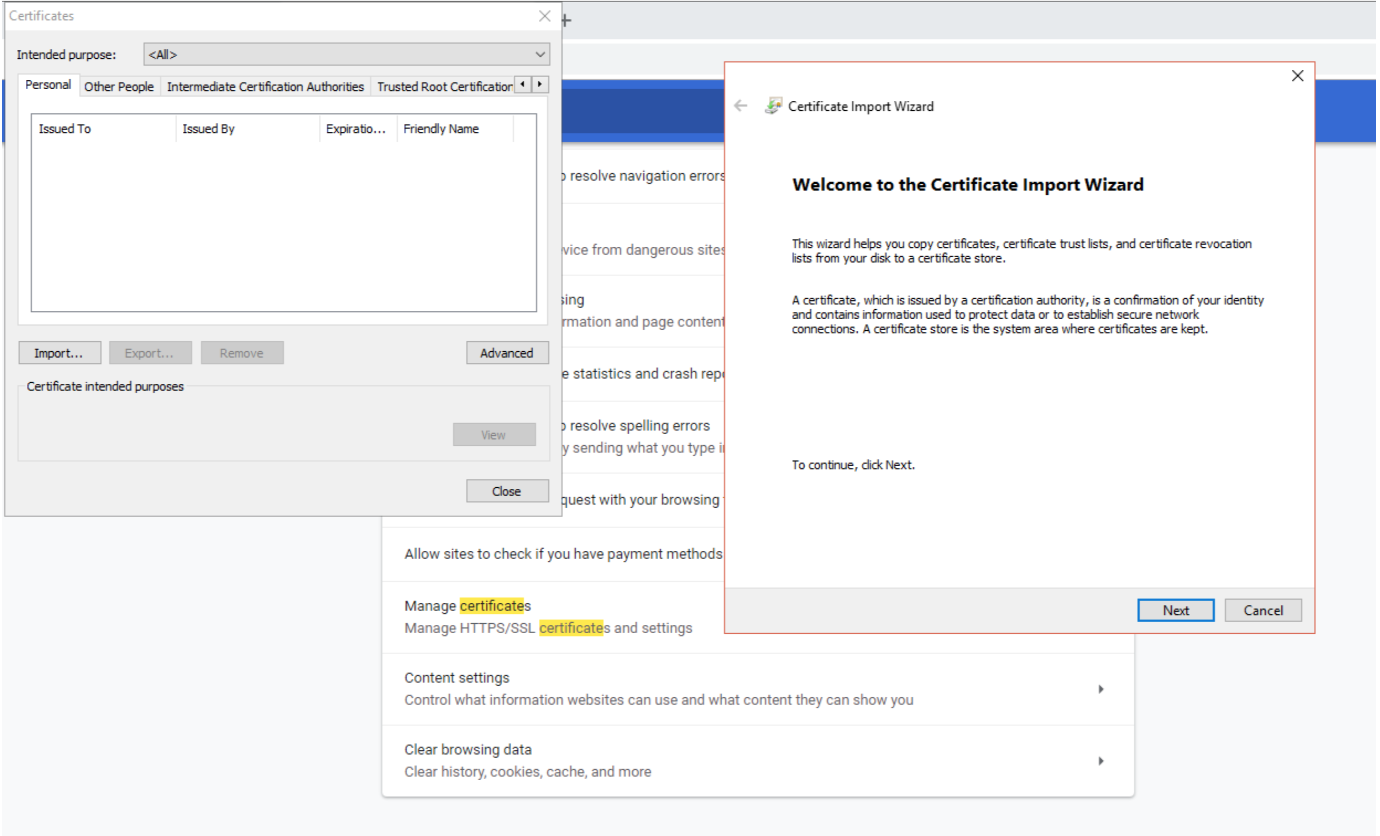
Click on Import and choose Next.
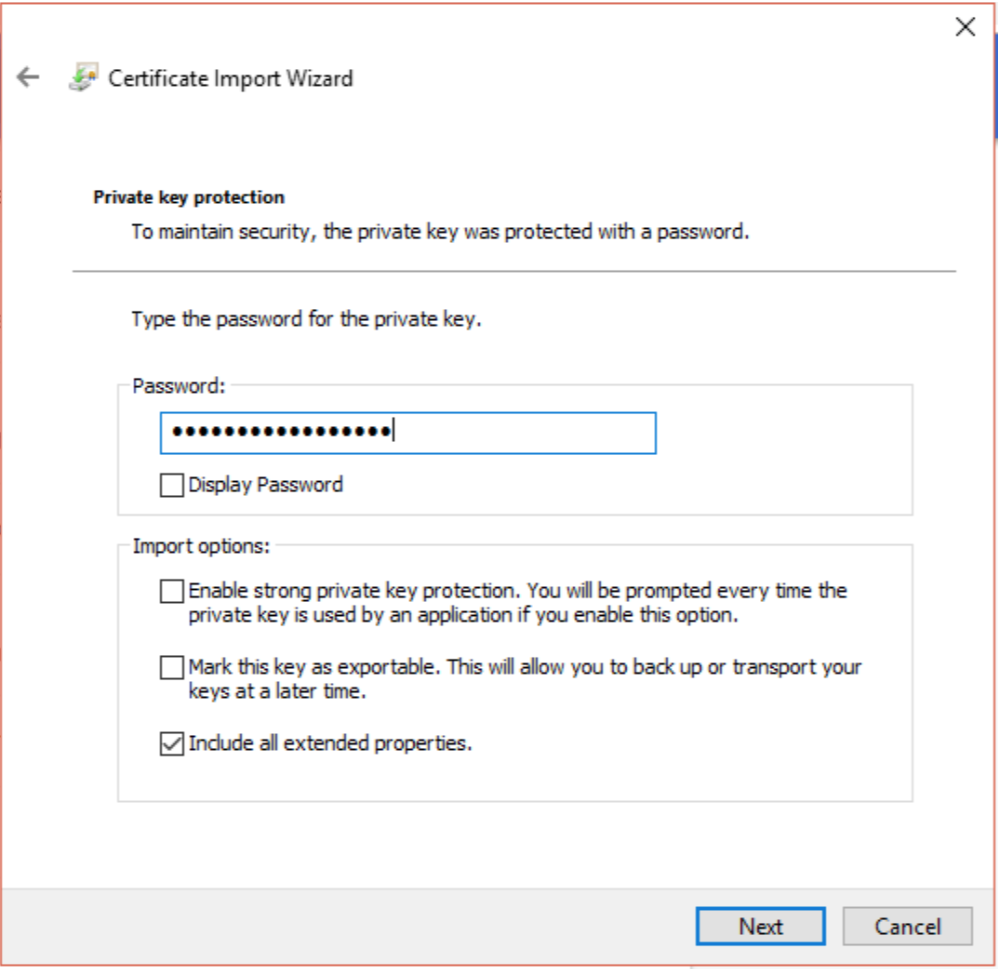
Select the file and provide the password used to create this .pfx file (as export password).
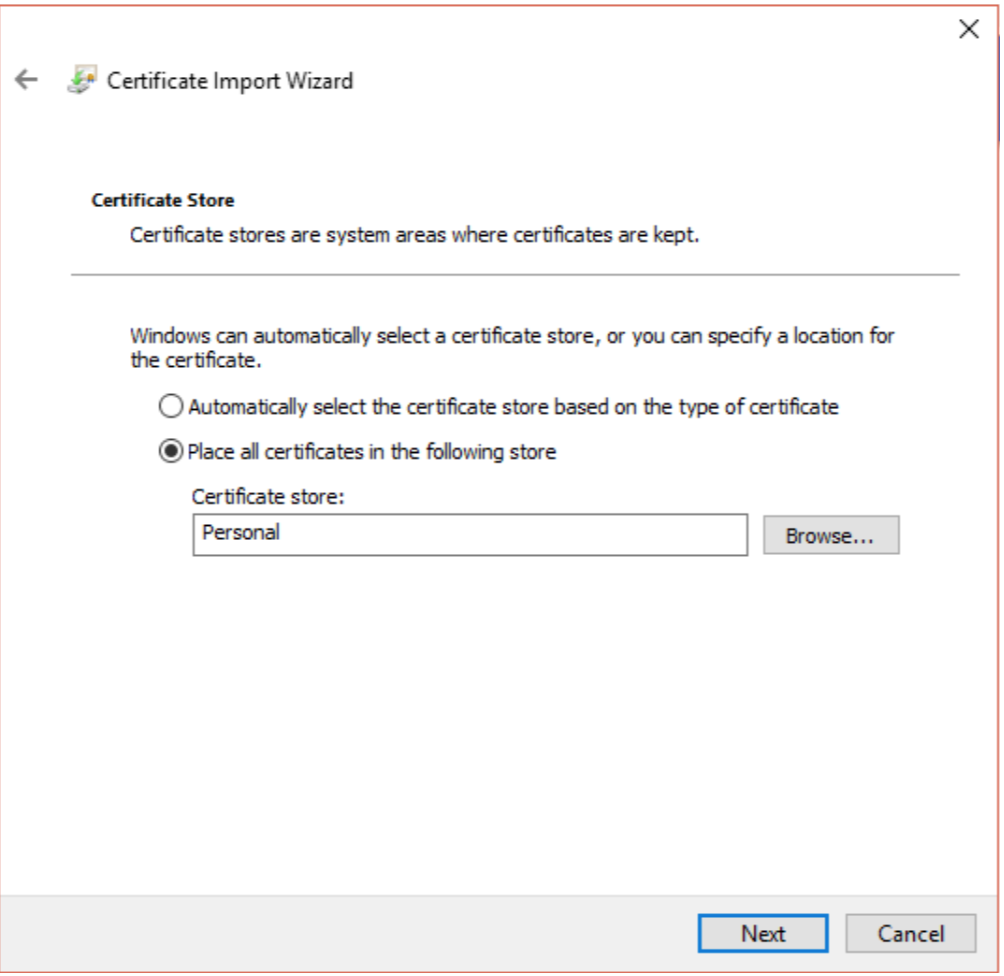
Click on Next and choose the certificate store.
Click on Finish.
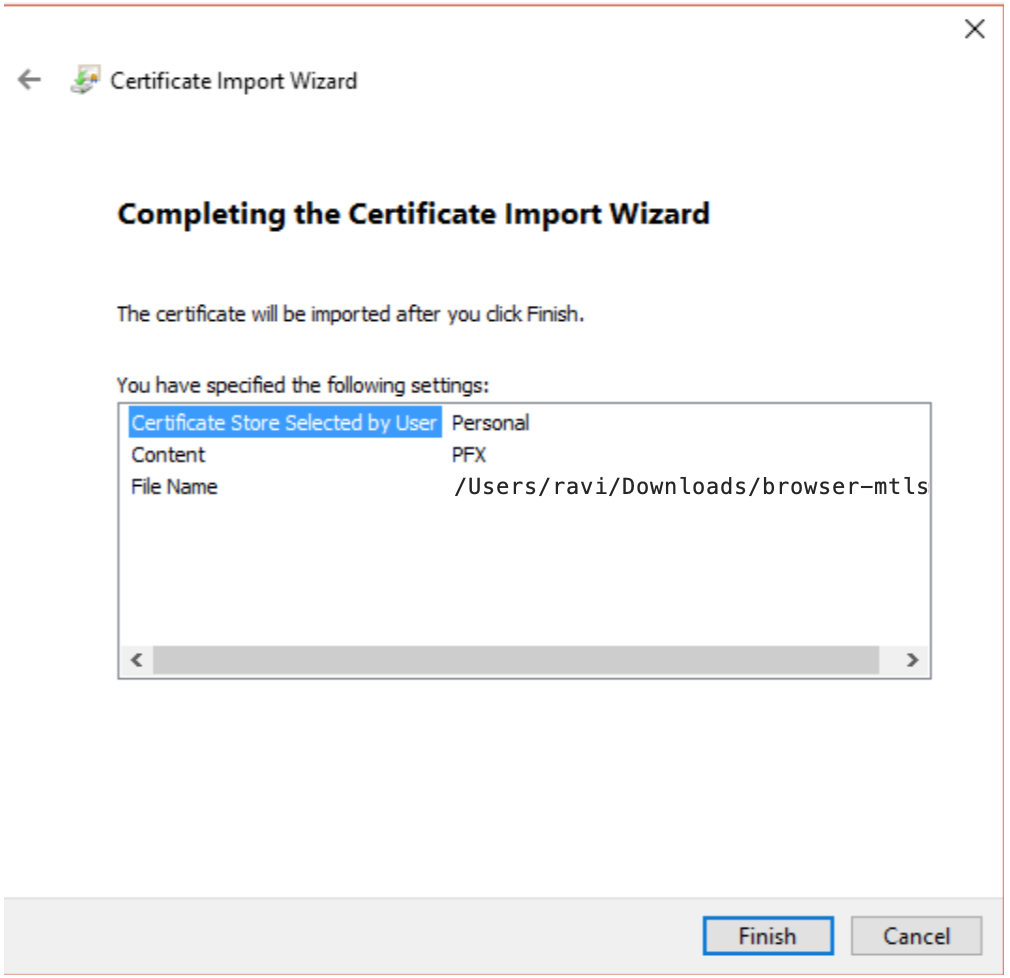
You will see the success message.
Now, let’s refresh the Chrome webpage, and you will see the website will prompt you to select the certificate to proceed.
If you have multiple certificate, you can choose the appropriate one
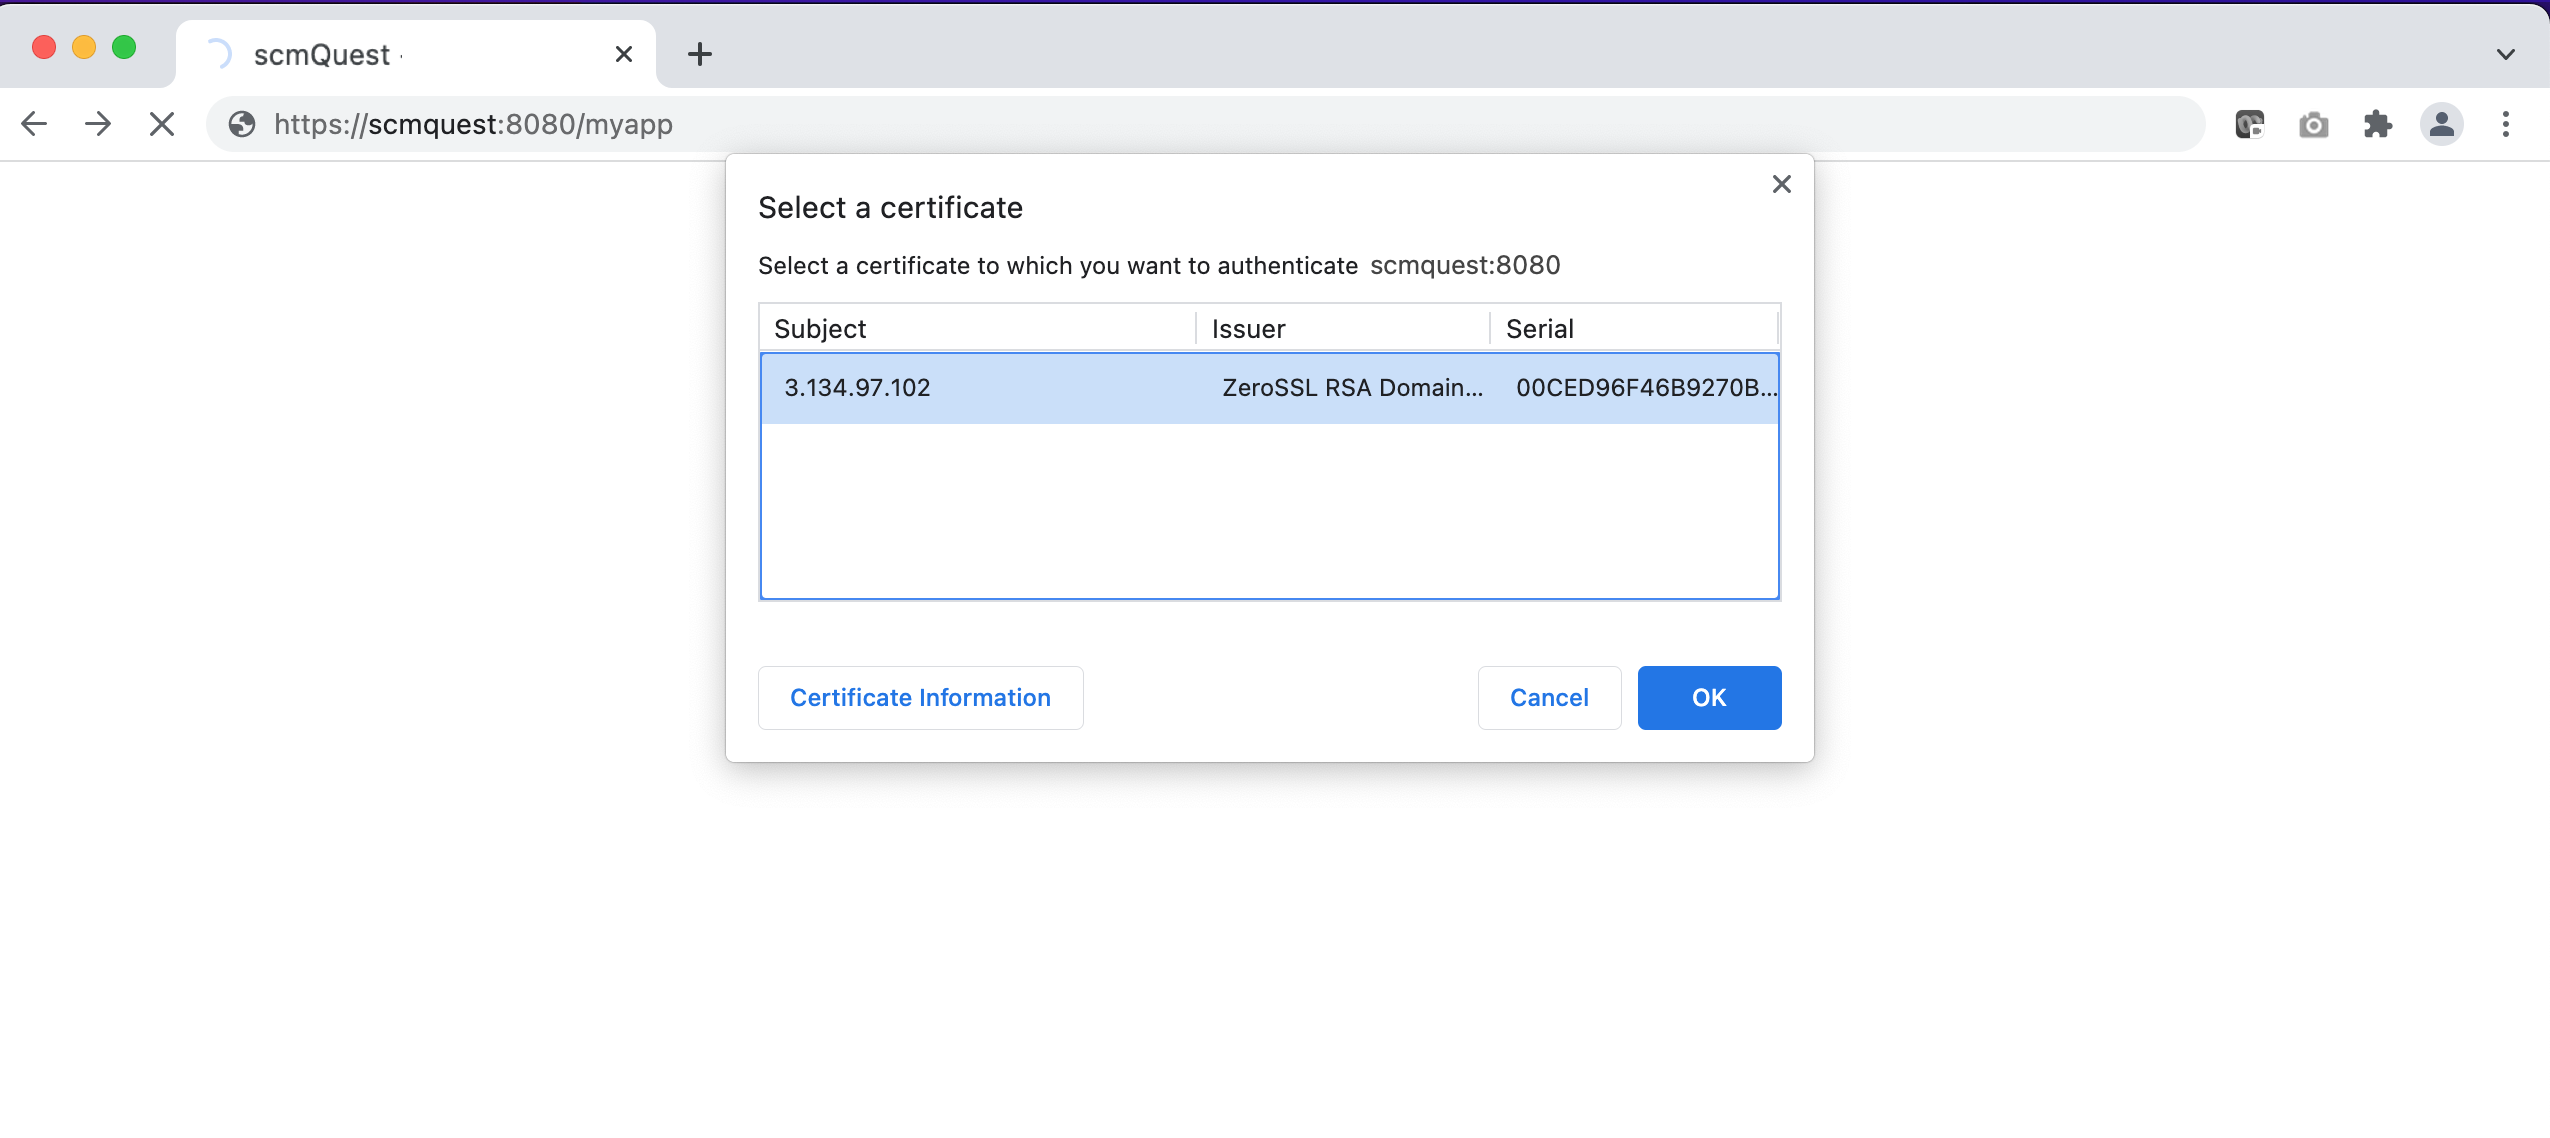
Click OK, and it will proceed with the SSL handshake with the Tomcat server.
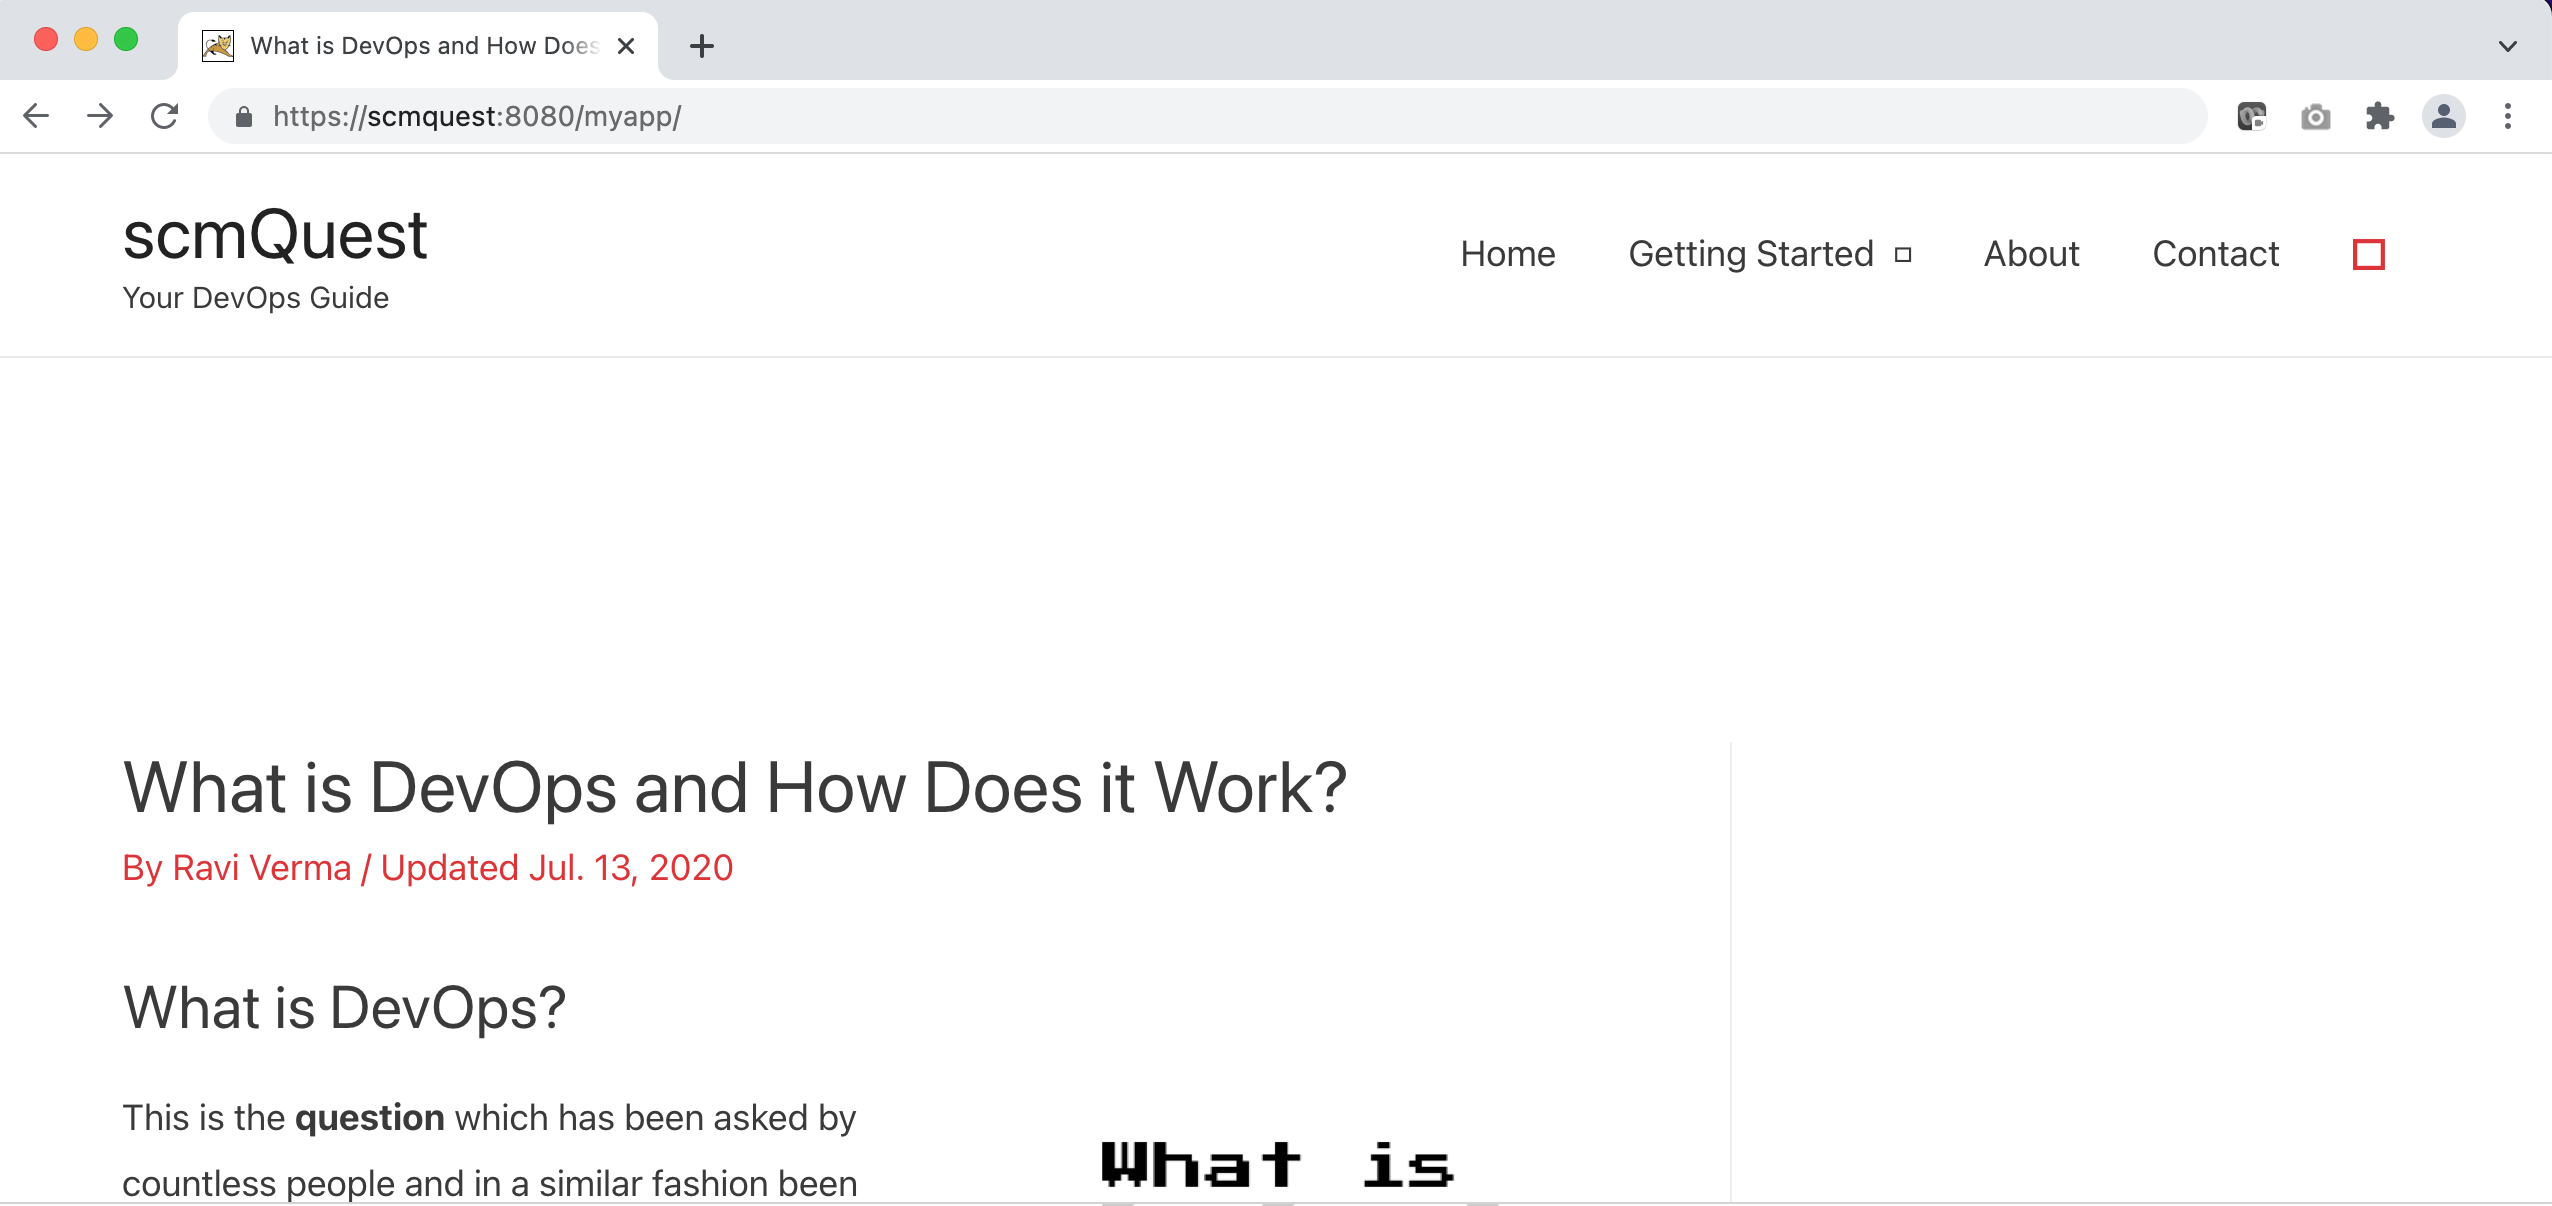
Verify the site details and certificate.
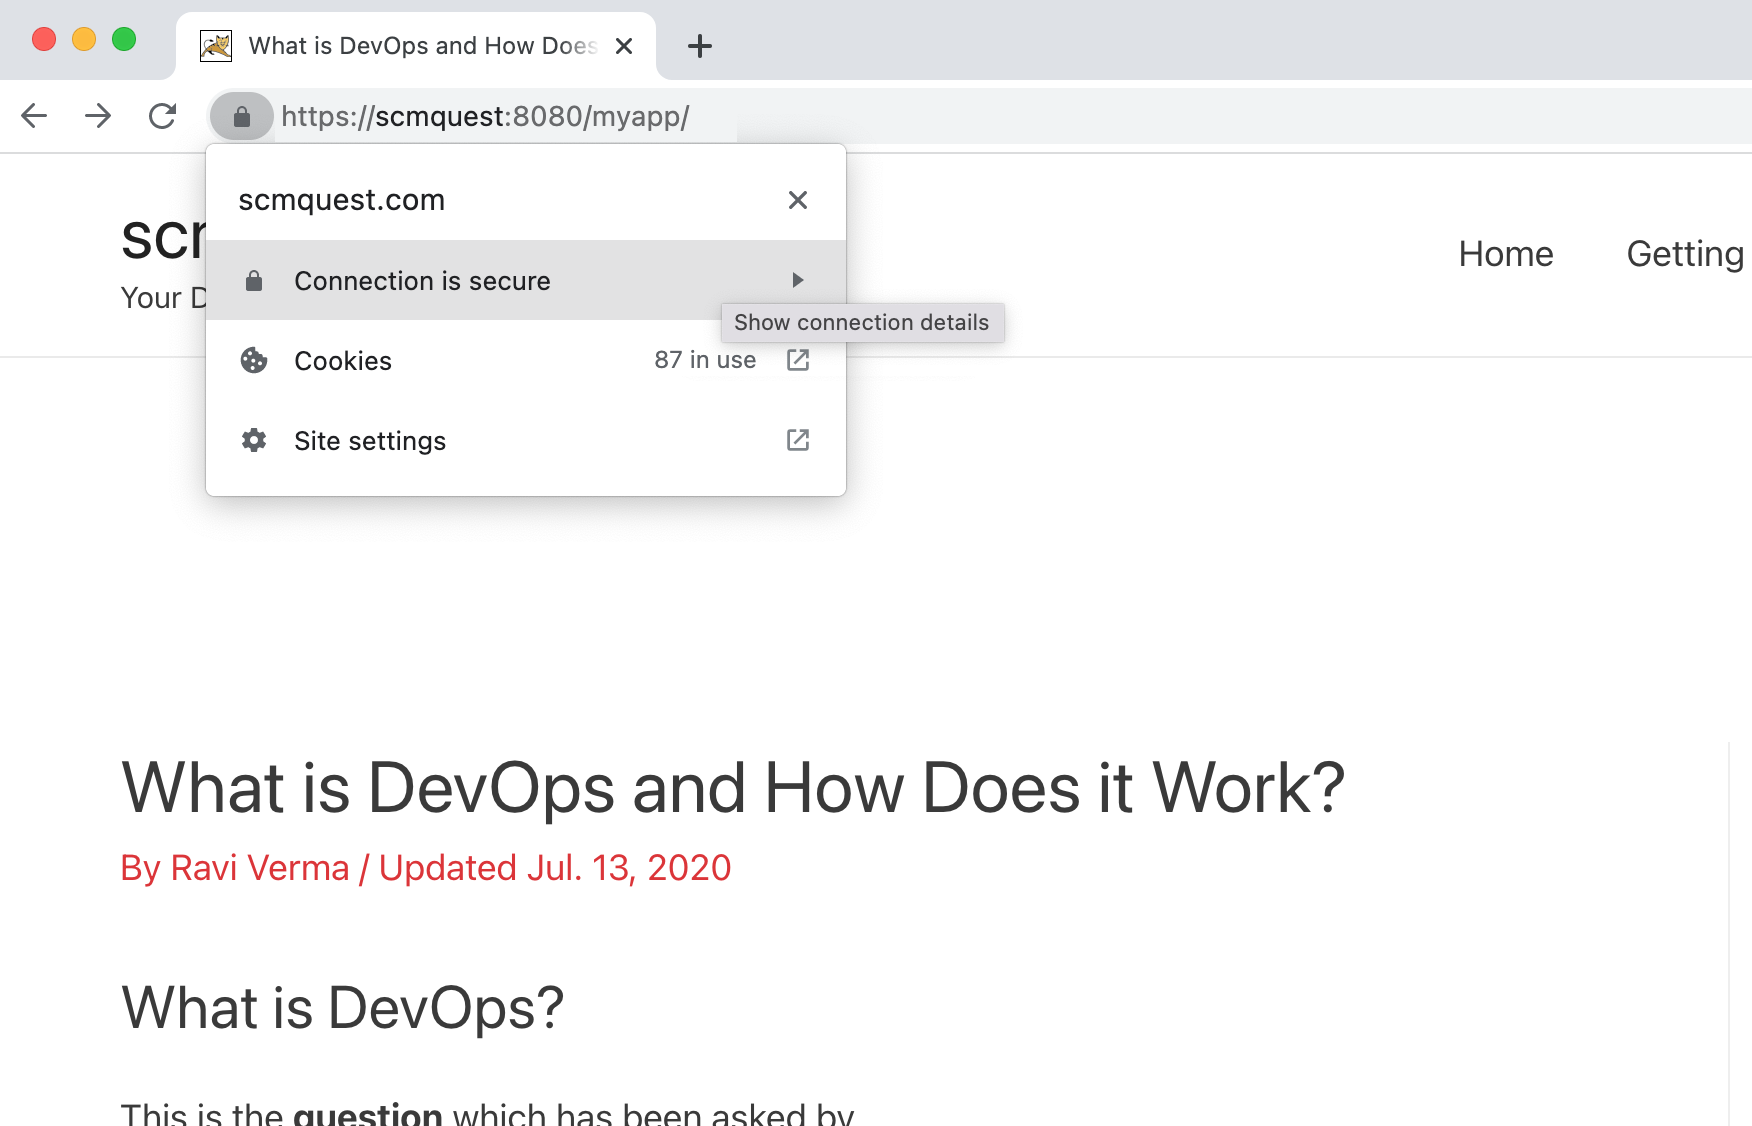
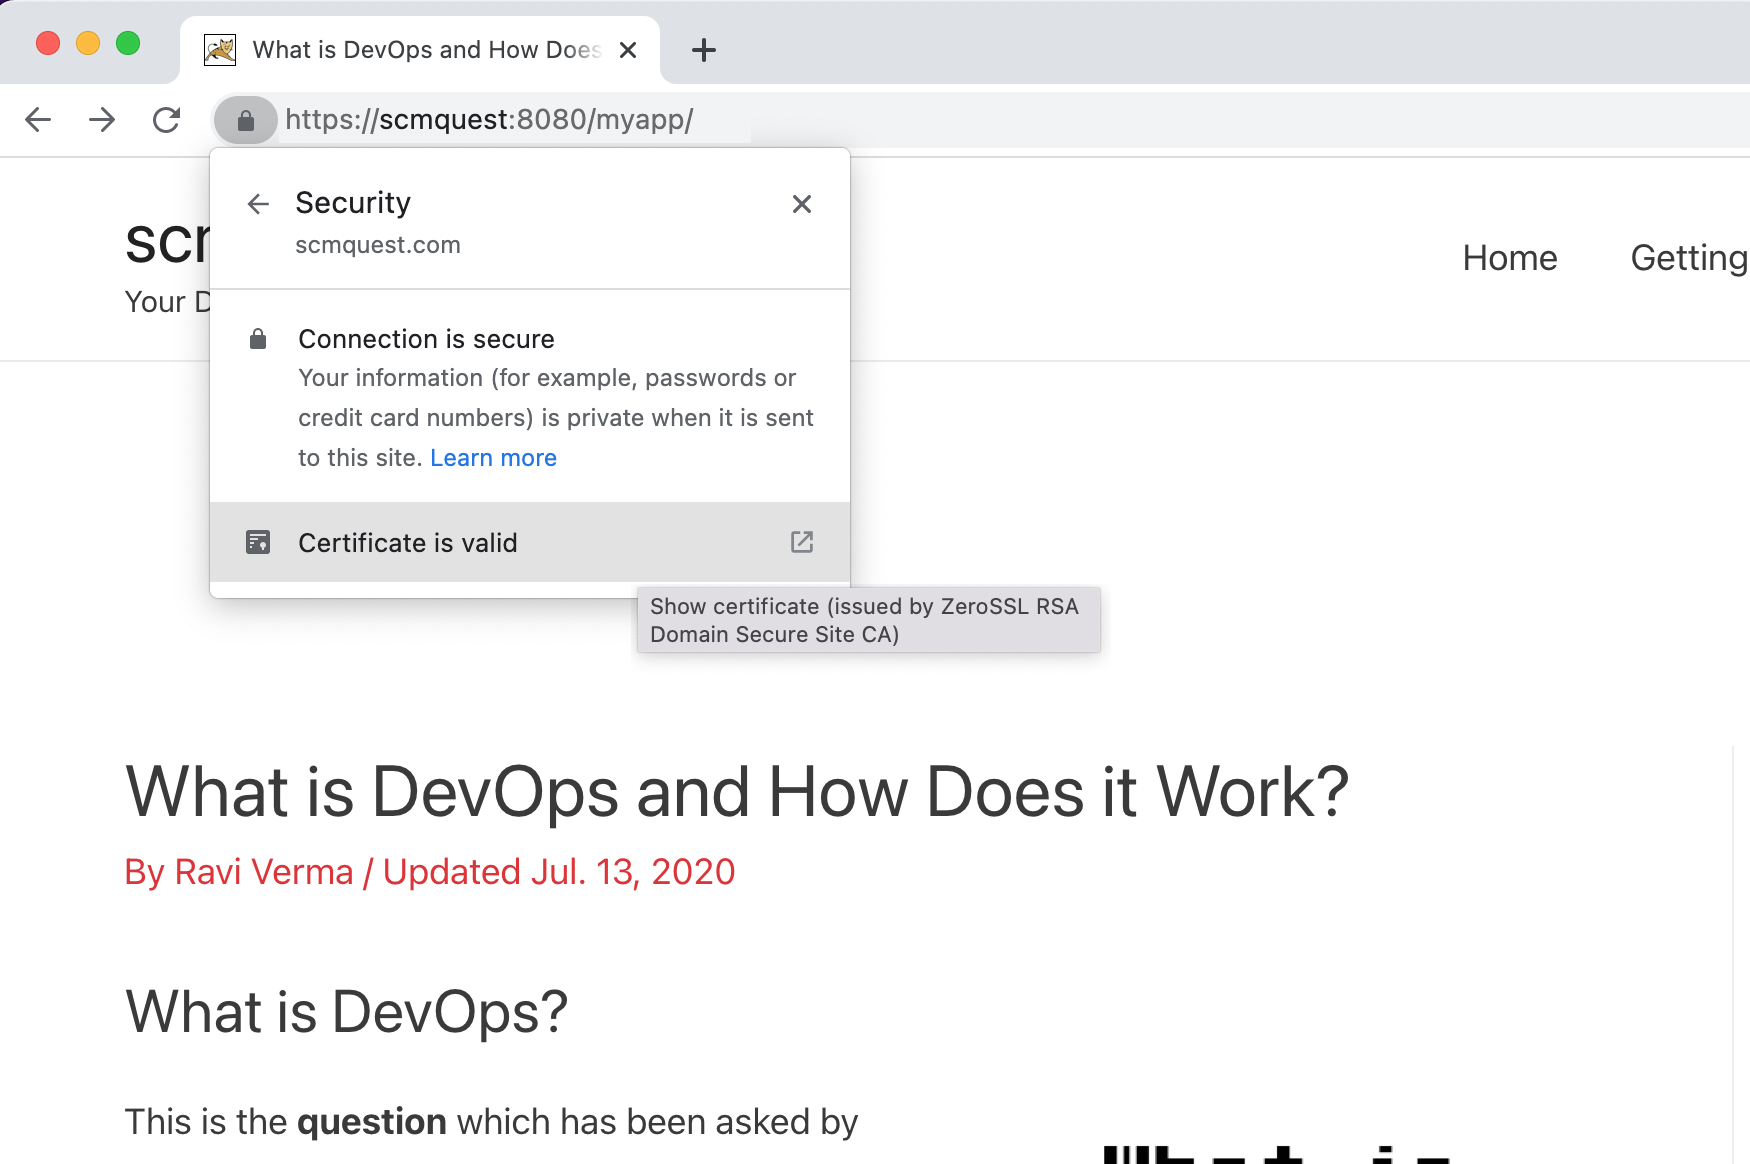
You have successfully enabled the Mutual TLS and verified through the browser.
You can see it reflected on your application logs.

That’s it! Congratulations. You have successfully implemented mutual TLS authentication.
Wrapping Up
So there you have it.
In this detailed mTLS implementation guide, we have shown you how mTLS works, how it compares to TLS and SSL, and how to set up mTLS behind AWS ELB.
We performed this demo on the Tomcat application, but you can use the same concept and utilize AWS NLB for any of your WEB and APP servers.
Another handy way to apply mTLS is thorough HA Proxy. We will discuss that option in detail in our upcoming guides.
Till then, stay tuned.
If you have any clarifications about this mTLS implementation guide, do let me know in the comments section below. And, also drop a line for what you want to read next on DevOpsBuzz (formerly scmQuest).
Keep the quest on!
Thanks for sharing mate. I’ll give a try and request your help in case of any issue.
Sure Gary. Thanks for your kind words
Pingback: AWS Application Load Balancer (ALB) now supports Mutual TLS (mTLS) : Step-by-Step Implementation Guide - DevOpsBuzz